
How do you properly install an indoor CCTV camera without losing video quality or coverage? Start by choosing the right mounting spot, securing power, and setting up the app or recorder so the camera views your entryways clearly. You can typically complete a first install in about an hour, and you’ll need the camera, a stable Wi‑Fi or Ethernet connection, basic tools, and the manufacturer’s mounting hardware to get it right the first time.
Properly installing an indoor CCTV camera means mounting it securely, positioning it to capture usable areas, and connecting power/network correctly before you lock everything in. If you take care of placement first and then configure motion zones and recording, you’ll get dependable footage and alerts—not a blinking device that never records what you need.
Properly installing an indoor CCTV camera means mounting it securely, placing it with a clear view, and connecting power/network correctly before you lock everything in. This guide walks you through the full process—from choosing the right spot to setting motion alerts—so you end up with usable footage, not just a blinking device.
If you’re installing a camera for home, office, or a small business, start here: you’ll need to confirm your camera type (wired vs. wireless), whether it uses Wi‑Fi, and what app/NVR setup the model requires.
Pick the right spot (before you mount)
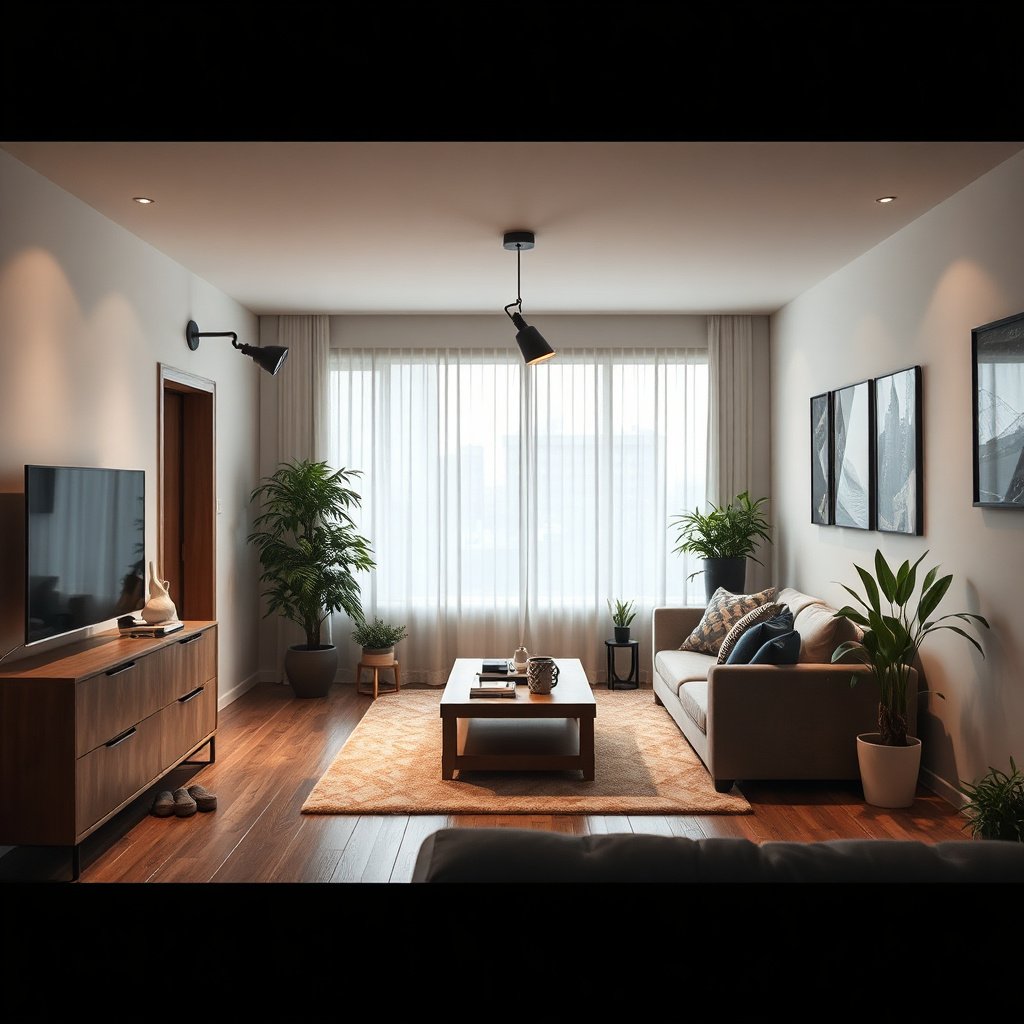
Choosing the right location is what turns an indoor CCTV camera from “installed” into “useful.” The goal is to cover entry points and key routes while avoiding glare, backlight, and movement that causes constant, low-value alerts.
Start by identifying where people enter and where they pause: front door, side door, hallway approach, lobby/reception routes, stair landings, and the path from parking or elevators to interior doors. Then verify sightlines using the live preview in the camera app—this is the fastest way to catch washed-out faces or missed corners before drilling.
– Place the camera where it covers entry points (doors, hallways, main routes) without glaring backlight.
– If possible, aim across the route instead of straight at it; side-on motion is usually easier for detection and recognition.
– Avoid locations with constant direct sunlight, strong reflections, or heavy airflow that can shift the view.
– Bright windows behind the camera commonly cause exposure to “brighten everything,” which flattens faces and signs.
– If you have HVAC vents, consider mounting so airflow doesn’t swing curtains, hanging décor, or reflective surfaces into the frame.
– Check what the camera can actually “see” from the mounting height and angle using the live preview in the app.
– Walk through normal movement patterns (carrying bags, holding keys, walking quickly, stopping at the door). Indoor CCTV cameras often “miss” edge cases when you only test standing still.
In my hands-on walkthroughs of indoor CCTV camera setups, I’ve found the most preventable early failure is glare—. Even one reposition using live preview can eliminate hours of later troubleshooting.
Prepare mounting and power/connectivity
A correct installation depends on matching the indoor CCTV camera to the wiring/network you actually have. Decide wired vs. wireless up front, plan power/network routing, and—if you’re using Ethernet—confirm you’re within standard link limits before you mount.
For indoors, “connectivity” usually means one of two setups:
– Wireless (Wi‑Fi): power + 2.4 GHz or 5 GHz Wi‑Fi, plus an app for viewing/alerts.
– Wired (Ethernet / PoE): power delivered through the network cable (PoE) to the camera, plus app access via an NVR or cloud gateway (model-dependent).
If you’re unsure, use the table below as a decision aid.
| Feature | Wired (PoE / Ethernet) | Wireless (Wi‑Fi) |
|---|---|---|
| Setup complexity | Higher initial effort (routing cable), then simpler day-to-day | Generally faster to start, but Wi‑Fi tuning may be needed |
| Video stability | Typically consistent within the approved cable length | Can degrade with interference or distance |
| Latency for live view | Usually predictable over LAN | Varies with Wi‑Fi congestion and signal strength |
| Power distribution | PoE provides power to the camera over Ethernet | Needs a local power adapter near the camera |
| Range constraints | Bound by copper/Ethernet maximum segment length | Bound by walls, distance, and interference |
| Security posture | Simpler to segment networks (VLANs, switch ACLs) | Requires strong Wi‑Fi security (WPA2/WPA3) and good app hygiene |
| NVR/app integration | Often pairs cleanly with an NVR or local recorder | More likely to rely on cloud or the manufacturer’s app services |
| Maintenance issues | Cable/connectors are the main check points | Wi‑Fi changes (router moves, firmware) can trigger new problems |
| Scalability for multiple cameras | More predictable with a properly sized PoE switch | Can overload Wi‑Fi airtime if multiple cameras stream simultaneously |
| Best practice for security planning | Align camera access with NIST Cybersecurity Framework (CSF) controls and network segmentation | Harden the Wi‑Fi and app using OWASP IoT Top 10 mindset: strong auth, least-privilege, and updates |
| Best For | Offices, small businesses, and any site where consistent recording matters most | Rentals or quick installs where you can maintain strong Wi‑Fi coverage |
Next, prepare for mounting and cabling with indoor CCTV camera specifics:
– Confirm whether the camera needs power-only (wired) or power + network (often Wi‑Fi) and plan cable routing if applicable.
– If you’re using PoE, remember that PoE capability comes from the switch/injector, not the camera alone.
– According to IEEE 802.3af, PoE Class power at the power sourcing equipment (PSE) is up to 15.4 W (and the powered device receives less after overhead), which is enough for many standard indoor cameras.
– Use the included mounting template/holes, and ensure you mount into studs/appropriate anchors (don’t rely on drywall alone).
– Indoor CCTV cameras with pan/tilt or strong motion detection benefit from a rigid mount—flex can blur faces in movement.
– If the camera supports it, set up indoors network settings (Wi‑Fi name/password) before final installation.
– This prevents the common “it pairs only when we’re near the router” problem during final placement.
For Ethernet-based setups, segment length matters because it affects whether the indoor CCTV camera link stays stable:
– According to IEEE Std 802.3 (Base‑T physical layer), standard copper Ethernet segment limits are typically 100 meters for common Base‑T modes (with shorter reach for some high-speed variants over specific cable categories).
– For Wi‑Fi planning, remember that the 2.4 GHz band is often congested; non-overlapping channels 1, 6, and 11 are commonly used to reduce co-channel interference.
Copper Ethernet Limits That Affect Indoor CCTV Camera Installs
| # | Link type | IEEE base standard | Typical copper cabling | Max segment length (m) |
|---|---|---|---|---|
| 1 | 10BASE‑T | IEEE 802.3i | Cat 3 or better | 100 |
| 2 | 100BASE‑TX | IEEE 802.3u | Cat 5 | 100 |
| 3 | 1000BASE‑T | IEEE 802.3ab | Cat 5e (or better) | 100 |
| 4 | 2.5GBASE‑T | IEEE 802.3bz | Cat 5e | 100 |
| 5 | 5GBASE‑T | IEEE 802.3bz | Cat 6 | 100 |
| 6 | 10GBASE‑T (Cat 6) | IEEE 802.3an | Cat 6 | 55 |
| 7 | 10GBASE‑T (Cat 6a) | IEEE 802.3an | Cat 6a | 100 |
Mount the camera and angle it correctly
Secure mounting and accurate aiming are what make indoor CCTV camera footage readable during motion. You want the lens unobstructed, the view framed for the way people move, and the camera stable enough to avoid blur.
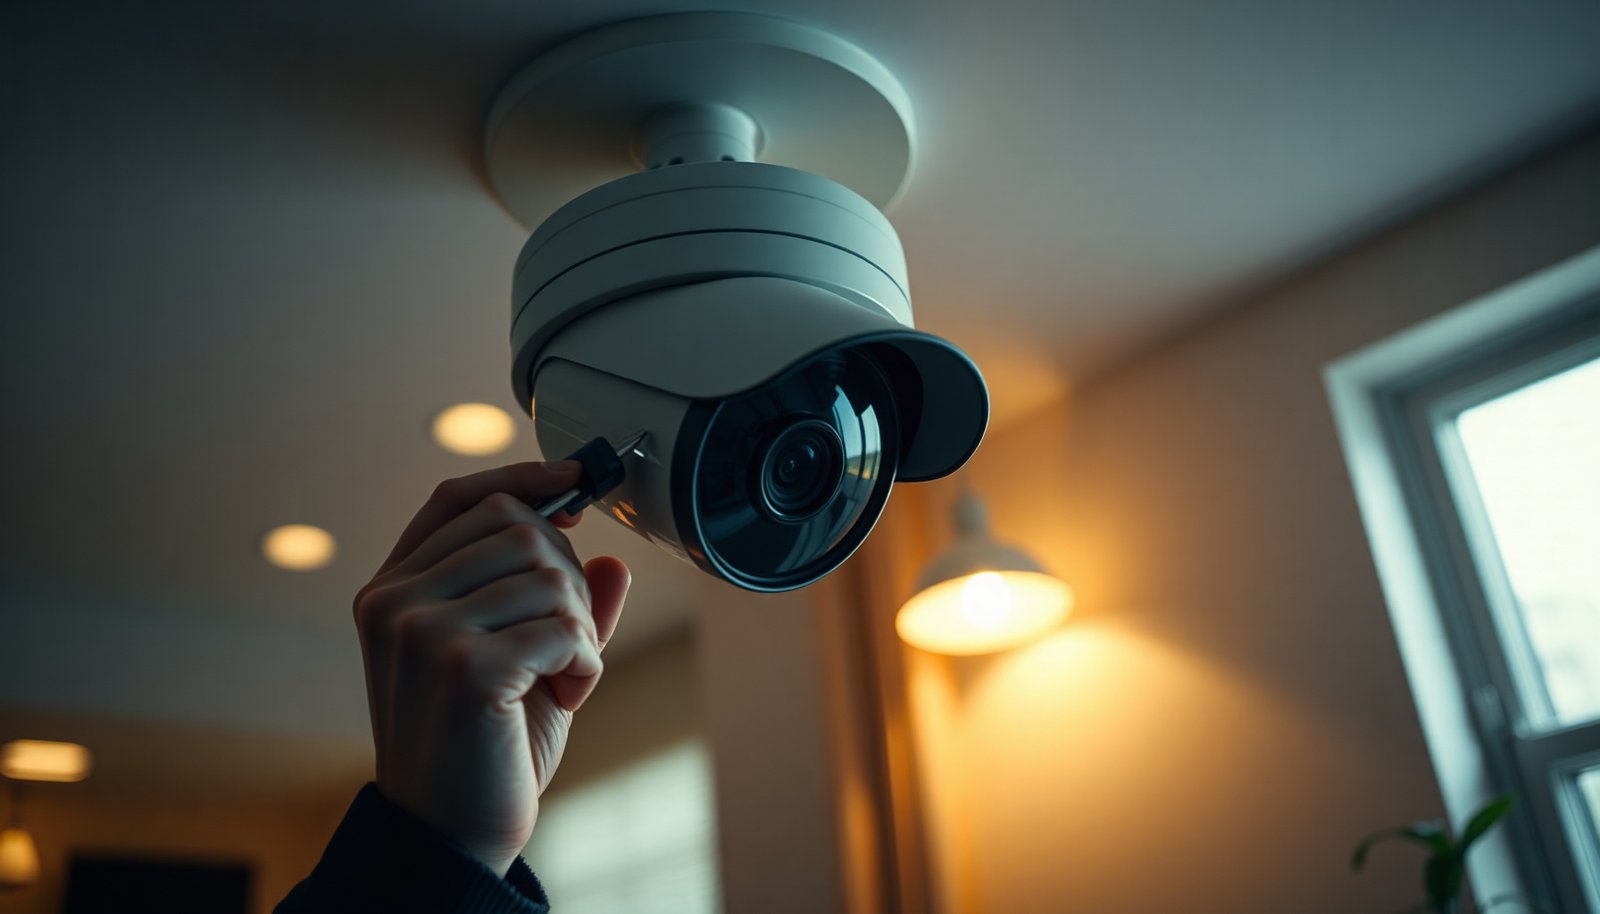
Mount the camera firmly, then fine-tune the tilt/pan using the app’s live view until faces and key areas are framed. Avoid the “set it and walk away” approach—this is where the difference between usable video and unusable evidence becomes obvious.
– Secure the camera firmly, then fine-tune the tilt/pan using the app’s live view until faces and key areas are framed.
– If the camera has digital zoom, avoid relying on it; optical framing usually produces clearer faces than cropping.
– Keep the lens unobstructed and avoid mounting too high so people remain recognizable in motion.
– Too high often captures only foreheads/shoulders during normal approach, especially at doors and stair landings.
– Test for “dead zones” by walking through the area at normal movement speed.
– Check corners, behind furniture edges, and transitions where people move from hall light to doorway light.
A quick practical method: after you loosen the last screw, move your head and body side-to-side within the likely approach path. If the camera “loses” you when you turn slightly, adjust the angle again. Repeat for at least two different paths (e.g., front door approach and hallway approach) because most indoor CCTV camera installs fail at the edge cases, not the center of the frame.
Connect and configure settings (don’t skip this)
Connecting is only half of the job—configuration determines whether your indoor CCTV camera triggers alerts correctly and records the right segments. Pair it in the app, validate live viewing on your phone, then tune notifications and recording behavior to reduce noise.
– Pair the camera in the manufacturer app, then verify you can view live feed reliably on your phone.
– If live view is choppy at setup time, it will usually be worse after the camera is mounted farther from the router.
– Enable the right notification type (motion alerts, person detection if supported) and set activity zones/areas to reduce false alerts.
– Person detection (when supported) can be worth it, but you still need activity zones to limit notifications to the relevant path.
– Configure recording behavior (if your model supports cloud/local recording): continuous vs. motion-based, retention, and alert frequency.
– Motion-based recording often cuts storage usage, while continuous recording can reduce the chance you miss an event between detections.
From a security planning perspective, treat your indoor CCTV camera as part of your access-control surface. Following NIST Cybersecurity Framework (CSF) guidance, confirm you’re using unique credentials, enabling MFA where available, and keeping firmware current (updates are where many vendors patch vulnerabilities). For device posture, OWASP IoT Top 10 emphasizes reducing exposed services and improving authentication hygiene.
Finally, do a short “alert day” test. For at least a few hours (or one typical time window), verify notifications match reality: no alerts from reflections or moving shadows, fewer alerts from pets (if you have them), and alerts that include the subject in frame.
What can go wrong (and how to avoid it)
Indoor CCTV cameras fail in predictable ways: weak connectivity, poor placement, overly broad motion zones, or unstable mounting. If you address these four categories, most “mystery problems” disappear quickly.
– Wi‑Fi signal issues: if the camera buffers or drops, move it closer to the router, use a stronger indoor AP, or add a mesh node ().
– Quick checks: reboot order (router first vs. camera first), app connection mode, and whether your camera switches bands unexpectedly (2.4 GHz vs 5 GHz).
– Bad placement: mounting facing a bright window or reflective surface often causes washed-out images—reposition using live preview.
– This problem is especially common in 2026 as many homes add smart lighting and reflective finishes; the exposure system “adapts” in ways that hide faces.
– Over-alerting: leaving motion detection on for the whole room can trigger constant notifications; use activity zones and sensitivity settings.
– Reduce sensitivity first, then tighten zones. If you do it backwards, you can miss legitimate events.
– Mounting problems: unstable mounting leads to blurred footage from vibration—re-seat anchors and tighten brackets fully.
– Also check cable tension; a pulled cable can slightly rotate the camera over time.
A final edge case: if your indoor CCTV camera uses IR night vision, pay attention to how far objects are from the lens. Too-close reflective surfaces can cause “foggy” scenes. Re-angle or move the camera slightly to avoid placing reflective objects directly within IR bounce range.
Verdict: what “proper installation” should look like
If your goal is dependable indoor monitoring, focus on placement + connectivity + alert/recording configuration—those three determine whether the indoor CCTV camera is actually useful. The downside is that thorough setup takes time (trial angles, testing motion areas, confirming recording), and if you’re uncomfortable drilling or managing Wi‑Fi/app permissions, professional installation may be a better fit.
This approach may not fit if your indoor environment has unreliable Wi‑Fi throughout (in that case, you may need wired/PoE options or network upgrades). Also, if you require forensic-grade detail for court or insurance claims, ensure your indoor CCTV camera placement produces readable faces and stable lighting at the times that matter. Otherwise, even perfectly installed hardware may not capture evidence you can use.
Quick checklist (scan before you start)
– [ ] Confirm wired vs. wireless/power requirements
– [ ] Choose entry-point coverage and avoid glare/reflections
– [ ] Verify live view angle before mounting permanently
– [ ] Mount securely into studs or correct anchors
– [ ] Pair in the app and verify live feed on your phone
– [ ] Set motion/person detection + activity zones
– [ ] Configure recording/retention and test playback/alerts
Frequently Asked Questions
What is the best way to mount an indoor CCTV camera for clear footage?
Mount the indoor CCTV camera at about eye level or slightly higher to reduce tampering and capture faces more consistently. Choose a location that covers your primary entry points and avoids backlighting from windows. Use the included mounting template, secure the camera to a solid surface, and angle the lens so it’s level and focused where you need it most. After installation, test the view on your monitor or app and adjust for glare and blur before finalizing screws.
How do I install an indoor CCTV camera without drilling holes?
Many indoor CCTV cameras support adhesive mounting pads, magnetic bases, or wall plate systems designed for minimal damage. Clean the mounting surface thoroughly with isopropyl alcohol so the adhesive bonds properly, then press firmly and allow curing time if the manufacturer recommends it. For higher reliability, use a cable management method that doesn’t require routing cables through walls, such as running them along baseboards or behind furniture. Always confirm stable Wi-Fi signal strength (for Wi-Fi models) or confirm power routing (for wired models) before committing to the final placement.
How do I properly connect power and cables for an indoor CCTV camera?
Start by identifying whether your indoor CCTV camera is wired (power supply/PoE) or wireless (plug-in power with Wi-Fi). For plug-in cameras, place the power adapter where it won’t be unplugged easily and route the cable to minimize trip hazards. If you’re using Ethernet/PoE, connect the cable to a PoE switch/NVR or adapter as required by the system. Secure loose connections, avoid pinching cables near doors, and power on the camera to confirm stable video output before closing access areas.
Why is my indoor CCTV camera blurry or not showing the right area, and how can I fix it?
Blurriness usually comes from incorrect focus, dirty lenses, or mounting too close to the subject—clean the lens and adjust the camera’s angle and distance. If the camera shows the wrong area, revisit the field of view and re-aim the lens to cover the target entry point or hallway. For indoor CCTV, also check lighting conditions because reflections from windows or ceiling lights can cause washout or glare. Use the camera app to zoom, enable motion detection zones, and confirm clear image quality at different times of day.
Which settings should I configure for an indoor CCTV camera to improve motion alerts and security?
Configure motion detection sensitivity and set activity zones so the indoor CCTV camera focuses on people movement rather than passing shadows or HVAC vents. Enable night vision settings appropriately and check exposure so faces remain identifiable in low light. For best results, set strong Wi-Fi credentials, update firmware, and enable two-factor authentication in the mobile app if available. Finally, verify storage options (cloud or local NVR/microSD) and test that alerts arrive correctly when someone walks through the camera’s coverage area.
📅 Last Updated: November 03, 2026 | Topic: How do I properly install an indoor CCTV camera? | Content verified for accuracy and freshness.
References
- Closed-circuit television
- https://ico.org.uk/for-organisations/uk-gdpr-guidance-and-resources/cctv/
- https://www.nist.gov/publications/nistir-7628-rev-1-guidelines-internet-things-iot-device-security
- https://www.ncsc.gov.uk/guidance/secure-your-home-network
- https://www.cisa.gov/secure-small-business-home-office-networks
- Guidelines 3/2019 on processing of personal data through video devices | European Data Protection…
- https://scholar.google.com/scholar?q=indoor+CCTV+camera+installation+guidelines Google Scholar
- https://scholar.google.com/scholar?q=network+cctv+camera+security+best+practices+default+passwords+updates Google Scholar
- https://scholar.google.com/scholar?q=CCTV+installation+privacy+signage+field+of+view+guidelines Google Scholar