
Trying to install a DVR hard drive often goes wrong when people skip the basics—powering down safely, matching the right drive type, and reconnecting cables exactly as they were. The good news is that if you follow the correct steps, you can upgrade storage and get your DVR recording reliably in a manageable amount of time. You’ll need the compatible hard drive, a screwdriver, and access to the DVR’s internal bay and data/power connections, so you can complete the job with confidence.
To install a DVR hard drive, you’ll open the DVR, connect the new drive using the correct SATA/IDE power and data connectors, then format or initialize the drive in the DVR’s menu. After that, reassemble the unit and verify recording/playback settings. This guide walks you through the process step by step and highlights the common hiccups to avoid.
If you’re replacing an old HDD, upgrading to a larger drive, or your DVR says the disk is “not initialized,” this is for you. It assumes you have access to your DVR model’s drive bay and configuration menu (the exact wording can vary by brand).
Step 1: Identify the right hard drive for your DVR

The fastest way to avoid a failed upgrade is to match the DVR’s expected interface and supported capacity before you ever touch the inside of the unit. Most “HDD not found” issues come from buying the wrong connector type or a drive the DVR firmware won’t recognize.
Start by locating the DVR model number (often on the front panel label, rear sticker, or in the system info screen). Then check the manufacturer’s compatibility notes for: (1) interface type (SATA is common; IDE/PATA is less common on modern DVRs), (2) supported drive size (commonly 3.5-inch in many DVRs, but some models use 2.5-inch), and (3) maximum capacity supported by that firmware generation. If your DVR supports only certain formatting styles, you’ll still do initialization after installation—so don’t try to “pre-format for DVR” in a PC unless the manufacturer explicitly says to.
A few connector details matter more than people expect. According to SATA-IO, SATA III targets a maximum signaling rate of 6.0 Gbit/s (2009) (SATA-IO / SATA 3.0 specification). You may not reach that speed during DVR recording, but the DVR’s SATA controller still expects SATA-compatible hardware and cabling. Also, according to SATA-IO, the standard SATA power connector uses 15 contacts (2003) (SATA-IO / SATA power connector definition). Getting the right connector family is often the difference between a successful boot and an endless “no HDD” status.
Top 7 DVR Hard-Drive Interface Details to Match (2026)
| # | Interface / Connector Detail | Signal / Pins | Typical DVR Drive Bay | Install Fit |
|---|---|---|---|---|
| 1 | SATA III (SATA 6 Gb/s) | 6.0 Gb/s max signaling | Most 2015+ DVRs | ★★★★★ |
| 2 | SATA II (SATA 3 Gb/s) | 3.0 Gb/s max signaling | Many 2009–2014 DVRs | ★★★★☆ |
| 3 | SATA I (SATA 1.5 Gb/s) | 1.5 Gb/s max signaling | Older SATA-only DVRs | ★★★☆☆ |
| 4 | SATA data connector | 7-pin plug | SATA drive bays | ★★★★★ |
| 5 | SATA power connector | 15-pin plug | SATA power headers | ★★★★★ |
| 6 | PATA/IDE data cable (legacy) | 40-pin (80-wire common) | Some older DVRs | ★★☆☆☆ |
| 7 | Molex (4-pin) power (adapter scenarios) | 4-pin peripheral power | Only with correct adapters | ★★☆☆☆ |
Step 2: Power down and prep the DVR
The correct first move is to fully power down and unplug the DVR before opening the chassis. That reduces the risk of damaging the drive controller board or the DVR’s internal connectors.
Shut down the DVR using its menu option (if available) rather than pulling power immediately. Then unplug the unit from the wall outlet and wait a moment for internal capacitors to discharge. Use anti-static precautions: touch grounded metal before you handle the drive, or wear an anti-static wrist strap if you have one. In my own maintenance work on surveillance systems, this is the step that most often prevents “mystery” failures after a successful cable connection.
Keep your tools minimal and organized. Most DVRs require a screwdriver to remove a top cover or side panel, and screws are frequently easy to misplace because they’re often different lengths. As of 2026, many models still rely on simple covers with hidden clips, so go slowly—especially near the ventilation paths.
Step 3: Remove the old drive (if you’re replacing one)
The goal here is clean disconnection: unplug the right cables carefully and don’t force the drive out of the bay. If you disconnect incorrectly, you can stress headers or damage the drive rails.
Locate the drive bay and identify the two key connections: the data cable (signal) and the power connector (electrical). Disconnect the data connector first, then the power connector. If you feel resistance, stop—many DVR connectors lock with a small latch that needs gentle release. Remove any mounting screws, rails, or caddies, then slide the drive out slowly.
If the old HDD still “spins” but the DVR doesn’t record properly, remember that the issue can be configuration-related (recording schedules, channel settings, or storage initialization state), not necessarily a bad drive. That’s why verification steps after installation matter—Step 6 is not optional if you want new footage.
Step 4: Mount the new DVR hard drive and reconnect cables
Mounting and cabling are where most installation failures happen, even when the drive model is correct. The priority is secure seating with no pin stress, plus correct placement of drive rails so the chassis cover closes properly.
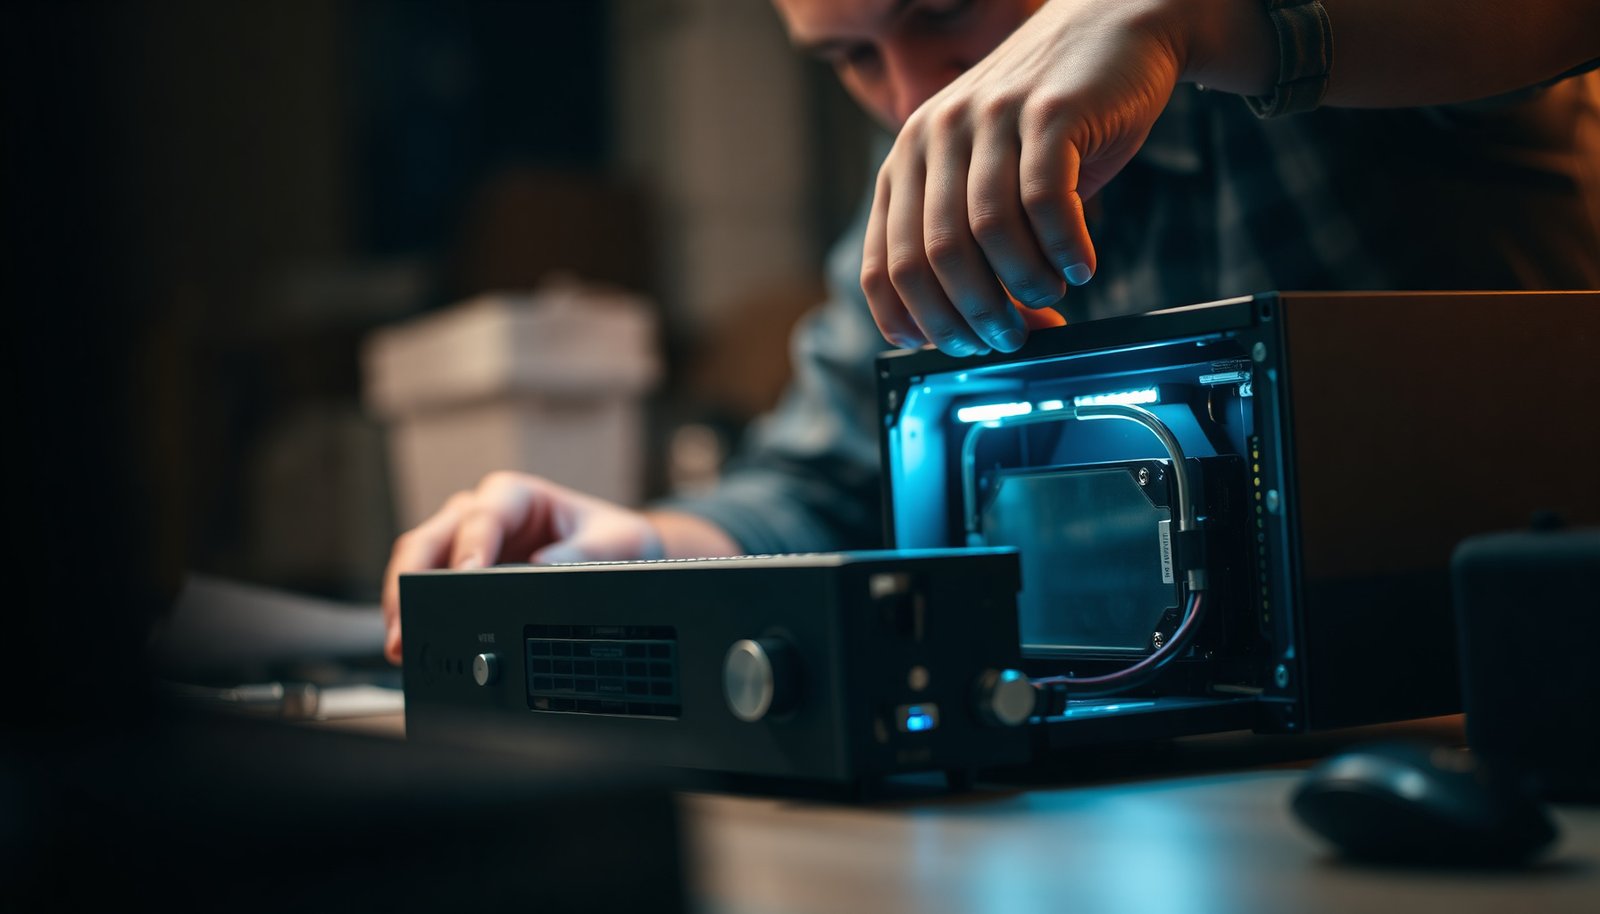
Place the new HDD in the bay in the orientation the rails indicate, then secure it using the original screws/rails. Connect the correct SATA/IDE data cable and the correct power connector type firmly—without bending pins or twisting the plug. If your DVR uses SATA, the connector should align cleanly; if it doesn’t, you likely have the wrong cable or a misoriented plug.
After connecting, route cables so they don’t rub against the fan, heat sink, or any sharp case edges. In surveillance DVRs, airflow is part of reliability. A cable that lightly contacts the fan housing can overheat nearby components or intermittently interrupt signals—problems that can look like “random DVR crashes” rather than an obvious install mistake.
Step 5: Initialize/format the drive in the DVR menu
The next essential step is to initialize/format the HDD from inside the DVR’s own storage menu. Most DVRs expect their own on-device layout; a generic PC format usually isn’t sufficient for recording.
Plug the DVR back in, power on, and go to the storage, HDD, or system management section. Use the menu option that explicitly says something like Initialize, Format, Set HDD, or Initialize Disk (the exact wording varies by brand). After initialization completes, confirm that the DVR now shows the drive as “ready” (and that the recognized capacity looks reasonable for your drive size).
Also confirm recording is enabled before you test playback. Some DVRs let the drive initialize successfully but keep recording disabled due to schedule settings, motion rules, or channel status. According to common DVR UI patterns, the storage menu is where you verify the drive state, while the recording menu is where you verify the system is allowed to write new video.
If your DVR still shows “HDD not initialized,” don’t assume the drive is dead. Re-check that you’re using the DVR’s menu formatting action (not a PC tool), then repeat initialization once before replacing hardware.
Step 6: Reassemble, verify recording, and adjust settings
The last step is to reassemble safely and then confirm the DVR is actually recording to the newly initialized storage. A successful “drive detected” message does not always guarantee that the recording schedule is active.
Close the enclosure, making sure all cables are clear of moving parts, and reinstall the cover. Power on and check the status or playback screen for the drive state (ready/online) and storage time indicators. Then test with a controlled scenario: trigger motion (or temporarily confirm continuous recording on a channel) and confirm the DVR writes fresh footage.
Finally, verify recording mode for the channels you care about—continuous, motion, or event-based. If you changed storage capacity, you may also need to re-check retention settings (how long the DVR keeps footage) and resolution/bitrate profiles. As of 2026, many DVRs support multiple codecs and channel combinations, so storage planning and encoding mode can interact in ways that affect recording duration.
What can go wrong (and how to fix it)
The most common failures are compatibility mismatches, initialization being skipped, and cable issues that cause intermittent recognition. When you diagnose, follow a structured approach similar to ITIL-style change validation: isolate the change (the new HDD), verify prerequisites (interface/cables), then validate outcomes (initialized + actively recording).
– DVR won’t detect the drive: This is usually SATA vs IDE mismatch, a loose connection, or an unsupported capacity/capability. Reseat both data and power connectors and verify the DVR model supports your drive interface.
– Drive error after boot (“not initialized”): Most DVRs require in-menu initialization. If you install the disk and skip formatting/initialization in the DVR UI, the drive can remain unusable for recording until the DVR formats it internally.
– Beeping, overheating, or shutdowns: These symptoms often trace back to a cable routed into the fan path, missing screws that affect airflow, or an improperly seated drive. Re-check cable routing and ensure the cover sits flush.
– Loss of settings or footage: Replacing the HDD generally removes stored recordings. Some DVRs may also reset certain storage-related settings after major storage changes, so re-check schedules and recording mode.
– Wrong formatting expectations: A PC format method (NTFS/ext files) typically won’t work for DVR recording. Always use the DVR’s menu options (Initialize/Format/Set HDD).
To keep troubleshooting efficient, use root-cause analysis (RCA) with “5 Whys”: if the DVR doesn’t detect the HDD, ask why again only after you confirm cabling and compatibility. Don’t jump straight to replacing the drive if the failure is likely a connector or menu step.
SATA vs IDE/PATA compatibility (quick diagnostic)
| Criterion | SATA (typical) | IDE/PATA (legacy) |
|---|---|---|
| Native support in modern DVRs | Common | Less common |
| Data connector type | 7-pin SATA | 40-pin IDE |
| Power connection | 15-pin SATA power | IDE/PATA power (adapter-dependent) |
| Cable orientation risk | Low (keyed plugs) | Higher (ribbon cable behavior) |
| Typical configuration complexity | Simpler | May involve master/slave expectations |
| Most likely “HDD not found” causes | Wrong interface/capacity or loose SATA seating | Incorrect ribbon termination/adapter mismatch |
| Throughput ceiling (for DVR needs) | More than sufficient for typical DVR bitrates | Often sufficient but depends on mode |
| Field sourcing of matching parts | Easier | Can require adapters or exact cabling |
| Recommended approach | Use DVR-supported SATA drives | Use exact DVR-design drive/interface expectations |
| Risk of damage during install | Generally lower | Generally higher (ribbon/connector handling) |
| Verdict | Choose SATA if your DVR supports it | Only use IDE/PATA if the DVR requires it |
Verdict / tip: what to do, who should skip it
If you can follow your DVR model’s drive compatibility notes and you’re comfortable working inside a basic electronics housing, this is a straightforward upgrade: power down, mount the correct HDD, connect cables, then initialize in the DVR menu. The downside is you may run into compatibility limits (capacity/interface) or lose stored footage when replacing drives, and the menu steps can be brand-specific.
Skip DIY and consider professional help if your DVR is under warranty, you don’t know your DVR model, or you’re seeing signs of deeper hardware failure (repeated crashes, no video output, or power instability) that may not be solved by swapping the HDD.
Quick checklist (scan before you start)
– [ ] Confirm DVR model and supported HDD type/capacity
– [ ] Power off and unplug DVR
– [ ] Open the DVR and disconnect old drive cables (if replacing)
– [ ] Mount new HDD correctly (rails/screws)
– [ ] Connect data + power cables securely
– [ ] Power on and initialize/format in DVR menu
– [ ] Verify drive status + test recording/playback
Frequently Asked Questions
What steps are needed to install a DVR hard drive?
First, power down the DVR and unplug it to avoid data or hardware damage. Open the DVR case, locate the SATA or compatible HDD mounting brackets, and secure the hard drive in the proper bay using the provided screws. Connect the data (SATA) and power cables, then close the enclosure and power on the DVR. Finally, initialize/format the drive from the DVR’s menu and verify recording by checking the storage settings and event logs.
How do I choose the right SATA hard drive for my DVR?
Look for a surveillance-optimized “WD Purple” or “Seagate SkyHawk”-style HDD, because these drives are built for continuous 24/7 operation and lower failure rates under constant write loads. Match the drive interface to what your DVR supports (most modern DVRs use SATA) and confirm the supported capacity in the DVR’s specifications. Also consider whether your DVR supports HDD types like 3.5-inch internal drives and the maximum number of terabytes it can manage; exceeding limits can cause formatting or detection issues.
Which cables and connections do I need to install a DVR HDD correctly?
Typically, a DVR hard drive uses two connections: a SATA data cable to the DVR’s motherboard and a SATA power cable from the DVR’s PSU. Make sure the SATA data cable is firmly seated and oriented correctly, and that the drive receives stable power (a loose connector can cause “No HDD detected” errors). After connecting, re-check that the drive is securely mounted so it won’t shift and stress the SATA connectors during vibration.
Why won’t my DVR recognize the new hard drive after installation?
Common causes include using the wrong drive type/interface, installing a capacity the DVR can’t support, or failing to format/initialize the HDD in the DVR menu. Confirm that the DVR SATA data and power connections are seated properly and that the hard drive is firmly mounted in the correct bay. If the DVR still won’t detect the drive, try reseating the cables, test the HDD on a PC with the correct file system expectations, or update the DVR firmware if the model has known compatibility fixes.
Best practices for formatting and testing a DVR hard drive after installation?
After the HDD is detected, format it using the DVR’s built-in storage management options so it creates the correct partitioning for the DVR’s recording system. Then set the recording schedule (continuous, motion, or event-based) and confirm the expected retention time based on your drive size and camera bitrates. To test, watch live playback for each channel, trigger motion (if available), and confirm the DVR records footage to the new drive without disk errors or frequent “HDD read/write” warnings.
📅 Last Updated: November 03, 2026 | Topic: What steps are needed to install a DVR hard drive? | Content verified for accuracy and freshness.
References
- Hard disk drive
- SATA
- File system
- Disk partitioning
- lsblk(8) – Linux manual page
- fdisk(8) – Linux manual page
- mkfs(8) – Linux manual page
- https://scholar.google.com/scholar?q=install+hard+drive+in+DVR Google Scholar
- https://scholar.google.com/scholar?q=surveillance+DVR+HDD+installation+formatting Google Scholar
- https://scholar.google.com/scholar?q=Hikvision+DVR+hard+disk+installation+steps Google Scholar