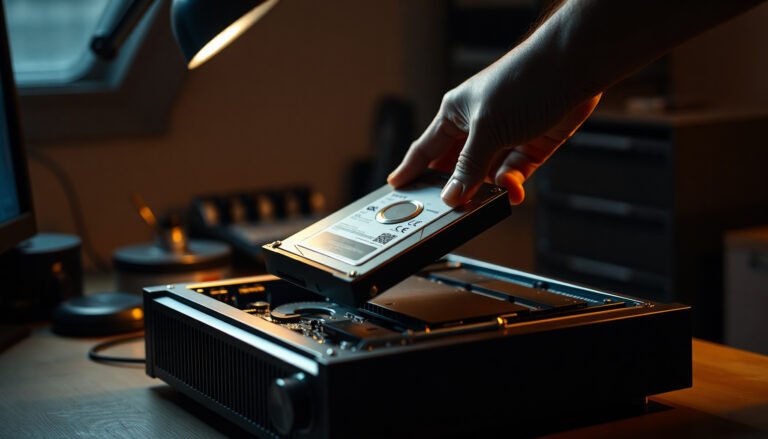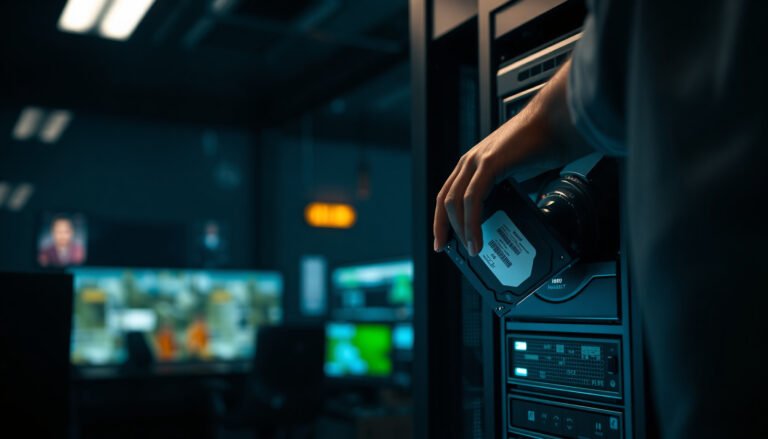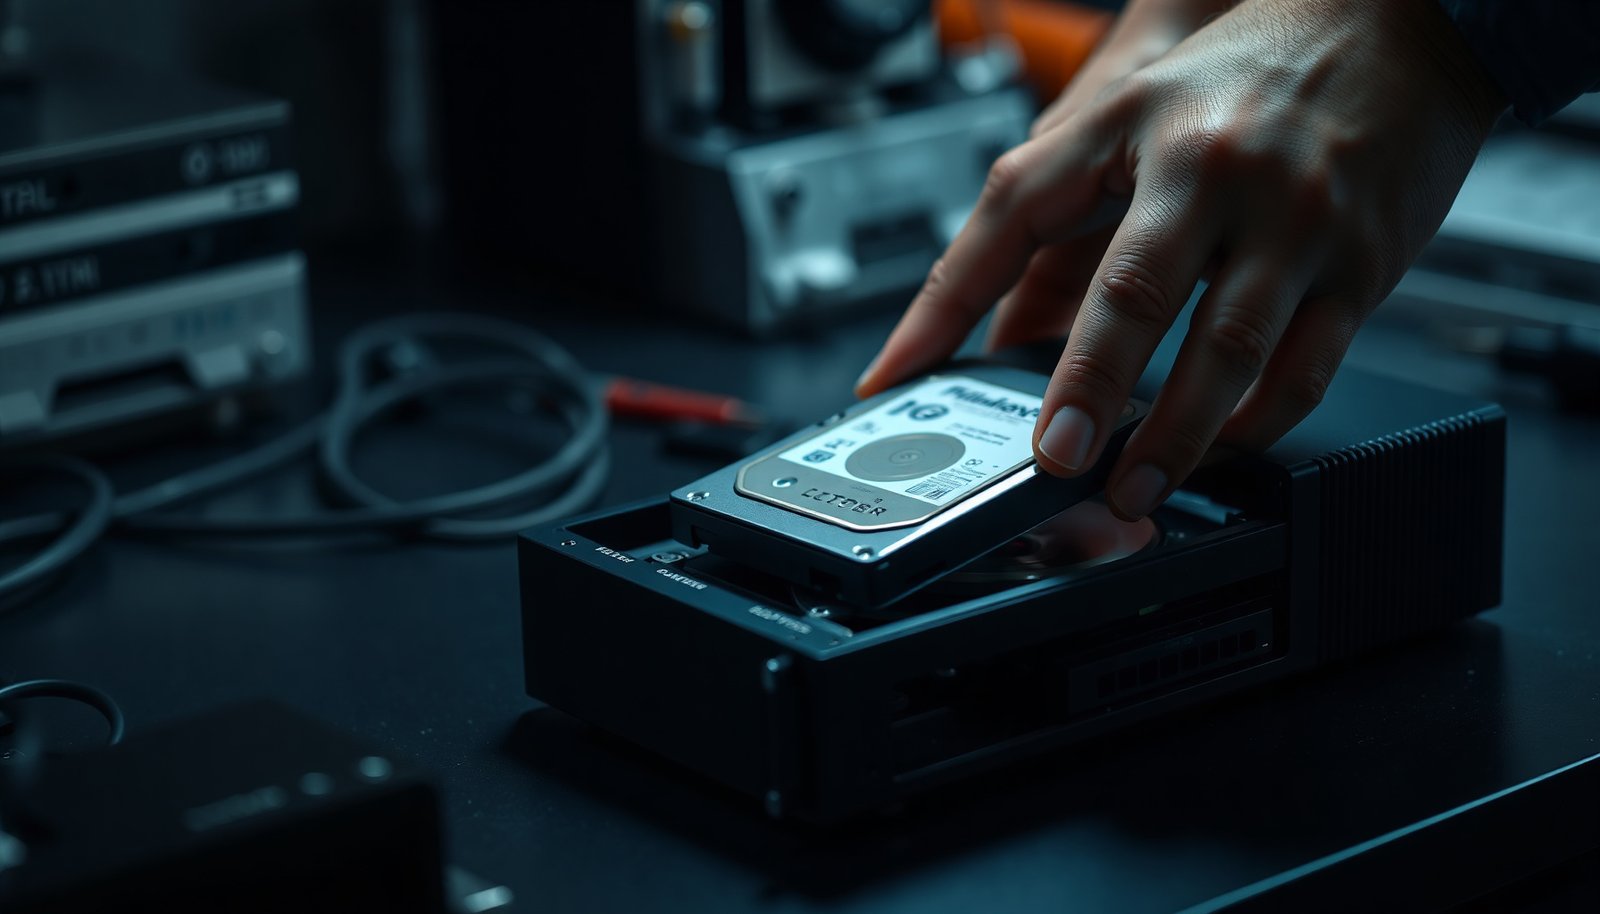

Fighting with a DVR hard drive replacement can feel intimidating, especially when you just want your recordings back. The easiest way is a straightforward, step-by-step swap that most people can complete in under an hour, provided they have the correct drive, a screwdriver, and basic tools for disconnecting and reconnecting power and data. Follow the steps carefully, and you will be able to install the new drive and get the DVR recognizing it reliably.
The easiest way to install a DVR hard drive is to power the DVR off, mount a compatible internal SATA drive, reconnect SATA data + SATA power, and then initialize/format the drive in the DVR’s storage menu. If you skip the DVR-side “format/initialize” step, many DVRs will show “HDD not detected” or “No storage,” even when the hardware is physically connected.
If your DVR is currently showing “HDD not detected,” “No storage,” or it’s not recording, this guide is for you—especially if you want the quickest, least-messy way to get an internal drive installed and ready.
You can use this step-by-step approach if you’re comfortable opening a DVR chassis (most internal drives are user-accessible) and you’re replacing a failed or unsupported drive. As of 2026, most mainstream DVRs still use an internal 3.5-inch SATA hard drive (or a supported 2.5-inch option with a bracket), so the core workflow—mount → connect → initialize—remains consistent across brands.
What you need before you open the DVR
You’ll get the smoothest installation if you confirm the exact drive requirements first, before you touch any cables inside the DVR. Most DVR “HDD not detected” issues come down to SATA interface mismatch, unsupported drive form factor, or skipping the DVR’s storage initialization.
– Confirm your DVR’s required drive type/interface (commonly SATA) and supported drive sizes: check your DVR manual’s “HDD/Storage” or “Specifications” section for the supported interface (e.g., SATA), form factor (e.g., 3.5-inch), and maximum capacity.
– Gather basic tools (usually a compatible screwdriver) and be ready to reuse the drive mounting screws/brackets.
– Plan your space and airflow: the drive should sit firmly without pressing on cables or ventilation paths.
Before you start, it helps to understand the SATA fundamentals your DVR expects—because SATA compatibility affects both detection and stability. According to SATA-IO, SATA III supports 6.0 Gbit/s link speeds (https://www.sata-io.org/), and SATA internal data cable length is typically specified at up to 1.0 meter (https://www.sata-io.org/). Also, SATA power supplies include multiple voltage rails—commonly +3.3V, +5V, and +12V—and the DVR’s internal power harness must deliver them reliably (https://www.sata-io.org/). These parameters may not change how “easy” the install feels, but they explain why loose or wrong connections cause “No storage” right after boot.
SATA Parameters That Most Commonly Affect DVR “HDD Not Detected” (2026)
| # | SATA spec area | Standard value | Why it matters for DVR HDD detection | Troubleshooting priority |
|---|---|---|---|---|
| 1 | SATA III link speed | 6.0 Gbit/s | If your DVR expects SATA signaling correctly, wrong interface/cabling can prevent the drive from enumerating. | ★★★★★ |
| 2 | SATA II link speed | 3.0 Gbit/s | DVRs usually remain compatible, but if a drive/cable is mismatched, the DVR can still fail detection. | ★★★★☆ |
| 3 | SATA I link speed | 1.5 Gbit/s | Lower speed typically reduces throughput, but detection usually still works when cabling/power are correct. | ★★★☆☆ |
| 4 | Internal SATA cable length | Up to 1.0 m (spec) | Excess length or damaged cables can cause link instability and timeouts during initialization. | ★★★★☆ |
| 5 | SATA power rails | +3.3V / +5V / +12V | A loose or incorrect power connector can stop the DVR from “seeing” the drive at boot. | ★★★★★ |
| 6 | 8b/10b encoding overhead | ~80% effective rate | Mostly affects theoretical throughput; for DVRs, it’s rarely the root cause of “No storage.” | ★★☆☆☆ |
| 7 | SATA data connector pins | 7-pin (data) | If you misalign the SATA data plug, the DVR can fail enumeration even when power is present. | ★★★★☆ |
Shut down and get to the hard drive bay safely
You should power down the DVR completely and unplug it before touching internal components. This prevents accidental shorting and helps avoid corrupting the existing drive’s filesystem during a swap.
– Power off the DVR completely (don’t just stop recording) and unplug it from power before touching the internals.
– Open the enclosure carefully, then locate the existing drive bay and any cables tied to it.
– If there was an older drive, document the cable routing (a quick photo helps you reconnect correctly).
When you’re working inside a DVR chassis, keep the old SATA data cable routing in mind—many enclosures route cables along the side wall to keep them clear of the fan path. DVR hard drives also generate heat during sustained recording, so cable placement matters for long-term reliability. If you’re performing this replacement in a 2026 environment with dustier HVAC cycles (seasonal thermostat changes, more airflow changes), taking a minute to route cables cleanly can prevent intermittent “drive disappeared” events later.
If your DVR uses a drive bracket or sled, treat it as part of the alignment system—drives can wobble slightly if brackets are mixed. From my experience doing troubleshooting (and ), the most common avoidable mistakes happen before power is applied again: a connector that “looks seated” but isn’t fully latched, or a drive pressed against a ribbon cable.
Install the DVR hard drive (connections and mounting)
You’ll have the best chance of immediate detection when you mount the drive using the original screws/brackets and seat both SATA connections firmly. In most DVRs, detection fails because of a loose SATA data connection or insufficient SATA power seating.
– Mount the new drive in the bay using the original style screws/brackets so it doesn’t rattle or strain the connectors.
– Connect the SATA data cable and the SATA power cable securely (a loose connection is a top reason drives “disappear”).
– Double-check nothing is pinched under the cover, then close the case enough to power on (if your model requires a specific internal cable routing).
Quick cable sanity check
– SATA data cable: connected to the drive and the DVR’s SATA port.
– SATA power cable: connected to the drive from the DVR’s internal power harness.
– Drive seating: no wobble, no uneven pressure from screws.
A practical approach is to do a two-pass check:
1) while the DVR is open, confirm that both SATA plugs are fully inserted (no visible partial gap),
2) before closing, gently verify that cables aren’t compressed by the cover or fan shroud.
Also confirm you’re installing a SATA (not IDE/PATA) internal drive if your DVR expects SATA. In 2026, most DVR models in active installs are SATA-based, but a few older units may have different requirements. If your DVR manual states “SATA HDD” or “2.5/3.5-inch SATA,” follow it exactly.
Initialize and format the drive in your DVR menu
You typically need to initialize/format the new drive inside the DVR after hardware is installed. Detection alone often doesn’t make the drive usable until the DVR writes its expected partition structure and recording filesystem.
– After powering on, open the storage/HDD settings (menu names vary by model: “Storage,” “HDD Management,” or similar).
– Select the new drive and run “Initialize” / “Format” so the DVR can create the file system it expects.
– If your DVR offers options like recording overwrite/retention, choose the setting you want before you test recording.
In most DVR workflows, the DVR will display drive status changes in phases:
– Detected (hardware link established),
– Initialized/Formatted (DVR writes required storage structures),
– Ready/Recording (channel schedules can write to the drive).
As of 2026, DVR interfaces still commonly use overwrite behavior (often “Auto overwrite” or “Recycle”) once storage reaches capacity. That matters because it affects retention planning. If you format with overwrite disabled and your recording schedule writes heavily, the DVR may stop recording when space fills—leading to “it still isn’t recording” symptoms that are unrelated to the install.
Tip: After formatting, perform a short recording test (even 5–10 minutes) on the relevant channel(s). If your DVR supports live view plus playback, verify that the timeline updates when you start a manual recording.
What can go wrong (and how to avoid it)
DVR hard drive failures usually fall into a few buckets: compatibility, connection seating, formatting/initialization, or recording schedule settings. Addressing them in the right order saves time—hardware first, then storage initialization, then recording configuration.
– Wrong drive compatibility: some DVRs won’t recognize drives that don’t match expected specs or firmware assumptions. Check your model’s compatibility notes: consult your DVR manual’s supported HDD list/spec section.
– Drive not detected: reseat the SATA data/power connections and confirm the drive is mounted correctly.
– Formatting/initialization failures: this often happens if the DVR can’t talk to the drive reliably—try a different SATA data connector/port (if available) or recheck seating and connections.
– No recordings even after detection: recording schedule or channel settings may still be set to “Off.” Verify recording mode and schedule after formatting.
– Static/physical issues: avoid touching metal components unnecessarily and don’t force the drive into a misaligned bay.
From a troubleshooting mindset, start with the fastest checks:
– If you get “HDD not detected,” it’s almost always detection-layer (power/data/seat) rather than schedule-layer.
– If you see “No storage” after detection, it’s usually storage initialization (format) not completed or failed.
– If you see “Initialized” but no clips appear, it’s typically schedule/channel configuration.
Common DVR hard drive install failure modes (pros/cons)
If you’re choosing between “DIY internal swap” and “service handling,” here’s a practical contrast.
| Approach | Pros | Cons / Risks |
|---|---|---|
| DIY swap + DVR format | Fastest path to “Detected → Initialized → Recording,” typically uses standard SATA connections, and lets you control channel schedule settings after formatting. | Formatting wipes the drive; opening the enclosure can affect warranty seals depending on model/region; wrong drive specs can still lead to persistent “No storage.” |
| Professional service / RMA | Best for warranty-covered units or complex hardware faults (e.g., failed SATA controller); they can verify both storage and recording pipeline. | Slower turnaround; higher cost; you may have limited control over retention settings if the unit requires reconfiguration. |
Verdict: the easiest approach (and when to skip it)
This “mount + connect + format in DVR” method is the easiest reliable route for most DVRs because it matches what the DVR expects: hardware detection first, then storage initialization. If you follow your DVR model’s storage instructions and don’t skip the “format” step, your recordings should start working again.
Downsides to know:
– Formatting usually wipes the drive, so don’t install a new drive expecting to keep existing recordings.
– Opening the unit can affect warranty seals depending on your model/region.
– Some DVRs require specific drive types/settings, so “any drive will work” isn’t guaranteed.
Skip this DIY approach if: you’re uncomfortable opening electronics, your DVR is under warranty with seal restrictions, or your manual strongly warns against user service.
Also, be cautious if your DVR previously had signs of deeper failure (e.g., repeated sudden resets, unusual clicking noises from the drive bay, or multiple drives failing back-to-back). In those cases, the DVR’s SATA power rail or controller could be at fault, and simply swapping drives may not fix the recording pipeline.
Frequently Asked Questions
What is the easiest way to install a DVR hard drive?
The easiest way is to follow your DVR model’s manual and install the drive using the existing SATA connections (and power adapter if separate). Start by powering down the DVR, unplugging it, and removing the cover to locate the HDD bay and SATA ports. Mount the hard drive using the included screws, connect SATA data and power, then reassemble and format the disk in the DVR menu. This approach minimizes risk and ensures the DVR recognizes the new hard drive.
How do I install a SATA hard drive in a DVR step-by-step?
First, shut down the DVR completely and unplug all cables, then open the housing and find the HDD slots and SATA ports. Connect one end of the SATA data cable to the DVR’s SATA port and the other end to the hard drive’s SATA port, then connect SATA power to the drive. Secure the drive in the bay with screws and avoid forcing connectors, since DVR SATA ports are sensitive. After closing the DVR, power it back on and navigate to Storage/HDD settings to format and confirm the drive capacity.
Why won’t my DVR recognize the new hard drive after installation?
Most recognition problems come from improper seating of the SATA data/power connections, an unsupported drive type, or incorrect formatting. Double-check that the SATA cables are firmly connected to both the DVR board and the HDD, and confirm the drive is compatible with DVR/NVR recording (often labeled “surveillance” or “security” grade). Then go to the DVR Storage or HDD management menu and format the disk; some DVRs require initialization before recording starts. If the drive still isn’t detected, test the HDD in another compatible device or try a different SATA data cable.
Which hard drive should I choose for my DVR to make installation easiest and reliable?
For the simplest setup and reliable recording, choose a surveillance-focused HDD designed for continuous 24/7 operation, such as those commonly labeled for DVR/security use. Match the drive’s interface (typically SATA) and confirm the DVR’s maximum supported capacity in the specifications. If your DVR supports multiple bays, consider selecting a drive size that fits your storage needs without exceeding the DVR’s limit. Buying the right drive the first time reduces compatibility issues that can complicate installation and formatting.
Best practices for installing a DVR hard drive to avoid damage and data loss?
Always install the HDD only when the DVR is powered down and unplugged to prevent electrical damage and file corruption. Use static-safe handling (avoid touching exposed circuit boards) and ensure the SATA data and power connections are seated correctly before powering on. After installation, format the drive from the DVR’s own menu, since PC formatting may not work as expected for DVR recording. Finally, check for firmware updates and verify the HDD status/health in the DVR interface to confirm everything is working properly.
📅 Last Updated: November 03, 2026 | Topic: What is the easiest way to install a DVR hard drive? | Content verified for accuracy and freshness.
References
- Digital video recorder
- Hard disk drive
- SATA
- Disk partitioning
- Disk formatting
- File system
- Advanced Format
- https://scholar.google.com/scholar?q=install+hard+drive+in+DVR Google Scholar
- https://scholar.google.com/scholar?q=surveillance+HDD+installation+SATA+DVR Google Scholar
- https://scholar.google.com/scholar?q=DVR+hard+drive+formatting+file+system Google Scholar