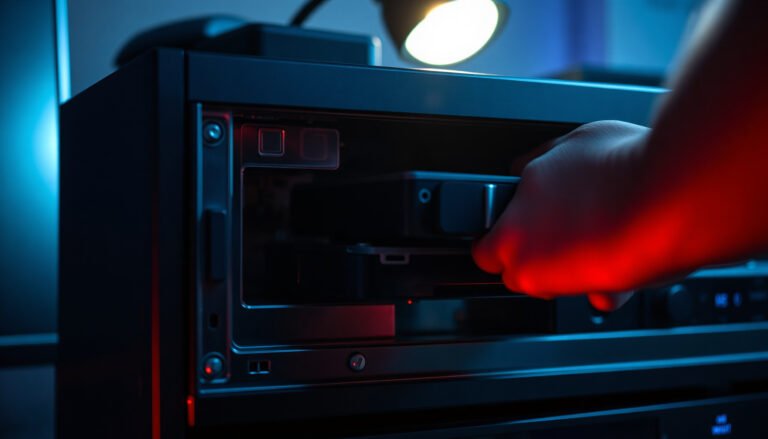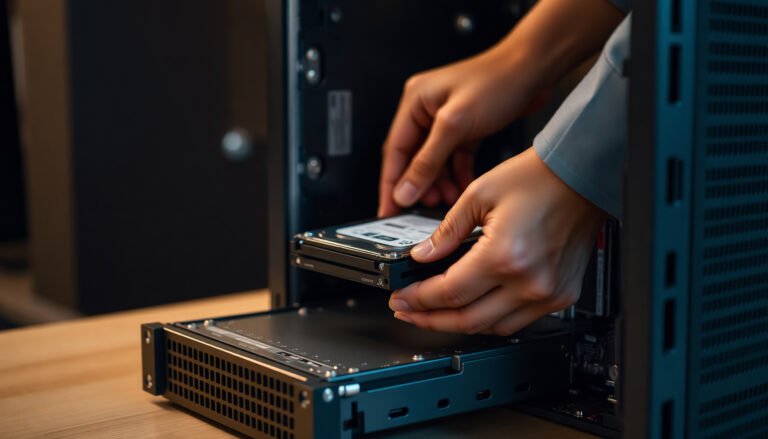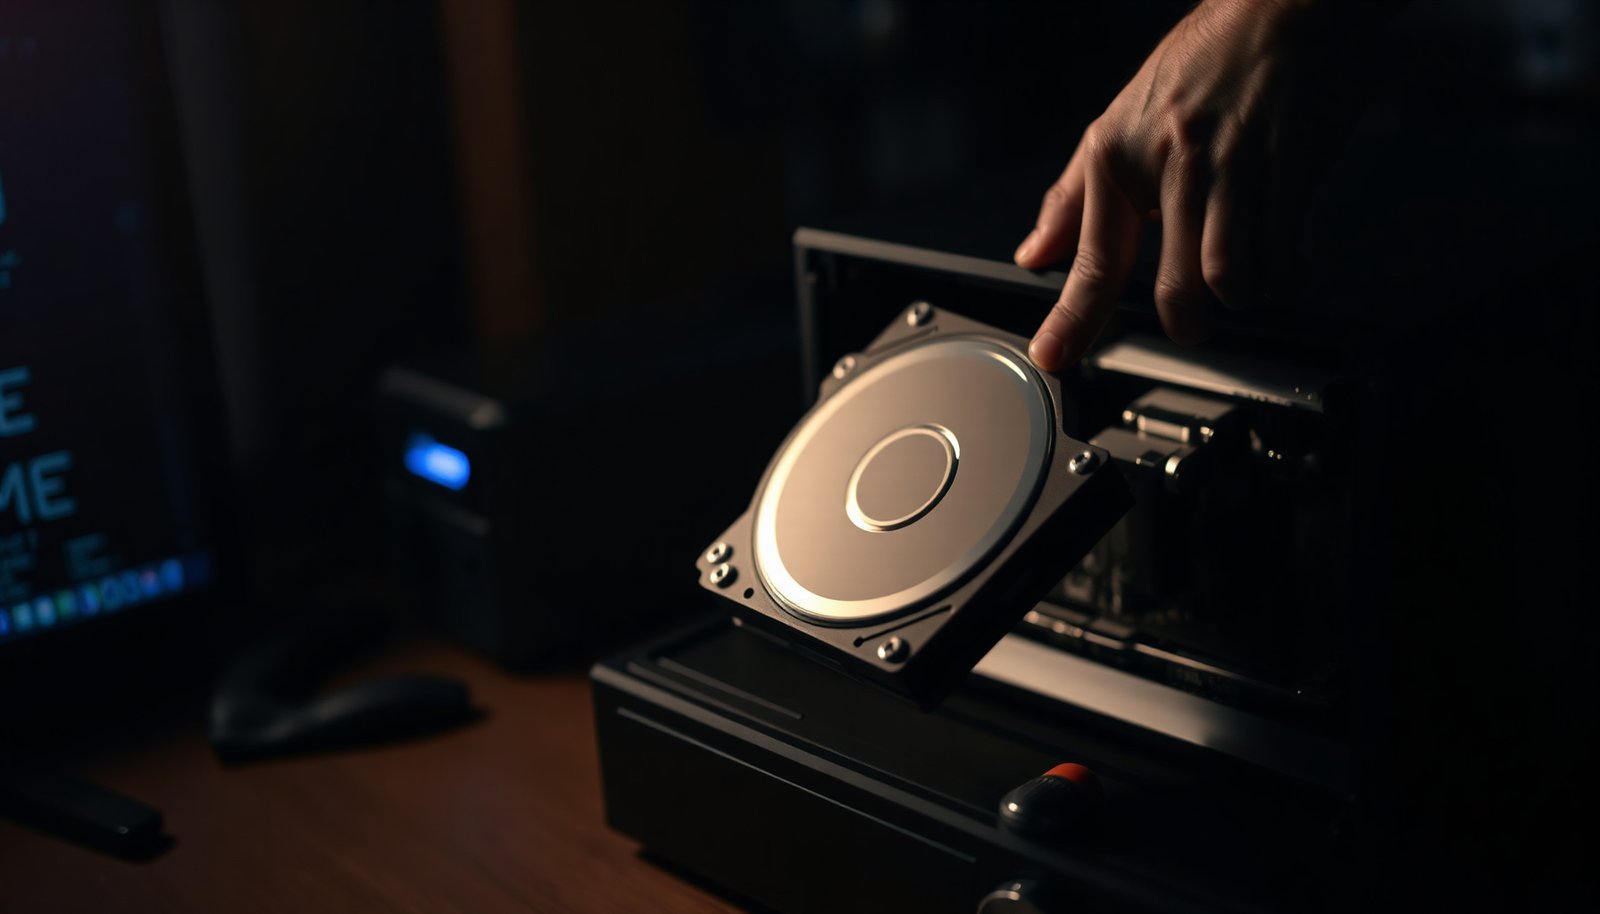

You slide the DVR out from its rack, open the side panel, and realize the system is warning “No HDD” or the drive has begun to fail. With a compatible SATA hard drive, basic tools, and a careful connection of the power and data cables, you can replace it and get recording again. Plan for about 30–60 minutes of hands-on work, then format and confirm storage settings in the DVR menu.
Yes—you can install a DVR hard drive yourself by opening the DVR, mounting the drive, and connecting the SATA power/data cables. After that, you’ll power the unit back on and confirm the DVR recognizes the new storage in its menu. This guide walks you through the process and highlights the common “gotchas” that prevent the DVR from detecting the drive.
If you’re upgrading storage, replacing a failing drive, or your DVR is showing “HDD error/no disk,” these steps apply right away. The exact menu wording can vary by brand/model, but the physical install process is generally the same across most DVR units.
Check compatibility before you install

Before you touch the DVR, confirm the drive will be accepted by your specific DVR model—this step prevents the most time-wasting failure modes. In most DVRs, you’re installing a SATA HDD (not NVMe/SSD-only), and the DVR firmware expects specific electrical and mechanical characteristics.
What “compatibility” really means for a DVR hard drive
– Interface type: Most DVRs use a SATA HDD connection (SATA data + SATA power). According to SATA-IO, SATA III supports up to 6.0 Gbit/s signaling, and DVRs built for SATA will typically negotiate safely down to older SATA rates (2009).
– Connector fit: A standard SATA data cable uses a 7-pin data connector, while SATA power uses a 15-pin power connector—wrong connectors are a hard stop, not a “format later” problem. According to SATA-IO, these connector pin counts are defined in the SATA interface specifications (2009).
– Capacity limits: DVR manufacturers often publish a maximum supported drive size (for example, some older units can be limited to a certain number of TB). If you exceed that, the DVR may show “not supported,” “no disk,” or “HDD error,” even when cables are correct.
– Physical form factor: Many DVRs are designed for 3.5-inch drives. A 2.5-inch laptop drive may physically fit only with an adapter/bracket; otherwise, vibration and connection strain can cause intermittent detection.
Quick planning checklist (before opening anything)
– Verify your DVR supports SATA HDD (and whether it requires a “surveillance” class drive).
– Confirm maximum capacity from your DVR manual/spec sheet.
– Identify what’s already inside the DVR: you typically need SATA data + SATA power connectors that are already present on the DVR’s internal harness.
SATA Details DVR Builders Rely On (Practical Compatibility Facts)
| # | Compatibility spec | Value | Why it matters | DVR impact |
|---|---|---|---|---|
| 1 | SATA III signaling rate | 6.0 Gbit/s | Enables high-throughput reads/writes DVRs need for recording | ★★★★★ |
| 2 | SATA data connector | 7-pin | Wrong connector/pinout prevents the DVR from seeing the disk | ★★★★★ |
| 3 | SATA power connector | 15-pin | If power pins aren’t connected firmly, the DVR reports “no disk” | ★★★★★ |
| 4 | SATA power rails | +3.3V, +5V, +12V | The HDD controller needs correct voltages to spin up and enumerate | ★★★★☆ |
| 5 | Common 3.5-inch HDD thickness | 26.1 mm | Mismatch can prevent proper mounting and can stress connectors/cables | ★★★★☆ |
| 6 | SATA internal data cable length (typical) | Up to 1.0 m | Over-length or damaged cables can cause link drops | ★★★☆☆ |
| 7 | Logical sector size (common 512e behavior) | 512 bytes logical | Rare DVRs struggle with unusual sector/format expectations—DVR init usually fixes this | ★★☆☆☆ |
Power down safely and open the DVR
Before you open the case, power the DVR down properly and disconnect it from mains power. This prevents accidental shorts and reduces the risk of corrupting data on the DVR hard drive during removal/installation.
How to shut down correctly
– Shut down the DVR using its menu (if available). Many DVRs handle safe write caches better when you power off through the UI rather than yanking power.
– Unplug the unit from the wall outlet before touching internal components.
– Wait a few minutes so internal capacitors discharge.
Opening without losing parts
– Use the correct screwdriver size for the DVR chassis screws.
– Place screws in a small container or tape them in groups (e.g., “front,” “back,” “sides”).
– Avoid forcing the cover—some DVRs have hidden tabs; forcing can crack the housing and complicate reassembly.
Mount the hard drive in the enclosure
Mounting is where many DIY installs succeed—or fail—because improper fit can stress cables and cause intermittent detection. For a DVR hard drive, the goal is to secure the disk firmly and keep it flat in the bracket rails.
Seat the drive in the rails/bracket
– Locate the DVR’s internal HDD bracket/rails and align the screw holes.
– If the DVR uses rubber grommets or foam pads, follow the intended mounting orientation to reduce vibration.
– Secure the drive using the provided screws, but don’t overtighten—you’re securing the bracket, not crushing the drive’s mounting points.
Check cable clearance immediately
Before you connect SATA cables, do a quick physical check:
– Ensure the drive isn’t pressing against nearby wiring.
– Confirm the drive can fully seat without forcing the case cover to bulge.
Connect the SATA power and data cables
Once the DVR hard drive is mounted, connect the two essential links: SATA data (data communication) and SATA power (spinning up + controller power). If either connection is loose or misrouted, the DVR may spin briefly and then show “HDD error/no disk.”
Connect SATA data first (then power)
– Plug the SATA data cable into the drive’s SATA data port and the matching SATA port on the DVR motherboard.
– Connect SATA power using the DVR’s internal power connector.
Route cables to avoid pinching
– Gently route SATA cables so the case cover won’t compress them.
– When you close the DVR, check that cables have slack and aren’t trapped under the HDD or along sharp case edges.
From practical troubleshooting of DVR installations, I’ve seen “mystery detection” issues come down to one of two things: a SATA connector that didn’t click fully, or a cable that gets pinched on reassembly.
Reassemble, boot up, and format/initialize
After cabling, reassemble the case and boot the DVR—then verify detection in the storage menu. Many DVRs require initialization/formatting from within the DVR interface to match its recording layout.
Verify the DVR sees the new drive
– Close the case and plug the DVR back in.
– Power on the unit.
– Go to Storage / HDD settings (menu names vary by brand).
– Confirm the DVR hard drive appears as “Detected,” including capacity and status.
Initialize/format from the DVR menu
If the DVR prompts you:
– Choose Initialize, Format, or Create HDD (exact wording depends on model).
– Follow the DVR’s prompts rather than formatting on a PC—DVR firmware often expects a specific partitioning/layout.
According to common DVR troubleshooting guidance, using the DVR’s own initialization process reduces “format loops” and helps avoid filesystem mismatches.
What can go wrong (and how to avoid it)
Even with correct installation, DVR hard drive detection can fail due to compatibility limits, cabling, initialization quirks, or physical mounting issues. The fastest fix is usually to work backward from the DVR’s exact error message and the last action you performed.
– DVR doesn’t detect the drive: double-check SATA connections (especially SATA power) and confirm the drive is compatible with your DVR model/capacity limits.
– Loose mounting or cable pinch: if the DVR case cover presses on a SATA cable, you can get intermittent detection. Reopen the DVR and reroute cables with slack.
– Formatting loops or “HDD error”: some DVRs are picky about initialization parameters. Use the DVR’s formatting/initialization option rather than formatting on a PC.
– Drive vibration/noise: if the drive mount is loose or brackets aren’t aligned, noise can increase and can correlate with read/write instability. Reseat and secure the drive properly.
Pros/cons: DIY install vs. getting help
If you’re deciding whether to do this yourself, here’s a practical comparison focused on DVR hard drive installs:
| Option | Pros | Cons |
|---|---|---|
| DIY installation | Lower cost; faster turnaround; you control mounting and cable routing | Compatibility mistakes waste time; warranty seals may be affected; wrong format can cause “HDD error” loops |
| Professional installation | Compatibility verified; initialization handled correctly; less risk of cable pinch or mis-seating | Higher cost; scheduling delays; you may still need to confirm whether old footage can be recovered |
Verdict / tip (when to DIY vs. when to skip)
If you’re comfortable opening electronics and following your DVR’s manual, installing a SATA HDD is a straightforward DIY task. The main downside is compatibility: an unsupported drive can waste time because the DVR may still fail to detect it even when cabling is correct.
Skip the DIY route (or consider a tech) if you can’t identify the DVR model/specs, you’re dealing with a warranty seal you can’t break, or the unit is already acting strangely beyond storage—like repeated boot failures or frequent disk errors that suggest a deeper hardware problem.
Quick checklist (scan before you start)
– [ ] Confirm DVR model supports the drive (interface + capacity limits)
– [ ] Unplug DVR, then open the case safely
– [ ] Mount HDD securely in the provided rails/bracket
– [ ] Connect SATA data cable and SATA power cable
– [ ] Close case, boot DVR, then check HDD settings
– [ ] Initialize/format in the DVR menu if prompted
Frequently Asked Questions
What size and type DVR hard drive should I buy?
Most DVR systems support either 3.5-inch SATA HDDs or enterprise/“surveillance” drives, so check your DVR model’s specifications before purchasing. Look for storage designed for 24/7 recording workloads and the right interface (typically SATA) to ensure compatibility. Also confirm the drive capacity your DVR supports and whether it requires a specific RPM class, then choose a size that matches your recording days and resolution settings.
How do I install a DVR hard drive safely step by step?
Power off the DVR, unplug it from the wall, and let it sit for a minute to discharge residual power. Open the DVR casing, then connect the SATA data cable and SATA power connector to the hard drive, making sure the connections are fully seated. Mount the drive using the correct screws/rails, close the cover, and reconnect power and cables before turning the DVR back on.
How do I format or initialize the hard drive after installing it in a DVR?
After installation, power on the DVR and enter the system menu (often under “HDD Management,” “Storage,” or “Disk Management”). Select the newly detected drive and choose the format/initialize option, which is usually required before recordings can be saved. If the DVR shows errors like “HDD not formatted” or “drive failure,” re-check the SATA connections and try the initialization process again.
Why isn’t my DVR detecting the hard drive even after installation?
Common causes include loose SATA data/power cables, using the wrong drive type/interface, or exceeding the DVR’s supported capacity. Verify the SATA connections inside the DVR and ensure the drive is properly mounted and receiving power. If the disk still isn’t detected, test the drive in another device (or try a different SATA cable) and check your DVR’s compatibility list or firmware updates.
Which tools and settings should I check before installing a CCTV DVR hard drive for reliable recording?
You typically only need a screwdriver for mounting, plus compatible SATA cables if your DVR uses them internally. Before recording starts, confirm the DVR’s recording settings (resolution, frame rate, continuous vs. motion) and set up the HDD capacity correctly in the storage settings. Also consider updating DVR firmware, then verify that the status shows “recording” and that footage is saved after a short test period.
📅 Last Updated: November 03, 2026 | Topic: How can I install a DVR hard drive? | Content verified for accuracy and freshness.
References
- Digital video recorder
- Hard disk drive
- SATA
- SATA
- Partition
- File system
- Smart
- https://scholar.google.com/scholar?q=how+to+install+a+DVR+hard+drive Google Scholar
- https://scholar.google.com/scholar?q=CCTV+DVR+HDD+installation+SATA+power+data+formatting Google Scholar
- https://scholar.google.com/scholar?q=DVR+hard+disk+drive+compatibility+and+configuration+S.M.A.R.T Google Scholar