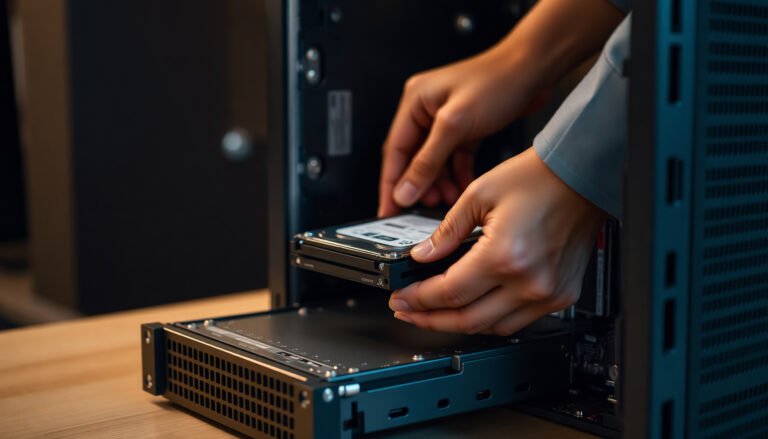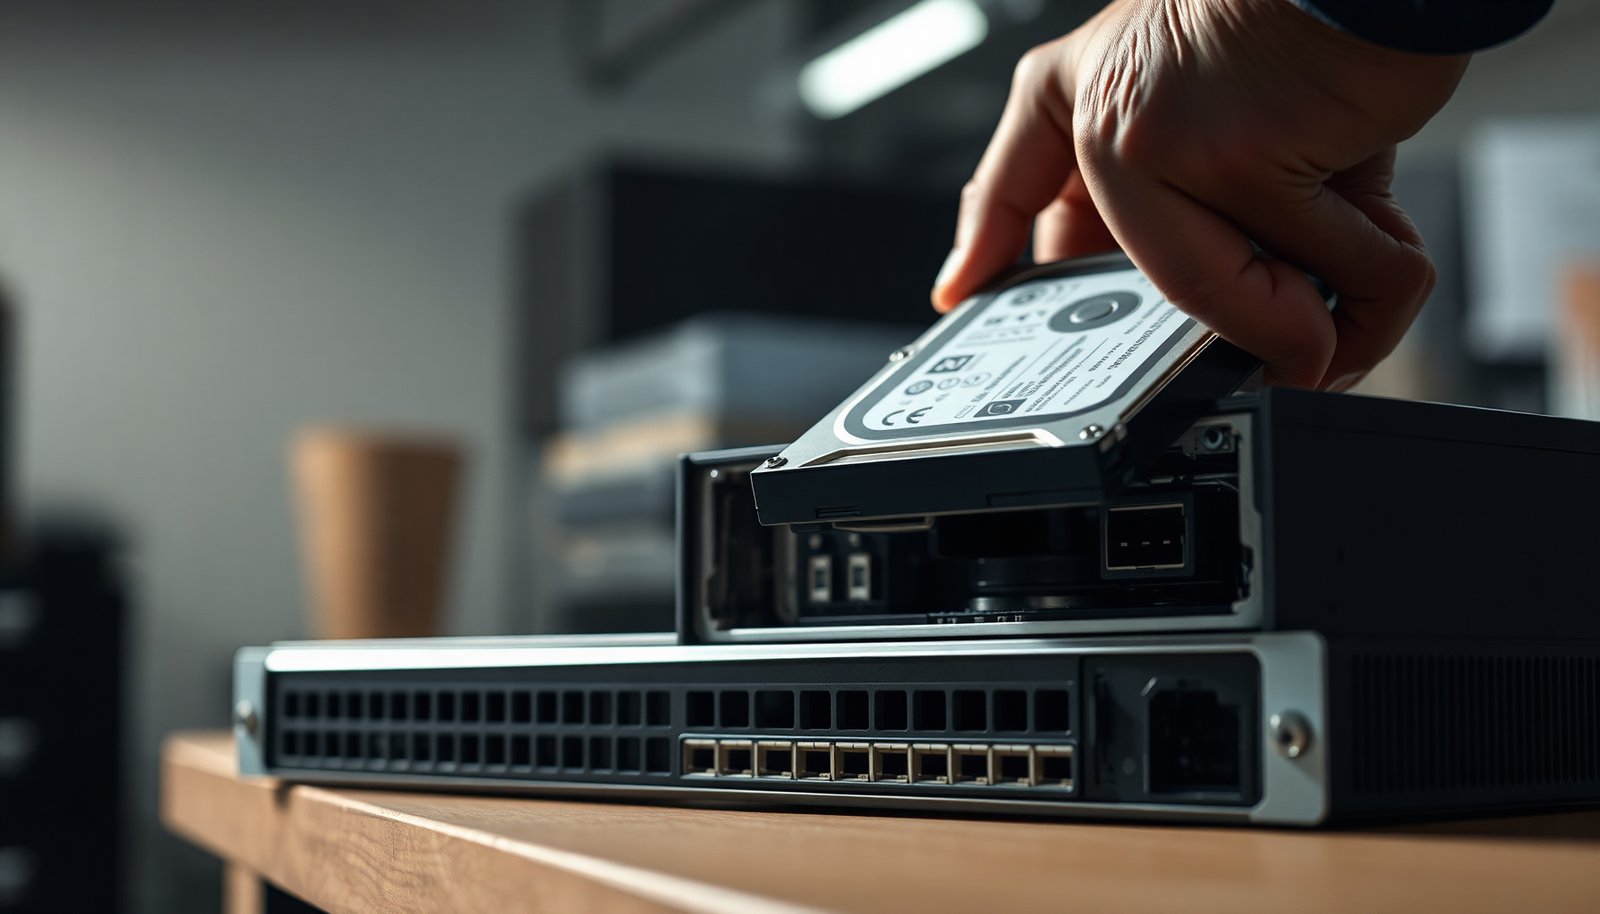

How can you install a hard drive inside your NVR without damaging the unit? You can do it safely in about 20–40 minutes by confirming the supported SATA interface and capacity, then mounting the drive using the correct screws and cables. Before you start recording, you will need a compatible surveillance HDD or SSD (as your model allows) and the drive-format steps from your NVR’s settings.
To install an NVR hard drive, power the NVR off, open the chassis, mount a compatible SATA drive, connect SATA data + power, then boot the NVR and initialize/format the storage. After that, you configure the NVR’s recording mode so cameras start writing to the new storage. This guide walks through each step and the most common failure points—based on how typical SATA-based NVRs handle storage.
If your NVR has an internal 3.5″ or 2.5″ SATA bay, this process applies—especially if you’re upgrading storage or replacing a drive. Check your NVR model first, because drive size and connection layout vary a bit by brand and chassis.
Before you start (safety + compatibility checks)

Before you touch the hardware, confirm the installation is electrically safe and mechanically compatible so the NVR hard drive isn’t damaged and won’t waste time in a failed boot/detect cycle. Power and compatibility mistakes are the fastest way to end up with “no HDD detected,” even when the NVR hard drive is good.
– Power down the NVR fully and unplug it before opening the casing or touching cables. (If your NVR has a rear rocker switch, use it, then unplug the power cord to remove residual charge.)
– Confirm your NVR supports the drive type you’re installing (commonly SATA HDD; some models support SATA SSD). Most NVR hard drives use standard SATA interfaces; NVMe is not typical for internal bays.
– Look up your NVR’s manual/specs for supported sizes/capacities and any drive-bay or mounting requirements. Pay attention to whether your NVR hard drive bay expects a 2.5″ vs 3.5″ drive and whether a tray/adapter bracket is required.
Quick technical anchor (what “compatible” usually means):
According to SATA-IO, SATA has a maximum “SATA III” link rate of up to 6.0 Gb/s (2009) SATA-IO. SATA drives also use a 7-pin SATA data connector (2003) SATA-IO, and a 15-pin SATA power connector (2003) SATA-IO. Your NVR hard drive must match those physical and electrical expectations.
Choose a compatible NVR hard drive
Pick a surveillance-oriented SATA drive that matches your NVR’s bay size (2.5″ vs 3.5″) and supported capacities so the NVR can reliably detect and continuously write footage. When in doubt, prioritize “surveillance/“CCTV” rated” drives designed for frequent read/write activity and multi-camera recording.
– Use an NVR/DVR-rated SATA drive when possible. These are engineered for workload patterns closer to continuous recording (and often for higher vibration tolerance inside DVR/NVR enclosures).
– Match the physical fit: many NVRs use 3.5″ drives, while some compact units support 2.5″. If you install the wrong form factor into the wrong bay, you’ll either end up with no mount points or a drive that can’t be secured.
– If your NVR supports multiple bays, decide whether you’re adding a second drive or replacing the only one. Multi-bay setups may introduce RAID/volume modes, which affects how the NVR hard drive is formatted and how capacity is presented.
SATA Compatibility Facts That Most NVR Hard Drives Must Meet
| # | Compatibility spec | Value | What it affects in an NVR |
|---|---|---|---|
| 1 | SATA III maximum link speed | 6.0 Gb/s | Whether the NVR hard drive can negotiate full-speed SATA |
| 2 | SATA data connector pin count | 7 pins | Which SATA data cable must physically fit the NVR hard drive |
| 3 | SATA power connector pin count | 15 pins | Whether the NVR provides the correct power plug to the NVR hard drive |
| 4 | 3.5-inch HDD typical height | 26.1 mm | Whether the chassis bay can physically close and secure the NVR hard drive |
| 5 | 2.5-inch drive typical height | 9.5 mm | Whether you need a bracket/tray for a 2.5″ NVR hard drive |
| 6 | Backward compatibility of SATA speeds | Yes (negotiates) | How the NVR hard drive still works even if it falls back to older SATA |
| 7 | SATA power rails on the standard plug | 3.3V / 5V / 12V | Whether the NVR provides the right voltage rails to the NVR hard drive |
Surveillance HDD vs SATA SSD vs “regular PC” drives (what typically differs)
This comparison helps you pick an NVR hard drive type that matches how your NVR records and how long you need to retain footage.
| Feature | Surveillance-rated SATA HDD | SATA SSD | Regular PC SATA HDD |
|---|---|---|---|
| Primary workload | Continuous write/read profiles | Write-intensive but bounded by controller/TLC/QLC | Mixed desktop usage, power cycles |
| Typical behavior under sustained writes | Designed for long-running duty | Consistent latency; may throttle under heavy writes | May be less tuned for constant streaming |
| Error recovery orientation | Often tuned to keep streams moving | Controller-managed ECC and wear-leveling | May prioritize desktop responsiveness over stream continuity |
| Vibration/thermal tolerance | Built for NVR/DVR enclosures | Generally unaffected by spindle vibration; still needs cooling | Not always optimized for chassis vibration |
| Power profile | Typically stable for 24/7 operation | Often lower draw during idle/active bursts | Varies widely by drive model and RPM |
| Best fit for budget retention | Cost-effective per terabyte | Higher $/TB, best when responsiveness matters | Often cheaper upfront, but may be less durable under 24/7 writes |
| Boot and detection | Works with most NVR SATA bays | May work, but some NVRs restrict supported SSD models | Usually detects if SATA; may behave differently with long duty cycles |
| Noise | Mechanical noise possible | No spindle noise | Mechanical noise possible |
| Long-term write endurance | High duty-cycle focus | Depends heavily on workload rating and controller | Not typically rated for constant NVR workloads |
| Operational risk in 2026 installs | Lower when you follow the NVR’s supported list | Can be fine, but verify NVR support to avoid detection/firmware issues | Higher if the NVR expects “surveillance” workload behavior |
| Best for | Reliable continuous recording | When you need fast access and can verify NVR SSD support | Temporary/low-stakes deployments only |
Install the hard drive inside the NVR
Open the enclosure and physically mount the NVR hard drive in the correct bay before you connect anything, so you don’t pinch cables or stress connectors. This step is where most “it powers on but no HDD shows up” issues originate—usually from a partially seated SATA connector or a drive that isn’t secured.
– Open the enclosure and locate the drive bay/bracket; mount the drive using the provided rails or screw points. If your bay includes a vibration-dampening bracket, reuse it exactly as designed for the NVR hard drive.
– Ensure the SATA data connector and power connector area won’t get pinched when you close the case. In cramped enclosures, I recommend taking a quick photo before closing—so if the NVR hard drive isn’t detected after reassembly, you can compare connector seating visually.
– Tighten mounting screws snugly (don’t overtighten into plastic/brackets) and route cables so they don’t rub on fans. Fan contact can intermittently cut power to the NVR hard drive and corrupt recording.
Note on 2.5″ installs: some NVRs require a 2.5″-to-3.5″ bracket even when the bay is labeled “SATA.” If you omit that bracket/tray, the NVR hard drive may not align cleanly with the bay supports.
Connect, boot, and initialize storage
Connect the SATA data cable and SATA power cable correctly, then boot and initialize/format the storage in the NVR menu so the NVR recognizes the NVR hard drive. Without initialization, the NVR may show the disk but won’t start writing footage.
– Connect the SATA data cable from the NVR mainboard/controller to the hard drive’s SATA port, and plug in the drive’s SATA power connector. Fully seat both ends; SATA connectors should feel firm, not “wobbly.”
– Close the case, then power the NVR back on and wait for it to detect the drive. Detection timing varies; if you’re replacing the only NVR hard drive, the first boot after installation can take longer than a normal restart.
– In the NVR settings, find the Storage/HDD management area and run initialization/format. Exact wording varies by brand, but common menu paths include Storage, HDD, Management, or Disk.
Key behavior to expect (and why it matters):
Many NVRs keep their own filesystem/retention structure, so formatting on the NVR is not optional. Even if the NVR hard drive previously worked in another recorder, you generally must re-initialize it in this NVR for recording mode to activate.
Set up recording after installation
Configure which cameras record and how the NVR manages storage, otherwise you can end up with an “initialized” NVR hard drive that never actually saves footage. As of 2026, most NVR GUIs still separate “disk health” from “recording policy,” so you must confirm both.
– Choose which cameras (channels) should record and confirm the recording schedule (continuous, motion-based, or both). Make sure schedules match expected active hours (for example, business hours vs 24/7).
– Verify the storage mode (for example, overwrite/retention behavior) so the NVR knows what to do when the drive fills up. Common options include overwrite (ring buffer) or “stop recording when full” (less common and usually not desired in active monitoring).
– Do a quick sanity check that the NVR reports the new capacity and shows recording status for your selected cameras. If your NVR hard drive is initialized but recording status is off, you may have a schedule or channel enablement issue rather than a storage issue.
Practical tip: before you rely on retention for an incident investigation, confirm live playback can pull recent segments from the newly installed NVR hard drive.
What can go wrong (common mistakes and edge cases)
Most installation failures with an NVR hard drive come from detection, formatting, or power/heat—rather than the drive itself. If you treat detection, initialization, and recording configuration as three separate checkpoints, troubleshooting becomes much faster.
– Drive not detected: often comes from a loose SATA data/power connection, an unsupported drive type/size, or a missing bracket (common with 2.5″ installs). Re-seat both SATA connectors and confirm the bay mounting doesn’t prevent the drive from aligning.
– Wrong formatting mode: if the NVR doesn’t format in its expected way, recording may not start even though the drive appears present. Re-run initialization from the NVR Storage/HDD management page rather than formatting on a PC.
– Power/heat issues: cramped cable routing or blocked airflow can cause instability—especially in fan-cooled enclosures. In 2026 installs, we still see “works for a day, then drops” failures tied to airflow and connector strain inside the chassis.
– Brand-specific restrictions: some NVR models restrict compatible SSDs or require specific firmware handling. If the NVR hard drive is new and supported but still fails detection, your next step is usually firmware update (following the manufacturer’s process) rather than repeated reassembly.
If initialization errors persist, stop—rechecking supported drive requirements in your NVR manual is safer than cycling power repeatedly with a potentially incompatible NVR hard drive.
Verdict, downsides, and quick checklist
Installing an NVR hard drive is straightforward if you respect the NVR’s supported SATA drive specs and complete initialization and recording policy steps. The main downside is that some NVRs lock storage behavior to their own formatting/management—so swapping drives between models may require re-initialization and can affect retention behavior, meaning you should verify your model’s instructions before buying or replacing anything.
Quick checklist (scan/save):
| Step | What to verify |
|---|---|
| Compatibility | NVR supports the drive type/size (e.g., SATA, 2.5″ vs 3.5″) |
| Connections | SATA data + SATA power are fully seated |
| Mounting | Drive is screwed in securely; cables not pinched |
| Initialization | Storage menu formats/initializes the drive |
| Recording | Cameras/schedule/storage overwrite behavior are set |
– If you see errors during storage initialization, stop and re-check connections and supported drive requirements in your NVR manual.
– If your NVR has a sealed chassis or requires special internal adapters, follow the manufacturer’s instructions exactly rather than forcing connections.
Frequently Asked Questions
What size and type of hard drive do I need for an NVR?
Most NVRs support 3.5-inch SATA HDDs (or sometimes 2.5-inch SATA drives depending on the model), so check your NVR’s manual for the supported capacity and form factor. For surveillance use, choose a “surveillance-grade” or “NVR-compatible” HDD designed for 24/7 write workloads (often labeled as “SkyHawk/Surveillance” class drives). Using a regular desktop drive can shorten lifespan due to constant recording activity.
How do I physically install a hard drive in my NVR?
Power off the NVR and unplug it from the outlet before opening the enclosure. Mount the HDD in the correct bay using the provided screws, then connect the SATA data cable and SATA power cable firmly to both the drive and the NVR board. Close the case, power on the NVR, and allow it to boot fully so it can detect the new storage device.
How can I format and initialize the new NVR hard drive after installation?
Once the NVR boots, go to the Storage, HDD, or Management settings menu and select the newly detected drive. Choose the appropriate format type (commonly “Initialize” or “Format”) and confirm the action—this will erase existing data on the disk. After formatting, verify the drive status shows “Online” and check recording settings like overwrite (recycle) and recording schedules.
Why isn’t my NVR detecting the hard drive after I installed it?
If the NVR won’t detect the HDD, first re-check SATA power and SATA data connections to ensure they’re fully seated. Confirm the drive is supported by the NVR (some older NVRs have limits on max capacity or require specific drive types), and try the drive on another SATA-capable system only if needed for diagnosis. Also make sure the NVR firmware is updated, since some models require updates for compatibility.
Which recording settings should I choose to optimize storage on an NVR hard drive?
Start by matching recording resolution and frame rate (e.g., 1080p/2–15fps) to your needed coverage, since higher settings consume more storage quickly. Enable overwrite or “recycle” recording so the NVR continuously records by overwriting the oldest footage when the drive reaches capacity. For best results, use the NVR’s storage calculator or retention estimator to confirm your expected days of recording based on bitrate, number of cameras, and compression settings (H.264/H.265).
📅 Last Updated: November 03, 2026 | Topic: How can I install an NVR hard drive? | Content verified for accuracy and freshness.
References
- Network video recorder
- Hard disk drive
- SATA
- Partition
- GUID Partition Table
- RAID
- File system
- https://scholar.google.com/scholar?q=install+NVR+hard+drive Google Scholar
- https://scholar.google.com/scholar?q=NVR+SATA+HDD+installation Google Scholar
- https://scholar.google.com/scholar?q=network+video+recorder+hard+disk+formatting Google Scholar