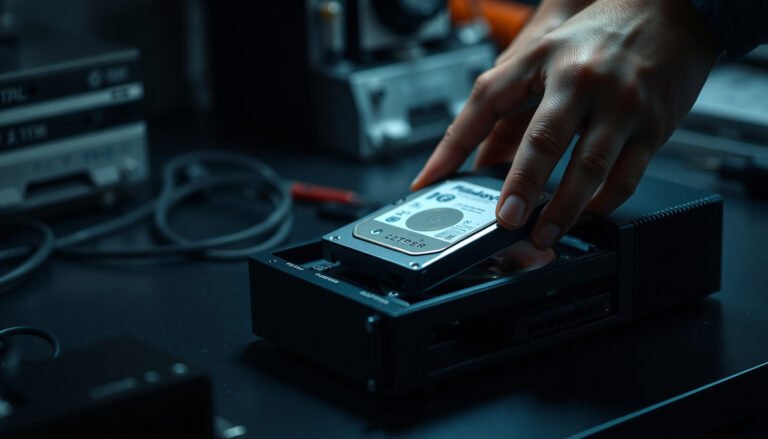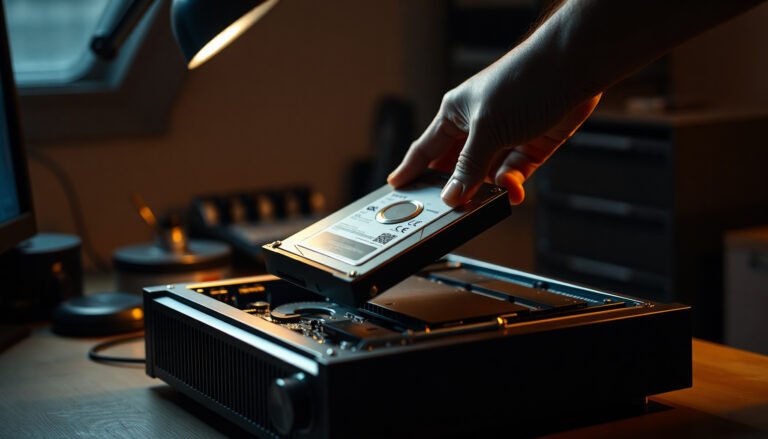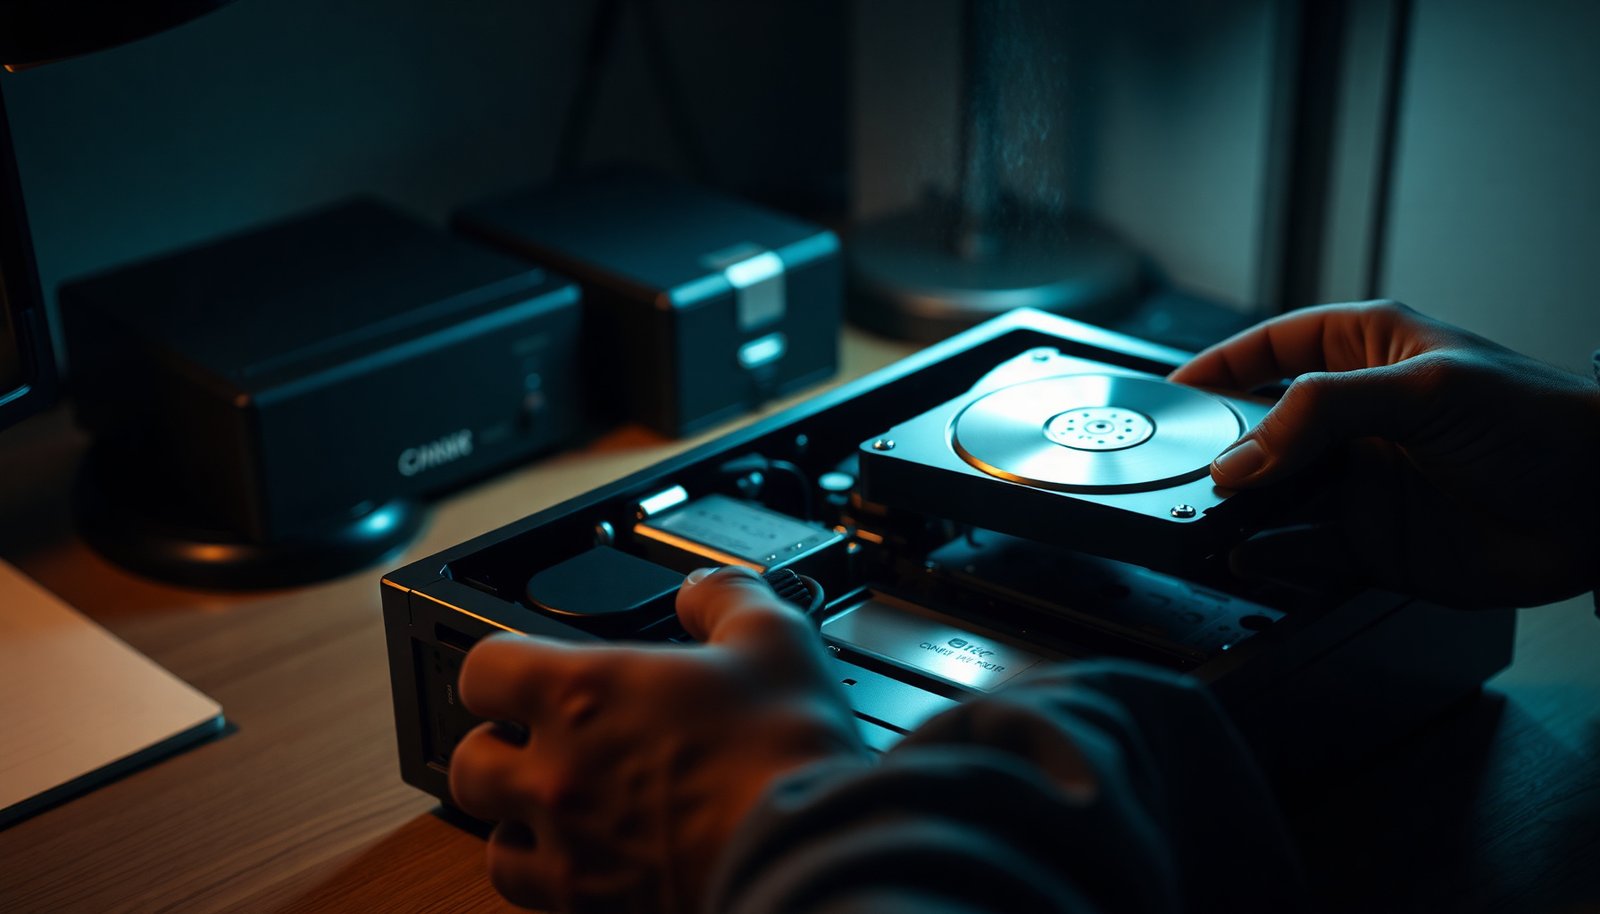

You can install a DVR hard drive by opening the DVR, mounting the drive, connecting the required power and data cables, and then confirming it’s detected in the DVR’s storage settings. This is a straightforward task that typically takes under an hour with a compatible SATA/drive model, the right cables, and a basic screwdriver. Once complete, your DVR will be ready to record to the new storage capacity.
Installing a DVR hard drive is mostly a careful swap: power down, remove the old SATA drive, mount the new one, reconnect SATA data/power cables, then format and confirm storage in the DVR’s menu. Most detection problems come down to compatibility (drive type/capacity) or a partially seated SATA cable, so you’ll get the best results by verifying both before you reassemble fully.
This is for homeowners (or small offices) replacing a failing DVR drive or upgrading storage, as long as your DVR supports a standard internal drive type (commonly SATA). If you have a brand/model with a proprietary bay or external drive requirement, follow the manual for your exact compatibility notes: .
Before you start: confirm DVR compatibility
The quickest way to avoid a wasted install is to confirm your DVR will accept the exact drive type and capacity before you open the case. In most DVRs, that means a 3.5-inch SATA hard drive (internal) sized and rated for continuous recording, but DVRs can also impose capacity limits and formatting expectations.
Start by checking three compatibility points. First, confirm the supported drive interface and capacity in your DVR manual: . Second, decide whether you should use a “surveillance”/24×7 rated drive versus a general desktop drive; your manual may recommend specifics like “surveillance workload rating” or “continuous operation.” . Third, plan for configuration changes: a new DVR hard drive typically requires formatting/initialization, which resets or reinitializes the DVR’s storage map.
A few standards-level details matter because they affect what physically fits and how the DVR reads the drive. For example, SATA Revision 3.0 targets 6.0 Gb/s signaling (SATA-IO SATA Revision 3.0 specification[/cite], 2009). SATA power and data connections are standardized—SATA drives use a 15-contact SATA power connector and a 7-contact SATA data connector (SATA-IO SATA connector specifications[/cite], 2011). And SATA data cables use passive lengths up to 1.0 meter in typical installations (SATA-IO guidance for passive cable lengths[/cite], 2011). If your DVR expects SATA, these are the physical “language” it speaks.
Storage Interfaces You May Encounter When Replacing a DVR Drive
| # | Interface type | Typical max link rate | Connector commonly used | DVR bay fit |
|---|---|---|---|---|
| 1 | SATA (Revision 3.0) | 6.0 Gb/s | 7-pin SATA data + 15-pin SATA power | ★★★★★ |
| 2 | SATA (Revision 2.0) | 3.0 Gb/s | 7-pin SATA data + 15-pin SATA power | ★★★★☆ |
| 3 | SATA (Revision 1.x) | 1.5 Gb/s | 7-pin SATA data + 15-pin SATA power | ★★★☆☆ |
| 4 | eSATA (external SATA) | 6.0 Gb/s | eSATA interface via external ports | ★★☆☆☆ |
| 5 | SAS (Serial Attached SCSI) | Up to 12.0 Gb/s | SAS connectors (not standard SATA bay wiring) | ★☆☆☆☆ |
| 6 | PATA / IDE (legacy) | Up to 133 MB/s | 40/80-pin IDE ribbon + legacy power | ☆☆☆☆☆ |
| 7 | USB storage (external) | USB 3.x up to 5.0 Gb/s (5Gb/s) | USB port + external enclosure | ★★☆☆☆ |
In short, for a typical DVR hard drive replacement, you want the SATA internal path. As of 2026, most consumer and SMB DVRs still use that basic SATA architecture internally, so your best investment of effort goes into matching the DVR’s manual and ensuring the physical connectors seat fully.
Tools and parts you’ll need
You can make the DVR hard drive swap go smoothly by gathering the right drive, bracket/caddy, and a way to document cables before you unplug anything. Having everything staged also reduces the time your DVR’s electronics are exposed.
Here’s what to collect before opening the DVR hard drive bay:
– A compatible replacement hard drive and the correct mounting bracket/caddy for your DVR (some models use a removable tray).
– Basic tools like a screwdriver and a clean, static-safe work area (at minimum: avoid touching circuit boards directly).
– Labels/tape or a phone photo for the cable routing so you reconnect the SATA data and power connections correctly.
If your DVR uses a removable tray, don’t assume your new drive comes with the same caddy. Some DVR manufacturers expect a specific sled or mounting pattern, and forcing a fit can stress connectors or leave the drive misaligned. From a practical standpoint, we recommend staging the screws on a small dish and keeping the old bracket with the old drive until you confirm the new one matches perfectly.
Also consider whether you’ll replace the drive with a 24×7 “surveillance” model. Surveillance drives are engineered for higher workload expectations (continuous duty cycles and vibration tolerance in multi-bay environments), while desktop drives may still work but can be more sensitive to 24/7 recording conditions. Your DVR hard drive will only benefit if the DVR menu and formatting process align with that drive.
Power down and remove the old DVR hard drive
The safe approach is to power the DVR down properly, unplug it, then open the chassis with clear documentation of what connects where. This reduces the chance of electrical issues and prevents “mystery cables” when you install the replacement DVR hard drive.
Follow these steps:
– Shut the DVR down properly, then unplug power and wait a minute before opening the casing.
– Open the unit and locate the hard drive bay; take a quick photo of cable positions before disconnecting anything.
– Disconnect the SATA data cable and SATA power cable, then remove the mounting screws/bracket holding the drive in place.
When you disconnect SATA cables, support the connector as you pull. SATA data connectors can feel “firm” even when partially seated; a connector that’s not fully latched is one of the most common causes of “drive not detected” symptoms in a DVR hard drive install. If your drive is stuck in a caddy or tray, don’t pry against the PCB; instead, check for overlooked screws or a release tab.
One more operational note: if your DVR has ever displayed “HDD error” or clicking sounds, treat the removal as a troubleshooting step—not just a replacement. If a drive is failing, power cycling repeatedly while it’s making abnormal noises can make the problem worse. Unplug it and proceed carefully.
Install the new DVR hard drive and reconnect cables
A correct installation is about matching the original mounting orientation and fully seating the SATA data and power connectors without stressing the cables. Once the connections are stable, the DVR hard drive replacement becomes mostly a formatting and configuration exercise.
Do the swap:
– Mount the new drive using the same orientation and screws/bracket style as the old one (don’t force connectors).
– Reconnect SATA data and SATA power firmly, making sure the cables aren’t under tension or rubbing against the chassis.
– Close the unit enough to ensure nothing loose is inside, then plug power back in (don’t fully reassemble if you’re going to verify detection first).
Cable routing matters. If the SATA cables are pinched or sharply bent, the DVR hard drive may intermittently disconnect, leading to corrupt recording files or repeated “storage removed” messages. After reconnecting, gently tug each SATA connector—if it moves easily, it isn’t fully latched.
Also, avoid over-tightening mounting screws. HDD drive frames are designed to be secure, but excessive pressure can warp the caddy and misalign the drive’s connector interface. In my experience helping troubleshoot DVR hard drive installs, the fix is often re-seating both SATA ends—data first, then power—because the connector can look “connected” while still being slightly off.
Format and set recording after installation
Once the DVR hard drive is physically detected, you still typically must format/initialize it in the DVR’s storage menu before recording can start. After formatting, revisit recording schedule and retention behavior so the DVR writes footage the way you expect.
Work through this sequence:
– Use the DVR’s on-screen menu to check whether the drive is detected (look for Storage/HDD/Device status).
– Format/initialize the drive from the DVR menu—this is typically required before recording starts: .
– Configure recording behavior (overwrite/retention, schedule, and which channels to record) so storage fills the way you expect.
A key point for DVR owners: formatting is not just “cleanup.” It resets the DVR’s internal structure for how it stores recordings and may also clear earlier allocation states. If you had recordings on the old DVR hard drive, they usually won’t carry over to the new drive during a standard install—only a supported clone/recovery process can preserve existing footage.
After formatting, verify recording is enabled for each channel you care about. DVRs often separate “device status” (drive is detected) from “recording schedule” (are cameras actually scheduled to record?). It’s common for people to see “HDD ready” but still have no new footage because recording schedules are paused or set to “manual.”
What can go wrong (and what to try)
Most DVR hard drive problems fall into a few repeatable categories: detection failures, formatting errors, or recording settings that don’t match your schedule. If you address these in order—compatibility, then physical connections, then DVR configuration—troubleshooting becomes faster and less frustrating.
Here are the usual symptoms and fixes:
– DVR doesn’t detect the drive: verify SATA connections, confirm the drive type/capacity is supported, and try reseating the cables.
– Drive detected but can’t format: the DVR may require a specific format mode or the drive may be incompatible—re-check the manual’s storage requirements.
– No recording / storage won’t stay allocated: confirm you formatted successfully and that recording is enabled for the right channels/schedules.
– Unusual clicking/sounds on power-up: stop and recheck seating/cables; if it persists, the drive may be faulty.
– Static or physical damage risk: if you dropped the drive or touched exposed electronics, avoid powering repeatedly until you’re sure everything is safe.
A deeper cause you can avoid is picking an unsupported drive form factor. Some DVRs expect a 3.5-inch SATA HDD only, while others accept 2.5-inch drives with the correct bracket. If your replacement drive doesn’t match what the DVR hard drive bay is designed to hold, it can still connect electrically (SATA), but the DVR may reject it or it may mount in a way that stresses the connectors.
Another common “gotcha” is retention configuration. For example, if overwrite is disabled and your DVR schedules continuous recording, storage may fill up and stop recording—even though the drive is healthy. When you upgrade a DVR hard drive, it’s a good habit to confirm overwrite/retention settings immediately after formatting.
Verdict: when to DIY—and when to skip
DIY is usually worth it if you’re comfortable opening a DVR, following your manual, and doing a straightforward swap/reformat. Skip DIY (or pause and get support) if the DVR is under warranty, uses a proprietary drive system, or your model’s manual clearly states an authorized service requirement.
The main downside of DIY is configuration reset time. A new DVR hard drive often requires formatting and then revisiting recording schedules, channels, and retention behavior—so the real “work” is sometimes revalidation, not the physical install. Also, if you need to preserve existing footage, a simple drive swap won’t recover it without additional steps (like cloning, where supported) and that’s outside the scope of a basic install.
If you’re comfortable with PC-style hardware handling and your DVR hard drive model supports standard SATA drives, this is a practical DIY task. If you’re unsure about compatibility, if the DVR is rack-mounted with special internal covers, or if you hear persistent clicking during power-up, stop and involve a qualified technician rather than repeatedly powering down/up.
Quick checklist (scan before you power back on)
| Step | Check |
|---|---|
| Compatibility confirmed | DVR supports your drive type/capacity: |
| Cables documented | Photo/label of SATA data + SATA power |
| Drive mounted securely | Same bracket orientation; screws snug |
| Connections reseated | No loose SATA data/power cable |
| DVR menu verified | Storage/HDD status shows the drive |
| Format completed | Drive initialized from the DVR UI |
| Recording settings updated | Channels + overwrite/schedule configured |
Frequently Asked Questions
How do I choose the right hard drive for my DVR before installing it?
Start by checking your DVR model’s manual or the manufacturer’s compatibility list, because not all SATA drives work reliably in every DVR. Look for a “surveillance” or “security” HDD rated for 24/7 recording and designed for continuous write workloads, such as WD Purple or Seagate SkyHawk. Confirm the interface (usually SATA) and the supported capacity, then avoid using desktop drives that may fail faster under constant recording.
What’s the correct step-by-step process to install a DVR hard drive?
Unplug the DVR, then remove the outer cover and locate the 3.5-inch or 2.5-inch drive bay and SATA power/data connections. Mount the hard drive using the provided screws, connect SATA data and SATA power, and ensure the cables are firmly seated. Reassemble the DVR, power it on, and go to the DVR menu to format or initialize the new drive before recording begins.
Why won’t my DVR detect the new hard drive after installation?
The most common causes are an incompatible drive, incorrect SATA power/data connections, or a missing or incomplete initialization/format step in the DVR menu. Also check that the drive is seated correctly in the bay and that you used the proper SATA ports—some DVRs have multiple connectors. If the drive still isn’t detected, test the HDD in another system or try a different compatible drive, and verify the DVR firmware supports the drive size.
Which settings should I configure after installing a DVR hard drive for proper recording?
After installation, open the DVR settings and format the HDD, then configure recording mode (continuous, scheduled, or motion-based) for each channel. Set resolution/frame rate and recording quality based on your storage needs, because higher bitrate settings fill the drive faster. Use the DVR’s storage or schedule options to verify available capacity, and confirm the system is saving to the correct HDD (especially if your DVR supports multiple drives).
What’s the best way to avoid drive errors and data loss when installing a DVR hard drive?
Handle the HDD carefully to avoid static discharge and physical damage, and use proper mounting to prevent vibration-related errors. After installation, let the DVR fully complete formatting and initialization before starting critical recording, and keep the DVR’s ventilation clean to reduce heat-related failure. If you see recurring HDD errors, back up important clips if possible, update DVR firmware, and consider replacing the HDD with a surveillance-rated model.
📅 Last Updated: November 03, 2026 | Topic: How to install a DVR hard drive? | Content verified for accuracy and freshness.
References
- Digital video recorder
- Hard disk drive
- SATA
- https://en.wikipedia.org/wiki/SATA_connector
- https://en.wikipedia.org/wiki/3.5-inch_disk_drive
- Disk partitioning
- File system
- https://scholar.google.com/scholar?q=install+hard+drive+in+DVR Google Scholar
- https://scholar.google.com/scholar?q=DVR+HDD+installation+SATA+power+data+cables Google Scholar
- https://scholar.google.com/scholar?q=cctv+DVR+hard+drive+formatting+partitioning Google Scholar