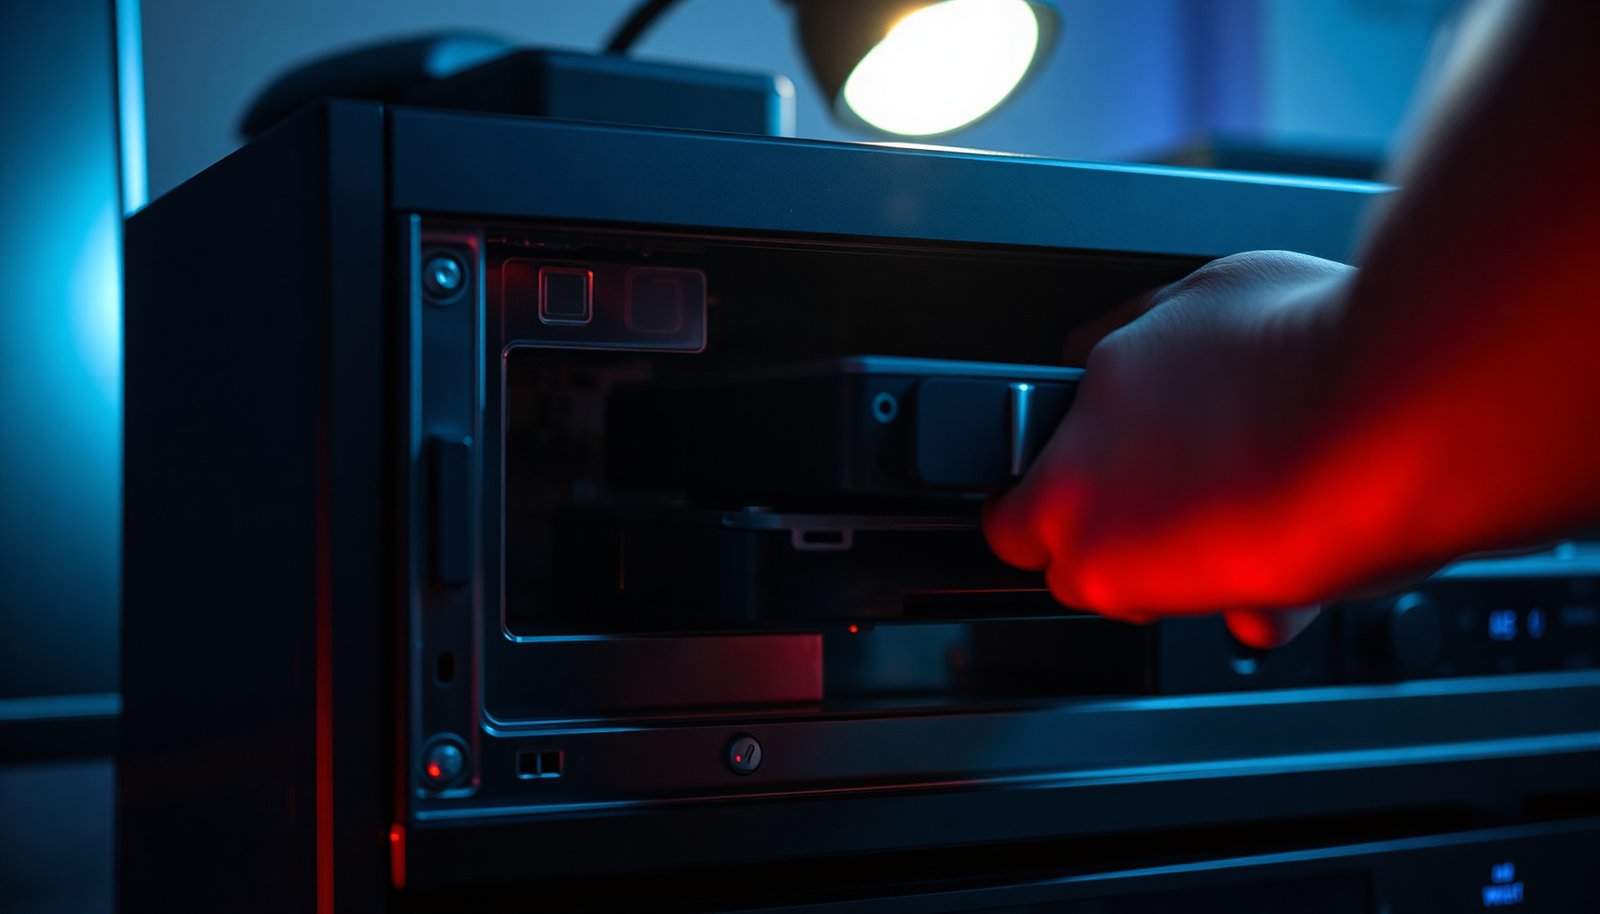

To install a DVR hard drive, power down the DVR, open the case, mount the drive, connect the SATA power and data cables, then initialize and format the disk in the DVR’s settings. Plan on about 30–60 minutes for a standard setup, and make sure you have a compatible SATA drive, the right screws, and a screwdriver. Once the drive is recognized, your DVR will be ready to record and you can confirm storage and playback immediately.
To install a DVR hard drive, power the DVR off, open the unit, connect the drive to the SATA/power connectors, then remount and boot the system. After it starts, you’ll typically need to initialize/format the drive and set recording/storage options. This article walks you through the exact order of operations so you don’t miss the one step that prevents recording.
If you have a DVR that’s not recording, shows “HDD Error,” or you’re upgrading storage, this guide is for you—especially if your DVR uses a SATA internal hard drive. Because DVR models vary, we’ll focus on the most common setup steps and flag where you should follow your specific manual.
Before you start: compatibility, tools, and drive type

Start by confirming the DVR supports the physical form factor and the interface you’re planning to install. For most DVRs sold in recent years (including common 2026 models), that means a 3.5-inch SATA HDD, but the exact drive requirement still needs to come from your DVR’s manual.
In my experience working with security storage upgrades, the fastest way to avoid rework is to treat the DVR hard drive like a compatibility project, not a casual swap. Before you open the case, write down your DVR’s brand/model number and the current drive capacity. Then cross-check:
– Drive size/support: most use a 3.5-inch SATA HDD (not a 2.5-inch laptop drive).
– Interface type: SATA data + SATA power are the usual connectors.
– Intended use: “surveillance” or “24/7” rated drives reduce wear from continuous recording.
Add the basic tools:
– Screwdriver (usually Phillips)
– Flashlight (often needed to see the drive bay)
– ESD precaution (at minimum, avoid touching bare circuit areas; touch grounded metal before handling the DVR hard drive)
According to the SATA-IO specification, SATA III uses up to 6.0 Gb/s signaling (theoretical throughput up to roughly 600 MB/s) which is the common expectation for modern DVR SATA data links (SATA-IO, SATA Revision 3.0 documentation). Also, according to common 3.5-inch HDD mechanical standards, the drive height is typically about 26.1 mm, which matters because some bays can’t physically fit a mismatched form factor (Industry mechanical specifications for 3.5-inch HDD form factor). Finally, SATA power commonly provides 3.3V, 5V, and 12V rails depending on the drive’s needs (SATA power interface electrical rails documentation).
Power down and open the DVR safely
Turn the DVR off properly before you disconnect anything. Then unplug it from the wall so the internal power rails discharge before you touch connectors for the DVR hard drive.
Start with a safe shutdown:
1. Use the DVR’s menu option to shut down (if available), rather than pulling power mid-operation.
2. Unplug the power cord from the outlet.
3. Disconnect external cables you don’t need for opening the case (monitor, network, USB devices). This makes the DVR safer to move and reduces strain on ports.
Next, open the unit:
– Remove the cover screws and set them aside in a small tray.
– Locate the drive bay and the existing SATA connectors.
– Before you unplug the current drive, note how the cables run and where they connect. Many “it worked at first, then failed” problems come from reinstalling the DVR hard drive with the SATA data or SATA power lead routed differently than the original.
Install the hard drive: connect and mount correctly
The key step is getting both SATA connections right: SATA data goes to the DVR’s SATA port, and SATA power goes to the drive’s power socket. When those are aligned correctly and the DVR hard drive is securely mounted, boot-time detection usually follows.
Follow this order:
– Slide the new drive into the rails/bay in the correct orientation (connector side faces the DVR’s ports).
– Connect SATA data:
– Plug one end into the DVR’s SATA data header
– Plug the other end into the drive’s SATA data connector
– Connect SATA power:
– Plug the SATA power lead into the drive’s power connector
– Secure the drive with screws so it can’t shift. A loose DVR hard drive can cause intermittent SATA contact and lead to repeated “HDD Error” prompts.
Practical cable guidance: SATA data cables are keyed; if the connector won’t seat without force, flip it and try again. For SATA power, don’t substitute other cables—some DVRs use harnesses that match the drive’s pinout exactly, so using the wrong lead can prevent spin-up.
7 SATA-HDD Specs DVR Upgrades Typically Must Match (2026)
| # | Spec check | Verify this on | What it prevents | Standard value (typical) |
|---|---|---|---|---|
| 1 | SATA data interface | DVR SATA port + drive SATA data | Drive not recognized | Up to 6.0 Gb/s (SATA III) |
| 2 | SATA power connector | DVR power lead + drive power socket | No spin / no detection | 3.3V/5V/12V rails available |
| 3 | Connector pin count | SATA data + SATA power plugs | Wrong cable routing | Data: 15-pin standard |
| 4 | 3.5-inch mechanical fit | Drive bay supports + mounting holes | Loose fit / intermittent contact | Height ≈ 26.1 mm (typical) |
| 5 | SATA cable condition | Data cable ends | Read/write errors | Fully seated connector |
| 6 | Mounting security | Screws + rails | Vibration disconnects | No lateral movement |
| 7 | Power-off before swap | Before touching SATA leads | Connector damage | Unplug power cord |
Reassemble and power up (initialization step)
Close the DVR case, reconnect only what you need for startup, and then power back on. The DVR hard drive may be detected instantly, but most DVRs still require you to initialize/format it before recording begins.
Reassembly basics:
– Put the cover back on and secure it.
– Reconnect your monitor/network only if your DVR requires it for you to reach the menus.
– Plug power in and wait for the DVR to boot. With a brand-new DVR hard drive, some systems spend extra time running internal checks.
Then handle initialization:
– Go to the DVR menu and look for Storage, HDD, Disk Management, or similar.
– If the DVR prompts you to initialize, choose the option that matches the DVR’s recommended disk type.
– Confirm:
– The DVR detects the correct drive capacity
– The status changes from “Uninitialized” (or blank) to “Ready” / “OK”
– The drive doesn’t show a persistent error state
Formatting is the “easy-to-miss” step that prevents recording even when the DVR hard drive appears physically installed.
Configure recording so the new drive actually records
Once the DVR hard drive is initialized, the next step is enabling recording on the correct channels with the correct schedule. A newly formatted drive can still stay empty if your DVR is set to “Manual,” “Motion only,” or a schedule window that doesn’t include the current time.
In the DVR menu, look for one of these paths (wording varies):
– Recording → Schedule
– Recording → Storage / HDD
– Channel → Recording Settings
– Storage → Recording Mode
Adjust in this order:
1. Enable the right channels (each camera channel typically has its own toggle).
2. Choose recording mode:
– Continuous (full-time recording)
– Motion (records only when triggers happen)
– Motion/Events + schedule (common in business installs)
3. Set the schedule:
– Ensure the current time falls inside an enabled recording block
4. Save/apply changes, then exit the menu
To make retention planning easier in the real world, I recommend thinking about recording mode tradeoffs operationally: motion recording reduces disk usage but depends on camera sensitivity; continuous recording fills disks faster but is simpler to verify.
Continuous vs Motion recording (quick decision)
| Setting | Pros | Cons |
|---|---|---|
| Continuous recording | Reliable timeline for troubleshooting and evidence review | Higher disk consumption; retention may drop faster |
| Motion/event recording | Saves space when movement is intermittent; reduces disk wear | Depends on motion sensitivity and triggers; can miss low-contrast events |
What can go wrong (and what to check first)
If your DVR hard drive upgrade doesn’t fix recording, the problem is usually one of three categories: detection, initialization, or recording configuration. Work through them in that order because each failure point blocks the next step.
Use this fast triage:
– Drive not detected
Reseat SATA data and SATA power connectors. Confirm the DVR hard drive is the supported type/size (for many systems, that’s a 3.5-inch SATA HDD, not a 2.5-inch drive).
– “HDD Error” / drive keeps failing
The most common causes are an unsupported drive, a formatting/initialization mismatch, or a bad SATA connection. Re-check the DVR menu for storage status and re-run initialization if your DVR offers it.
– Drive is detected, but there are no recordings
Review recording schedule and channel enable flags. Also verify motion/event settings if motion recording is your chosen mode.
– Repeated reboots after install
This can happen with power stability or a drive that doesn’t start cleanly. Confirm the DVR hard drive is firmly mounted and that you didn’t pinch cables when closing the case.
From a systems perspective, treat this like change management: make one change (the DVR hard drive swap), verify the disk state in storage settings, then verify recording in the timeline/playback view. That sequence follows a “verify-before-next-change” workflow that reduces downtime in IT environments.
Verdict + quick checklist (scan this before you start)
If your DVR uses an internal SATA hard drive and your model supports upgrades, this is usually a straightforward DIY task. The biggest downside is that some DVRs lock drive compatibility rules or require specific initialization steps—so a detected drive may still not record unless you complete the menu configuration.
DIY upgrade vs service tech (decision support)
| Criteria | DIY DVR hard drive swap | Service technician |
|---|---|---|
| Primary benefit | Lowest cost and fast turnaround if compatibility matches | Fewer interruptions when DVR-specific rules apply |
| Compatibility checking | You rely on the manual and connector matching | You benefit from prior model experience and documented part lists |
| Risk of “HDD Error” | Higher if initialization/drive type steps are skipped | Lower with proper disk selection and configuration |
| Time on site | Minutes to an hour depending on menus and format steps | May involve scheduling, but typically completes end-to-end validation |
| Warranty considerations | Can be impacted if the unit seal or warranty terms matter | Often better aligned with manufacturer/service procedures |
| Troubleshooting depth | Good for connector and scheduling issues | Better for power faults or firmware/storage compatibility issues |
| Downtime control | You can minimize downtime if you follow the verification sequence | You get a controlled process and post-change checks |
| Best fit scenario | Upgrades on supported models where SATA HDD requirements are clear | Repeat errors, complex deployments, or uncertain drive support |
| Data preservation | Not guaranteed if you must reinitialize the DVR hard drive | More likely to advise on safe handling and recovery options |
| Verdict certainty | High when the manual clearly supports the drive and you complete initialization + schedule | High when compatibility is unclear or the DVR keeps throwing errors after install |
| Verdict | Choose DIY if you confirmed SATA + size support and you’re ready to initialize and verify schedules. | Choose a technician if you see persistent “HDD Error,” the DVR reboots, or your model uses non-standard storage. |
Skip this upgrade if your DVR uses a proprietary storage module (non-standard drive), you don’t have the correct drive type, or the manual explicitly says installation must be handled by a service tech.
Checklist (save or print):
| Step | Do this |
|---|---|
| 1 | Confirm your DVR model supports the drive type/size |
| 2 | Power down fully and unplug the DVR |
| 3 | Open the case and find the SATA data + power connectors |
| 4 | Mount the drive securely and connect SATA data + power |
| 5 | Boot the DVR and initialize/format the drive if prompted |
| 6 | Set recording schedule and enabled channels |
| 7 | Test: confirm timestamps update / recording timeline fills in |
If you tell me your DVR brand/model (and whether it uses a 3.5-inch SATA drive), I can tailor the steps to the most likely menu names and where initialization usually appears.
After the drive is installed and formatted, the DVR should start recording once you enable the right channels and schedules. Use the checklist above to confirm every “easy-to-miss” step—especially SATA connections and the initialization/recording settings—so you don’t end up with a detected drive that still doesn’t record.
Frequently Asked Questions
How do you install a DVR hard drive step-by-step?
Start by powering off and unplugging the DVR, then remove the cover to access the internal drive bay. Check whether your DVR uses SATA or IDE connections, and match the correct data and power cables. Mount the new CCTV hard drive securely using the screw holes, connect the SATA data cable and power leads, then close the case and power the DVR on. After booting, go into the DVR’s Storage/HDD menu to format the disk so it’s recognized for recording.
Which type of hard drive is best for DVR security systems?
For DVR installation, you should use a surveillance-rated “AllFrame” or “surveillance” HDD (often called a CCTV or DVR HDD) designed for continuous 24/7 recording and vibration tolerance. These drives are built to better handle the higher workload of video writing compared with typical desktop HDDs. If your DVR supports specific capacities, follow the manufacturer’s compatibility list to avoid detection or formatting issues.
What should you do if your DVR doesn’t detect the new hard drive after installation?
First, re-check that the SATA data cable is fully seated and that the power connector is firmly attached to the HDD. Confirm the drive type and capacity are compatible with your DVR model, since some units have limits on size or require specific firmware behavior. Then, use the DVR’s Storage or HDD settings to initialize and format the disk, and allow a few minutes for the process to complete. If the drive still isn’t detected, try a different cable or test the HDD in a PC or another compatible recorder.
Why is formatting required after installing an HDD in a DVR?
DVRs typically use a filesystem and configuration tailored for video recording, so the drive must be initialized and formatted by the DVR to work correctly. Formatting ensures the DVR can manage recording partitions, overwrite behavior, and storage settings. If you install a hard drive without formatting in the DVR, the unit may show “No HDD,” fail to start recording, or produce recording errors.
How can you safely connect power and data cables when installing a DVR hard drive?
Disconnect all power before handling the DVR interior, then connect the correct SATA data cable from the DVR mainboard to the HDD. Use the matching SATA power connector from the DVR power supply, ensuring the connection is fully latched to prevent intermittent recording or drive errors. Keep the SATA cables neatly routed to avoid pinching them under the cover, and verify there’s no loose wiring before closing the DVR. Once installed, power on and confirm drive status in the DVR’s HDD/Storage menu.
📅 Last Updated: November 03, 2026 | Topic: How can you install a DVR hard drive? | Content verified for accuracy and freshness.
References
- Digital video recorder
- Hard disk drive
- SATA
- Advanced Format
- Partition
- File system
- RAID
- https://scholar.google.com/scholar?q=install+DVR+hard+drive Google Scholar
- https://scholar.google.com/scholar?q=DVR+hard+disk+replacement+SATA+formatting Google Scholar
- https://scholar.google.com/scholar?q=surveillance+NVR+DVR+hard+drive+installation Google Scholar