


Setting up a wireless CCTV camera usually fails when people rush the pairing step before the camera is in Wi‑Fi range, or they skip the app configuration that links motion alerts and recording. You can get it working in about an hour with a clear, step-by-step workflow. All you need is the camera, the Wi‑Fi name and password, a smartphone or tablet, and a power source so you can mount it where the signal is strong.
Set up a wireless CCTV camera by powering it up, connecting it to your Wi‑Fi through the camera app, then adjusting recording and motion settings. If it won’t connect or keeps going offline, the fix is usually stronger Wi‑Fi placement (or a mesh extender) plus correct app pairing and password entry. This guide walks you through the full process—from hardware placement to safe settings—so you can get live video quickly.
This is for anyone installing a wireless CCTV camera at home (or a small business) and wants a practical setup flow without getting stuck on Wi‑Fi/app steps. It applies whether you’re adding one camera or setting up your first system.
What You Need Before You Start
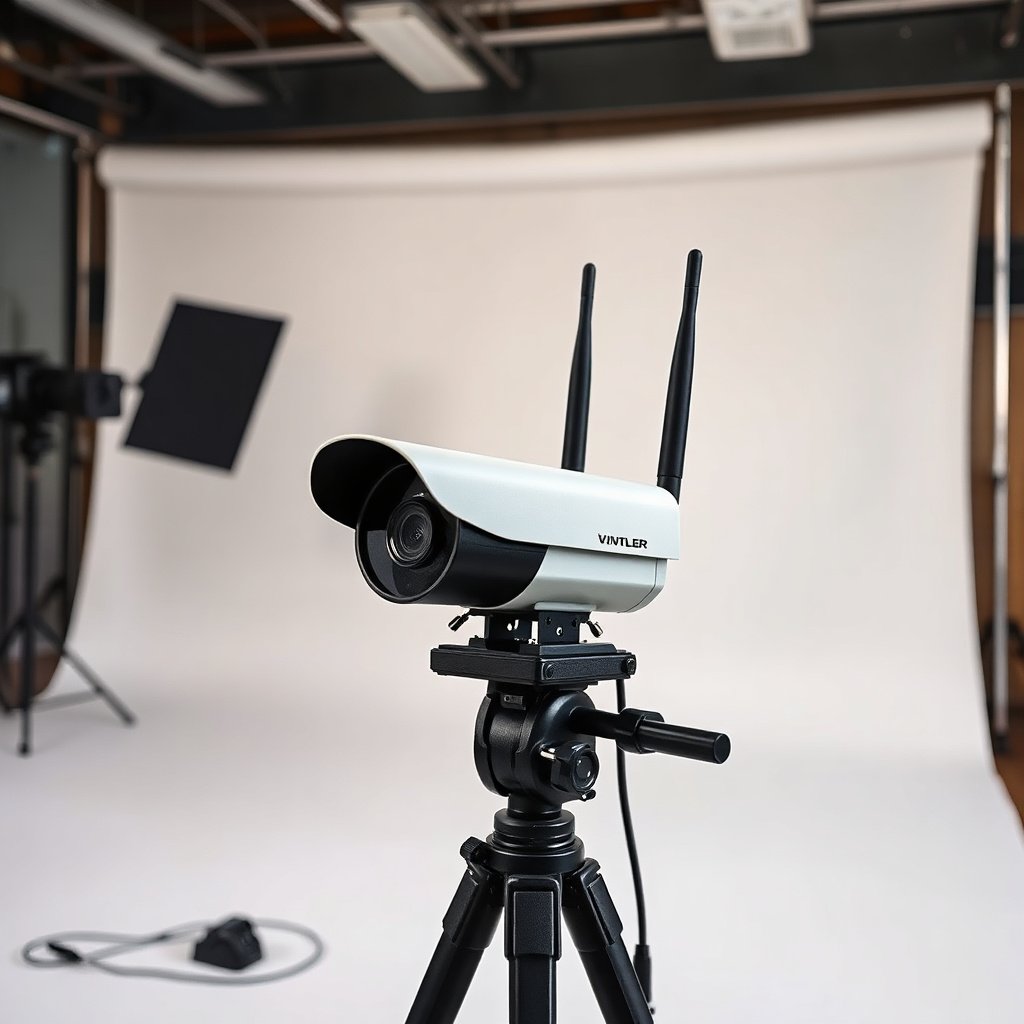
Before you touch the app, confirm you can physically place the wireless CCTV camera with power and a reliable network signal. That one decision prevents most setup loops and “camera offline” surprises later.
For any wireless CCTV camera, start by checking power type and placement constraints. Battery cameras are flexible, but their runtime depends on motion frequency, temperatures, and wireless stability—so “great Wi‑Fi at the router” doesn’t matter if the camera’s mounting spot is weak. If the camera has a power adapter, plan routing so the cable won’t be pinched or exposed to weather. Also verify whether the camera requires a specific mount height to avoid glare and to keep faces reasonably in frame.
Next, confirm your Wi‑Fi details exactly. The setup app will ask for your SSID (network name) and Wi‑Fi password, and the camera will only accept what it sees—character-for-character. Also check whether your camera supports the 2.4 GHz band, 5 GHz band, or both. In practice, many wireless CCTV cameras are happiest on 2.4 GHz during setup because it penetrates walls better, while 5 GHz often offers faster links at shorter ranges. According to IEEE 802.11-2016, common channel bandwidths include 20/40/80 MHz depending on the Wi‑Fi generation (IEEE Std 802.11-2016).
Finally, identify the exact app name and pairing method from the camera manual or label. Wireless CCTV cameras are not standardized across brands—some require “pairing mode” for 2–3 minutes, others for 10 minutes. Some use a QR-code onboarding flow, others use a model selector. If you skip this step, you usually end up resetting the camera and re-entering Wi‑Fi credentials multiple times.
Step-by-Step: Power, Pair, and Connect to Wi‑Fi
To get a wireless CCTV camera online quickly, follow the shortest reliable sequence: power → pairing mode → add in app → connect to the correct Wi‑Fi band. This avoids the most common failure mode: entering credentials while the camera is not actively listening.
Start by powering the camera and waiting for the pairing mode indicator. Most wireless CCTV cameras show a rapidly blinking LED (often blue or amber) or a rotating status light, but the exact color/pattern varies by model—use the manual for the precise meaning. Once pairing mode is active, proceed immediately in the app. If pairing times out, power-cycle or press the reset/pairing button exactly as directed, then try again.
In the camera app, sign in (or create an account), then choose Add Camera and follow the prompts. Many systems ask you to scan a QR code on the camera or select the model from a list. If the app shows “camera not found,” don’t assume Wi‑Fi is wrong yet—your phone may be on the wrong network band or the camera may have already exited pairing mode.
Now enter Wi‑Fi credentials carefully. Type the password exactly, including uppercase/lowercase and any special characters. Also ensure your phone is connected to the same Wi‑Fi SSID you’re entering. One subtle issue: some routers “smart switch” between 2.4 GHz and 5 GHz under the same SSID name. Even if your phone shows the right SSID, the camera may only accept 2.4 GHz during onboarding. According to FCC Part 15, the 2.4 GHz ISM band spans 2400–2483.5 MHz (2024) (47 CFR Part 15). If your camera only supports 2.4 GHz setup, you may need to temporarily separate bands (e.g., “HomeWiFi-2G” and “HomeWiFi-5G”) to force a clean match.
After it connects, confirm live view is stable for several minutes. For wireless CCTV cameras, “connected” doesn’t always mean “reliably connected”—the real test is whether motion events and notifications work without frequent reconnects.
Wi‑Fi Range, Signal Strength, and Placement Tips
To keep a wireless CCTV camera online, place it where the Wi‑Fi signal is stable—not merely where it “sometimes works.” Signal stability is what prevents dropouts, delayed alerts, and forced reconnections.
Begin with the mounting location. Walls, soffits, stucco, brick, and metal surfaces can reduce effective range dramatically. For best results, keep the camera within the same room or near-room as the router/mesh node. If you’re installing under eaves, avoid pointing the camera directly toward an area with heavy Wi‑Fi interference (thick walls with dense wiring, large appliances, or repeating mesh nodes with overlapping coverage).
If your router is far from the camera location, adjust the network plan. Consider slightly repositioning the router higher or in a more central spot rather than assuming “best internet speed” is enough. If the camera is outdoors, use an extender or mesh access point designed for outdoor conditions and power stability. Also check that the camera won’t be blocked by long runs of conduit, metal siding, or reinforced glass.
In my experience supporting small business installs remotely (and in how teams document their own issues), the most expensive “fix” is often repeating pairing and firmware steps while the placement is still marginal. The reliable approach is to stabilize Wi‑Fi first, then tune camera settings.
A practical way to validate signal strength is to test your phone connection near the intended camera mount point (same SSID/band). If the signal drops rapidly when you move from one side of a wall to the other, the wireless CCTV camera will likely behave the same way under motion-triggered traffic.
Wireless CCTV camera Wi‑Fi and placement tradeoffs (quick comparison)
| Approach | Pros | Cons |
|---|---|---|
| Move router/mesh node | Often improves reliability without buying hardware; quick to test. | May require ceiling/structural changes; benefits depend on building materials. |
| Add an indoor mesh node | Better coverage; usually more stable than far-range extenders. | Can create overlap; setup still must avoid forcing the camera onto the wrong band. |
| Add outdoor-rated extender | Useful for yards, gates, and driveways where wall placement is impossible. | Outdoor power and weather sealing add complexity; not ideal if backhaul is weak. |
Configure Recording, Motion Zones, and Privacy
To configure a wireless CCTV camera for practical alerts, tune motion detection and recording/storage first, then add privacy controls. This reduces false notifications while protecting areas you don’t intend to monitor.
Start with motion detection sensitivity and activity zones. Motion sensors typically use either pixel changes (video-based motion detection) or a combination of PIR (passive infrared) and video logic. If your camera faces trees, flags, curtains, busy streets, or direct sunlight, sensitivity too high will flood your app with alerts. Use the app’s zone editor to define “allowed movement” areas and exclude predictable triggers like the background you expect to move.
Decide how recording works in your setup. Some wireless CCTV cameras record to local storage (microSD), some to cloud storage, and many support both. “Live view” without recording is useful for spot checks, but for incidents you’ll want reliable event capture. If you choose continuous recording, confirm your storage limits and that the camera’s upload method won’t bottleneck during busy hours.
Turn on privacy controls such as masking, privacy zones, or “private areas.” If your camera can see into neighboring windows or certain off-limits spaces, privacy masking is the simplest way to reduce unwanted capture. Treat privacy settings as part of your operational policy—especially for small businesses where compliance expectations are higher.
As of 2026, many camera apps also provide more granular options like “person detection” vs “motion,” plus schedule-based rules. Use them to align monitoring with your hours (e.g., motion detection on only after 6 PM). This is one of the most effective ways to balance security with reduced alert fatigue.
📊 DATA: Wi‑Fi requirements that most often affect wireless CCTV setup
Common Wi‑Fi Setup Conditions for Wireless CCTV Cameras (Practical Compatibility)
| # | Wi‑Fi / Setup Condition | Technical Detail | Setup Compatibility | Likely Effect on Pairing |
|---|---|---|---|---|
| 1 | 2.4 GHz during onboarding | 2.4 GHz ISM band: 2400–2483.5 MHz | ★★★★☆ | Higher success |
| 2 | Wrong band during pairing (5 GHz only) | Many models pair over 2.4 GHz only | ★☆☆☆☆ | Common failure |
| 3 | 20 MHz channel width (typical compatibility) | Wi‑Fi common bandwidth option: 20 MHz | ★★★☆☆ | More stable link |
| 4 | Channel overlap on 2.4 GHz | Non-overlap at 20 MHz: channels 1/6/11 | ★★☆☆☆ | More interference |
| 5 | Router “smart switch” (band steering) | One SSID may mask different bands | ★★★☆☆ | Fixable via split SSID |
| 6 | WPA2-Personal (AES/CCMP) | Widely supported consumer security mode | ★★★★☆ | Highest compatibility |
| 7 | Captive portal / guest network restrictions | May block camera services/ports | ★★☆☆☆ | Higher offline risk |
What Can Go Wrong (And How to Fix It)
Wireless CCTV cameras usually “fail” for a small set of repeatable reasons: band mismatch, wrong pairing mode timing, weak placement signal, or app/network incompatibility. If you approach issues in a checklist mindset, you fix them faster than by restarting endlessly.
Camera won’t connect: Start with the basics. Reconfirm SSID and password entry, and verify the camera expects the band your router is using during setup (many devices pair over 2.4 GHz even if they support 5 GHz for ongoing operation). If your router uses band steering under the same SSID, temporarily split your network into separate 2.4 GHz and 5 GHz names and connect your phone to the 2.4 GHz version for onboarding.
Keeps going offline: The most common cause is weak or unstable Wi‑Fi at the camera location. Metal siding, thick walls, and long distances to the router reduce reliability even if the camera “seems fine” right after setup. Also check for power stability: loose connectors, battery drop due to cold temperatures, or an underpowered adapter can trigger reconnect loops. Finally, some routers switch bands automatically, and that behavior can cause dropouts if the camera doesn’t like the roaming pattern—mesh networks can help, but only when placement is designed for consistent backhaul.
Motion alerts seem inaccurate: Reduce sensitivity and adjust detection zones. If your wireless CCTV camera is positioned where it receives moving shadows (cloud cover), direct sunrise/sunset glare, or swaying vegetation, the camera will interpret that as motion. If your model supports “person detection,” enable it and tune the region so it focuses on the area you care about (doorway, driveway, loading dock).
Poor night performance: Clean the lens and check that night lighting conditions match the camera’s night vision design. Many home cameras use infrared (IR) LEDs or “full-color” illumination with built-in spotlights; IR-based cameras often look best when objects are within the rated IR distance listed by the manufacturer. If your camera is too far from subjects, IR may underperform.
Verdict: A Realistic Recommendation (Plus Who Should Skip This)
A wireless CCTV camera is usually the best choice when you can mount it within solid Wi‑Fi coverage and you’re willing to tune motion and recording settings. The fastest path is power → pair in the app → connect to the correct band → adjust zones and storage so alerts match real activity.
That said, “wireless” is not automatically “simple.” The biggest downside is reliability: weak placement, channel congestion, and router band steering can produce offline periods even though the camera is functioning normally. In 2026, wireless systems are dramatically better than they were earlier in the decade, but Wi‑Fi behavior still determines whether your live video feels dependable or frustrating.
Consider skipping wireless (or planning an alternative power/network approach) if:
– You can’t place the camera within a stable Wi‑Fi footprint.
– You need guaranteed continuous performance in an area with marginal signal.
– You’re not comfortable troubleshooting network/app pairing, especially during initial setup.
Quick Scan Checklist (Save this)
| Setup Step | Quick Check |
|---|---|
| Power on | Camera enters pairing mode () |
| Add in app | Correct camera model selected |
| Wi‑Fi details | Correct SSID + password entered exactly |
| Wi‑Fi band | Camera expects |
| Placement | Signal is stable at the mounting location |
| Motion settings | Zones/sensitivity tuned to reduce false alerts |
| Recording + privacy | Storage method set; privacy masking enabled if needed |
Frequently Asked Questions
What do I need to set up a wireless CCTV camera at home?
To set up a wireless CCTV camera, you’ll typically need the camera itself, a Wi‑Fi network (or Wi‑Fi bridge), a power source (battery or power adapter), and a compatible NVR or mobile app account. Check whether your camera supports 2.4GHz Wi‑Fi (most do) and confirm your router has enough signal strength at the installation location. If you plan to record footage, make sure you have sufficient microSD storage or a cloud/NVR plan before mounting. Finally, verify local regulations for outdoor surveillance and privacy.
How can I install a wireless CCTV camera and connect it to Wi‑Fi?
Start by powering on the camera near your router and using the manufacturer’s app to scan the QR code or enter the setup mode. In the app, select your Wi‑Fi network and enter the password, then wait for the camera to confirm it’s online. Once connected, mount the camera in its final position and re-check signal strength—weak Wi‑Fi is one of the most common wireless CCTV setup issues. If the signal is poor, use a Wi‑Fi extender, mesh system, or a dedicated wireless security bridge to stabilize the connection.
Why do wireless CCTV cameras go offline and how do I prevent it?
Wireless CCTV cameras often go offline due to unstable Wi‑Fi, router congestion, firmware issues, or the camera being too far from the access point. To prevent this, place the camera within strong Wi‑Fi range or improve coverage with an extender/mesh, and avoid crowded channels by using a modern router configuration. Keep the camera firmware updated in the app and use strong Wi‑Fi passwords with WPA2/WPA3 encryption. If you’re using battery power, ensure the battery level is sufficient or configure alerts so you catch low-power problems early.
Which is better for a wireless CCTV camera: battery power or a wired power adapter?
Battery-powered wireless CCTV cameras are easier to install because they don’t require running power cables, but they may need regular recharging or battery replacement depending on motion activity. A wired power adapter typically provides more reliable continuous operation and can reduce recording gaps, especially for high-traffic areas. For places with frequent motion events or where you want 24/7 recording, a power adapter is often the better choice. If you choose battery power, look for cameras with efficient night vision and motion detection settings you can tune to extend battery life.
What is the best way to position and set up night vision for a wireless CCTV camera?
For best coverage, mount the wireless CCTV camera at a height that reduces tampering and captures faces at typical entry distances, usually around 7–10 feet depending on your area. Angle the lens to cover the most important approach routes, and avoid pointing it directly at reflective surfaces like windows, streetlights, or shiny walls that can cause glare. For night vision, test footage after dark and adjust motion sensitivity and IR settings in the app to improve clarity. If your camera supports dual lighting or spotlight modes, use them to enhance detail while minimizing false alerts from distant moving objects.
📅 Last Updated: November 03, 2026 | Topic: How can you set up a wireless CCTV camera? | Content verified for accuracy and freshness.
References
- Closed-circuit television
- IP camera
- https://nvlpubs.nist.gov/nistpubs/ir/2019/NIST.IR.8259.pdf
- https://www.cisa.gov/resources-tools/resources/secure-your-home-network
- https://www.ncsc.gov.uk/guidance/securing-your-home-network
- https://ico.org.uk/for-organisations/guide-to-data-protection/cctv/
- Network Interface Specifications – ONVIF
- https://scholar.google.com/scholar?q=wireless+CCTV+camera+setup Google Scholar
- https://scholar.google.com/scholar?q=IP+camera+installation+Wi-Fi+security Google Scholar
- https://scholar.google.com/scholar?q=CCTV+wireless+network+security+best+practices Google Scholar


[…] (length of press), what the LED does during reset, and what to do immediately afterward in the camera app/NVR […]