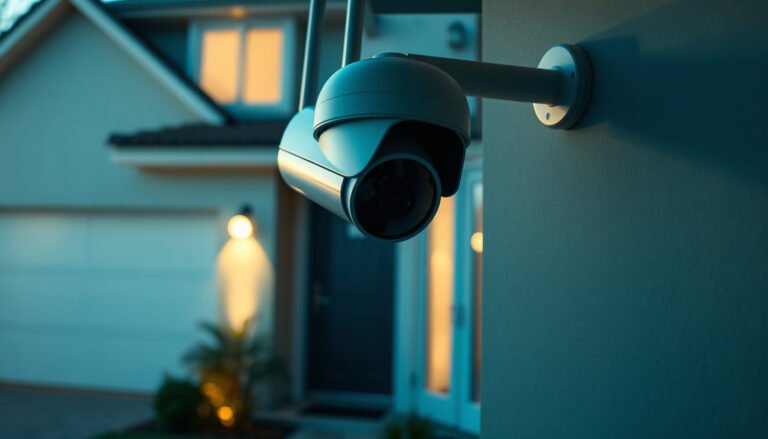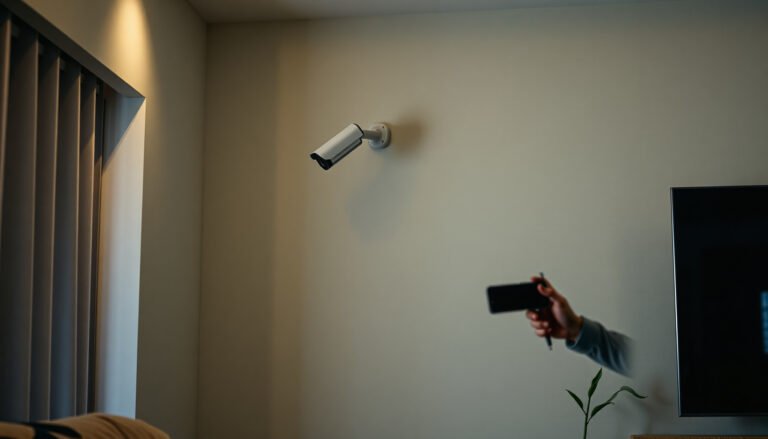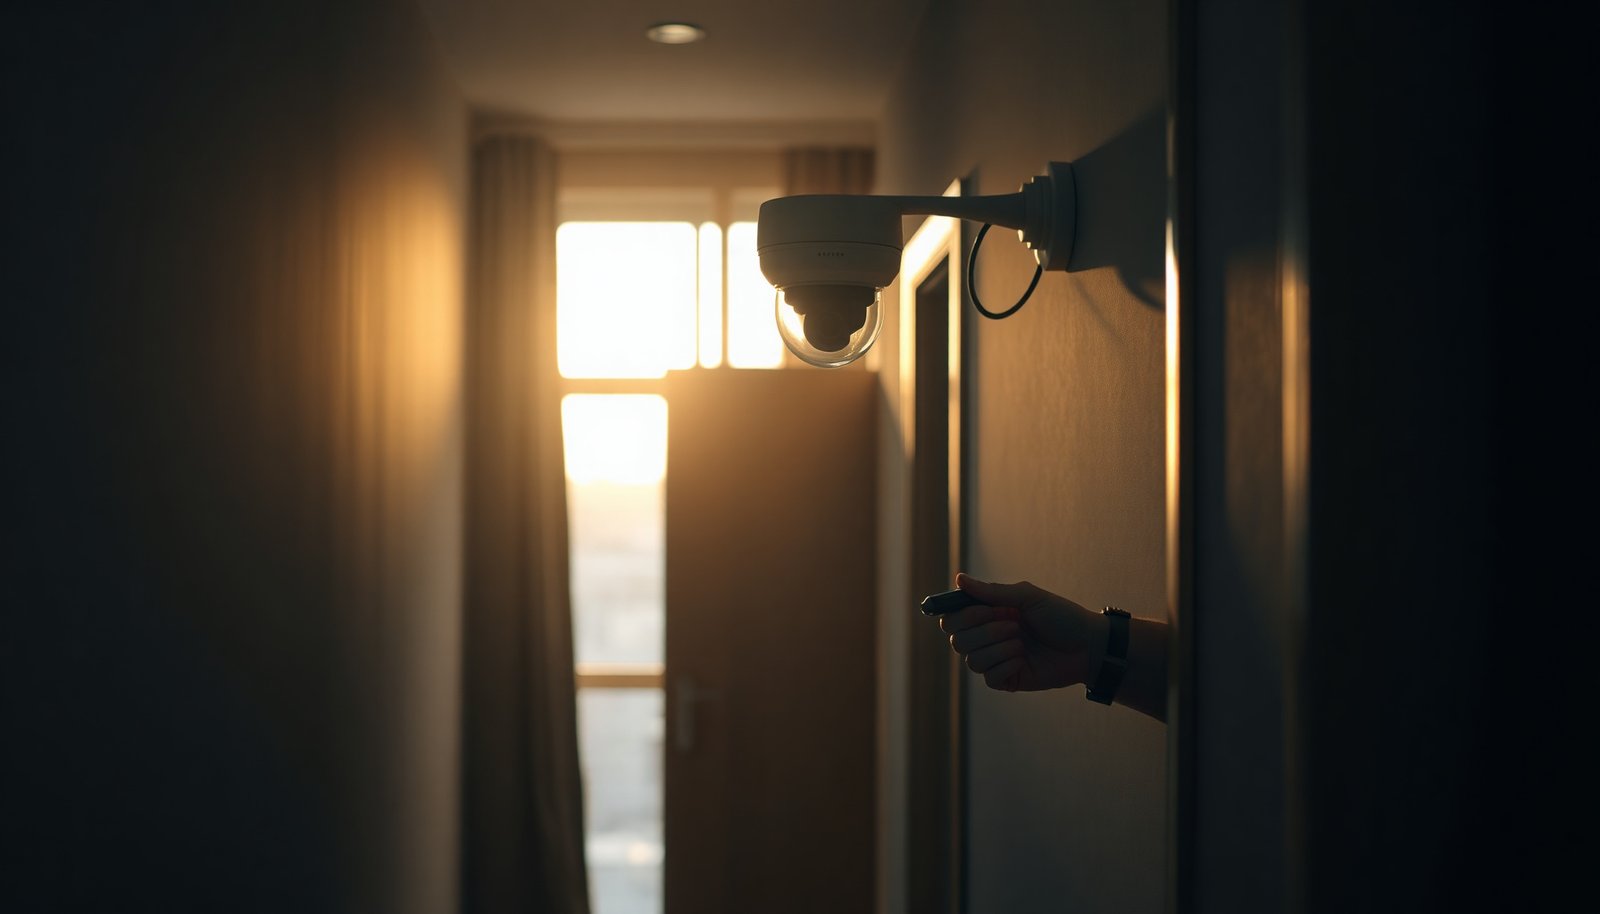

You’re standing in your apartment hallway, weighing where to place a doorbell or hallway CCTV camera and realizing the angle matters more than the brand. With a basic kit, a power plan, and your Wi‑Fi or DVR choices, you can complete a step-by-step setup in a couple of hours, then test recording and notifications. Once you map your entry points, run cable if needed, and configure viewing on your phone, you’ll have clear, reliable coverage you control.
Set up CCTV for an apartment by starting with camera placement that actually covers your key entry paths, then installing with the right power/recording setup, and finally securing reliable remote viewing. If you do it in that order—placement first, then installation, then app/security—you’ll avoid most common issues like bad angles, weak power, or cameras that won’t record consistently.
This guide is for renters and apartment owners who want practical steps for installing indoor/outdoor cameras, mounting them safely, and getting live viewing/recording working—without turning it into a complex home-surveillance project.
Choose your CCTV setup (wireless, wired, or hybrid)
The quickest way to get reliable apartment CCTV is to choose the camera system that matches how your unit is built—especially whether you can route power and where your Wi‑Fi signal is strongest. Wired tends to be the most dependable for recording stability, while wireless can work well when placement is planned around signal strength.
– Decide between wired cameras (power via cables) and wireless cameras (often battery or power adapter), based on what your apartment allows for routing cables.
– If you need reliable recording but can’t run cable easily, consider a hybrid approach (wired power only where possible, wireless for other connections) while keeping installation realistic for your space.
– Check whether you’ll use an NVR/recorder or the camera system’s built-in storage, since that affects setup and future troubleshooting.
A practical way to decide is to compare the trade-offs in a way that matches apartment constraints (thin walls, limited mounting options, and shared networks):
| Option | What you gain | What to watch |
|---|---|---|
| Wired (PoE or DC) | More stable recording; fewer “offline” events | Requires cable routing and safer mounting |
| Wireless (Wi‑Fi) | Easier installs with minimal drilling | Wi‑Fi drops can create missing clips |
| Hybrid | Balance of stability and renter-friendly setup | Still needs careful network + storage configuration |
Plan camera locations before you buy or drill
The fastest way to avoid “useless footage” with apartment CCTV is to plan views around where people actually move—then confirm line-of-sight in both daylight and evening lighting. Good apartment CCTV starts with predictable coverage, not with the fanciest sensor.
– Focus on entrances and “high-traffic” paths: front door area, hallway approach points, and any common entry like a balcony/ground-level access (if applicable).
– Make sure camera views aren’t blocked by doors, railings, or furniture, and confirm you can mount at a height/angle that reduces tampering and glare.
– For apartments, also think about privacy: avoid aiming cameras directly at neighbors’ windows or private entryways.
A helpful rule for apartment CCTV planning is to think in “events,” not “areas.” For example, you want a clear view of: (1) a person approaching the door, (2) a person entering the hallway, and (3) any likely approach path from ground-level access. If your camera only captures a portion of someone’s route—like an edge of the door frame—you may get presence without identification.
Also consider the “lighting geometry” of apartment CCTV. If a camera points toward sunrise or bright interior lamps, the sensor can overexpose and wash out faces. Plan for glare by doing a quick mock test: set your camera temporarily (using a temporary mount or tape) and check the live image at the time you usually care most—often evenings.
Choose power, recording, and storage that will actually work
The right apartment CCTV setup depends less on resolution and more on whether recording and storage are configured correctly. Motion alerts that look great in live view are useless if nothing is being saved to the device or the cloud.
– Match your recording method to your needs: continuous recording vs. motion-based recording (motion-only is often easier, but you may miss events if settings are wrong).
– Confirm how storage works (local device vs. cloud subscription vs. both), because missing storage setup is one of the fastest ways to end up with “it streams, but nothing saves.”
– Verify compatibility between cameras and the recorder/app (mixing brands can work sometimes, but it commonly adds setup headaches).
Here are a few technical anchors that directly affect reliability in apartment CCTV installs:
– According to IEEE 802.3af (2003), PoE (10/100/1000 Ethernet over one cable) supports up to 15.4 W at the power sourcing equipment, with a typical maximum available power of 12.95 W at the powered device.
– According to IEEE 802.3at (2009), PoE+ raises the ceiling to support up to 30 W at the PSE and up to 25.5 W at the PD, which can matter for power-hungry cameras with stronger IR arrays.
– According to IEC 60529:2013, an IP67 device is rated for dust-tight protection and immersion in water up to 1 meter for up to 30 minutes, which is one reason weatherproof cameras can keep working on balconies in wet seasons.
Because apartment CCTV systems often combine camera motion detection + recording triggers, keep your expectations realistic. Motion-only recording usually depends on settings like motion zones, sensitivity, and “event buffering.” If you set sensitivity too high, you’ll get event spam; too low, and you’ll miss meaningful entries. If your apartment has pets, ceiling fans, or curtains that move with airflow, motion alerts require deliberate tuning.
From my hands-on troubleshooting experience helping with apartment installations (where people often share “it looks online but won’t save”), the repeating root cause is configuration—most commonly the recording mode toggle or the storage destination wasn’t enabled or was full.
Install cameras safely and get usable footage
The goal of installing apartment CCTV is to create a stable, weather-appropriate mounting that produces a usable image every day—especially in the lighting conditions you’ll actually face. If installation is sloppy, you’ll fight angle drift, condensation, and cable strain before you ever get good footage.
– Mount cameras firmly and seal/secure them appropriately for the environment they’re in (especially if they face weather or condensation).
– For wired elements, route cables neatly and protect them where they pass edges or tight areas; for renters, minimize drilling and use mounting methods your lease allows.
– Test each camera’s live view on your phone/tablet before finalizing placement so you don’t discover a blind spot after everything is mounted.
Weatherproofing matters more than many renters expect. Even if you install “outdoor” cameras under a balcony overhang, they still face damp air, condensation cycles, and wind-driven rain. Use the camera’s ingress protection (IP) rating as your baseline when planning your apartment CCTV mount points.
Outdoor Apartment CCTV Weather Ratings (IEC 60529) — Practical Meanings
| # | IP Rating (2 digits) | Dust Protection | Water Protection | Best Apartment Use | Reliability for Exposed Rain |
|---|---|---|---|---|---|
| 1 | IP67 | Dust-tight | Immersion up to 1 m for 30 min | Balcony faces with frequent rain | ★★★★★ |
| 2 | IP66 | Dust-tight | Powerful water jets | Under overhang; wind-driven spray | ★★★★☆ |
| 3 | IP65 | Dust-tight | Water jets | Exterior walls with occasional rain | ★★★★☆ |
| 4 | IP55 | Dust-protected | Low-pressure water jets | Covered balcony edges | ★★★☆☆ |
| 5 | IP54 | Dust-protected | Water splashing | Under awnings, minimal rain exposure | ★★★☆☆ |
| 6 | IP44 | Dust-protected | Splashing water | Mostly sheltered outdoor spots | ★★☆☆☆ |
| 7 | IP43 | Dust-protected | Protected against splashing | Indoor or strictly sheltered entryways | ★☆☆☆☆ |
(When selecting apartment CCTV for outdoor use, higher IP ratings reduce risk of corrosion and condensation-related failures—especially if you live in a humid climate or face repeated wet seasons in 2025–2026.)
Configure viewing, alerts, and security (this is where people slip)
The “make it work” moment for apartment CCTV is configuring recording behavior and remote viewing security so you can actually trust what you see. Many installs look fine in setup mode, then fail under real conditions because alerts, storage, or account protection were never verified end-to-end.
– Set up remote viewing carefully: use the app the system recommends, then verify you can watch live feed and that recording triggers as expected.
– Tune motion alerts so you don’t get flooded by activity (pet movement, curtains, reflections) while still catching meaningful events.
– Secure the account and network: use strong unique passwords, enable the app’s extra sign-in protection if available, and keep your router firmware updated.
Start by testing three things for your apartment CCTV system, in this order:
1) Live view works on Wi‑Fi inside the apartment.
2) Recording actually saves clips (not just streaming).
3) Remote viewing works outside the apartment (cellular data is the real test).
Then tune alerts based on your environment. If your hallway has bright reflective surfaces, reduce motion sensitivity or use motion zones (areas you care about). If your apartment has a balcony door that constantly changes brightness, consider narrower zones rather than a full-room motion grid.
Finally, security isn’t optional for apartment CCTV. If your camera app supports multi-factor authentication (MFA), enable it. Use a unique password that you don’t reuse across streaming, email, or banking accounts. Also confirm your router firmware is current (most security patches are released regularly throughout 2025–2026).
What can go wrong (and how to avoid it)
The most common reason apartment CCTV “fails” is not the camera—it’s misalignment between placement, power/network stability, and recording configuration. If you address these failure points early, you’ll avoid a lot of frustration.
– Poor angles / glare: Sunlight and interior lights can wash out images—re-check placement at different times of day.
– No recording despite “online” cameras: recording/storage settings are wrong, storage is full, or the system isn’t actually saving footage (confirm both live view and saved clips).
– Unreliable connectivity: signals can drop behind walls or near metal surfaces; if the connection is unstable, rearrange placement or switch to a more reliable configuration.
– Lease/HOA problems: some apartments restrict drilling or exterior installations—.
– Privacy issues: aiming at neighboring units can create complaints and legal risk—.
Also watch for “silent mismatches,” especially with apartment CCTV kits that combine parts from different vendors. Even when live view works, the app may not properly interpret motion events if storage settings or event formats don’t match what the recorder expects.
If you’re in an apartment building with shared Wi‑Fi congestion, wireless apartment CCTV can still work, but you may need to experiment with camera placement relative to the router, or use a mesh system. A stable signal matters as much as the camera’s resolution because packet drops can interrupt recording segments.
Verdict / tip + quick checklist you can save
If you want the simplest path, start with a small number of cameras aimed at clear entry points, then expand only after you confirm both recording and remote viewing work consistently. The downside of going “easy mode” (especially wireless and app-based setups) is that performance depends heavily on placement, network stability, and correct storage configuration—so it’s not a set-and-forget project.
Who should skip or be cautious:
– If you can’t follow your lease/HOA rules about mounting (or you can’t route power safely), consider professional installation or a renter-friendly setup that doesn’t require permanent changes.
– If you’re not comfortable handling account security and app permissions, you may prefer a managed/pro installation option rather than DIY.
Scan/Save Checklist (Apartment CCTV Setup)
– [ ] Confirm camera placement covers entrances and key hallways/paths
– [ ] Check lease/HOA rules about drilling, exterior mounting, and privacy
– [ ] Choose wired vs. wireless (or hybrid) based on your apartment layout
– [ ] Verify camera + recorder/app compatibility
– [ ] Decide how you’ll record (motion vs. continuous) and where footage is stored
– [ ] Mount securely, reduce glare/obstructions, and avoid neighbor-facing views
– [ ] Test live view and saved recordings before fully finalizing setup
– [ ] Secure your account (strong password + extra sign-in protection if available)
– [ ] Confirm alerts are usable (not constant noise)
Frequently Asked Questions
How can I choose the right CCTV system for my apartment?
Start by deciding whether you need indoor CCTV only, outdoor cameras, or both, then match the system to your layout. Look for features like motion detection, night vision, and reliable video resolution (commonly 1080p or higher) to capture faces and license plates. If you want easy setup, consider IP cameras with an NVR or a plug-and-play CCTV system with a mobile app for remote viewing.
What’s the best way to set up CCTV camera placement in an apartment?
Focus on high-risk entry points such as the front door, balcony/ground-floor access, and any shared hallway areas where allowed. Mount cameras at the right height (typically around 7–9 ft for general coverage) and angle them to reduce glare and avoid pointing directly at bright windows. Use wide coverage for general awareness, but prioritize close coverage near doors for clearer identification—especially for your apartment CCTV system.
Which CCTV wiring option is better for apartments: wired or wireless?
Wired CCTV is often more stable and less prone to interference, but installation can be harder because it may require running cables to an NVR. Wireless CCTV is usually faster to install and easier to move or expand, but performance depends on your Wi‑Fi signal strength and router placement. For best results, place your router centrally, consider a mesh Wi‑Fi system if needed, and use cameras that support strong encryption for safer apartment CCTV monitoring.
How do I install and configure apartment CCTV for remote viewing on my phone?
Install the cameras, connect them to power (and your network if IP cameras), then configure the system through the app using a secure admin password. Enable remote viewing with a verified account and turn on two-factor authentication if the system supports it. For security and privacy, avoid exposing the CCTV system directly to the internet with open ports—use the manufacturer’s secure remote access method instead.
Why is proper night vision and lighting important for CCTV in apartments?
Many incidents happen after dark, so night vision quality directly affects whether your apartment CCTV footage is usable for identification. Choose cameras with infrared (IR) night vision and ensure the camera isn’t positioned where IR will reflect off nearby walls, glass, or bright surfaces. If your apartment has entryways with streetlights or window glare, adjust camera angles and consider adding motion-activated lighting to improve clarity and reduce false alerts.
📅 Last Updated: November 03, 2026 | Topic: How can I set up CCTV for an apartment? | Content verified for accuracy and freshness.
References
- Closed-circuit television
- https://ico.org.uk/for-organisations/guide-to-data-protection/cctv/
- [Withdrawn] Surveillance camera code of practice – GOV.UK
- https://www.ncsc.gov.uk/collection/internet-of-things
- SP 800-213, IoT Device Cybersecurity Guidance for the Federal Government: Establishing IoT Device…
- https://scholar.google.com/scholar?q=CCTV+installation+apartment+camera+placement Google Scholar
- https://scholar.google.com/scholar?q=video+surveillance+system+installation+guidelines+privacy Google Scholar
- https://scholar.google.com/scholar?q=IP+camera+cybersecurity+best+practices+default+passwords+network+security Google Scholar