
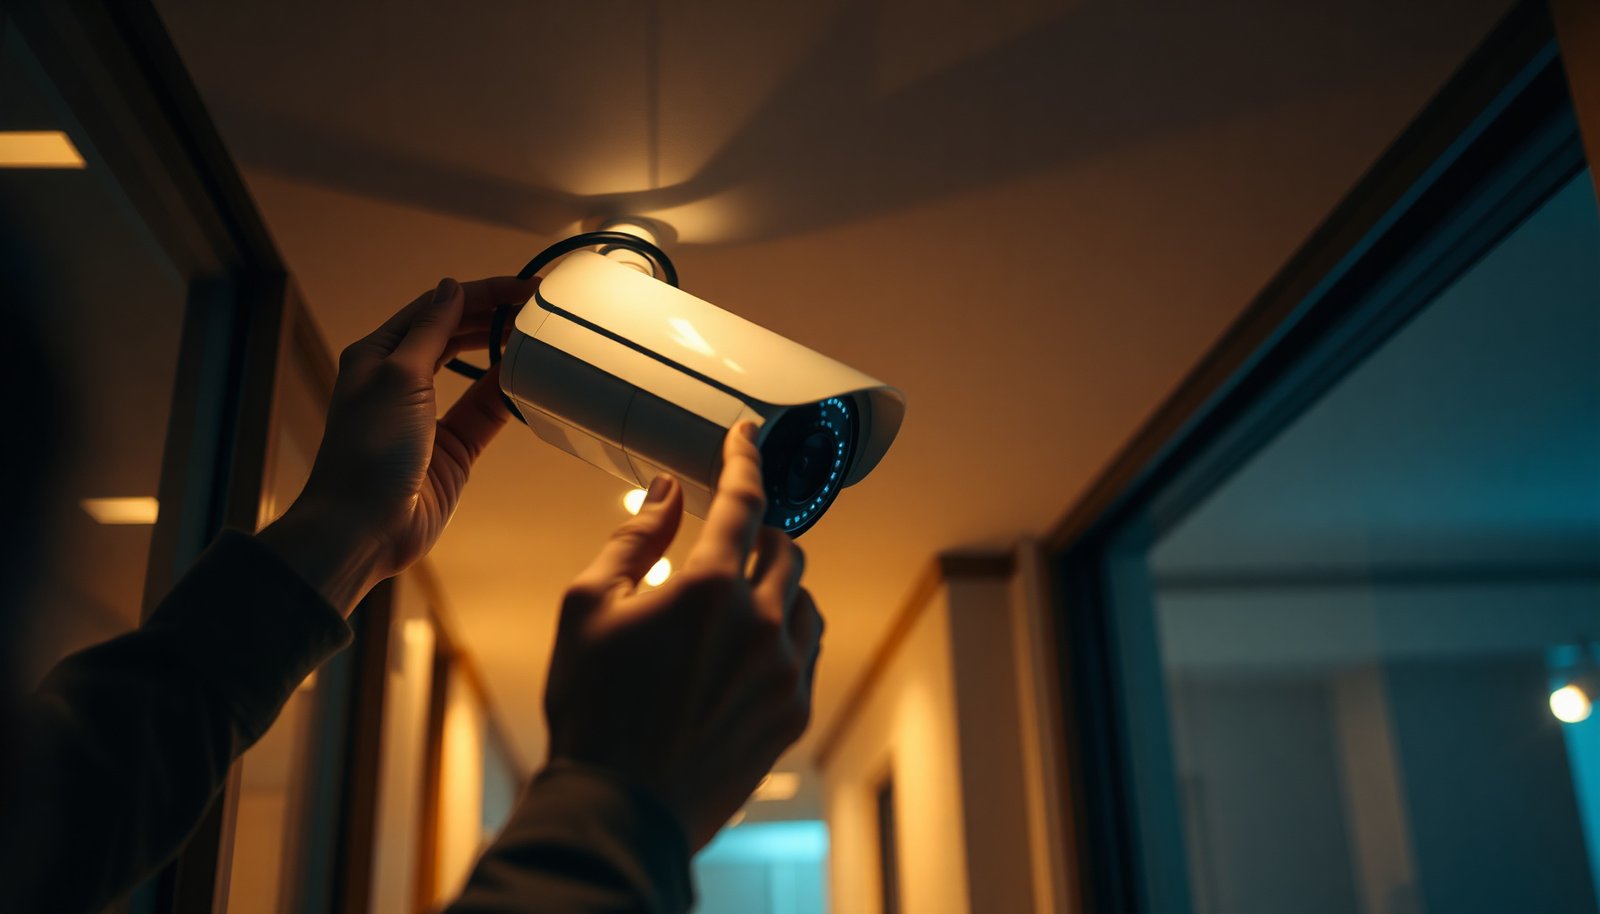

You peel off the protective film, mount the camera near your living room door, and realize the next step is getting it working—on your Wi‑Fi and in the app—without guesswork. With the right tools and a simple step-by-step setup, you can install an indoor CCTV camera in about an hour and start monitoring right away. You will need the camera and power supply, your phone for pairing, and a stable indoor Wi‑Fi signal.
To install an indoor CCTV camera, mount it where it has a clear view, connect it to power, then add it to the camera app to finish setup. The exact steps vary by model, but most cameras follow the same flow: place → power/network → app pairing → confirm motion/recording settings. In this guide, you’ll get a practical walkthrough and a quick checklist to avoid common setup issues.
This is for homeowners, renters, and small offices installing a typical indoor Wi‑Fi (or wired) CCTV camera for monitoring entryways, hallways, garages (if covered), or rooms with valuables.
Plan placement and check requirements first

The most reliable indoor CCTV camera installation starts with placement and compatibility—you want the camera where you need coverage and the hardware that matches your power and network. If you get these two things right up front, pairing and image quality usually fall into place quickly.
– Pick a spot that covers the area you care about (doorways, windows, main walkways) without pointing at direct sunrise/glare.
– Confirm what your camera needs: power type (plug-in or PoE/wired) and network type (Wi‑Fi vs Ethernet).
– Make sure you have what you’ll need on hand: mounting hardware, cable (if applicable), and a phone/tablet for pairing.
Quick reality check: coverage and viewing line
For an indoor CCTV camera, “coverage” is more than seeing a hallway—it’s also getting useful identification data. Before mounting, stand where people will be (near your door, in your entryway, or along your main path) and check the likely field of view. If you can’t easily identify facial features from that spot with your current lighting, the camera will struggle too.
This is especially true in rooms with reflective surfaces (mirrors, glass picture frames, glossy paint). Indoor CCTV camera lenses can also be “over-corrected” by auto-exposure, which may brighten the scene unevenly.
Confirm power + network before you drill
Indoor CCTV cameras generally fall into two installation paths:
– Wi‑Fi (plug-in) cameras: you’ll rely on your home or office router (and likely a specific Wi‑Fi band).
– Wired Ethernet / PoE (Power over Ethernet) cameras: you’ll run a cable to the camera and power it from an Ethernet switch or PoE injector.
If you’re going PoE, know that PoE options are standardized. According to IEEE Std 802.3af, PoE can deliver up to 15.4 W per port (budget matters for heaters, brighter LEDs, and higher-res sensors). According to IEEE Std 802.3at, higher-power PoE (Type 2) can deliver up to 30 W per port, supporting more demanding devices. These limits affect what camera models will reliably power on your system in 2026.
Data table: prerequisites that most often make indoor CCTV camera setup succeed
Seven Setup Checks That Reduce Indoor CCTV Camera Pairing Issues
| # | Setup check | What to confirm | Common mismatch | Setup impact |
|---|---|---|---|---|
| 1 | Coverage line of sight | Target entry path is within frame | Camera points too high/too wide | ★★★★★ High |
| 2 | Power method compatibility | Plug-in vs PoE matches your plan | No PoE budget for the model | ★★★★☆ High |
| 3 | Network type | Wi‑Fi camera uses router; wired uses Ethernet | Wrong setup flow for your model | ★★★★☆ High |
| 4 | Wi‑Fi band requirement (if applicable) | Camera-supported band is selected | Pairing uses 5 GHz when 2.4 GHz is required | ★★★☆☆ Medium |
| 5 | Mounting hardware readiness | Anchors/screws fit your wall/ceiling type | Loose mount causes drift after setup | ★★★★☆ High |
| 6 | App permissions enabled | Phone location/Wi‑Fi permissions allowed | App can’t discover or stream properly | ★★★☆☆ Medium |
| 7 | Lens cleanliness + privacy zones | Lens is clean; unwanted areas masked | Glare/reflections create noise events | ★★☆☆☆ Lower |
Choose the right camera angle and mounting height
The right angle for an indoor CCTV camera is the difference between “I have a video” and “I can identify someone.” Mounting high enough helps deter tampering, while positioning toward expected face level improves usable detail.
– Mount high enough to reduce tampering but still capture faces: a common approach is aiming around head level for people standing where you expect them to be.
– Adjust the tilt so the camera doesn’t get washed out by bright indoor lights or mirrors nearby.
– If your camera supports it, use “privacy masking” or “zones” to block areas you don’t want recorded (like a neighbor-facing window view).
What “good face capture” usually looks like
For indoor CCTV cameras installed near entryways, the most useful footage comes when the viewer’s eye line aligns with the sensor’s focus region. If you mount too high, faces become “top-of-head” views, which makes identification much harder during night mode. If you mount too low, the camera becomes easy to bump or cover.
From a practical standpoint, aim to keep people in the middle portion of the frame—not the very top edge—because compression and exposure adjustments can reduce facial clarity.
Avoid glare and reflective hotspots
Indoor CCTV cameras are sensitive to exposure changes. If your camera faces toward bright interior lights, the camera may “hunt” between exposure levels, resulting in blown highlights. Similarly, mirrors can create repeating reflections that confuse motion detection.
A quick method: turn on the room lights you’ll use during typical hours, then adjust the tilt until the brightest surfaces are not centered in the camera view.
Use zones/privacy masking early
Most modern indoor CCTV cameras offer privacy masking or recording zones. Use them to exclude:
– windows that show neighboring properties
– rooms you don’t want occupants to be recorded in
– areas that naturally move (like HVAC vents with airflow patterns)
This step reduces false motion events without sacrificing the entry route you actually care about.
Mount the camera (hardware installation)
The hardware installation step should be straightforward: secure the mounting bracket, route the cable if needed, then fine-tune before final tightening. With indoor CCTV cameras, small alignment errors become big problems later, so take a moment to set the angle while you still have access.
– Attach the mounting plate/bracket to the wall or ceiling using the provided screws/anchors for your surface type.
– Route the cable neatly if the camera is wired; if it’s plug-in, keep the power lead accessible for future removal.
– Secure the camera to the bracket and tighten until it’s stable—then do fine angle adjustments before fully finalizing.
Placement workflow that saves time
1. Dry-fit the bracket: Hold it in position and confirm you’re covering the intended doorway/hallway.
2. Mark and fasten: Use the included template or bracket as a guide.
3. Route cables (if applicable): Avoid sharp bends and keep wires away from high-traffic snag points.
4. Attach the camera and fine-tune: Don’t fully lock everything until you’ve checked the live image in the app.
If you’re running wired Ethernet (including PoE)
For wired indoor CCTV cameras, verify your cable path early. Ethernet standards commonly support up to 100 meters (328 ft) per segment for 100BASE-TX links. According to IEEE Std 802.3, this length limit is part of how switches and structured cabling deployments stay reliable.
If you exceed cable length, you may still get “some connectivity,” but recording and alerts can become intermittent—one of the most frustrating failure modes during real-world use in 2025 and 2026.
Avoid “hidden” vibration sources
Secure mounting matters more than it seems. Avoid mounting to surfaces that flex (thin drywall without anchors, loose ceiling tiles, or poorly fastened brackets). Even minor vibration can trigger compression artifacts and can make motion detection less consistent for an indoor CCTV camera.Connect power and pair in the app
The fastest way to get an indoor CCTV camera online is to power it first, then follow the app’s device-discovery flow without skipping permissions. Whether you use Wi‑Fi or Ethernet, the goal is the same: the app must reliably add the camera and show a stable live feed.
– Plug in the camera (or connect power/Ethernet) and wait for the setup indicator light to show pairing mode.
– In the camera app, add a new device and follow the on-screen steps to connect to your Wi‑Fi (if supported).
– Set basic permissions and confirm you can view a live feed from your phone, tablet, or web browser.
Wi‑Fi vs wired pairing: what changes
Wi‑Fi models usually require camera discovery, then Wi‑Fi credential transfer to the device. Wired models typically just need a network connection; pairing is often faster because there’s no Wi‑Fi handshake for the camera itself.
To make this clearer, here’s a simple comparison you can use during planning:
| Option | Best for | Pros | Cons |
|---|---|---|---|
| Wi‑Fi (plug-in) indoor CCTV camera | Renters, fast installs, one-room coverage | No Ethernet runs; quicker physical install | Wi‑Fi pairing failures are possible; bandwidth can affect reliability |
| PoE/wired indoor CCTV camera | Small offices, stable long-term monitoring | More predictable uptime; fewer Wi‑Fi variables | Requires cabling and PoE support |
Network permissions and app behavior (where setups stall)
During indoor CCTV camera pairing, apps often require:
– Location permission (to comply with wireless discovery requirements on mobile OSes)
– Wi‑Fi permission (so the app can guide you through selecting the network)
– Notification permission (so motion/event alerts reach you)
If your phone blocks these permissions, the indoor CCTV camera app may appear to work but won’t reliably discover or stream.
Confirm live view before you move on
Once paired, open the live feed and verify:
– video loads promptly
– audio (if supported) behaves correctly
– night mode activates as expected (at least briefly)
– the camera’s time zone is correct (wrong time stamps can complicate playback and alerts)
This is the point where an indoor CCTV camera installation becomes “done” for practical monitoring—not when the app recognizes the device name.
Configure recording, alerts, and viewing zones
The configuration step is what turns your indoor CCTV camera into a tool you can trust. Instead of enabling every feature by default, choose the recording and alert behavior that matches how you use the space.
– Turn on the features you actually want: motion detection alerts, event recording, and (if available) activity zones.
– Choose recording behavior that matches your needs (continuous vs motion/event recording—availability depends on the model).
– Test push notifications and verify playback: confirm events show up in the app the way you expect.
Pick recording behavior intentionally
Indoor CCTV cameras commonly offer:
– Motion/event recording (records when triggered)
– Continuous recording (records all the time, often requiring more storage/bandwidth)
If you’re using cloud recording, continuous storage costs may scale quickly. If you’re using local storage (SD card), continuous recording can fill faster than you expect depending on resolution and bitrate.
When you configure your indoor CCTV camera, align the recording mode with your storage plan and your tolerance for reviewing events.
Tune motion detection to reduce “noise”
Motion detection can be thrown off by:
– curtains moving from HVAC airflow
– ceiling fans or oscillating air vents
– daylight changes near windows
– reflections off polished floors or glass
Use activity zones to limit what “motion” means for your indoor CCTV camera. If sensitivity is configurable, start moderate and adjust based on false alerts you see over 24–72 hours.
Test alerts the way you’ll actually use them
After setup, walk through your normal routine triggers:
– approach the door
– open/close the entry door
– walk past the hallway section
Then verify:
– push notifications arrive on your phone
– the event thumbnail in the app matches what happened
– playback is smooth and time stamps look right
This step matters because an indoor CCTV camera can “look fine” in live view while still failing to record events correctly.
What can go wrong (and how to avoid it)
Most indoor CCTV camera problems fall into a handful of repeatable categories: connectivity, image quality, and alert logic. If you diagnose within those areas, setup usually becomes fixable quickly in 2026.
– Wi‑Fi pairing failures: try moving closer to the router during setup, confirm the correct Wi‑Fi band (2.4 GHz vs 5 GHz if the camera requires it), and restart the camera/app if pairing stalls.
– Poor image quality: fix glare/overexposure by re-aiming away from bright lights; clean the lens; remove obstructions like plants or reflections.
– False alerts: set activity zones/sensitivity lower and avoid counting moving curtains, HVAC vents, or direct sunlight as “motion.”
Troubleshooting approach that stays focused
When an indoor CCTV camera won’t behave, avoid randomly changing everything. Instead:
1. Verify connectivity (live feed loads or buffers?).
2. Check configuration (zones on/off, sensitivity, motion schedule).
3. Reconfirm positioning (glare, reflections, faces not in frame).
This sequence prevents you from chasing symptoms instead of causes.
Storage and subscription limitations
Some indoor CCTV cameras require a subscription for:
– cloud recording
– advanced person detection
– longer retention periods
Others record to a microSD card, which has its own limitations (capacity and recommended card types). If you enable recording features that your plan can’t support, you may see events in the UI but not have full access to playback.
Privacy and compliance considerations
If your indoor CCTV camera can see into areas where people have a reasonable expectation of privacy (neighbor windows, indoor shared spaces), you may need to mask those areas. Laws vary by location, so check local guidance. This isn’t just ethical—it also reduces unnecessary disputes that can arise after installation.
Verdict: worth doing yourself, but only if setup basics are easy
If you can mount a small bracket, connect a plug (or Ethernet), and follow app prompts, installing an indoor CCTV camera yourself is usually straightforward and cost-effective. The downside is that some models are picky about Wi‑Fi setup or require subscription/permissions for recording features. Skip DIY and consider professional help if you need complex wiring, require guaranteed coverage for multiple rooms, or you’re not comfortable troubleshooting network/app pairing issues.
If you’re installing an indoor CCTV camera in a small business setting and you need predictable uptime, wired/PoE setups often reduce variables—but they also require correct cabling planning and device compatibility. Choose the path you can support with the least disruption.
Quick setup checklist (scan/save)
– [ ] Pick placement (clear view, minimal glare)
– [ ] Verify power + network type (Wi‑Fi vs Ethernet/PoE)
– [ ] Mount bracket securely to wall/ceiling
– [ ] Power on / enter pairing mode
– [ ] Add camera in app and connect to Wi‑Fi
– [ ] Confirm live view works
– [ ] Enable motion/event alerts and set activity zones
– [ ] Test: trigger an event and check playback/notifications
– [ ] Lock down privacy masking if needed
Frequently Asked Questions
What tools and materials do I need to install an indoor CCTV camera?
You’ll typically need the indoor CCTV camera, a power adapter (or PoE if supported), a drill and screws/anchors (if mounting to drywall), and a compatible mounting bracket. Have a smartphone for the camera app, a stable Wi‑Fi connection, and an HDMI/monitor setup only if your system requires it (e.g., with an NVR). If the camera supports microSD, purchase a reliable microSD card; otherwise, plan for NVR or cloud storage for video recording.
How can I install an indoor CCTV camera step-by-step for the best video coverage?
Start by choosing a location that covers the entry points and high-traffic areas, and mount the camera at about 2–8 feet from the floor to reduce tampering and improve image clarity. Download the camera app, connect the camera to your Wi‑Fi, and confirm the live view before permanently mounting. Use the mount to secure the camera, then adjust tilt and pan (if available) to frame faces and key areas, and finally enable motion detection and recording settings in the app.
Which mounting method is best for an indoor CCTV camera: wall, ceiling, or shelf?
The best mounting method depends on how you want the field of view and how easy it is to adjust the angle. Wall mounting is common for watching doorways and hallways, while ceiling mounting can cover a broader area from above—useful for living rooms or open spaces. Shelf mounting may work for low-traffic areas, but ensure the camera isn’t blocked and is stable; always avoid placing it where it will be easily knocked or tampered with.
Why does my indoor CCTV camera keep disconnecting from Wi‑Fi, and how can I fix it?
Wi‑Fi drops are often caused by weak signal strength, interference from other devices, or a router setup that doesn’t work well with the camera’s required band. Try moving the camera closer to the router, switching to a 2.4 GHz network if the device supports it, and keeping the camera away from thick walls and microwave devices. If your camera supports it, enable a stable network configuration (some apps require using a specific SSID) and update the camera firmware in the app.
What are the best settings for indoor CCTV recording, motion alerts, and privacy?
For indoor CCTV, use motion detection with custom activity zones so you don’t get constant alerts from fans, curtains, or pets. Set an appropriate recording schedule (e.g., during evenings or when you’re away) and choose your storage method—microSD, NVR, or cloud—based on how many hours of footage you want to keep. To improve privacy, disable audio if you don’t need it and use privacy masking features to hide windows, neighbors’ property, or areas inside your home you don’t want recorded.
📅 Last Updated: November 03, 2026 | Topic: How can I install an indoor CCTV camera? | Content verified for accuracy and freshness.
References
- Closed-circuit television
- Closed-circuit television camera
- IP camera
- https://ico.org.uk/for-organisations/guide-to-data-protection/cctv/
- https://www.cisa.gov/topics/technology/internet-things
- https://csrc.nist.gov/projects/internet-of-things
- https://scholar.google.com/scholar?q=install+indoor+cctv+camera+placement+mounting Google Scholar
- https://scholar.google.com/scholar?q=ip+camera+installation+network+setup+wired+wireless Google Scholar
- https://scholar.google.com/scholar?q=indoor+cctv+installation+privacy+legal+considerations Google Scholar

[…] practical note: power delivery can affect night performance. If you use PoE (Power over Ethernet), ensure the camera gets enough power consistently—according to IEEE 802.3af (2003), a PoE source […]