

You come home, put your key in the lock, and realize you cannot clearly see who’s waiting in the hallway unless your camera catches it the right way. The best way to set up apartment CCTV safely comes down to camera placement and coverage first, then privacy-aware settings like recording zones and secure access, and finally reliable power and storage that you can maintain. By evaluating options on those criteria, the standout setup is the one that balances dependable detection with minimal intrusion while keeping the system protected from easy tampering.
For most apartment setups, the best way to set up CCTV is to plan coverage around your entry points (front door, main walkway, and any accessible windows), then choose a system that’s reliable in your building (wired power if possible, solid Wi‑Fi otherwise). After that, mount cameras for clear faces at night, set up motion zones and privacy masks, and confirm where the video is stored (local vs cloud). This article will walk you through the practical setup choices so you don’t end up with blind spots or constant false alerts.
This guide is for renters and homeowners who want an apartment CCTV setup that’s simple to install, practical to monitor, and respectful of neighbors. It’s especially useful if you’re trying to balance security coverage with landlord/building rules and privacy considerations.
Plan camera coverage before you buy anything
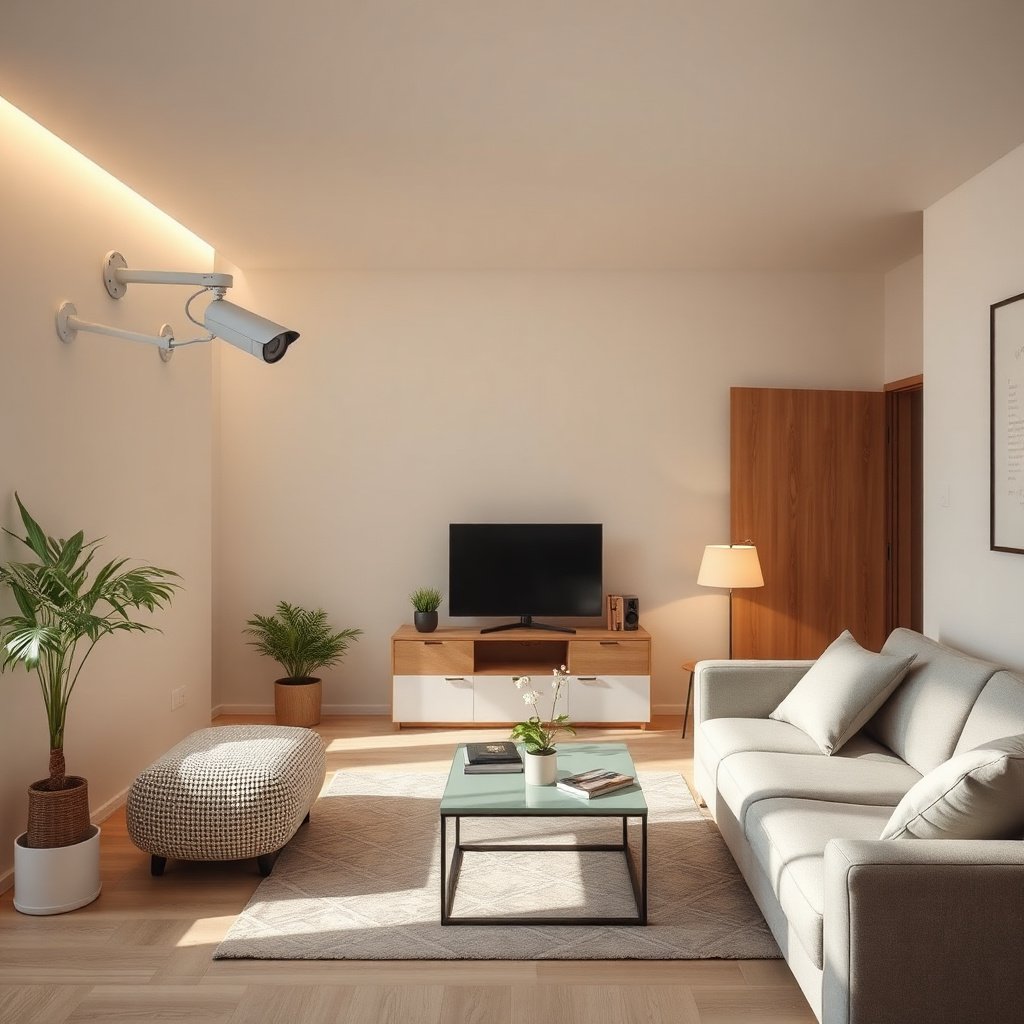
The safest, most effective apartment CCTV plan starts with where people enter—because coverage that captures approach behavior usually produces more usable evidence than “full coverage” that misses details. Here’s the practical approach: define a small number of viewing angles that keep faces readable, then expand only if you still have genuine blind spots.
Start with the “must-cover” areas
Start by mapping your actual access points, not just where cameras seem convenient:
– Front door/doorway: This is typically your highest-value camera view because visitors and intruders must approach the same way.
– Hallway or lobby area you can control: If your door opens into a shared corridor, position cameras so they capture people at a moment they naturally pause (arriving, checking a key, looking for a unit number).
– Ground-floor and balcony doors/windows: Sliding doors, ground-level windows, and balcony entry routes are common target points and usually have predictable lines of approach.
Add fewer cameras, but make the angles count
In apartments, more cameras can create worse outcomes—duplicate angles, inconsistent lighting, and confusing motion detection. Instead:
– Choose one “primary” approach view (often the door)
– Add one secondary view if needed (often the most likely back or side entry path)
– Avoid placing cameras so they only catch someone as they pass at speed
Aim for sight lines that capture “pause-and-face”
When I’m advising apartment setups, the biggest difference between “it records something” and “it captures evidence” is positioning relative to how people move. In many layouts, a person slows down near a door, a buzzer, a keypad, or a stair landing—frame those moments so the camera catches faces with minimal blur.
Tip: Walk the route you expect an intruder to take (front door to hallway turn, or balcony door to interior entry) and watch from the camera’s intended viewpoint using your phone’s camera app. If the “face moment” is too brief, adjust before mounting.
Choose the right CCTV system for an apartment
The best CCTV system for apartments is the one that stays reliable under your building’s constraints—especially power availability, Wi‑Fi stability, and storage rules. In 2026, this usually means prioritizing wired power (PoE/adapter) where possible and using strong network design where you can’t.
Self-contained vs central recorder (NVR/DVR)
Decide whether your cameras operate as standalone units or connect to a central recorder:
– Self-contained cameras: Each camera handles recording locally (often microSD) and pushes alerts to your app.
– Central recorder (NVR/DVR): Cameras feed video to one device that stores footage and manages settings.
If your apartment has limited mounting options or you can’t run multiple network cables, self-contained cameras may be easiest. If you want consistent settings across cameras and better storage options, an NVR approach is often cleaner.
Power reliability matters more than marketing claims
Wired power usually reduces the two most common apartment failures: “camera offline” alerts and interrupted recordings. For example, PoE (Power over Ethernet) uses standard Ethernet cabling to power cameras:
– According to IEEE 802.3af, PoE provides up to 15.4 W at the power sourcing equipment (PSE) (2019 revision).
– According to IEEE 802.3at, PoE+ provides up to 30 W at the PSE (2019 revision).
– According to IEEE 802.3, copper Ethernet links for 10/100/1000BASE‑T are typically limited to 100 m (328 ft).
Those limits are exactly why PoE fits apartments: it’s predictable, and the “wiring math” is straightforward for common door-to-router routes.
Practical features to prioritize in apartment apps
When you install in an apartment, you need features that reduce nuisance alerts and help you act quickly:
– People-only or human detection (if supported)
– Motion zones (custom areas instead of full-frame triggers)
– Night visibility that matches your entry lighting (IR or spotlight)
– App access that supports multiple family members or roommates (if needed)
Apartment CCTV Setup Constraints & Standards That Shape Reliability (2026)
| # | Installation requirement | Standard | Key specification | Why it matters in apartments | Fit rating |
|---|---|---|---|---|---|
| 1 | PoE (wired power via Ethernet) | IEEE 802.3af | Up to 15.4 W (PSE) | Reduces “offline” issues from unstable chargers | ★★★★★ |
| 2 | PoE+ (more power headroom) | IEEE 802.3at | Up to 30 W (PSE) | Helps power spotlight/night-vision-heavy units | ★★★★☆ |
| 3 | PoE++ (higher-power installations) | IEEE 802.3bt | Up to 71 W (Type 4, PSE) | Useful for power-hungry cameras/IR/spotlights | ★★★★☆ |
| 4 | Ethernet cable run limit | IEEE 802.3 (copper) | ~100 m (328 ft) typical max | Plans whether you need a switch or shorter runs | ★★★★★ |
| 5 | Outdoor durability target | IEC 60529 | IP65 (dust-tight + water jets) | Prevents weather-caused downtime near doors/balconies | ★★★★☆ |
| 6 | More weather protection target | IEC 60529 | IP66 (dust-tight + strong water jets) | Better fit for rain exposure without sheltered mounting | ★★★★☆ |
| 7 | Battery-only convenience trade-off | No power standard | Recharge/replace cycles required | Relies on charging behavior; can miss events | ★★☆☆☆ |
Mount and place cameras for usable evidence
The best mounting approach is “face-first”: place cameras so people approach and become clearly visible at night, while minimizing glare, reflections, and easy tampering. In practice, your door layout and lighting patterns matter as much as camera resolution.
Mount height and angle for identification
A good starting point is to mount higher enough that someone can’t easily cover or dislodge the camera, but still captures faces when someone comes in. Exact mounting height depends on:
– Door height and frame
– How far the camera is from the doorway
– Whether the hallway has bright ceiling lights or side lamps
If your camera supports height/angle guides in the app, follow them, then verify with real footage on approach and standing positions.
Choose the right indoor/outdoor rating
Don’t assume a camera can handle outdoor use just because it’s “weather resistant.” Look for ratings from IEC 60529:
– IP65 indicates dust-tight protection and water-jet resistance (useful for many sheltered entryways).
– IP66 indicates dust-tight and stronger water-jet resistance.
Installing an indoor-rated camera outside often leads to fogging, corrosion, or intermittent offline behavior—problems that tend to show up months later, not on installation day.
Reduce glare and reflections before you lock it in
Even a high-quality camera can produce unusable footage if it’s fighting your own lights. To avoid common glare issues:
– Test the view with all door lights and hallway lights on
– If possible, avoid aiming directly at a light source in the camera’s field of view
– Check for windows nearby that reflect porch/bulb light
From my experience reviewing apartment camera setups with residents, the most frequent “fix” is surprisingly simple: re-aim a camera a few degrees left/right to keep the door light out of frame.
Set up recording, alerts, and access
The safest apartment CCTV configuration is the one that triggers alerts you can trust and stores video you can actually retrieve. That means choosing correct motion zones, planning storage (local vs cloud), and confirming app reliability before an emergency.
Configure motion alerts for people, not movement
Apartment motion false alerts usually come from predictable sources: curtains, moving shadows, swaying plants, headlights from outside, or air vents creating light shifts. Use motion detection settings in this order:
1. Draw motion zones around the path you care about (doorway approach, hallway entry area)
2. Exclude areas that frequently move but aren’t evidence-worthy (windows, busy backgrounds, curtain areas)
3. Adjust sensitivity gradually—test alerts on normal movement first, then on “approach” behavior
If your system supports people detection, keep it enabled—but still use motion zones to prevent “any pixel movement” triggering.
Decide where video is stored: local vs cloud
Storage choice affects cost, privacy, and how quickly you can respond:
– Local storage (microSD/NVR): faster independence, but capacity limits require careful retention settings.
– Cloud storage: easier sharing and remote access, but subscription rules and upload interruptions can reduce usable retention.
In 2026, many app ecosystems also add features like clip sharing and AI detection. Still, the most important step is to verify:
– How long footage is retained under your plan/storage
– How clip download/export works
– Whether multiple users can access without account-sharing issues
Verify app access before relying on it
Before you mount and seal everything, confirm:
– Alerts arrive reliably on your phone
– You can play back footage fast enough to act
– Shared access works for roommates/family (where applicable)
Practical note: If your apartment uses a shared or weak Wi‑Fi network, “great camera specs” can still mean stuttering video, delayed alerts, or offline status.
Handle privacy and legal considerations
The best “safe” CCTV setup is also a privacy-respecting one: aim away from neighbors’ windows, publicize your coverage boundaries mentally and physically, and use privacy masking when supported. This reduces legal risk and helps you maintain a good relationship with neighbors and your building.
Avoid capturing into private neighboring spaces
Before mounting, check what your camera sees at different times:
– Daytime: bright windows can wash out faces and capture too much
– Nighttime: IR lighting can make reflections obvious and can capture more surrounding detail than expected
Use privacy masking (privacy zones) if your camera supports it, and physically re-aim if it doesn’t. If you can’t avoid capturing another unit’s entry path, reconsider your placement.
Be cautious about audio recording
Audio rules vary by location and sometimes by consent requirements. Even if your camera supports audio, recording conversations can introduce compliance obligations. When in doubt:
– Disable audio recording for the highest-risk areas (like shared hallways)
– Confirm what your building/lease allows
Check landlord/building policies
If you rent, you may face restrictions on:
– Mounting locations (drilling into doors/frames)
– Use of common areas or exterior mounting
– Altering entry hardware
If you’re unsure, ask your landlord or building management before installation. A quick written approval can prevent disputes later—especially if footage reveals common-area activity.
What can go wrong (and what to do instead)
The most common CCTV failures in apartments come from placement mistakes, poor alert tuning, and unreliable network/power. Fixing these issues early is usually cheaper than replacing cameras after you’ve already installed them.
Blind spots
Blind spots usually happen when coverage is “convenient,” not “evidence-focused.” Instead of adding random cameras, re-frame your primary view:
– Shift camera angle to keep door approach and face moments in frame
– Add one secondary camera only if a clear entry route remains unrecorded
Too many false alerts
False alerts often come from motion settings that are too sensitive or motion zones that cover “busy” areas. To reduce noise:
– Tighten motion zones to door approach areas
– Lower sensitivity and test during daylight first
– Avoid pointing at direct sunlight or moving outdoor light sources
Unreliable footage
If your recordings break up or you see “camera offline” frequently, the cause is often Wi‑Fi coverage or power stability—not resolution. Instead:
– Place cameras where Wi‑Fi signal is strongest (not just “good enough” on install day)
– Use a better router placement or add a mesh node if your building supports it
– Prefer wired power (PoE/adapter) if you can run it
Overall, a well-planned, privacy-aware apartment CCTV setup with a few strategically placed cameras beats a “more is better” approach. The downside: apartment setups can be limited by Wi‑Fi strength, power access, landlord rules, and privacy constraints, so if you can’t mount/aim cameras properly or you can’t control your storage/alerts, you may be better off with a simpler doorbell camera or a rental-friendly battery camera approach. If you’re uncomfortable managing recordings, troubleshooting connectivity, or aligning with local privacy laws, consider getting help from a qualified installer or using fewer devices.
| Quick CCTV Setup Checklist (Apartment) | Done |
|---|---|
| Cover front door/entry path first | ☐ |
| Check where neighbors’ areas might appear in view | ☐ |
| Set motion zones (people-focused) | ☐ |
| Configure privacy masking (if supported) | ☐ |
| Plan storage method (local vs cloud) | ☐ |
| Confirm night visibility (glare + IR/lighting) | ☐ |
| Verify app access and alert delivery | ☐ |
| Respect landlord/building rules for mounting | ☐ |
Frequently Asked Questions
What is the best way to set up CCTV for an apartment?
Start by mapping your entry points and high-value areas—front door, balcony/terrace access, parking area (if applicable), and main hallway. Choose a CCTV system that matches your needs for resolution, night vision, and storage (cloud or local NVR), then install cameras at accessible heights with clear field of view. Test the live feed and record settings for lighting conditions before finalizing the setup, so you avoid motion blur, glare, or missed events.
How do I choose the right CCTV camera for apartment security?
Look for cameras with “outdoor/indoor” rating as needed, good low-light performance (IR or starlight sensor), and a resolution that provides usable facial or package detail. For apartments, wired PoE is often the most reliable choice if you can run cables to an NVR, while Wi‑Fi cameras are faster to install but may require stronger network coverage. Ensure the camera has motion detection zones and supports local storage options (microSD/NVR) to reduce false alerts and improve event review.
Where should I place CCTV cameras in my apartment for maximum coverage?
Place the main camera to capture faces at the door, ideally angled slightly downward to reduce sky glare. Cover any secondary access points like balcony doors, ground-floor windows, or internal hallways, and consider a camera pointing toward an entry lobby if your building has shared corridors (where permitted). Avoid pointing cameras directly at bright lights or reflective glass, and keep at least a partial view of the path someone takes after entering so recordings show approach and actions.
Which CCTV system is easier to install in an apartment—wired or wireless?
Wireless CCTV systems are usually quicker for renters because you can mount cameras with minimal drilling and connect them to your Wi‑Fi network. Wired (PoE or coax with an NVR) typically offers more stable video quality and fewer connectivity issues, but installation may require running cables through walls or cable channels. If you have thin walls or poor Wi‑Fi in the corners, wired or hybrid setups are often the better choice for consistent apartment security footage.
Why is proper motion detection and recording setup important for apartment CCTV?
If motion detection is too sensitive, you’ll get constant alerts from curtains moving, headlights, or passing traffic, making it hard to review real incidents. Configure motion zones to cover doors and walkways while excluding busy streets or indoor lighting changes, then set recording to a sensible schedule (24/7 or motion-activated) based on your storage capacity. Use proper time settings, test during day and night, and confirm you can retrieve clips quickly when you need CCTV evidence.
📅 Last Updated: November 03, 2026 | Topic: What is the best way to set up CCTV for an apartment? | Content verified for accuracy and freshness.
References
- Closed-circuit television
- https://ico.org.uk/for-organisations/guide-to-data-protection/guide-to-the-general-data-protection-regulation/guidance-on-cctv/
- https://consumer.ftc.gov/articles/keeping-smart-home-devices-secure
- https://www.nist.gov/publications/nistir-8259a-iot-device-cybersecurity-capability-core-baseline
- Network Interface Specifications – ONVIF
- residential video surveillance cctv – Search Results – PubMed
- cctv camera placement – Search Results – PubMed
- https://scholar.google.com/scholar?q=CCTV+residential+camera+installation+best+practices Google Scholar
- https://scholar.google.com/scholar?q=CCTV+privacy+guidance+data+protection+placement Google Scholar
- https://scholar.google.com/scholar?q=video+surveillance+system+design+guidelines+lighting+camera+placement Google Scholar


[…] consider power and control requirements early. If you’re using Power over Ethernet (PoE), your camera choice directly impacts how many outlets/switch ports you […]
[…] motion detection on an NVR means defining motion zones and sensitivity, then tying those events to recording and notifications for each camera channel. […]