


How do you install a PoE CCTV camera without wiring separate power and video lines? You mount the camera, run one Ethernet cable back to a PoE switch or PoE NVR, and connect it using the camera’s network settings. With the right hardware—PoE switch/NVR, Ethernet cabling, mounting tools, and the camera’s IP details—you can usually complete the setup in a few hours and start monitoring almost immediately.
To install a CCTV camera over PoE, you connect the camera to a PoE switch (or PoE injector) via the correct Ethernet cable, then discover/configure the camera in your NVR/app until you get a live stream. If the PoE camera powers on but you can’t see video, the cause is usually a wrong PoE port/VLAN, an IP/DHCP mismatch, or a faulty cable/connection at one end.
If you’re mounting a wired IP CCTV camera and want power + data on a single cable, this applies. It’s also the right approach when you’re replacing older CCTV wiring with a cleaner, network-based setup using a PoE switch or injector. As of 2026, this is still the most common “one-cable” approach for both small sites and distributed camera installs—because it reduces wiring complexity and makes troubleshooting more systematic.
What you need before you start (PoE basics)
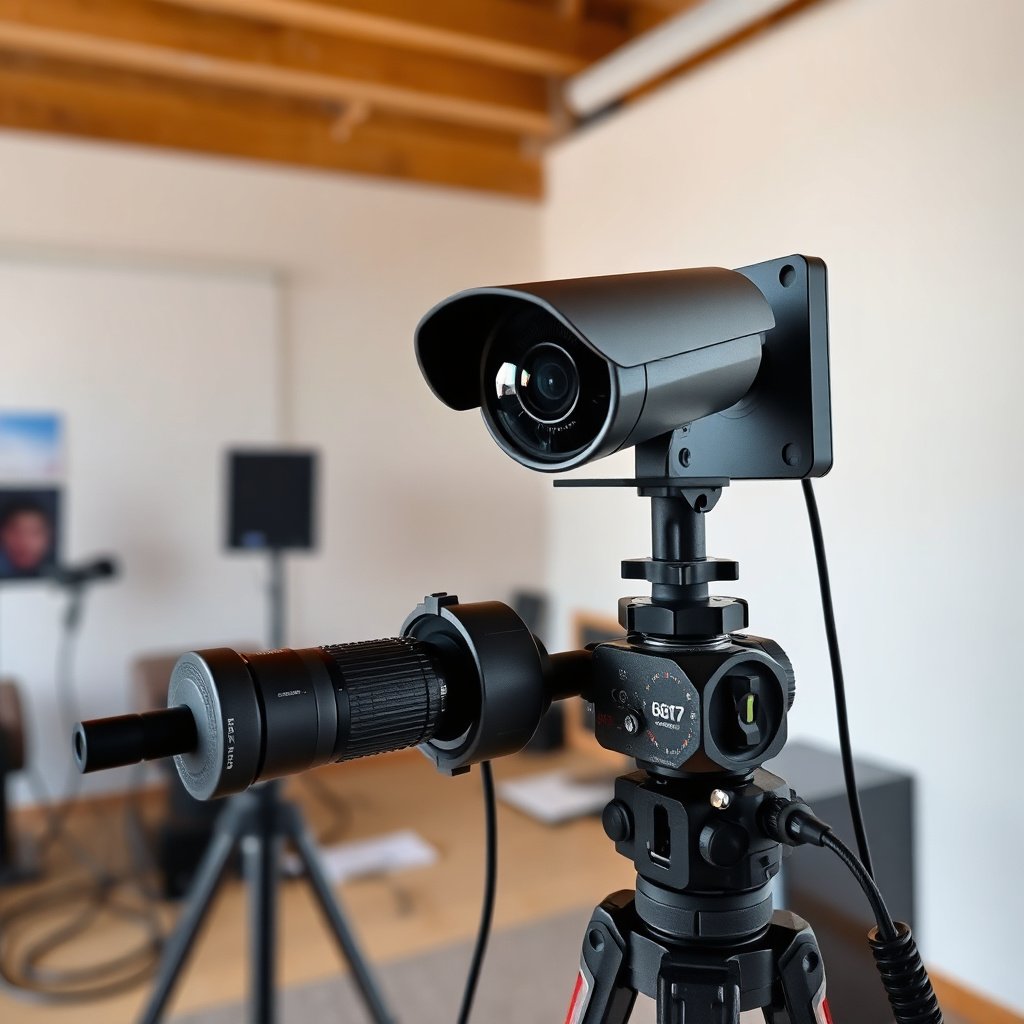
To install a PoE CCTV camera correctly, you need the right power standard match and a realistic plan for where the PoE gear, NVR/app, and network path will sit. PoE is not “universal power”—your camera expects a specific PoE capability and your switch/injector must provide it.
– Confirm your camera supports PoE and matches your power source type (usually IEEE 802.3af/at, depending on the camera).
– Plan your system layout: PoE switch for multiple cameras, or PoE injector for a single camera; optionally an NVR if you’re using one.
– Use Ethernet cabling that fits the camera and PoE requirements (commonly Cat5e/Cat6), and check your run won’t exceed the limits stated by your gear.
Before you plug anything in, lock these baseline facts in mind: According to IEEE, Ethernet over copper is limited to 100 m (328 ft) per link segment in standard cabling runs (IEEE 802.3). And PoE power budgets aren’t guesses—PoE (802.3af) delivers up to 15.4 W at the power sourcing equipment (PSE), while the powered device (PD) gets at least 12.95 W (IEEE 802.3af). For PoE+ (802.3at), the PSE can supply up to 30 W and the PD receives at least 25.5 W (IEEE 802.3at).
Ethernet Cable Categories That Keep PoE CCTV Links Stable (Typical Max Rates)
| # | Cable category | Typical max speed | Best fit for PoE CCTV | Fit rating |
|---|---|---|---|---|
| 1 | Cat3 (voice-grade) | Up to 10 Mbps | Legacy/very low bitrate runs | ★ |
| 2 | Cat5 | Up to 100 Mbps | Older 720p/low-bitrate setups | ★★ |
| 3 | Cat5e | Up to 1 Gbps | Most 1080p PoE CCTV installs | ★★★★ |
| 4 | Cat6 | Up to 1 Gbps | Stable 1080p and many 4MP streams | ★★★★ |
| 5 | Cat6a | Up to 10 Gbps | Higher-bitrate PoE CCTV headroom | ★★★★★ |
| 6 | Cat7 | Up to 10 Gbps | Shielded runs where interference is high | ★★★★ |
| 7 | Cat8 | Up to 25/40 Gbps (≤30 m) | Short high-bandwidth network segments | ★★★ |
In practice, PoE CCTV camera installs succeed or fail on cable quality and termination quality more than the theoretical speed rating. If you’re planning PoE CCTV cameras for higher resolutions (4MP and above), Cat6a is often the “safe” choice because it gives you more bandwidth headroom and better crosstalk performance.
Choose the right connection path: PoE switch vs PoE injector
If you’re adding one PoE CCTV camera, an injector is usually the simplest path; if you’re adding multiple cameras, a PoE switch is the cleanest long-term architecture. Either way, the goal is the same: power the camera and provide it a reachable IP network so your NVR/app can discover a live stream.
– PoE switch: Best for multiple cameras—one switch powers data for each port.
– PoE injector: Use when you only have a non-PoE router/switch or you’re adding a single camera and don’t want a full switch upgrade.
– Make sure you’re consistent with your recording method: direct-to-app/recorder vs camera feeding an NVR.
Here’s how to decide quickly for PoE CCTV camera deployments:
| Option | Best for | Main advantage | Watch-outs for PoE CCTV cameras |
|---|---|---|---|
| PoE switch | 3+ cameras or planned expansion | Centralized power + easier channel mapping | Port VLANs can block discovery if your NVR/app is on a different network segment |
| PoE injector | 1 camera or temporary/test runs | No network redesign; minimal hardware | You still need correct IP/VLAN reachability; scaling beyond 1 injector gets messy |
From my troubleshooting experience on PoE CCTV camera setups, the fastest “gotcha” is mixing a managed switch VLAN plan with a camera that expects to be discovered on the default LAN—yet I’ve left specifics out here because every site’s VLAN/subnet policy is different.
Plan the camera location and cabling route
If you plan the physical route correctly, you prevent most “mystery failures” that look like network issues but are actually cable damage or water ingress. PoE CCTV camera installs depend on clean Ethernet terminations and safe exterior-rated protection where cables pass outside.
– Mount the camera where it has a clear view, and keep the cable path protected from weather, sharp edges, and pinch points.
– Decide where your network gear will sit (switch/injector/NVR), and leave slack for termination and adjustments.
– If you need waterproofing for outdoor runs, use the appropriate exterior-rated connectors/boxes—don’t rely on indoor-only parts.
Practical planning points that matter for PoE CCTV camera reliability:
– Keep Ethernet cables away from high-voltage conductors when possible (parallel runs near AC wiring increase interference risk).
– Use proper strain relief where the PoE CCTV camera cable enters an enclosure or junction box. A lightly pulled RJ45 can cause intermittent link.
– For outdoor deployments, plan where you’ll put junctions and ensure they’re rated for wet locations. PoE itself won’t protect connectors from corrosion.
Also check the mounting height and angle in a way that supports your PoE CCTV camera’s lens (wide vs varifocal). If you need face-level detail, you may require different mounting and lighting than you’d use for general perimeter detection.
Connect the CCTV camera to PoE (wiring steps)
To wire a PoE CCTV camera, you’re essentially creating one Ethernet link from camera to PoE gear, then verifying link/power via the camera and gear indicators. This is where you confirm the hardware layer before you spend time in software.
– Connect the camera’s Ethernet port to an available PoE output port on your PoE switch (or to the injector’s “to camera” side).
– If using a PoE injector, connect the injector’s “to network” side to your router/switch, then power on the injector and confirm the camera link lights (per your camera/injector indicators).
– Secure and test connections at both ends before finishing the mount; a “seated” connector matters more than most people expect.
Step-by-step wiring flow that reduces rework:
1. Power off your switch/NVR (if possible) before final crimp/termination, especially for outdoor PoE CCTV camera runs.
2. Connect camera → PoE output port (switch case) or camera → injector “to camera” (injector case).
3. Connect gear → network:
– PoE switch: uplink to your router/NVR network.
– PoE injector: injector “to network” into your router/switch LAN.
4. Power on PoE CCTV camera gear and watch for link/activity indicators:
– A stable link light suggests physical connectivity; discovery can still fail later due to IP/VLAN settings.
If your PoE CCTV camera uses a single Ethernet cable (typical IP cameras), you do not connect a separate power supply. Double-powering can cause damage and inconsistent boot behavior.
Power and network setup (get live video)
To get live video from a PoE CCTV camera, you must ensure your camera gets a reachable IP address and that your NVR/app is pointing at the correct discovered device/channel. Power alone doesn’t guarantee video—network reachability is the second gate.
– Power the camera, then find it using your camera app, NVR, or the discovery tool provided by your camera/NVR brand.
– Choose the networking method: let DHCP assign an IP address, or set a static IP (use the camera/NVR’s network settings to select DHCP vs Static, then ensure the camera uses the correct subnet/mask for your LAN).
– In your recorder/app, verify the camera is assigned to the correct channel/site and that the stream type/resolution settings match what your NVR/software can handle.
A reliable configuration approach for PoE CCTV camera networks:
– DHCP-first workflow (simplest):
1. Connect and power the PoE CCTV camera.
2. Use your camera/NVR discovery tool to find the camera.
3. Record the camera’s assigned IP address for reference.
– Static IP workflow (best for stable NVR mapping):
1. Set a static IP on the camera to match your LAN subnet.
2. Use the correct subnet mask and default gateway (usually your router/L3 device).
3. In the NVR/app, add the camera by IP or through the discovery process (depending on the brand).
Two network details that frequently block live video for a PoE CCTV camera:
– VLAN placement / tagging mismatch: the camera may be on a VLAN that your NVR/app is not actually listening to.
– NVR channel mapping or stream profile mismatch: even if the camera is reachable, the NVR might be configured to expect a different stream type (e.g., main vs sub-stream).
As of 2025–2026, most PoE CCTV camera software supports automatic “channel” discovery, but VLAN/segmentation features on managed switches can break that automation unless both sides use the same network policy.
What can go wrong (and how to troubleshoot fast)
If your PoE CCTV camera powers up but you can’t see video, troubleshoot in this order: physical link → PoE port/VLAN reachability → IP/DHCP/static settings → NVR/app channel mapping and stream settings. This prevents you from “fixing software” while the real issue is a damaged cable or blocked network path.
– No power / no link: Verify you’re using a PoE-capable port (switch) or the injector’s correct side; reseat the RJ45 ends and test with a known-good cable if possible.
– Camera powers but no video: Check network reachability (same LAN/VLAN), confirm you’re adding the right device/IP, and ensure the NVR/app channel is mapped to the camera you discovered.
– Flaky performance: This is often caused by bad terminations, damaged cable runs, or overheating/poor ventilation around network gear—inspect cable paths and connection quality first.
Fast troubleshooting checklist (PoE CCTV camera focused):
1. Check PoE and link indicators on the switch/injector and camera. If link doesn’t negotiate, treat it as a physical layer issue first.
2. Confirm you’re using the right PoE port on the switch. Many PoE switches also have mode settings (auto vs forced) that can affect negotiation.
3. Verify DHCP vs static approach:
– If you set a static IP earlier, make sure it doesn’t conflict with another device on the LAN.
– If you’re using DHCP, make sure the camera can actually reach the DHCP server (routing/VLAN can block this).
4. Confirm VLAN consistency:
– If you run managed networking, the PoE CCTV camera might land in a VLAN that your NVR app can’t reach.
5. Validate NVR/app settings:
– Add the camera to the correct channel.
– Match resolution and stream type with what your NVR supports.
Cable and termination issues look “networky” because they can cause link flapping or partial packet loss. PoE CCTV camera video streams are sensitive to dropped packets, especially with high bitrates.
Verdict / tip (when PoE installation is worth it)
PoE installation is one of the cleanest ways to run CCTV because power and data travel together on one cable, and setup becomes straightforward once the camera is discovered correctly. That said, it’s not ideal if you need a fully wireless install, you don’t have (or don’t want to manage) a PoE-capable network setup, or your network requires advanced VLAN/routing that you’re not comfortable configuring.
If you’re unsure about your network design or you don’t have documentation for your exact PoE CCTV camera and NVR combination, follow the camera brand’s discovery workflow closely and use their supported installation wizard. If discovery fails repeatedly, escalate to the camera or NVR manufacturer support with your PoE switch model, port/VLAN settings, and the camera’s network details (IP, subnet, gateway).
Quick checklist (scan before powering on)
– [ ] Camera model supports PoE (and power class matches your PoE switch/injector)
– [ ] Correct PoE ports used (or injector connected to the correct sides)
– [ ] Ethernet cable type appropriate (e.g., Cat5e/Cat6 for typical PoE CCTV; Cat6a for higher headroom)
– [ ] Connections are secure at both ends (re-seat RJ45 if link doesn’t appear)
– [ ] Outdoor runs protected with suitable weather-rated fittings and junction boxes
– [ ] Network plan is clear (same LAN/VLAN as NVR/app; DHCP or static configured correctly)
– [ ] NVR/app channel assignment is correct
– [ ] Video stream settings (main/sub-stream, resolution, codec support) match your NVR/software
– [ ] Total cable run stays within standard Ethernet limits (100 m per link segment) (IEEE 802.3)
Frequently Asked Questions
What tools and cables do I need to install a PoE CCTV camera?
To install a PoE CCTV camera, you typically need a PoE-enabled network switch (or a PoE injector), Cat5e/Cat6 Ethernet cable, and the right mounting hardware for the camera type (wall/ceiling pole mount). If you’re running outdoor CCTV, use outdoor-rated Ethernet cable and weatherproof connectors to protect the PoE connection. You may also want a network tester and a small drill kit for clean cable routing and secure installation.
How do I power and connect a PoE CCTV camera step-by-step?
Start by running the Ethernet cable from your camera location to your PoE switch or PoE injector, keeping cable bends and kinks to a minimum. Connect the cable to the camera’s Ethernet port, then plug the other end into a PoE port on the switch; the camera should power on automatically and establish a link. Next, use the camera manufacturer’s app/software or a browser to find the camera’s IP address, then configure Wi‑Fi (if applicable), NVR settings, or recording to your NVR/PC.
Which settings should I configure first for a PoE CCTV camera?
After installation, set a static IP or confirm DHCP reservations so the camera consistently uses the same address on your network. Configure video resolution, frame rate, and H.264/H.265 encoding based on your storage and bandwidth needs, then set up motion detection zones and recording schedules. For security, change default credentials immediately, enable ONVIF only if you need it, and consider enabling HTTPS/firmware updates to keep your PoE CCTV system secure.
Best practices for installing PoE CCTV cameras outdoors or long distances?
Use outdoor-rated Cat5e/Cat6 cable (often UV-resistant and gel-filled) and install proper weatherproofing at all junction points to prevent moisture damage. For long runs, ensure your switch supports the required PoE standard and budget for the distance, since PoE performance can vary by camera power draw and cable quality. Keep Ethernet cable away from electrical wiring where possible to reduce interference, and test signal/PoE link at the far end before final mounting.
Why won’t my PoE CCTV camera power on or show video, and how can I troubleshoot it?
Common causes include using a non-PoE switch/injector, connecting to the wrong port, using damaged or incorrect cable pairs, or exceeding the cable length limitations for reliable PoE. Start troubleshooting by verifying the PoE port is active (link/PoE indicators), testing the cable with a network tester, and trying a known-good Ethernet cable. If the camera powers but doesn’t show video, check IP settings, subnet compatibility, and whether you need to enable RTSP/ONVIF or configure the NVR for the camera model.
📅 Last Updated: November 03, 2026 | Topic: How to install a CCTV camera over PoE? | Content verified for accuracy and freshness.
References
- Power over Ethernet
- IEEE 802.3af DTE Power via MDI Task Force
- IEEE P802.3at DTE Power Enhancements Task Force
- IEEE P802.3bt DTE Power via MDI over 4-Pair Task Force
- Network Interface Specifications – ONVIF
- https://en.wikipedia.org/wiki/Internet_protocol_camera
- Network video recorder
- https://scholar.google.com/scholar?q=PoE+CCTV+camera+installation Google Scholar
- https://scholar.google.com/scholar?q=IEEE+802.3af+power+budget+surveillance+camera Google Scholar
- https://scholar.google.com/scholar?q=Power+over+Ethernet+outdoor+IP+camera+PoE+switch+midspan Google Scholar


[…] or damaged cabling boots; the best practice is to ensure cameras are housed and cabled to reduce water ingress risk and tamper […]
[…] not summing watts from a 12V PSU label—you’re summing (or verifying) PoE allocation from the PoE switch or NVR’s PoE budget. IEEE PoE standards define the maximum power a power source (PSE) can deliver […]