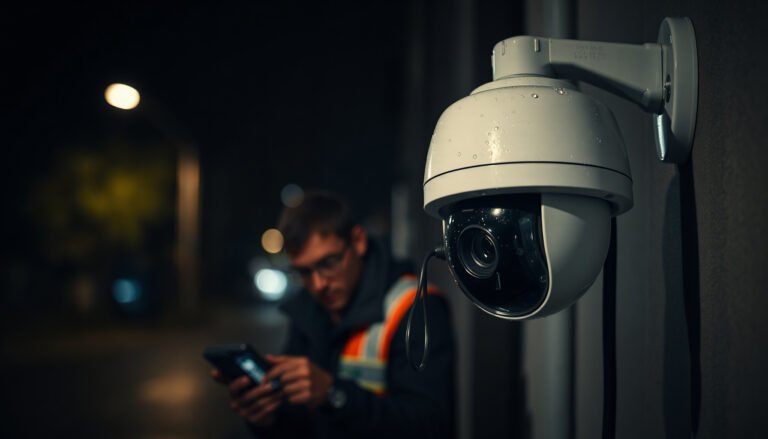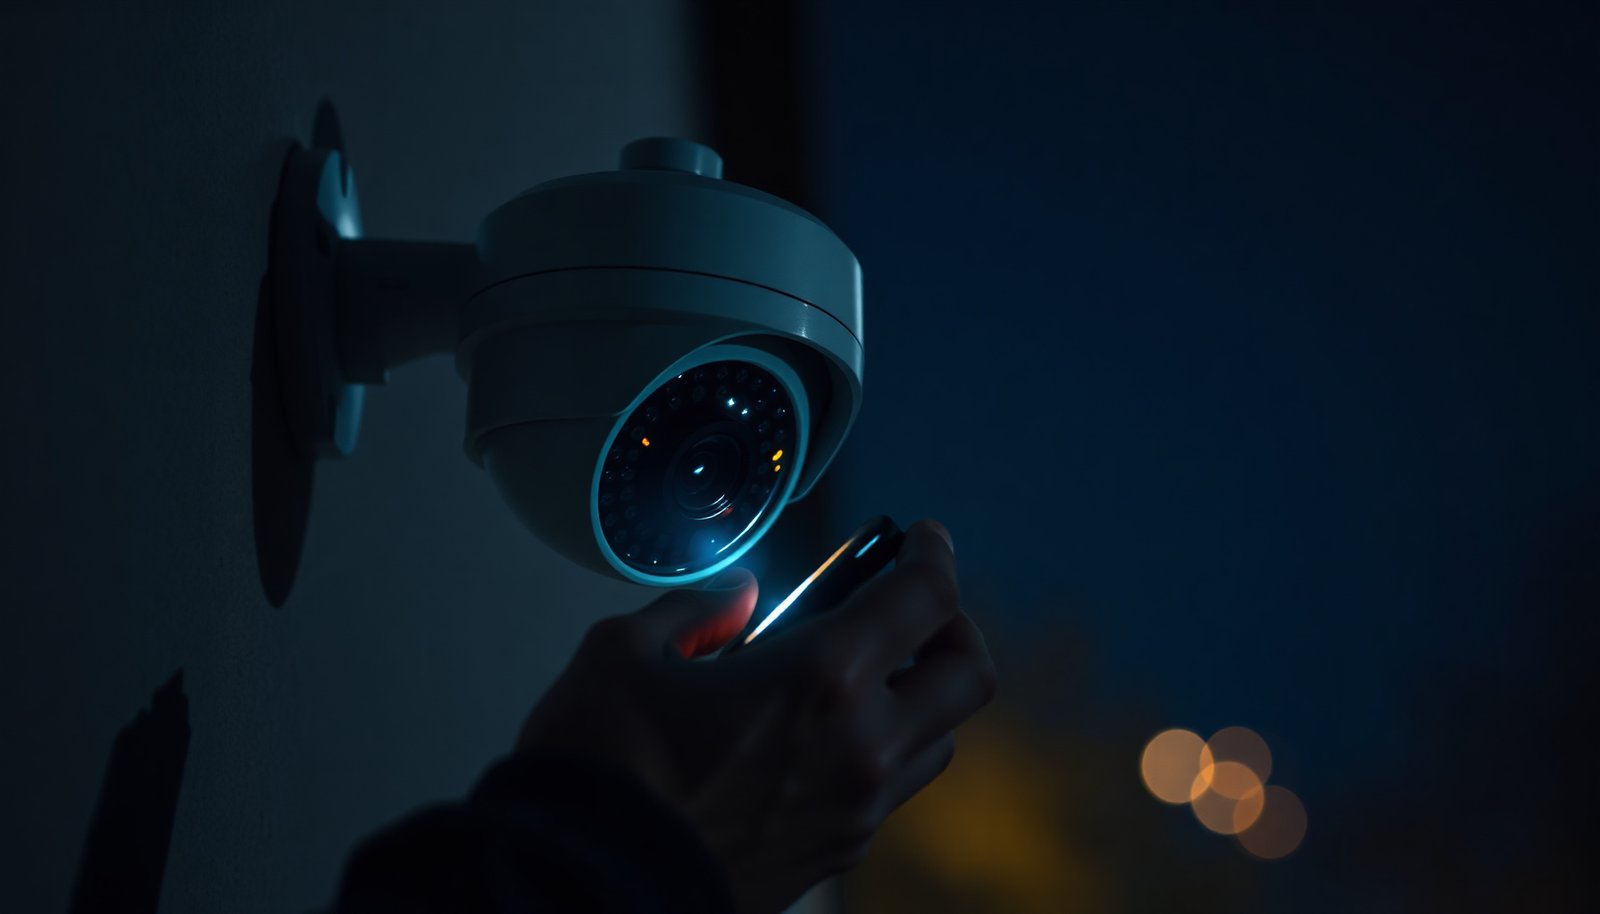

To test CCTV night vision, verify the camera switches into IR mode and produces usable detail under low-light at your actual mounting distance. Start by covering the lens or dimming the scene, then confirm IR LEDs activate and the image remains in focus without washed-out glare. Repeat at the far edge of the coverage area and check for reflections off nearby walls, cars, or glass that can degrade performance.
To test CCTV night vision, turn on the camera at night (or in a dark room) and verify you can still see key targets at the distance you actually need. Then confirm whether performance is driven by IR (infrared) or low-light color mode, and check focus, exposure, and glare from nearby surfaces. This article will walk you through simple, reliable checks and what to watch for when results aren’t good.
If your CCTV is already installed, you don’t need special equipment to do a first pass—you just need controlled lighting and a few consistent reference points. These steps are for home users, small businesses, and anyone trying to confirm that “night mode” works before trusting footage.
Confirm what your CCTV uses at night (IR vs low-light)
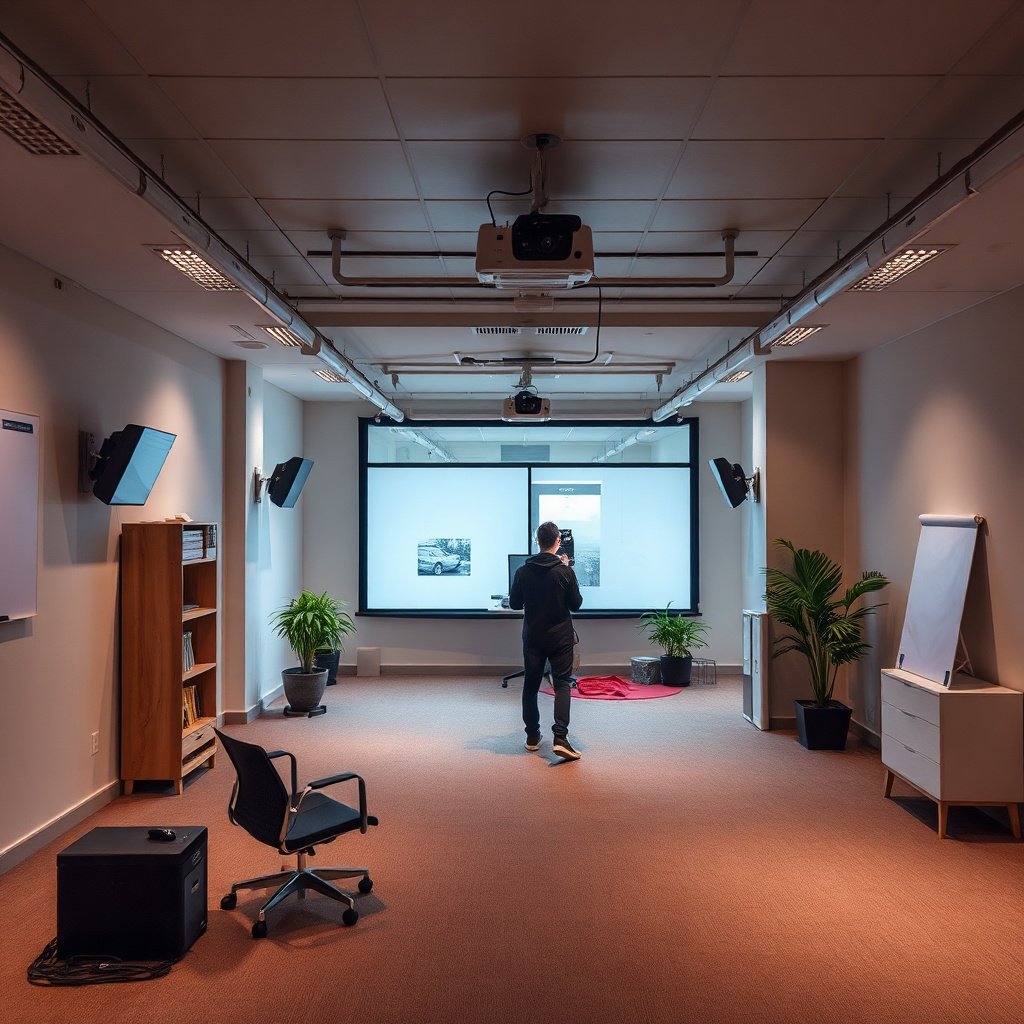
IR-based cameras and low-light (sometimes called “color night”) cameras behave differently, so the testing approach depends on which one you have. The fastest win is to identify whether your system illuminates the scene with IR LEDs or simply relies on a brighter sensor/exposure pipeline in darkness.
Start by checking the camera label, app/monitor menus, or the manual for these cues:
– Look for an IR indicator (often “IR,” “Night,” or an IR LED symbol) and whether a removable IR-cut filter is mentioned in the specs/manual.
– Decide your test plan based on mode: IR cameras should illuminate with IR LEDs, while low-light/color systems rely on sensor performance and may need less darkness than pure IR setups.
– Make sure “night vision” is actually enabled in the camera settings (Auto/On/Off), since some cameras default to day-only behavior.
A key term to recognize here is the IR-cut filter: this is a filter that blocks infrared light during the day and removes itself at night so the sensor can “see” IR. If your camera has a fixed filter design or a software-only mode, it may not switch the way you expect—so don’t assume “it has night vision” means “it uses IR illumination.”
From my troubleshooting experience on real installations, many “night range problems” are actually mode problems: the camera is in a day-only exposure profile, or it’s trying to run a low-light color pipeline while your scene needs true IR illumination for recognizability.
To make the mode difference practical, use this comparison before you start walking around with a test target:
| Night mode type | What you should see during the test | What usually limits it |
|---|---|---|
| IR (infrared) illumination | A visible IR indicator turns on; the scene looks “brighter” in IR even if it’s dark to the eye. | Glare from nearby reflective surfaces and focus/exposure to the IR-lit scene. |
| Low-light / “color night” | Footage stays color (or near-color), but details may appear noisier as light drops. | Sensor noise, motion blur (slow shutter), and exposure settings. |
| IR-cut behavior | Often switches off at night (IR becomes usable). | If the filter never switches, IR won’t help. |
| Scene “readability” | Faces/labels can become clear if exposure is balanced. | Overexposure causes washed-out textures; underexposure hides details. |
| Distance response | Range changes sharply with how reflective the target is. | Contrast drops in very dark scenes (even if something is technically visible). |
| Best verification | Look for recognizability (not just “brightness”). | Many claims measure detectability, not identification. |
| Environmental triggers | Switching can be affected by IR reflections and nearby lights. | Angle changes can massively improve glare. |
| User expectation | “Night mode” feels immediate when IR turns on. | Auto mode may oscillate between day/night if brightness is borderline. |
| Typical installation reality | Mixed surfaces (brick, painted metal, glossy leaves) behave differently under IR. | Hot spots and specular reflections create haze or blown highlights. |
| Bottom line | Test what matters: your door, walkway, or driveway edge. | Your use distance and target contrast drive results more than marketing range. |
| Best For (quick pick) | ||
| Choose IR mode | When you need consistent illumination and you can control glare from nearby surfaces. | |
| Choose low-light/color mode | When you can tolerate noise and your scene has at least some ambient light (streetlight, porch light). | |
Common IR Wavelength Bands and What They Impact (Night Vision)
| # | IR LED band | Typical advantage | Typical trade-off | Night usefulness ★ |
|---|---|---|---|---|
| 1 | 850 nm (near-IR) | Good balance of visibility and efficiency | More likely to show subtle IR glow in some lenses/surfaces | ★★★★★ |
| 2 | 940 nm (near-IR) | Reduced perceived glow to the human eye | May reduce effective illumination in some scenes/conditions | ★★★★☆ |
| 3 | 880 nm (near-IR) | Often chosen as a middle ground | Availability and performance vary by sensor stack | ★★★★☆ |
| 4 | 810–820 nm (near-IR) | Can pair well with certain IR sensor sensitivities | May be less common in standard turnkey CCTV kits | ★★★☆☆ |
| 5 | 760–780 nm (near-IR) | Sometimes used to reach certain sensor responses | Higher risk of noticeable glow and reflections | ★★☆☆☆ |
| 6 | 730–750 nm (near-IR) | May be used in specialized illuminator designs | More visible spill risk on some surfaces | ★☆☆☆☆ |
| 7 | 980 nm (near-IR) | Used when designs target specific sensor/illumination needs | Performance depends strongly on scene and optics | ★★★☆☆ |
Do a dark-room test with a simple target
A proper night-vision check confirms recognizability, not just “that you can see something.” Do the test with a consistent target at the exact distances where you expect identification (front door, driveway edge, walkway turns).
Use a consistent target at known spots (e.g., a sheet with dark/light patches or a recognizable object) and move it to the areas you care about—front door, driveway edge, walkway, etc. Then watch for three things:
– Whether the picture is usable at all
– Whether details blur (focus/exposure issue)
– Whether the image looks washed out or overly bright (often IR reflection)
To reduce bias, change only one variable per run. If the camera has a menu option for resolution/frame rate or “IR intensity,” test one change at a time so you can tell what improved (or hurt) the image.
If you want a more standardized approach, a resolution chart (for example, USAF 1951 or ISO 12233-style targets) helps you see sharpness falloff. But you can still get reliable results with something as simple as a high-contrast target: dark fabric plus a bright patch (or printed text at a fixed size), placed at the same distance each time.
One practical note: power delivery can affect night performance. If you use PoE (Power over Ethernet), ensure the camera gets enough power consistently—according to IEEE 802.3af (2003), a PoE source is designed to deliver up to 15.4 W at the powered device (PD), and PoE+ can deliver up to 30 W under IEEE 802.3at (2009). IEEE 802.3af (2003) IEEE 802.3at (2009) Under-powered systems can run IR dimmer than expected.
Check IR range and focus during the test
IR range problems are often a combination of illumination strength, focus, and exposure choices. If you verify these in the same session, you’ll stop guessing whether “range” is truly the limiting factor.
If your camera uses IR LEDs, verify the “bright center / darker edges” effect is reasonable and that you’re not losing the subject early. That bright center pattern usually happens when the IR beam is more intense in the central hotspot and spreads less near the edges. If your target appears clear only near the center but turns into a muddy silhouette at the same distance, it’s usually optics/beam spread (or glare) rather than total IR failure.
Focus issues can masquerade as “night range problems,” so confirm the lens is set correctly (manual focus or the camera’s autofocus behavior in low light). In dim scenes, autofocus can “hunt,” especially if the camera lacks enough contrast. If your camera has a manual focus or a focus assist feature, use it while the target is at your most important distance.
If your camera supports “WDR” (Wide Dynamic Range), “BLC” (Backlight Compensation), or exposure tweaks, adjust only one setting during a run—otherwise you won’t know which change caused the result. WDR can help when parts of the scene are much brighter (porch light, streetlight, car headlights), but it can also alter how the camera compresses contrast at night.
From my experience with real-world installs, the quickest way to isolate focus is this: test at (1) the closest critical distance and (2) the farthest critical distance, without moving the camera. If both distances look soft, suspect focus or lens cleanliness. If the near target is sharp but the far one collapses into blur, you’re likely seeing illumination dropoff or contrast limits.
Watch for common causes of bad night footage
Most bad night footage comes from a handful of repeatable causes: IR glare, dirty optics, and scene contrast mismatch. When you check these deliberately, you usually fix the problem without needing to chase settings endlessly.
– IR glare: glossy walls, fences, leaves, or light-colored surfaces near the camera can reflect IR and create a hazy “fog” effect. Try shifting the camera angle slightly or testing at different positions. Even a small angle change can move reflective surfaces out of the camera’s direct line with the IR beam.
– Dirty lens or smudged housing: at night, tiny contaminants scatter IR and look like blur or haze. Clean only the lens/front window (not internal electronics), and do it when the camera is off if the manufacturer recommends it.
– Distance mismatch: some cameras are marketed broadly, but real usability drops sooner than expected depending on scene contrast (for example, a dark driveway versus a bright paved area).
A technical reminder that helps interpret results: IR illumination is typically near-infrared, and common CCTV illuminators are often around 850 nm or 940 nm. Those wavelengths are not “visible light,” but they still interact with reflective materials and coatings. Vishay IR LED technical documentation (2021) In practice, reflectivity and angle matter more than many specs lead people to expect.
Also consider environmental conditions. Light fog, dew on the lens cover, or wet leaves can turn a normally clear IR scene into glare—especially if the camera is close to reflective objects.
Verdict: what to do next (and when to stop testing)
If your tests show sharp, recognizable footage at your intended areas, your CCTV night vision is good enough to rely on. If you see heavy glare, extreme blur, or you can’t identify subjects where you need them, don’t keep chasing random settings—check placement, lens cleanliness, and whether IR vs low-light mode is configured correctly.
Don’t waste time if the fundamentals are wrong: for example, if the camera is aimed so that bright reflective surfaces dominate the frame, lowering IR intensity can only hide the symptom. In those cases, repositioning the camera and adjusting the angle is usually the real fix.
Skip further testing (and consider professional help) if the camera will not produce usable night images after basic configuration and placement changes, or if wiring/power issues cause inconsistent behavior. If you’re using PoE and you suspect power drop, isolate the switch/port and verify cabling quality—night mode can fail “intermittently” even though daytime looks fine.
Quick night-vision test checklist (scan/save)
– [ ] Night vision mode enabled (IR/Auto/On as applicable)
– [ ] Dark test scene or real nighttime test area selected
– [ ] Known target used at the distance you care about
– [ ] Focus confirmed (not just “looks dark”)
– [ ] IR glare checked (near surfaces reflecting light)
– [ ] One setting changed per test run
– [ ] Footage reviewed for recognizability (not just “it’s visible”)
Frequently Asked Questions
How can I test my CCTV night vision to make sure it’s working correctly?
Start by checking the IR (infrared) LEDs on the camera—most CCTV cameras have a visible “IR” label or LED indicator. Then test with the camera in total darkness (or switch it to a dedicated night/IR mode) and look at the live view on your monitor/DVR/NVR. Verify you see a clear image and that subjects become brighter as IR turns on; if the image stays dim or black, the issue may be IR LEDs, power, or a wrong night settings profile.
What’s the best way to test CCTV IR night vision range before installation or after adjustments?
Conduct a simple range test at several distances—such as 5m, 10m, 20m, and farther—using a person or a reflective target placed at each spot. Watch for the distance where details start to blur or where exposure becomes too low, and note the camera’s effective night vision range under your real environment. For accurate results, repeat the test with similar lighting conditions, since fog, dust, and rain can reflect IR and affect clarity.
Why does my CCTV night vision look blurry or washed out, and how can I diagnose it?
Blurry or “milky” night vision is often caused by IR reflecting off nearby surfaces, dirty lenses, or an incorrect camera angle. First, clean the lens and check whether the camera is aimed at close walls, fences, or branches where IR bounces back into the lens. Also confirm the IR cut filter and night mode settings work correctly, because some cameras may not switch modes reliably, leading to poor night performance.
Which CCTV night vision settings should I check on my DVR/NVR to improve low-light results?
Review your DVR/NVR configuration for night mode/IR settings, such as “Auto,” “Day/Night,” or “IR On/Off” options, and ensure the camera is using the correct profile. If your system supports it, adjust exposure, gain, and noise reduction carefully—too much gain can make images grainy while too little exposure can make them too dark. If available, use the “Smart IR” or IR intensity control feature to prevent overexposure at short distances.
How can I test CCTV night vision without needing complete darkness at the installation site?
You can still test by reducing ambient light and using controlled lighting like turning off nearby exterior lights or covering nearby bright sources. If your camera has a manual night mode or an “IR test” option, switch it to night/IR mode and check the live feed for the characteristic IR brightness change. For a quick check, look for IR LED activation and confirm you can see enough detail on a test target at your intended CCTV coverage distance.
📅 Last Updated: November 03, 2026 | Topic: How can I test CCTV night vision? | Content verified for accuracy and freshness.
References
- low-light imaging performance evaluation – Search Results – PubMed
- infrared camera performance evaluation – Search Results – PubMed
- Closed-circuit television
- Night vision
- Infrared
- Signal-to-noise ratio
- Test card
- https://scholar.google.com/scholar?q=CCTV+night+vision+IR+testing+method Google Scholar
- https://scholar.google.com/scholar?q=low+light+camera+noise+signal-to-noise+test Google Scholar
- https://scholar.google.com/scholar?q=infrared+illumination+range+verification+camera Google Scholar