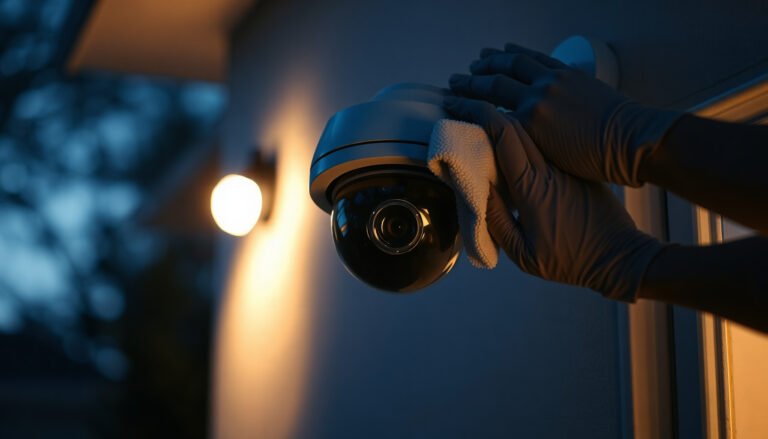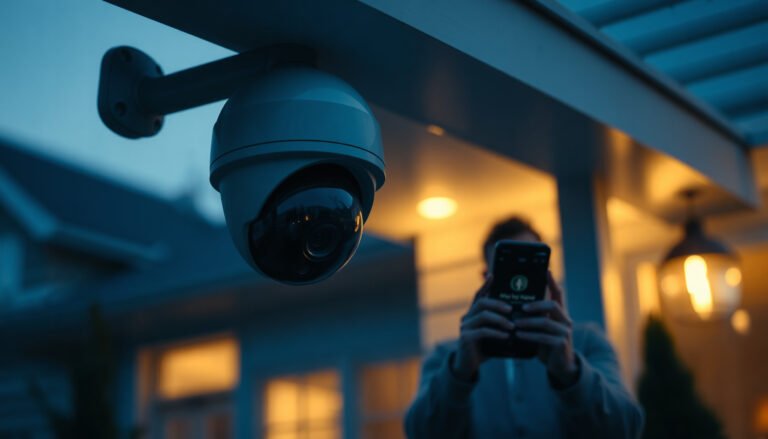

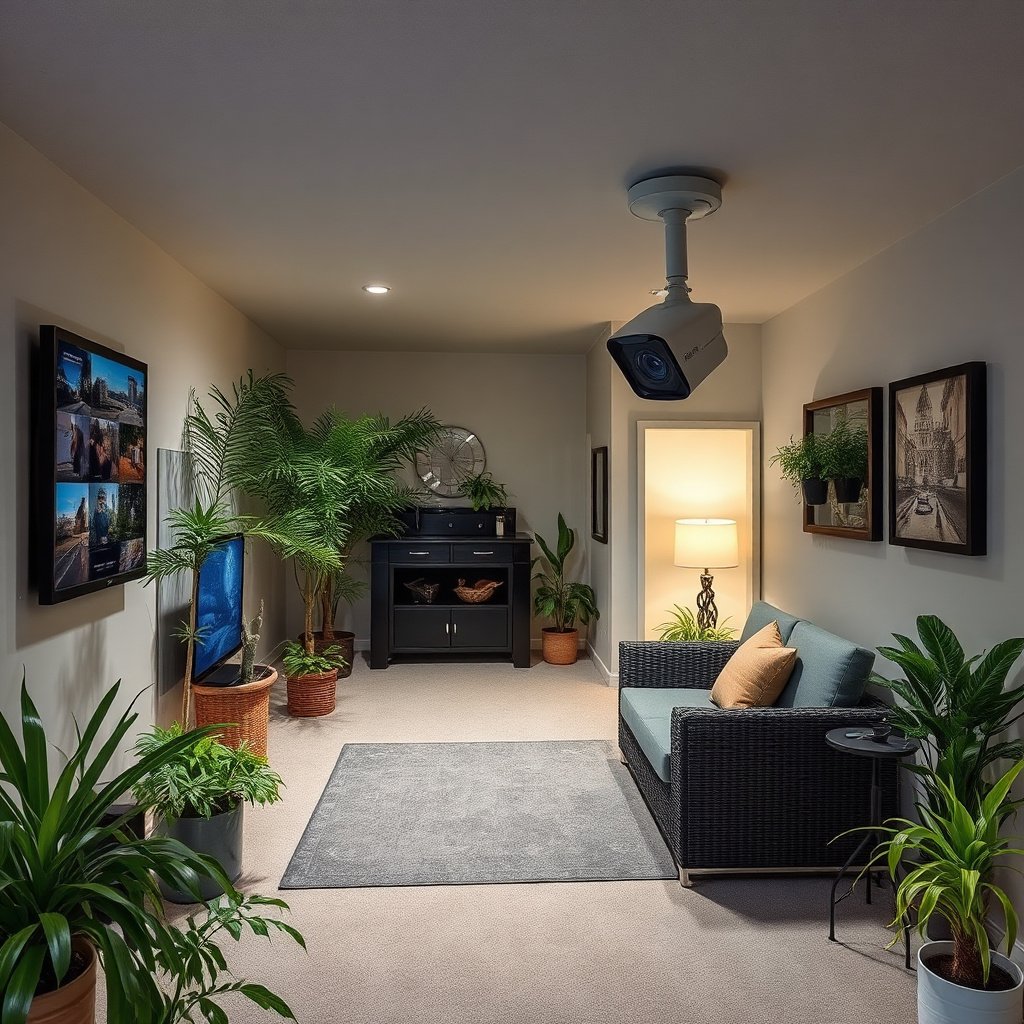
Testing whether your CCTV camera’s infrared night vision really works can feel frustrating, especially after you install or adjust it. In the next few minutes, you can run a simple check—switch to night mode, verify the IR LEDs and any day/night filter behavior, and confirm the feed remains clear in darkness—using your camera’s settings menu, a phone light or IR remote (if supported), and a controlled dark area.
To test CCTV night vision, force the camera into night mode (or simulate darkness) and verify that the image stays sharp as the IR LEDs turn on. Then check performance at the distance you actually need—night clarity usually changes fast with range and focus.
This is for anyone setting up or troubleshooting an IR (infrared) CCTV camera, whether it’s IP or an analog DVR system. If you already see a dim/blue/washed image at night, the steps below help you pinpoint whether it’s focus, IR angle, exposure settings, or a faulty LED array.
What you need before you test
You can only judge “night vision” if you test under conditions that match how the camera will be used outdoors. Before changing settings, confirm your camera’s IR design and make sure you can view the live stream reliably in real time.
– Confirm your camera type (IR “bulb/LED” cameras vs. models that use external IR illuminators).
– Built-in IR LEDs: the camera has an IR LED ring or array around the lens.
– External IR illuminators: the camera may have an IR-cut filter but relies on a separate IR spotlight; night mode alone may not change the illumination much if the illuminator is off or mis-aimed.
– Have basic access to the live view feed (monitor/phone app/NVR/DVR UI) and a safe way to simulate low light (e.g., turning off nearby lights).
– If you can, keep nearby light sources constant during the test. “Night mode” behavior can shift when nearby lamps turn on/off, especially outdoors near entrances and street lighting.
– On NVR/DVR systems, confirm you’re viewing the same channel and stream that you normally record.
– Locate the camera controls/menus you’ll use for night settings (often named something like Night Mode, IR LED, or Color/B&W switch). If menu names vary, follow your manual: .
– Common toggles you might see: IR LED (Auto/Manual/Off), Smart IR, Night Mode, Day/Night Switch, AGC (gain control), Exposure, and sometimes WDR.
Before you begin, it helps to adopt a simple Plan-Do-Check-Act (PDCA) workflow: set one variable at a time (mode, focus, IR angle, exposure), verify results immediately, then move to the next change. That prevents chasing multiple problems at once—something I’ve seen waste hours during real installs ().
Quick functional test (day/night switch)
You’re looking for one clear event: when night mode activates, the image behavior should change and the IR LEDs should visibly “take over” the lighting. If nothing changes, you likely have an IR power/command issue, a failed LED array, or a stuck IR-cut filter.
– Switch to night mode using the camera setting (or cover the lens area briefly and carefully) and watch whether the IR LEDs actually activate.
– For many cameras, night mode also switches from Color to Black-and-White because the camera’s IR-cut filter changes state (IR-cut filters block infrared during the day and allow it at night).
– If your camera supports a status indicator (some have IR LED activity LEDs on the housing), use it—software previews can lag, especially on remote viewing.
– Check the image color change: many systems go from color to black-and-white when IR turns on.
– If it stays in color with night mode “on,” double-check whether you truly switched to IR/night mode or only changed exposure parameters.
– Look for obvious faults: stuck IR mode, no illumination, or a sudden flicker pattern that suggests unstable exposure or a setting mismatch.
– No illumination: night image remains dark and never “brightens” after IR should activate.
– Stuck day mode: the camera never switches to B&W (or switches too slowly).
– Flicker/hunting: brightness ramps up/down when mode changes, often due to auto exposure interacting with reflective surfaces.
What “good” looks like during the switch
A pass isn’t “brightest possible”—it’s stable enough to evaluate focus. In my troubleshooting workflow, I aim for a stable B&W image where edges become readable as IR turns on. If the scene becomes unstable immediately, focus on exposure/gain locking before judging sharpness.
To keep your expectations grounded: the human eye is most sensitive around 555 nm (photopic vision) and drops sharply outside visible wavelengths, while the camera’s night imaging depends on infrared illumination rather than visible light. According to the CIE (Commission Internationale de l’Éclairage), the photopic peak is at 555 nm (1931) Commission Internationale de l’Éclairage (CIE), 1931 photopic standard observer . That’s why CCTV night mode can look dramatically different than daytime even when the scene itself hasn’t changed.
Test image quality in real darkness
You can confirm night performance only by testing at the same distances and angles you’ll actually monitor. Start close, then move outward, and watch for the point where blur, blooming, or “loss of detail” begins.
– Start at a close distance, then move your test target farther out (or use marked distances in your yard/driveway): focus and IR reach usually degrade gradually then suddenly.
– Practically, this means you should test at your near coverage, your typical face/vehicle distance, and your maximum usable range.
– If you don’t have marked distances, use repeated landmarks (garage door → walkway → curb line) to create consistent steps during testing.
– Use a high-contrast target (a printed pattern, a dark object with a light edge, or a reflective tape strip) to reveal blur, blooming, and “ghosting.”
– High-contrast targets make IR oversaturation easier to spot. IR “blooming” often shows up as light edges spreading outward, while poor focus shows as uniformly soft edges.
– If you can’t see detail, don’t only adjust brightness—verify focus first, then re-check IR angle and distance.
– Many “washed out” images are not an exposure problem at all; they’re a focus mismatch that gets worse under IR because the lens and IR-cut filter behavior can shift slightly.
– If lens focus is manual, make small adjustments and re-test: .
– When adjusting, change only one variable per step:
1) set night mode
2) adjust focus slightly
3) observe at your close distance
4) observe again at your far distance
To make the distance effects less mysterious, remember this key physics point: point-source illumination follows an inverse-square relationship with distance—when distance increases, available illuminance drops quickly. According to OpenStax Physics, irradiance from a point source follows the inverse-square law (∝ 1/d²) (2022) OpenStax, College Physics (inverse-square relationship/point-source illumination). This is why many cameras look “fine up close” but lose detail fast at the edge of their rated IR range.
IR Illumination Drop-Off vs Distance (relative to 5 m)
| # | Test distance | Relative illuminance (1/d²) | Night clarity likelihood | Assessment |
|---|---|---|---|---|
| 1 | 2 m | 6.25× | ★★★★★ | High |
| 2 | 5 m | 1.00× | ★★★★☆ | Good |
| 3 | 10 m | 0.25× | ★★★☆☆ | Moderate |
| 4 | 15 m | 0.11× | ★★☆☆☆ | Borderline |
| 5 | 20 m | 0.0625× | ★☆☆☆☆ | Low |
| 6 | 30 m | 0.0278× | ☆☆☆☆☆ | Very low |
| 7 | 40 m | 0.0156× | ☆☆☆☆☆ | Poor |
Note: this table shows the illumination drop trend; real CCTV results also depend on lens aperture, IR LED power, beam spread, target reflectivity, and whether you have reflective walls in the IR path. Still, the inverse-square falloff is a major reason clarity changes “fast” as you push range in 2026-era installations.
Confirm settings on the camera and recorder
You can fix most “bad night” images by separating exposure problems from focus/IR problems. Then you verify that the stream you’re judging in the app or monitor is the same stream that matters.
– Review exposure/AGC (gain) and night mode options: some setups brighten the scene but smear detail by increasing gain too aggressively.
– AGC (Auto Gain Control) increases sensor gain when light is low. It can make images look brighter, but it also increases noise and can reduce perceived sharpness.
– If your night image looks grainy and soft at the same time, consider reducing AGC or switching to a more controlled exposure mode (exact steps vary by brand).
– Check IR-related options: IR LED power/strength, Smart IR, and whether “Auto” night mode is causing quick mode switching during testing. Use one change at a time.
– Smart IR adjusts IR LED output to prevent overexposure of nearby areas. If it’s active, your brightness may “breathe” as the camera analyzes the scene—this can complicate focus evaluation.
– For testing, temporarily lock behavior if your menu allows it (e.g., manual IR LED power, fixed night mode) so you can see what focus/aim changes actually do.
– In the recorder/app, confirm the stream you’re judging is the one you normally monitor (some systems let you preview a different resolution/bitrate than recording).
– Lower-bitrate preview streams can blur fine detail even when the camera is sharp. This is a common reason homeowners think the camera “can’t see at night” when the NVR/app is simply compressing the preview.
Quick comparison: when it’s settings vs when it’s hardware
Use this to avoid wasting time on firmware tweaks when the IR array is the real fault:
| Symptom at night | More likely settings/exposure | More likely hardware |
|---|---|---|
| Image stays dark and IR mode changes but brightness never improves | High AGC locked too low; exposure locked too dark | IR LEDs not powering; blown IR LED array; broken IR-cut mechanism |
| Near area is bright but edges beyond look like a soft blur | Smart IR or exposure too aggressive; range mismatch | Lens focus set for wrong distance; IR beam too narrow/wide for scene |
| Color shifts correctly to B&W, but overall contrast is weak | Gain too high/too low; WDR behavior at night | Lens contamination (dirt on dome), failed optics, damaged IR filter |
| Flicker or constant day/night oscillation | Auto night sensitivity too tight; unstable light sources | Light sensor failure (rare); controller/firmware mismatch |
What can go wrong
Even when you follow the checklist, night vision testing can mislead you if the scene geometry or automation settings confuse the camera. Most failures fall into a few repeatable categories.
– IR is on but the scene looks washed out: exposure/gain may be too high, or the camera is too close to reflective surfaces.
– Reflective surfaces include light-colored walls, glossy paint, car windshields, and some metal siding. IR can bounce back into the lens and “lift” blacks.
– You see a dim or uneven hotspot: IR angle doesn’t match the scene (common when cameras are tilted) or the LEDs are failing.
– If the camera is aimed down too steeply, the IR beam may overshoot the target area and hit the ground more than the faces/objects you care about.
– Blur only happens beyond a certain distance: the focus was set for the wrong range, or you’re beyond the camera’s effective IR reach.
– This is where incremental distance tests matter—focus errors often look “fine up close,” then fall apart at a distance.
– Flicker or mode hunting: “Auto” switching between day/night or dynamic exposure settings may be oscillating—try locking night mode for the test.
– Outdoor light leaks (headlights, porch lights, reflections from windows) can trigger auto day/night decisions.
– Outdoor reflections and nearby walls: IR bounces off concrete, glass, and metal—what looks fine in one direction can fail in another.
– If your driveway has a reflective wall on one side, test that direction separately rather than relying on one centered test target.
From a practical imaging standpoint, scotopic (low-light) vision peaks around 507 nm, which is one reason night scenes without true illumination can feel “colorless” and contrast-poor to humans. According to the CIE, the scotopic peak is at 507 nm (1951) Commission Internationale de l’Éclairage (CIE), 1951 scotopic standard observer. CCTV isn’t using scotopic vision, but the takeaway is the same: low light collapses contrast fast, so your camera settings and IR design must preserve edge detail.
Verdict: when to test and when to stop
If your goal is to verify night coverage, the best approach is a short sequence: confirm IR activation → re-focus if needed → test at your real viewing distances → fine-tune exposure/IR settings one at a time. This method usually separates “settings” problems from “hardware” problems quickly, and it’s especially useful in 2026 when app previews and auto modes can otherwise complicate interpretation.
Skip deeper troubleshooting (or plan for service) if you find IR LEDs never turn on, the image is consistently broken in black-and-white even with settings reset, or you get the same poor result across multiple targets/distances—those are often hardware limitations. If you’re considering replacing components, check your camera’s specs first (effective IR range and whether it supports external IR).
A helpful downside to remember: manual focus adjustments and re-aiming can temporarily degrade the daytime image, and aggressive changes to AGC/exposure can increase noise at night. If you share a single camera feed for both day and night monitoring, make sure you re-check daytime clarity after you’re done with night tuning.
Frequently Asked Questions
How can I test my CCTV night vision to confirm it’s actually working?
Start by viewing the live camera feed in a dark room or at night and look specifically for IR-lit areas and a clear image. Then check that the image brightens when you remove covers from IR LEDs or when ambient light drops enough for the IR-cut filter to switch modes. If you can see IR illumination on the camera’s IR spectrum, confirm there’s no excessive blur or flicker, which often indicates focus or IR reflection issues.
What’s the best way to test CCTV IR night vision range before installation?
Use a controlled environment and place test targets (e.g., a person, high-contrast signs, or a reflective tape strip) at increasing distances—like 10m, 20m, 30m, and beyond—until detail becomes unreadable. Turn lights off (or cover daylight sources) and note the farthest distance where faces or key features remain distinguishable. This helps you verify the real-world effective range of the CCTV night vision, which can be shorter than marketing claims due to weather, lens size, and mounting height.
Why does my CCTV night vision look blurry, grainy, or overexposed at night?
Blurry or grainy images are commonly caused by incorrect focus, dirty lenses, or the wrong IR focus setting (especially on motorized or varifocal lenses). Overexposure or “washed out” footage often happens when IR LEDs reflect off nearby walls, windows, spider webs, or dust, creating IR hotspots. Clean the lens, adjust focus, reposition the camera to avoid close reflective surfaces, and confirm your night vision mode switches correctly (IR-CUT day/night performance).
Which settings should I check to ensure my CCTV camera switches to night vision properly?
In the camera menu, verify Day/Night settings such as IR-CUT mode, Auto, or Schedule, and check the sensitivity/threshold for low-light switching. If the camera never switches, the night vision may not activate, so confirm IR LEDs are enabled and that power delivery meets the camera’s requirements. For reliable CCTV night vision performance, also review exposure settings (AGC, shutter limits) and make sure the image isn’t stuck in daylight mode due to misconfigured light thresholds.
How do I test whether my CCTV night vision is using IR LEDs correctly versus another lighting source?
In total darkness, you should see no visible light but the camera image should brighten when night vision engages, confirming IR illumination is working. If available, use a smartphone camera or another digital camera to see the IR LED glow (it often appears as a faint purple or white light through lenses), while the CCTV itself will show the resulting image. If the camera feed remains dark, check that IR LEDs are powered, not obstructed, and that the lens cover or IR filter isn’t misaligned, since those faults prevent proper night vision activation.
📅 Last Updated: November 03, 2026 | Topic: How to test CCTV night vision? | Content verified for accuracy and freshness.
References
- Night vision
- Infrared
- Signal-to-noise ratio
- Optical transfer function
- [Withdrawn] Surveillance camera code of practice – GOV.UK
- Face Recognition Vendor Test (FRVT) | NIST
- infrared night vision imaging system evaluation – Search Results – PubMed
- https://scholar.google.com/scholar?q=How+to+test+night+vision+CCTV+camera+IR+performance Google Scholar
- https://scholar.google.com/scholar?q=low+light+video+surveillance+performance+evaluation+illumination+noise+resolution Google Scholar
- https://scholar.google.com/scholar?q=IR+illumination+measurement+camera+night+mode+testing+guidelines Google Scholar