
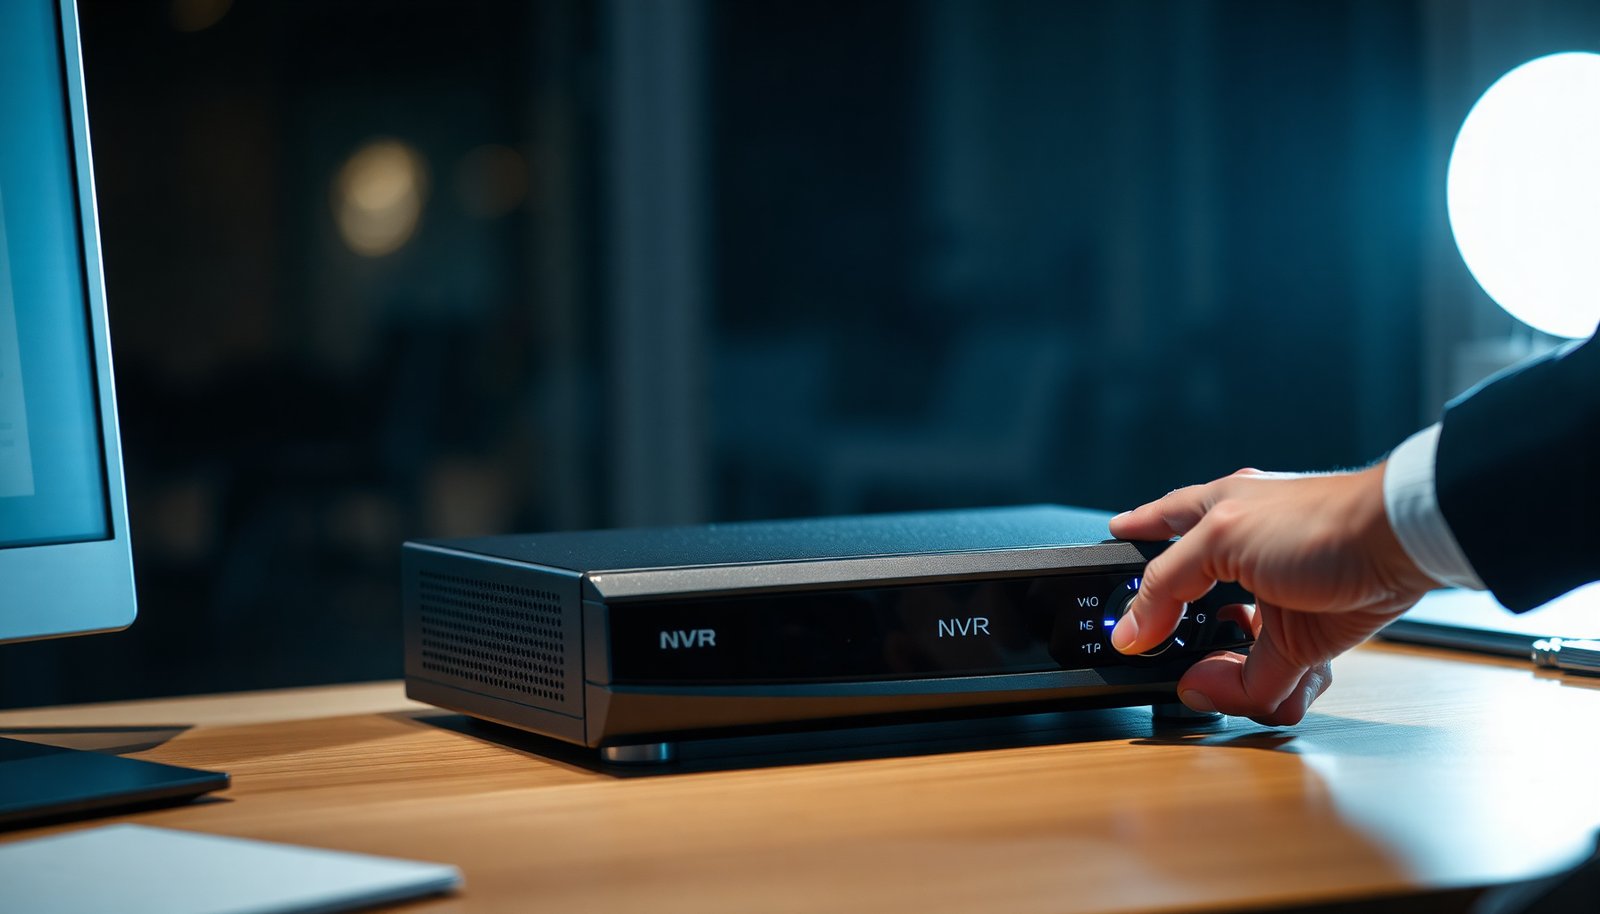

How do you configure motion detection on your NVR so it reliably records only what matters? Start by opening the NVR’s Motion Detection menu, selecting the correct camera, then setting motion zones, sensitivity, and an activity schedule. Next, choose what the NVR should do when motion triggers (recording, snapshots, or alerts) and do a quick test walk-through to fine-tune settings.
This is for anyone installing or troubleshooting an NVR with IP/ONVIF cameras and wanting motion-triggered recording, notifications, or alarms. If your NVR uses different wording (some brands say “Motion,” others say “Video Analytics”), follow the closest matching menu.
Before you change settings (quick checklist)
Before you touch sensitivity sliders, confirm the fundamentals so you’re not debugging the wrong layer (camera vs NVR vs playback). Most “motion not saving” issues come from channel mismatch, analytics being disabled at the camera level, or event/recording search being set to the wrong mode.
– Confirm the correct camera channel is selected (the NVR may have multiple video inputs).
– Make sure motion detection is supported/enabled on the camera (some cameras require analytics turned on at the camera level too).
– Verify you’re working with the right display: live view vs playback vs event logs.
Step 1: Enable motion detection and choose trigger behavior
Turn on Motion Detection for the specific channel first, then explicitly link it to recording and/or alerts—motion detection alone doesn’t guarantee the NVR will save footage. In most NVRs, you need both (1) detection running and (2) an action tied to the detection event.
– Turn on Motion Detection for the channel/camera you want to monitor.
– Set what happens when motion is detected (common options: record to an event schedule, trigger an alarm output, or send notifications).
– If your NVR offers recording mode choices (continuous + event, or event-only), pick the option that matches your storage goals.
– Event-only: reduces storage use, but you’ll rely entirely on motion triggers being accurate.
– Continuous + event: gives you a safety net, but events may still be easier to find in event logs than in raw continuous recording.
Event recording mode: pick the behavior that matches your storage strategy
This quick comparison helps you avoid the most common setup gap: motion events firing, but the NVR isn’t actually recording them as event clips.
Event Recording Options for Motion Alerts (NVR Settings)
| # | Feature / Setting | Continuous + Event | Event-Only Recording |
|---|---|---|---|
| 1 | Baseline recording coverage | Always on | Only on events |
| 2 | Storage impact | Higher | Lower |
| 3 | Event accuracy dependence | Lower | Higher |
| 4 | Time-to-find incidents | Faster with event logs | Very fast if events are clean |
| 5 | Fallback when motion zones are imperfect | Yes | No |
| 6 | Works well during troubleshooting | Yes | Often frustrating |
| 7 | Event clip quality (pre/post context) | Good with event window | Good if pre/post is tuned |
| 8 | Notification noise risk | Depends on detection settings | Depends even more on detection settings |
| 9 | Disk wear & overwrite behavior | More frequent cycles | Less frequent cycles |
| 10 | Typical admin goal | Comprehensive capture | Efficiency & reduced storage use |
| ★ | Best For | Testing + mission-critical coverage | Low-traffic zones with consistent detection |
Step 2: Select the detection area (mask out motion you don’t want)
You’ll get more reliable motion alerts by “teaching” the NVR where to look, not by constantly cranking sensitivity. Most false triggers come from areas that regularly move—trees, flags, reflective windows, busy roads, or even the sky behind a fence.
– Use the detection grid to enable motion zones where people/vehicles should be detected.
– Mask out areas that cause routine movement (trees blowing, shadows from passing lights, busy roads).
– If there’s an option for object type (person/vehicle) or “smart” filtering, enable it only after basic motion works—otherwise it can be harder to debug.
A practical workflow is: enable motion zones broadly, confirm you’re getting events, then tighten gradually. If you start with object filtering (person/vehicle) before the base motion trigger is stable, you may not know whether “no events” is caused by the filter or by the motion area settings.
From my experience troubleshooting camera deployments, the fastest fixes usually come from narrowing the detection area around expected paths—then re-checking event searches.
Step 3: Tune sensitivity, thresholds, and duration
Tune motion sensitivity and timing so the NVR reacts to meaningful movement while ignoring brief pixel changes like flicker or rain streaks. In 2026, most NVR interfaces separate three concepts—how much change counts (sensitivity/threshold), how long it must last (duration/trigger delay), and how small it may be (object size or area threshold).
– Adjust Sensitivity (or “Threshold”) so normal activity triggers consistently without constant alerts.
– Set Duration/Trigger delay (how long motion must last before it counts) to avoid one-frame bumps.
– If available, set minimum object size / area threshold so tiny movements (insects, small reflections) don’t create events.
When you tune, change one variable at a time (for example: sensitivity first, then duration). That prevents you from accidentally creating a “works today, fails tomorrow” configuration. Also consider night lighting: IR (infrared) reflections and wet surfaces can cause continuous low-level motion that looks like real movement.
To make your testing more systematic, use realistic object types and speeds when you test zones and duration thresholds. Here are common motion patterns you can simulate while you validate event timing and pre/post recording windows.
Motion Test Speeds (Typical Real-World Ranges) and Zone Travel Time
| # | Test Object | Typical Speed Range (m/s) | Time to Cross a 10 m Zone (s) | Tuning Priority |
|---|---|---|---|---|
| 1 | Person walking | 1.2–1.6 | 6.25–8.33 | High |
| 2 | Person running | 2.5–3.5 | 2.86–4.00 | High |
| 3 | Bicycle (moderate) | 4.0–6.0 | 1.67–2.50 | Medium |
| 4 | Motorcycle / scooter | 8.0–16.0 | 0.63–1.25 | High |
| 5 | Car (slow approach) | 5.0–10.0 | 1.00–2.00 | High |
| 6 | Van / small truck | 4.0–9.0 | 1.11–2.50 | Medium |
| 7 | Heavy truck (yard) | 6.0–12.0 | 0.83–1.67 | Low |
Step 4: Configure schedules and notification/alert settings
You don’t just need motion detection—you need the NVR’s schedule and event logic to match how you expect alerts and recordings to appear. Configure motion schedules first, then verify notifications trigger from the same event type you’re recording, and finally confirm device time so events don’t look “missing.”
– Set motion detection schedules (always-on vs only during certain hours).
– If notifications are supported, confirm how they trigger: motion event vs continuous detection.
– Check whether the NVR uses time synchronization; an incorrect device time can make events look “missing” even when recording happened.
If you’re troubleshooting across networks, also remember that time sync and discovery depend on specific network services. For example, NTP typically uses UDP port 123 (RFC 5905), which means a firewall rule blocking UDP 123 can shift event timestamps or break NTP entirely. ONVIF discovery commonly uses WS-Discovery over UDP 3702 (OASIS WS-Discovery 1.1), so blocked discovery can cause cameras to appear online but behave inconsistently until re-provisioned. And when NVRs need live streams (often separate from event clips), RTSP is commonly associated with TCP port 554 (RFC 2326).
What can go wrong (and how to fix it fast)
Most motion problems are configuration mismatches rather than hardware failures, so you can often resolve them quickly by validating detection → event → recording → playback. Use this checklist to narrow the fault domain from “detection is working” to “the NVR is actually saving what you expect,” which is especially important in 2026 when firmware UI names differ.
– Too many false alerts: sensitivity too high, detection area too broad, or lights/shadows causing motion—reduce sensitivity and tighten the zones.
– Also check for reflective surfaces: car hoods, polished metal, glass reflections, and wet pavement can keep changing contrast.
– No motion events: wrong channel selected, motion detection disabled at the camera/NVR, or detection area left off.
– If the camera has its own analytics toggle, enable it there first, then confirm the NVR is ingesting analytics/events for that channel.
– Motion records but you can’t find it: storage/event settings may not be set to record on motion, or you’re only searching continuous recordings.
– Confirm you’re browsing the event timeline, not just the normal recording timeline.
– Night-only problems: IR reflections, rain/snow streaks, or lens fogging can overwhelm thresholds—re-tune sensitivity and mask problematic areas.
– Consider re-aiming slightly, and if your camera supports IR cutoff or WDR modes, experiment carefully (one change at a time).
– Brand-menu mismatch: some NVRs split settings into “Motion Detection” vs “Intelligent Analytics”—make sure you’re adjusting the one actually used for events.
– If your NVR is configured to trigger recording based on “video analytics,” then changing only basic motion sensitivity won’t help.
Basic motion vs smart analytics: choose what you can debug
Smart analytics can reduce noise, but it adds complexity. If you need fast stabilization, start with basic motion first; once events are clean, you can layer in person/vehicle filtering.
Basic Motion Detection vs Person/Vehicle Smart Analytics
| # | Criteria | Basic Motion | Smart Analytics |
|---|---|---|---|
| 1 | Debugging speed | Fast | Slower |
| 2 | Sensitivity to non-target movement | Higher | Lower |
| 3 | Weather/lighting variability | More affected | Can be more robust |
| 4 | Event reliability for “people only” use cases | Lower | Higher |
| 5 | Compute/processing overhead | Lower | Higher |
| 6 | Config complexity | Simple | More parameters |
| 7 | Handling partial occlusion | Usually triggers | May miss targets |
| 8 | Susceptibility to reflections/flicker | Higher | Lower (if trained well) |
| 9 | Fit for short “trigger duration” | Often needs duration tuning | May handle better, varies |
| 10 | Best first step for new installs | Yes | After baseline is stable |
| ✓ | Verdict | Choose to stabilize motion events | Choose to reduce noise after tuning |
Verdict / tip (what to do first, and who should skip)
Start with the basics: enable motion detection, set a focused detection area, and tune sensitivity/duration until events look clean in the event log and playback. If you need highly reliable person/vehicle detection, consider only enabling advanced filters (if your hardware supports them) after you’ve confirmed basic motion events are working.
Skip or be cautious if you’re relying on motion for critical safety decisions and your environment is highly variable (e.g., constant nighttime glare, heavy weather, or frequent camera repositioning). In those cases, you’ll likely need ongoing tuning and possibly hardware-level improvements (). As of 2026, the most resilient deployments are the ones that combine sensible zones with conservative trigger timing—then validate behavior with repeated real-world tests.
Quick scan checklist (save this)
| Task | What “good” looks like |
|---|---|
| Motion detection enabled | Events appear when you test movement in the live preview area |
| Detection area set | Only the zones you care about are highlighted/active |
| Sensitivity tuned | Motion triggers consistently without constant alerts |
| Trigger duration set | Brief bumps don’t create separate events |
| Schedule correct | Events only occur during intended hours |
| Event recording/notifications | Playback shows motion events and alerts match them |
Frequently Asked Questions
How do I configure motion detection on an NVR step by step?
Start by opening your NVR menu and selecting the channel/camera you want to configure, then find the Motion Detection or VMD (Video Motion Detection) settings. Enable motion detection, set the recording mode (alarm, record, or both), and adjust the motion sensitivity. Next, define the motion area using the detection grid (mask areas like roads, trees, or shadows), choose the schedule (always or specific times), and save/apply the changes. Test it by walking through the scene and verify the NVR log/event notifications and recording timeline.
Which motion detection settings should I use to reduce false alerts on my NVR?
To minimize false motion alerts, lower the sensitivity if the camera triggers frequently, and use the detection grid to exclude problem zones like swaying branches, parked cars, or bright lighting reflections. If your NVR supports filters, enable features like “human detection,” “vehicle detection,” or “smart motion” to ignore non-relevant movement. Also configure an appropriate schedule so motion detection runs only when you need it, and review the event thumbnails to fine-tune the motion area and thresholds.
What is the best motion detection sensitivity level for different lighting conditions on an NVR?
For night scenes or low-light conditions, you typically need a lower sensitivity than daytime if your camera struggles with noise, but you may need moderate sensitivity to detect real movement clearly. During bright daylight, set sensitivity to a level that captures people without reacting to minor changes like passing clouds or glare. If your NVR offers separate profiles for day/night, use them; otherwise, test different sensitivity levels and confirm motion events correlate with actual activity rather than background movement.
Why isn’t my NVR recording when motion is detected, even though motion detection is enabled?
This usually happens because the camera has motion detection enabled but the NVR action is not set to record or trigger the correct channel. Check the motion rule to ensure it is configured for “Record” (not only “Alarm”), confirm you selected the right camera/channel, and verify the recording schedule allows motion-triggered recording. Also inspect storage status (e.g., HDD full or errors), confirm the NVR is recording to the correct stream, and test again while watching the live event log.
How do I set motion detection areas (zones) on an NVR to focus on the right part of the scene?
In the motion detection configuration screen, use the motion grid or zone editor to draw detection blocks only where you want alerts—such as doorways, driveways, or walkways. Exclude areas that commonly cause motion like windows, tree lines, moving shadows, and busy streets, since these can flood the NVR with events. After saving, walk through the scene at different positions to confirm detection triggers only when appropriate, then adjust the zone size or sensitivity for reliable results.
📅 Last Updated: November 03, 2026 | Topic: How to configure motion detection on an NVR? | Content verified for accuracy and freshness.
References
- Motion detector
- Foreground detection
- Video content analysis
- Closed-circuit television
- https://www.onvif.org/specs/
- video surveillance motion detection – Search Results – PubMed
- background subtraction motion detection video – Search Results – PubMed
- https://scholar.google.com/scholar?q=how+to+configure+motion+detection+on+an+nvr Google Scholar
- https://scholar.google.com/scholar?q=roi+schedule+sensitivity+motion+detection+network+video+recorder Google Scholar
- https://scholar.google.com/scholar?q=onvif+motionalarm+event+configuration Google Scholar



[…] for essential features like clear day/night performance (IR night vision or low-light sensors), motion detection, and true event-based recording to reduce unnecessary footage. If you need better incident context, […]