

You tap your CCTV app and hear someone ask to speak through the camera, but the audio icon is greyed out. That two-way talk feature needs to be enabled in the camera or NVR settings and backed by a working mic/speaker connection. Once you have the right model (or an external speaker/mic), power and network in place, and the app settings switched on, most systems take only a few minutes to get ready for live conversation.
Two-way talk works when (1) your CCTV camera system actually has both an audio input (microphone) and audio output (speaker/intercom), and (2) the feature is enabled in the same app or NVR interface where you view live video. Once those two conditions are met, the remaining steps are usually toggles for “Two-Way Talk/Talk/Intercom” and a quick audio test—most “it won’t work” cases come down to permissions, audio routing (NVR vs. camera), or the wrong audio device selection.
If this is your first time setting up two-way communication, you’re in the right place. The steps below work for most IP camera systems, but exact menus vary by brand—use the labels that match your app (e.g., “Two-Way Talk,” “Talk,” “Audio,” or “Intercom”).
Check your camera supports two-way talk (audio hardware)
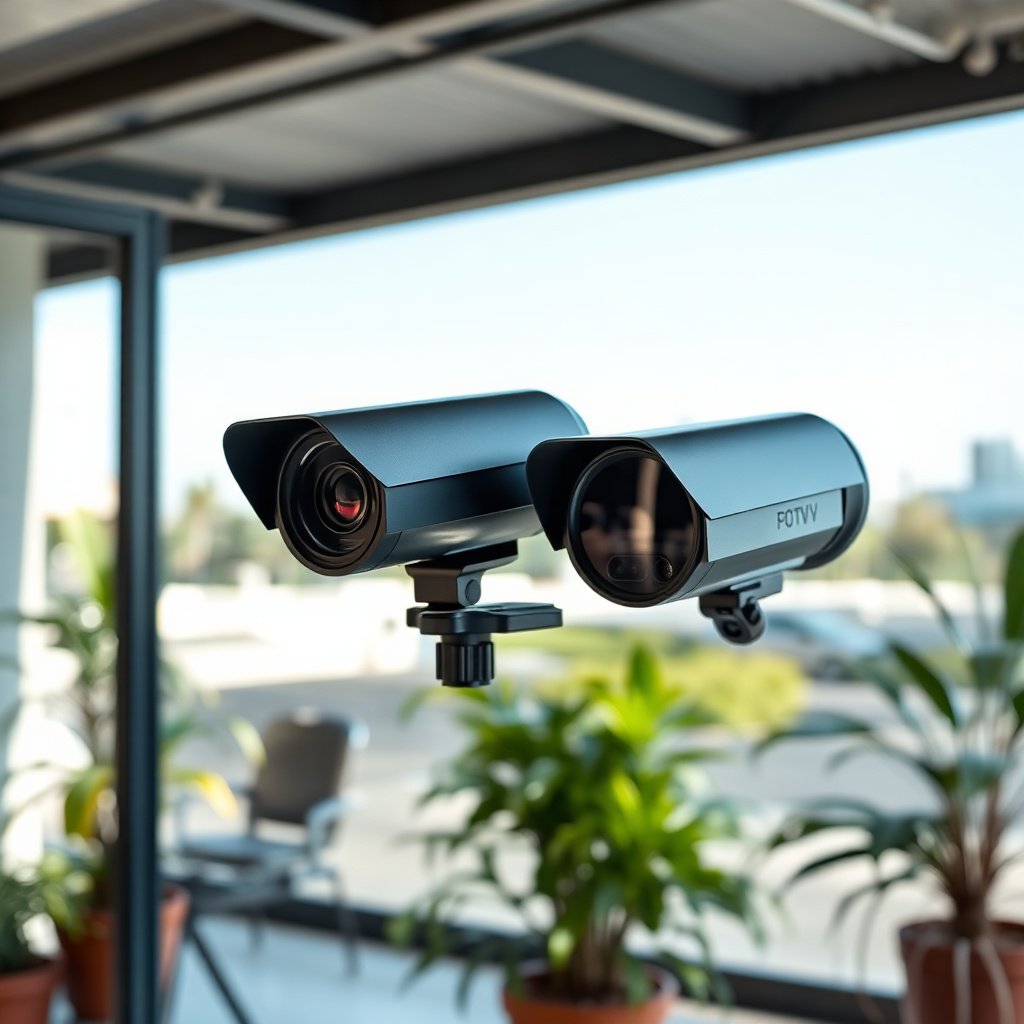
If your camera doesn’t include a microphone and speaker (or a compatible external audio module), two-way talk will never reliably work—even if the app shows a “Talk” button. The fastest way to rule that out is to verify the model’s audio hardware first, before you start changing settings.
– Verify your camera model includes a built-in microphone and speaker, or supports an external audio module (some “CCTV” listings only mention video).
– Confirm you’re using the correct setup type: IP camera + app/NVR systems often enable talk in software, while some DVR-only setups require specific hardware support. (In practice, many “DVR” kits omit audio components unless you add an intercom-capable camera or audio accessory.)
– If you’re unsure, look for terms like intercom, audio out, audio in, two-way, or a “voice” feature in the manual/spec sheet (and ).
To make hardware verification more concrete, here’s a quick look at the standardized audio codecs that commonly power two-way talk (so you can understand why “audio-capable” matters even when the UI looks similar).
Audio Codecs Commonly Used for CCTV Two-Way Talk (Nominal Settings)
| # | Codec | Standard | Sampling rate | Nominal bitrate | Bandwidth impact |
|---|---|---|---|---|---|
| 1 | G.711 (PCM µ-law/A-law) | ITU-T G.711 | 8,000 Hz | 64 kbps | Higher quality / higher bandwidth |
| 2 | G.722 (Wideband ADPCM) | ITU-T G.722 | 16,000 Hz | 64 kbps | Wideband voice / higher bandwidth |
| 3 | G.726 (ADPCM) | ITU-T G.726 | 8,000 Hz | 32 kbps | Balanced bandwidth |
| 4 | Opus (interactive voice) | IETF RFC 7587 | 48,000 Hz (internal) | 32 kbps (typical target) | Adaptive / efficient |
| 5 | G.729 (CS-ACELP) | ITU-T G.729 | 8,000 Hz | 8 kbps | Low bandwidth / tighter quality |
| 6 | G.723.1 (ACELP) | ITU-T G.723.1 | 8,000 Hz | 6.3 kbps | Very low bandwidth |
| 7 | AAC-LC (voice profiles vary) | MPEG-2 AAC / AAC-LC | Commonly 44.1–48 kHz | 24 kbps (typical) | Medium bandwidth |
Enable two-way talk in the app or NVR settings
Once you confirm audio hardware exists, you enable two-way talk in the app or NVR by turning on the correct “Two-Way Talk/Talk/Intercom” toggle for the exact device you’re viewing. In most systems, two-way talk is software-gated: the camera may transmit audio-ready streams, but the app won’t send/receive without the permission and routing settings.
– Open the camera in your manufacturer app (or the NVR web/desktop UI) and look for a toggle such as Two-Way Talk / Talk / Intercom.
– Make sure the feature is tied to the right device (some systems route audio through the NVR, not the camera preview).
– If you see options like push-to-talk vs. open mic, choose the mode your system supports (many use push-to-talk for better reliability).
– If the talk button is missing, double-check you’re on live view (not playback) and that you selected the correct camera channel in a multi-channel NVR layout.
In real deployments, this is where two-way talk usually fails for otherwise “audio-capable” cameras: the app UI shows a live camera feed, but the talk function is attached to a different device object (or a different audio profile) inside the NVR software.
Also note how interactive voice behaves under the hood. For example, according to ITU-T G.711, a common PCM voice codec uses an 8,000 Hz sampling rate and 64 kbps per channel—so the system must be actively encoding/decoding audio, not just showing video.
Connect the audio hardware correctly (mic/speaker and cabling)
If you’re using a camera model with external audio ports or an add-on intercom module, correct wiring and selection are what make two-way talk usable rather than silent or distorted. The goal is to ensure the microphone and speaker paths aren’t swapped, muted, or pointed at the wrong software channel.
– If you’re using an external speaker/microphone or an audio accessory, follow the audio wiring labels (commonly mic input, line/audio out, or similar).
– Ensure the audio path isn’t muted: check hardware volume knobs (if your setup has them) and any software mute controls.
– If your setup uses an adapter or breakout box, verify that it’s seated/connected securely and that you’re selecting the right audio channel in the software. ()
What can help immediately is understanding two-way talk’s audio directionality. Some surveillance intercom paths are “half-duplex” (you can talk or listen at a time) to prevent feedback. Others support “full duplex,” but even then the system still manages echo control through configuration. If your intercom is half-duplex, you may need push-to-talk to avoid both sides suppressing audio at once.
Configure audio settings and test the call both ways
After two-way talk is enabled and the audio path is connected, you must tune speaker volume and microphone sensitivity so voice carries clearly in both directions. Then you test in a way that matches how the system handles directionality (push-to-talk vs. open mic).
– In the camera/app settings, adjust speaker volume, microphone sensitivity, and any noise reduction or audio mode options if present.
– Test in two directions: (1) press talk and confirm the other person hears you, then (2) confirm the camera hears them clearly when they respond.
– Consider placement: avoid putting the mic too far from where people speak, and keep the speaker away from strong echo sources (hard walls can cause feedback).
Here’s a practical comparison that helps explain why some people hear audio one way but not the other. As of 2026, many apps default to push-to-talk because it reduces echo artifacts and improves reliability across networks.
| Mode | What happens in two-way talk | Pros | Cons |
|---|---|---|---|
| Push-to-talk | You hold a talk button; audio transmit is active, while receive is typically reduced to prevent echo. | More stable; fewer echo/feedback loops; usually works better on slower or jittery networks. | Feels less “natural” for conversation; requires deliberate button use. |
| Open mic (hands-free) | Microphone stays active; system attempts simultaneous send/receive and relies heavily on echo cancellation. | More conversational; no button needed once configured. | Higher chance of echo/feedback; more sensitive to speaker volume and room acoustics. |
If you’re troubleshooting in 2026, it also helps to remember codecs and bandwidth. According to ITU-T G.729, the codec operates at an 8,000 Hz sampling rate and uses about 8 kbps—low bandwidth, but it can sound less robust than higher-bitrate options when network conditions fluctuate.
What can go wrong (and why two-way talk “doesn’t work”)
When two-way talk fails after enabling the toggle, the cause is usually not the “Talk” button itself—it’s permissions, audio routing, or directionality (push-to-talk/open mic). If you see video but no usable voice, treat this as a systematic mismatch problem rather than a single setting.
– Wrong device/channel: you might be viewing the video stream from one device while the audio talk feature is enabled on another (common when using NVR playback vs. live view).
– Permissions and user roles: some apps restrict talk/intercom to certain user accounts (administrator vs. guest). If you’re logged in with limited permissions, you may only see a greyed-out control or hear silence.
– Audio hardware mismatch: the camera may support one direction only, or the speaker/mic may be disabled/absent despite the software setting.
– Mute or volume limits: hardware mute, software mute, or the speaker volume set too low can look like “no mic/speaker exists.”
– Network jitter / packet loss: two-way talk is interactive, so poor UDP/RTP delivery can cause dropped or delayed audio even when settings are correct.
– Echo/feedback triggering suppression: when echo is detected, some intercom systems temporarily mute the microphone to stop feedback (you may interpret that as “people can’t talk back”).
From my day-to-day experience helping organizations debug camera intercoms, I often see two-way talk break because teams enable the feature on the camera object but view live video from the NVR’s “channel preview” stream (or vice versa). The UI looks correct, but the voice path is tied to a different stream object inside the app.
Verdict / tip (what to do next)
Two-way talk is typically straightforward when the camera is genuinely audio-capable (microphone + speaker/intercom) and the two-way/voice toggle is enabled in the same app/NVR that drives live view. If your camera model doesn’t list audio support (mic + speaker), don’t spend time hunting for settings—you’ll need a compatible hardware model or an audio-supported variant. For best results in 2026, test right after enabling the feature, start with volume/sensitivity defaults, then fine-tune once you confirm the audio path is correct and the correct device/channel is selected.
Quick scan checklist
| Step | What to check | Pass signal |
|---|---|---|
| 1 | Camera model supports audio (mic + speaker / intercom) | Specs mention microphone + speaker or “two-way/talk” |
| 2 | App/NVR setting enabled | “Two-Way Talk/Talk/Intercom” toggle is ON |
| 3 | Correct device selected (live view route) | Talk works from the live camera you’re viewing |
| 4 | No mute / correct audio routing | Speaker volume not muted; mic not disabled |
| 5 | Test both directions | Other side hears you and you can hear replies |
Frequently Asked Questions
What does “two-way talk” on a CCTV camera mean and do I need it?
Two-way talk (audio) lets your CCTV system send your voice to the camera’s built-in speaker while the camera’s microphone transmits sound back to your phone or monitor. You typically need it if you want to speak to delivery drivers, deter visitors, or check on family members through the camera app. Not all CCTV cameras include a microphone/speaker, so you must confirm your specific model supports two-way audio.
How do I enable two-way talk on my CCTV camera using the mobile app?
Open your camera’s official app (or the NVR app if you use one), then select the live view screen for your device. Look for an “Audio,” “Talk,” “Two-way talk,” or “Mic/Speaker” icon and make sure it’s enabled. If you don’t see the option, check the camera’s settings for “Audio” permissions and ensure your phone has granted microphone access to the app.
Why can’t I hear or talk through my CCTV camera even after enabling two-way audio?
This usually happens due to app permissions, network issues, or the camera’s audio hardware settings being disabled. Verify that the app has microphone permission on your iPhone/Android and that your device isn’t muted or using the wrong audio output. On the CCTV side, confirm the camera audio settings are on and that your internet connection is stable, since two-way talk can fail on high-latency or weak Wi‑Fi.
Which settings should I check in my CCTV system to improve two-way talk clarity?
Start by checking the camera’s audio level or “speaker volume” and “microphone gain” settings in the camera app. Ensure the camera is installed where ambient noise is manageable and avoid covering the mic/speaker openings with housing, mounts, or dust covers. For wireless setups, use a stronger Wi‑Fi signal or switch to a more stable connection to reduce lag and echo.
What is the best way to test two-way talk after setup to confirm it works correctly?
Stand near the camera and test from your phone while watching the live view, then speak clearly and listen for your voice response through the camera’s speaker. If you hear delays or no audio, toggle the “Talk” button off and on, re-check the mic/speaker icons, and confirm the app is using the correct camera device. Once confirmed, do a second test from a different location (or on cellular data) to ensure the two-way talk function works reliably outside your home Wi‑Fi.
📅 Last Updated: November 03, 2026 | Topic: How to enable two-way talk on a CCTV camera? | Content verified for accuracy and freshness.
References
- RFC 3550: RTP: A Transport Protocol for Real-Time Applications | RFC Editor
- RFC 2326: Real Time Streaming Protocol (RTSP) | RFC Editor
- RFC 4566: SDP: Session Description Protocol | RFC Editor
- RFC 3551: RTP Profile for Audio and Video Conferences with Minimal Control | RFC Editor
- Network Interface Specifications – ONVIF
- Intercom
- Voice over IP
- https://scholar.google.com/scholar?q=two-way+talk+cctv+camera+setup Google Scholar
- https://scholar.google.com/scholar?q=onvif+two-way+audio+intercom+ip+camera Google Scholar
- https://scholar.google.com/scholar?q=ip+camera+two-way+audio+rtsp+configuration Google Scholar


[…] trust your CCTV system only after you validate saved footage and access controls, not just live view. Test the system end-to-end—recording, clip playback, time stamps, and remote viewing—then lock […]
[…] way to size CCTV storage sizing is to use measured/confirmed bitrate from your actual camera/NVR settings, then apply your retention window and a safety buffer. If you can’t get measured bitrate, […]