
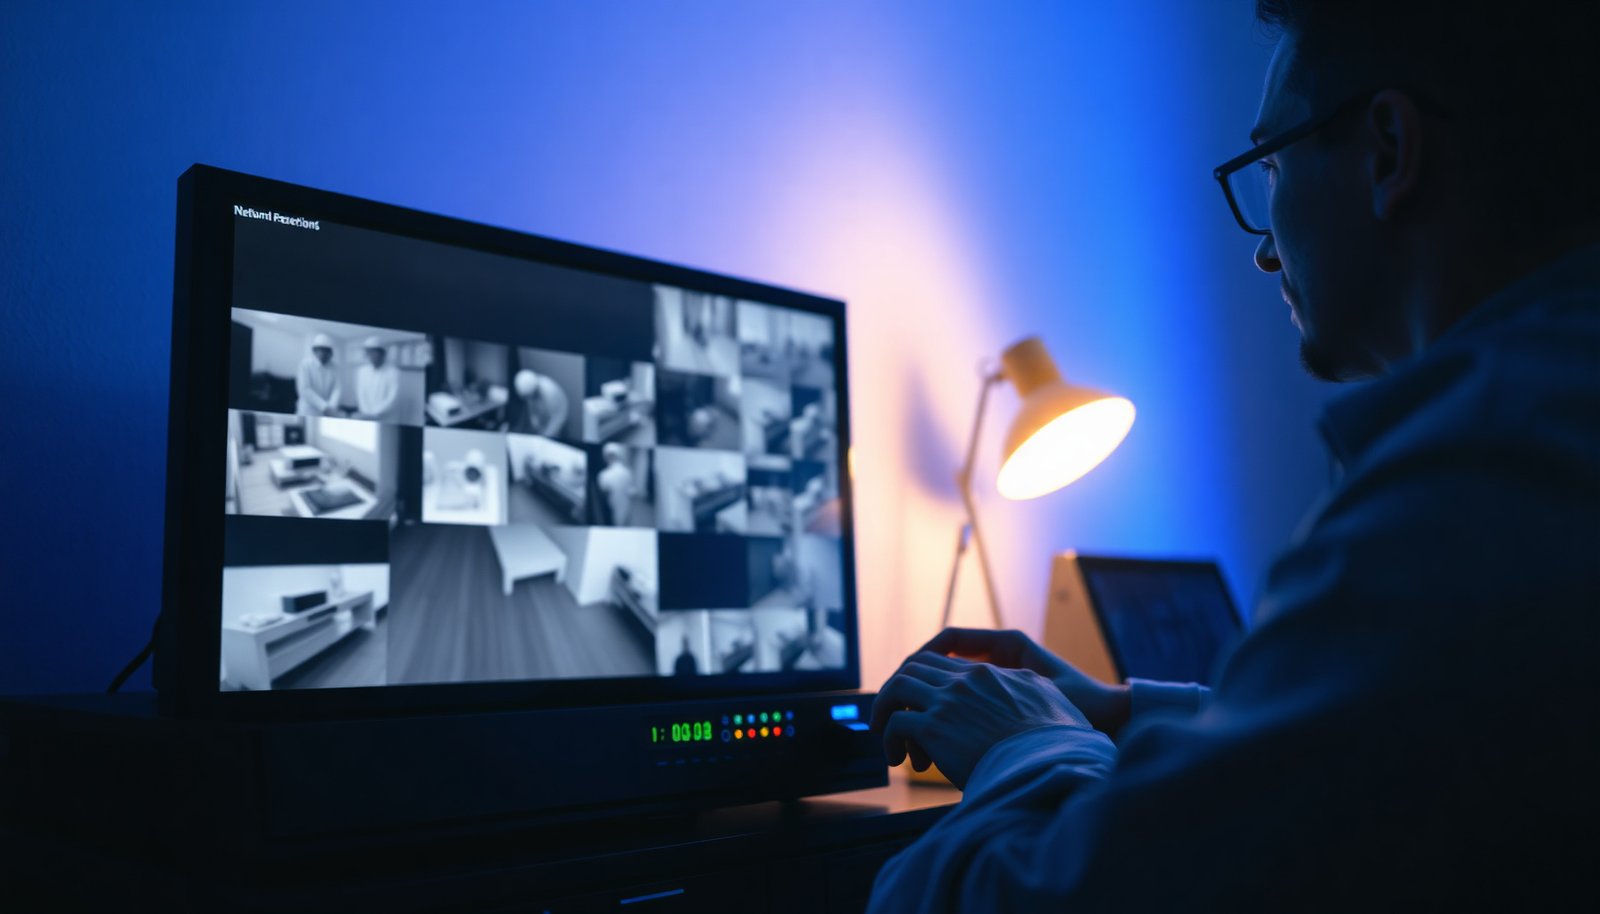

If motion detection on your NVR triggers nonstop or stays silent when it should alert you, the cause is often misconfigured detection zones, sensitivity, or recording schedules. You can fix it by stepping through the NVR’s motion menu for each camera, setting the right area, and adjusting trigger thresholds until events are consistent. With a few minutes of focused configuration—and the camera channels you want to monitor—you will get reliable motion alerts that match your environment.
To configure motion detection on an NVR, you’ll enable motion per camera channel, set the motion area and sensitivity, and choose what motion should trigger (recording and/or alerts). Then you run a short walk test in both day and night conditions so you can fine-tune zones until false alarms drop and real events are captured reliably.
This is for people setting up an NVR for the first time or reworking motion settings after switching cameras, changing lighting, or moving a viewpoint. The exact menu names vary by brand/model, so you may need to match these steps to what your NVR labels the options as ().
Prep steps before configuring motion detection

Before you change any NVR motion detection settings, verify the camera feed quality and confirm the NVR can actually store what you’re about to detect. Motion detection is only as good as the incoming video stream—and on an NVR, storage or firmware issues can make it look like “motion detection is broken” when it’s really a recording pipeline problem.
– Confirm each camera is live and has a clear view (wipe the lens, check focus, and make sure IR/night mode behaves as expected). In practice, uneven IR illumination often causes background “flicker,” which increases motion triggers even when nothing is moving.
– Check your storage situation (if the NVR is out of space or overwriting too aggressively, motion events may not be captured the way you expect). If your NVR supports “event-only” recording, confirm the event retention behavior so motion clips aren’t immediately overwritten.
– Update firmware and reset motion settings if you’re inheriting an existing configuration (). As of 2026, many NVR vendors still ship meaningful fixes to motion/event logic and zone masking stability, especially after camera firmware changes.
Turn on motion detection for each camera channel
The fastest path to working NVR motion detection is to enable it per camera channel first, then layer schedules and detection modes on top. This keeps you from chasing “why aren’t alerts working?” issues that are caused by forgetting a channel, a schedule block, or a mode toggle.
– Open the camera/channel settings and enable Motion Detection for the channel you want. If your NVR offers separate toggles for “Enable,” “Enable recording,” and “Enable alerts,” turn them on in the same pass so you can test end-to-end behavior.
– Set a motion schedule (for example, “Always” or a custom time block) so you only detect during the periods you care about. A common configuration error is enabling motion detection globally but leaving the schedule disabled for the specific hours you’re testing.
– If your NVR supports multiple detection modes/types, pick the one that fits your goal (e.g., general motion vs. other specialized detection options). For example, some systems separate “video motion” (pixel changes) from “human/vehicle” analytics (object classification), and the tuning approach differs.
Tune motion area, sensitivity, and detection type
NVR motion detection improves most when you constrain “where” detection can happen and “how sensitive” it is, rather than only changing sensitivity. On video-based systems, the motion zone acts like a filter: smaller, deliberate zones reduce false triggers from background movement, reflections, and routine environmental changes.
– Define the motion area (often called grid, mask, or privacy zone) so you’re detecting movement in the areas that matter. Start with the area that covers people/vehicles you care about, not the entire scene.
– Adjust sensitivity/threshold gradually—too low may miss activity, too high will react to shadows, headlights, bugs, or moving foliage. If your NVR uses a numeric threshold, move in small steps and re-test after each change.
– Use exclusion/masking if available to block “always-moving” regions like swaying plants, busy streets, or reflective surfaces. Masking is often more effective than lowering sensitivity everywhere, because it targets the specific pixels that keep triggering.
NVR Motion Detection Resolutions vs. Motion Detail Potential
| # | Resolution (pixels) | Aspect | Total Pixels | Motion Detail |
|---|---|---|---|---|
| 1 | 3840×2160 (4K UHD) | 16:9 | 8,294,400 | ★★★★★ |
| 2 | 3200×1800 | 16:9 | 5,760,000 | ★★★★ |
| 3 | 2560×1440 (2K) | 16:9 | 3,686,400 | ★★★★ |
| 4 | 1920×1080 (1080p) | 16:9 | 2,073,600 | ★★★★ |
| 5 | 2560×1080 (UW 2K) | 21:9 | 2,764,800 | ★★★ |
| 6 | 1280×720 (720p) | 16:9 | 921,600 | ★★★ |
| 7 | 640×360 | 16:9 | 230,400 | ★ |
Choose what motion triggers: recording and notifications
The goal is simple: decide what you want motion to cause on your NVR—recording, alerts, or both—then make sure each action is correctly wired to your destinations. If you only test the recording channel but not notifications, you can end up with a system that “sees motion” but doesn’t actually inform you.
– Select what the NVR should do when motion is detected (typical options include start recording and/or trigger an alarm/notification). Some NVRs separate “alarm output” from “event recording,” so double-check both toggles.
– Configure recording details such as whether the NVR records only during motion or also includes pre-event and post-event time (). Pre-event time is often the difference between catching a person entering a doorway versus catching them already mid-action.
– Set how you want alerts delivered (push app, email, web notifications, or external siren/alarm output), and verify the alert destination details. In my experience supporting multiple setups, the most common “it doesn’t alert” failure is a destination that looks valid but is mis-targeted (wrong channel, wrong user, or wrong notification profile).
| Motion Trigger Strategy | Pros | Cons | Best For |
|---|---|---|---|
| Recording only (no alerts) | Fewer interruptions; simpler tuning | You may notice events late | Low-noise environments |
| Alerts only (no extended recording) | Fast response to unusual events | Review may be limited if clips aren’t captured | Quick triage workflows |
| Recording + alerts (recommended baseline) | You get both evidence and notification | Requires tuning to reduce false alerts | Most homes and SMB sites |
| Alarm output + local recording | Local deterrence and redundancy | Requires correct alarm wiring/integration | Perimeter or access-point protection |
As of 2026, many NVRs also rely on video compression and frame modeling to estimate motion. For example, According to ITU-T Rec. H.264 (2003), the codec structure uses 16×16 macroblock motion-compensated prediction, which can subtly affect how motion thresholds “feel” at different bitrates (ITU-T Rec. H.264 (2003)). Similarly, According to ITU-T Rec. H.265/HEVC (2013), HEVC uses Coding Tree Units up to 64×64, which can change motion sensitivity when you change resolution/encoding (ITU-T Rec. H.265/HEVC (2013)). That’s why consistent camera resolution and stable encoding settings matter when you’re tuning motion zones on an NVR.
Test, review clips, and avoid common problems
Run a controlled test on your NVR: trigger motion at different distances and lighting conditions, then review the resulting clips to confirm the detection start/stop timing matches what you actually need. Then adjust zones and sensitivity with the mindset that motion detection is a calibration process, not a one-time checkbox.
– Run a controlled test: trigger motion at different distances and lighting conditions, then review the resulting clips to see whether the detection start/stop timing feels right.
– Do a daytime and night test if your cameras switch to IR—some motion settings behave differently under low light.
– Re-check your motion zone boundaries after reviewing one or two events; small changes can reduce false alerts a lot.
What can go wrong
Even with careful tuning, NVR motion detection can fail in predictable ways—usually due to zone geometry, thresholds, scheduling, or alert wiring.
– Wrong motion zone: you detect movement you didn’t intend (road, trees, curtains, screens, or glare).
– Sensitivity too high/low: too high causes frequent alerts; too low misses people or vehicles.
– Schedule mismatch: detection is “enabled,” but it’s only active at certain times.
– Network/app confusion: recording might work while notifications don’t (or vice versa), depending on how your NVR is configured.
| Feature | General Video Motion | People/Vehicle Analytics (if supported) |
|---|---|---|
| Primary signal | Pixel change over time | Object classification + tracking |
| False-alarm susceptibility | Higher in complex scenes | Lower when lighting is stable |
| How tuning works | Zone + sensitivity thresholds | Zone rules + confidence settings |
| Night/IR behavior | Often needs tighter masking | Can still misclassify glare/snow |
| Hardware load | Typically lighter | Often heavier processing |
| Best for | Broad “something moved” alerts | Targeted entries/perimeter events |
| Tuning time | Usually shorter initially | May take longer but can reduce noise |
| Dependency on scene changes | More sensitive to lighting/shadows | More resilient to some background motion |
| Data you review | Motion-triggered clips | Detected object events + clip snippets |
| Setup complexity | Generally simpler | Often adds confidence thresholds/rules |
| Verdict | Best when you need “anything moving” coverage | Best when you want fewer alarms and more targeted events |
Verdict / tip
If you can spare 30–60 minutes for testing and tuning, this approach is usually worth it—motion detection is rarely “set it and forget it” because lighting and camera angles change. Skip aggressive configuration (or high-alert sensitivity) if you need guaranteed “no false alarms” behavior for critical use cases; many NVRs rely on basic motion detection and will still flag non-target movement. If you don’t see the detection you expect after tuning sensitivity and zones, consult your NVR’s user manual for the exact motion menu labels () rather than guessing.
Quick scan checklist (save before you exit)
Save these checks after you configure motion detection on your NVR so you can quickly diagnose the “it’s not working” scenario later.
| Step | Done? |
|---|---|
| Cameras are live, lens is clean, and night/IR view is acceptable | ☐ |
| Firmware/software is up to date (if applicable) | ☐ |
| Motion Detection enabled for the correct channel(s) | ☐ |
| Motion schedule set correctly (Always/custom times) | ☐ |
| Motion area/zone drawn to cover only target areas | ☐ |
| Sensitivity/threshold adjusted (start conservative) | ☐ |
| Motion triggers recording and/or alerts the way you want | ☐ |
| Tested with a walk test and reviewed the saved clips | ☐ |
| Adjusted zones/sensitivity based on results | ☐ |
| Saved settings and confirmed alerts (if enabled) | ☐ |
Frequently Asked Questions
What steps are needed to configure motion detection on an NVR?
Start by logging into your NVR and going to the camera’s settings, then open the Motion Detection or Video Analytics menu. Create a motion detection schedule (always on or specific time ranges), set the sensitivity, and adjust the detection area using the privacy/motion zones grid. Next, configure alert actions such as recording, push notifications, or email alerts, and save the changes. Finally, test by walking in front of the camera at different distances and verify the motion indicators and event timeline update correctly.
How do I set up motion detection zones and avoid false alarms on my NVR?
In the motion detection settings, use the detection grid to mark only the areas you care about, and exclude windows, moving trees, roads, or areas with constant light changes. Reduce sensitivity if the camera triggers on shadows or insects, and enable options like “vehicle/person filtering” if your NVR supports AI analytics. Also ensure the camera is properly aimed and not too close to the area where fast motion (like swaying plants) occurs. After adjustments, monitor several days of events and fine-tune sensitivity and zone boundaries.
Why isn’t my NVR detecting motion even though recording is enabled?
Confirm that motion detection is enabled for the specific channel and that the NVR schedule allows it during the current time period. Check whether the camera is set to the correct stream or profile for analytics and verify that motion detection is not turned off in camera-specific settings. Look at the event log to see if motion is being detected but not recorded, which can happen when “record on motion” isn’t configured. Finally, clean the lens, confirm proper illumination at night (IR/lighting), and test with manual “trigger” or live-motion view if the interface provides it.
Which motion detection sensitivity setting works best for indoor cameras vs. outdoor cameras?
For indoor cameras, a moderate sensitivity level usually prevents triggers from minor changes while still capturing people and activity. For outdoor cameras, lower or moderate sensitivity is often better due to wind-driven movement, headlights, and weather effects, and you should rely heavily on detection zones. If your NVR offers day/night or profile-based settings, set different sensitivity for daytime and nighttime to improve reliability. Always test at night, because reflections and IR bounce can cause extra motion events.
What is the best way to configure motion alerts and recording on an NVR?
Configure motion detection to record to the NVR when motion is detected, and choose the recording type (e.g., pre-record + post-record) so you capture moments leading up to an event. Set up alert outputs such as push notifications, email, or SMS, and select which events trigger them (motion vs. person/vehicle motion). Verify that your network and notification services are configured correctly and that storage capacity is sufficient for motion-triggered recording. After setup, do repeated test walks and confirm that alerts fire and clips appear in playback with the expected timestamps.
📅 Last Updated: November 03, 2026 | Topic: What steps are needed to configure motion detection on an NVR? | Content verified for accuracy and freshness.
References
- Network video recorder
- Motion detector
- Closed-circuit television
- Video content analysis
- https://zoneminder.com/wiki/index.php/Modect
- https://www.onvif.org/specs/
- https://scholar.google.com/scholar?q=NVR+motion+detection+configuration+settings+zones+thresholds Google Scholar
- https://scholar.google.com/scholar?q=network+video+recorder+motion+detection+alarm+event+setup Google Scholar
- https://scholar.google.com/scholar?q=CCTV+motion+detection+configuration+sensitivity+recording+rules Google Scholar


[…] most reliable indoor CCTV camera installs include a deliberate “walk test” in both normal lighting and night/IR mode. You can have perfect daytime framing and still get […]
[…] of 2026, most “it turns on but won’t record” reports come down to one of these: recording schedules are disabled for the channel, motion events aren’t mapped to recording, storage is not […]