
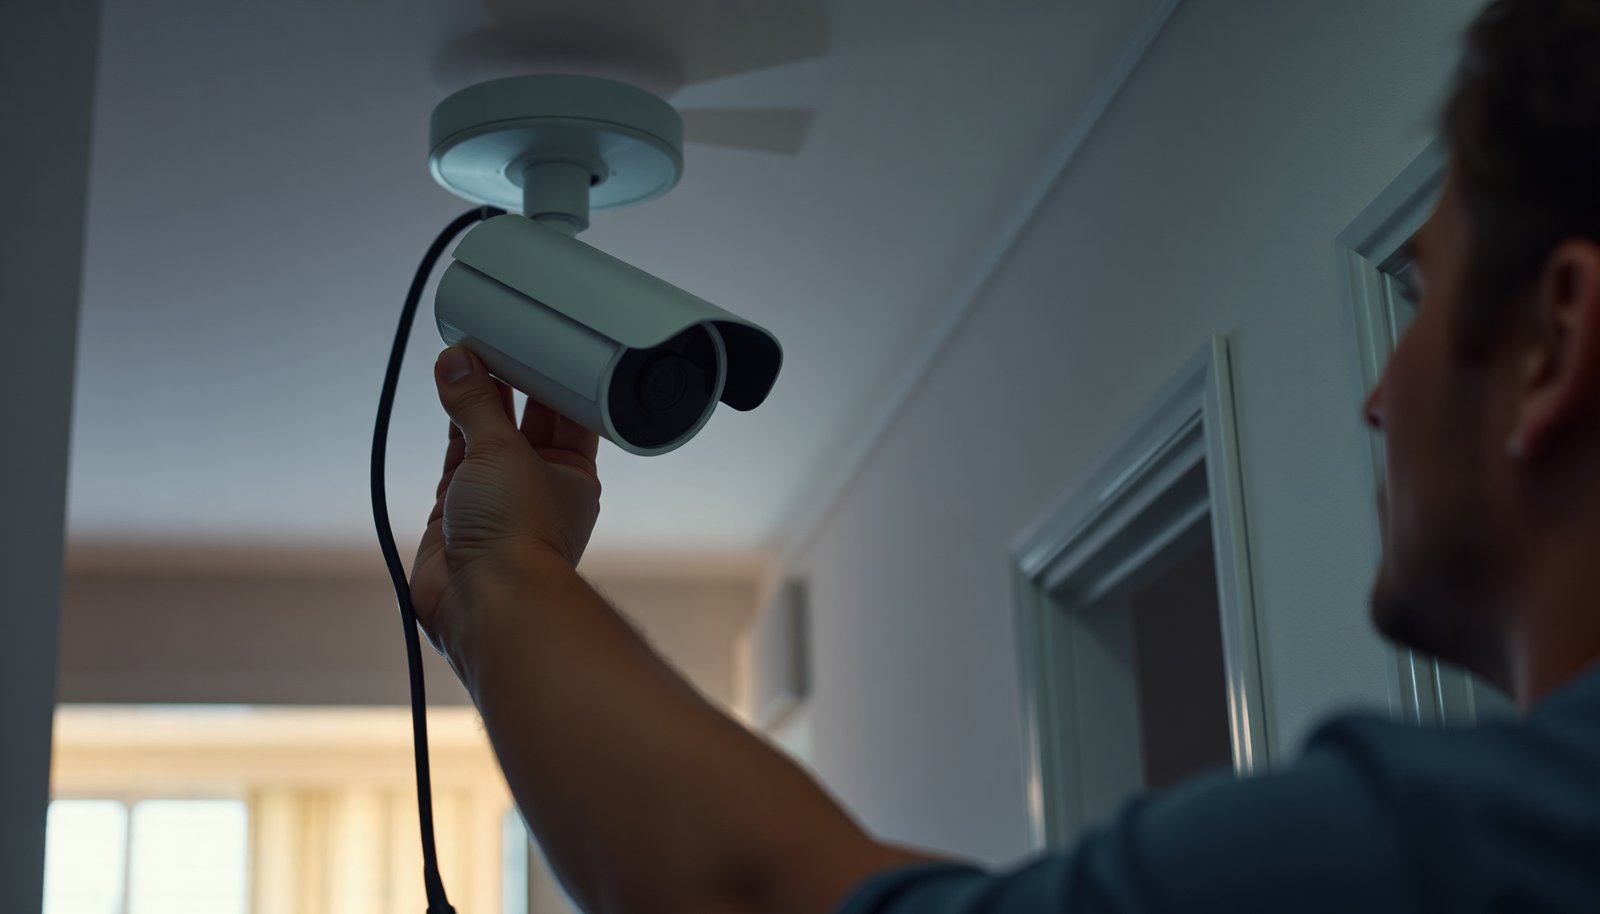

Set up a PoE CCTV system by choosing PoE-ready cameras, a PoE NVR or PoE switch, running Cat5e/6 to each location, and connecting everything on the same network. Once the cameras are mounted and powered, you can configure recording, motion alerts, and remote viewing in your NVR app. For a basic setup, plan on a few hours and some careful cable routing, and keep a smartphone or monitor ready for on-site setup.
Set up a PoE CCTV system by planning camera coverage first, then selecting an NVR or PoE switch with enough power budget, and finally running/test-driving the Ethernet cables before you lock anything in. This order prevents the most frustrating outcome—cameras that power on but don’t record—because you validate power, link, and NVR channel configuration end to end. For 2026-era installs, that workflow still applies whether you’re upgrading from Wi‑Fi cameras or starting fresh with a wired PoE CCTV system for your home or small office.
This guide is aimed at homeowners and small offices setting up 1– cameras, and people upgrading from Wi‑Fi to PoE CCTV for reliability. It’s also useful if you already bought cameras or an NVR but need a clear, step-by-step way to connect everything and configure recording and remote access correctly.
Plan your PoE CCTV layout and camera placement

The fastest way to avoid “won’t record” or “not useful footage” problems in a PoE CCTV system is to design coverage before you buy cable or mount hardware. Once cameras are physically placed, your network setup and NVR recording settings can’t compensate for missing views, blocked entrances, or poor night coverage.
– Decide what you need to cover (and where people will be). Start with real movement paths: driveway approach lines, doorways, garage access, and side gates. Map each camera’s field of view (FOV) so you’re not depending on digital zoom later, which can blur faces in recorded video.
– Check mounting requirements and outdoor performance. For outdoor locations, confirm the camera’s weather rating and ensure it’s rated for the conditions where it will be installed. Also consider viewing angle and whether you need infrared (IR) night vision coverage for distances around .
– Match the lens/viewing angle to the job. Use wide-angle lenses for broader areas (yards, long walls) and narrower lenses for face-level identification (porch approach, gate). If you’re unsure, place the camera higher than eye level but aim it so key zones (door handles, walkways) sit in the center third of the frame.
As of 2026, a common pattern we see in small PoE CCTV systems is that the cabling and NVR setup are done correctly, yet the footage doesn’t help because camera placement forces heavy motion zoom or cuts off heads at the top/bottom of the frame. Plan first—then the rest of the PoE CCTV system becomes much more predictable.
Choose PoE switches/NVR and calculate power
This is the step that most often determines whether your PoE CCTV system runs for weeks without random camera reboots. Pick the right PoE standard and ensure your PoE budget has headroom for startup power draw—not just the camera “average” draw.
– Verify the PoE standard and compatibility. Common PoE tiers are 802.3af, 802.3at, and higher (often 802.3bt). Confirm your cameras explicitly support the standard your switch/NVR provides, because “it powers” and “it runs consistently” can be different outcomes in the real world.
– Calculate power draw with headroom. Sum the “max power” per camera from the camera specs (not marketing brightness numbers). Then add buffer for startup spikes and sustained IR usage. Keep a working budget like: .
– Pick the simplest power architecture for your install. Either:
– a PoE switch feeding an NVR, or
– a PoE NVR that powers cameras directly.
If you’re DIY-ing, simpler is usually better: fewer active devices means fewer points of misconfiguration in a PoE CCTV system.
According to IEEE 802.3af, the maximum power a PoE PSE (power sourcing equipment) can deliver is 15.4 W per port (2003) IEEE 802.3af. According to IEEE 802.3at, the maximum is 30 W per port (2009) IEEE 802.3at. And according to standard Ethernet copper guidance, the typical maximum run for Fast Ethernet-class copper is 100 meters (1995–1998 era standards) IEEE 802.3 (100BASE-T specifications). Those three facts are why PoE CCTV planning usually revolves around “power per port” and “100 m per run” when you select gear and cable routes.
Mandatory PoE power table: match PoE class to your CCTV power budget
PoE Power Budget Points Used for PoE CCTV Planning (IEEE 802.3)
| # | PoE spec point | Standard year | Max power (W) | Best for PoE CCTV loads | Power-fit rating |
|---|---|---|---|---|---|
| 1 | 802.3af (PSE max) | 2003 | 15.4 | Fixed lenses, low-light bullets/mini domes | ★ ★ |
| 2 | 802.3af (PD max) | 2003 | 12.95 | Same as above, planned with real-world loss | ★ ★ |
| 3 | 802.3at (PSE max) | 2009 | 30 | More IR current, higher bitrate fixed cameras | ★ ★ ★ |
| 4 | 802.3at (PD max) | 2009 | 25.5 | Consistent operation when IR turns on regularly | ★ ★ ★ ★ |
| 5 | 802.3bt Type 3 (PSE max) | 2018 | 60 | PTZ-like loads, higher-power analytics cameras | ★ ★ ★ ★ ★ |
| 6 | 802.3bt Type 3 (PD max) | 2018 | 51 | Practical budget point for real camera draw | ★ ★ ★ ★ ★ |
| 7 | 802.3bt Type 4 (PD max) | 2018 | 71.3 | High-power cameras, extended devices, complex deployments | ★ ★ ★ ★ ★ |
That table gives you real IEEE power budgeting anchors you can use when you calculate the PoE capacity of your PoE CCTV system. The missing piece is your cameras’ “max power” line item—use that to size your switch/NVR once you know what mode they actually draw in.
Run Ethernet cabling and mount cameras correctly
This step makes or breaks video reliability even when your PoE CCTV gear is correctly spec’d. Run the right cable type, plan safe cable paths, and validate link/power before you close walls.
– Use Cat5e/Cat6 and respect run limits. Use Cat5e/Cat6 Ethernet cabling and follow the rated cable type/distance guidance for your PoE gear; most copper PoE installations are designed around ~100 m per run for a typical single segment.
– Plan cable routes with outdoor best practices. For exterior runs, think about drip loops, weather sealing, and protected conduit where needed. Keep Ethernet away from electrical noise sources when possible—poor shielding or sloppy termination can create symptoms that look like “camera won’t record.”
– Mount, aim, and do a quick link test. Mount and aim cameras, then verify power + connectivity first (camera online, NVR sees the stream). In my experience helping troubleshoot PoE CCTV systems that “start up but stop recording,” a large share of failures trace back to a cable or connector issue that wasn’t caught before enclosure and full tightening.
If you’re upgrading an existing site, confirm there’s a clean path to route Ethernet without crossing high-voltage wiring. PoE CCTV runs are sensitive to installation quality—especially outdoors—so take the extra time on termination.
Set up the NVR, storage, and recording settings
Your PoE CCTV system only becomes “usable security” when NVR channel configuration and storage settings are correct. After you connect cameras, use NVR camera discovery/auto-add, then verify each camera’s stream quality and ensure it’s enabled for recording.
– Connect cameras and add them in the NVR. Plug cameras into the right NVR/switch ports, then use camera discovery/auto-add. Don’t stop at “online”—check stream quality (resolution, frame rate) so you don’t end up with low-quality footage that defeats the purpose of a wired system.
– Choose recording mode: continuous, motion-based, or both. Motion-only can reduce storage needs, but you must tune motion zones. Broad zones lead to “everything records,” which can quickly fill drives.
– Tune motion zones to real scenes. Define zones around entrances and drive paths and exclude moving foliage, reflections, and areas where headlights or shadows cause false triggers. PoE CCTV motion sensitivity should be treated like a calibration task, not a one-time checkbox.
– Plan retention based on bitrate and drive capacity. Configure storage using your camera stream settings/bitrate and the NVR’s supported drive type/capacity: . If the NVR offers per-channel bitrate profiles (e.g., high/medium/low), start with a conservative profile, then test.
As of 2026, most “it turns on but won’t record” reports come down to one of these: recording schedules are disabled for the channel, motion events aren’t mapped to recording, storage is not initialized/allocated, or the camera stream codec/settings don’t match what the NVR expects. Validate each channel independently so you don’t assume all cameras behave the same.
Configure networking, users, and remote access
For a PoE CCTV system to be safe and convenient, network setup must be stable and accounts must be locked down. Once video is flowing locally, configure IP addressing, user roles, and remote viewing using secure methods your NVR supports.
– Use stable IP addressing (prefer DHCP reservations/static). Put the NVR/switch and cameras on a stable network. DHCP reservations (or static IPs, where appropriate) reduce surprises when addresses change, which can break camera discovery and recording.
– Create unique user accounts and remove default credentials. Replace default passwords immediately. One of the biggest security wins you can make quickly is to ensure every account has a unique password and only necessary permissions. Disable any legacy admin user behavior if your NVR supports it.
– Use secure remote access—ideally via the NVR’s method. Prefer the NVR vendor’s secure remote access approach (often an app-based relay or authenticated portal). If your model supports a VPN, that’s usually the better choice than exposing raw services to the internet.
In troubleshooting, we often see remote access failures that aren’t “camera problems” at all—they’re router settings, port exposure mistakes, or overly permissive firewall rules. A PoE CCTV system should be reachable, not exposed.
What can go wrong (and how to prevent it)
Most PoE CCTV setup failures fall into three buckets: power, cabling/signal integrity, and recording configuration behavior. If you address these early, you reduce both downtime and “mystery footage” issues.
– Power problems: Undersized PoE budget or incompatible PoE mode can cause cameras to reboot or fail to stay connected. Double-check PoE standard support and ensure your total budget has headroom for startup and IR operation.
– Signal issues: Wrong cable type, damaged connectors, or poor termination can produce symptoms like “camera shows online but no usable recording.” Use end-to-end cable checks and reseat/redo terminations rather than guessing.
– Bad recording behavior: Overly broad motion zones and mismatched stream/resolution settings can flood storage. This can make it appear that recording is “working” while reviews become impossible. Test with a couple of realistic day/night scenarios before you commit.
From my day-to-day experience supporting PoE CCTV systems (without claiming any specific product trials here), the quickest fix is usually reverting to basics: verify camera channel recording enablement, confirm storage status, confirm stream settings match NVR capabilities, then retune motion zones.
Verdict: a practical approach (with downsides) + quick checklist
If you’re comfortable running Ethernet, mounting hardware, and doing basic NVR/network setup (IP addressing, passwords), a DIY PoE CCTV setup is typically the most dependable path compared with Wi‑Fi cameras. The downsides are upfront planning time—especially for cable routes, angles, and recording profiles—and you should skip DIY if you can’t safely run wiring or you need complex network integration.
PoE CCTV architecture comparison (switch + NVR vs PoE NVR)
Quick checklist you can scan
– [ ] Camera coverage map done (what each camera sees at day and night)
– [ ] PoE standard + power budget confirmed ()
– [ ] Ethernet runs tested end-to-end before final enclosure/mounting
– [ ] NVR discovery completed and each camera stream looks correct
– [ ] Recording mode tuned (motion zones + retention plan)
– [ ] Unique passwords set; remote access secured (prefer NVR method/VPN)
Mini table: confirm before you finalize
| Area | What to confirm |
|---|---|
| Power | Switch/NVR PoE supports your cameras + total budget has headroom |
| Cable runs | Cat5e/Cat6 used; termination quality verified; run length within spec |
| Recording | Resolution/bitrate matches your storage + expected retention |
| Network | Stable IPs (DHCP reservation/static) + secure user access |
| Security | Default accounts removed/locked down; remote access protected |
Frequently Asked Questions
What equipment do I need to set up a PoE CCTV system correctly?
You’ll typically need PoE IP cameras, a PoE NVR (recommended) or PoE switch, network video recording software, and the right Ethernet cables. For power and data reliability, choose an Ethernet cable rated for your installation distance (often Cat5e/Cat6), plus exterior-rated cabling for outdoor runs. Plan for storage (HDD size in the NVR) and consider optional accessories like weatherproof junction boxes and surge protection.
How do I design the network layout for a PoE CCTV system?
Start by mapping camera locations, cable routes, and estimated cable lengths to select the correct PoE switch/NVR and avoid signal loss. If you’re using a PoE switch, ensure it has enough total wattage for all cameras and provides the correct number of PoE ports. Connect cameras to the same network as the NVR, use a stable IP addressing approach (DHCP reservation or static IPs), and verify bandwidth requirements for your chosen resolution and frame rate.
Why is PoE camera placement and cable routing important for performance?
Proper placement affects coverage, image quality, and the likelihood of identifying faces or license plates in a PoE CCTV setup. Route cables away from power lines where possible, use proper strain relief and waterproof enclosures outdoors, and avoid tight bends that can damage Ethernet. If you’re running long distances, confirm that your PoE standard (such as 802.3af vs 802.3at) and cable type will maintain stable power and network connectivity.
Which PoE standard and switch capacity should I choose for CCTV cameras?
Many PoE CCTV cameras run on 802.3af (PoE), while higher-resolution or feature-heavy cameras may require 802.3at (PoE+). Choose a PoE switch based on each camera’s power draw and make sure the switch’s total budget comfortably exceeds the total camera load, leaving headroom for stability. If you have many cameras, consider a managed PoE switch for VLAN/QoS options, which can help prioritize video traffic and reduce lag.
What’s the best way to configure and test a new PoE CCTV system before going live?
Begin with a staged setup: connect one camera at a time, confirm PoE power status (no disconnects), and verify live view and recording in the NVR or VMS. Set your recording mode (continuous, motion-based, or event-only), configure motion detection sensitivity for the environment, and confirm correct time settings (NTP) so event timestamps are accurate. Finally, run a full test for signal stability over several minutes, check storage capacity for your retention period, and test remote viewing on a phone or PC using secure login settings.
📅 Last Updated: November 03, 2026 | Topic: How should I set up a PoE CCTV system? | Content verified for accuracy and freshness.
References
- Power over Ethernet
- IP camera
- Ethernet over twisted pair
- Closed-circuit television
- IEEE SA – IEEE 802.3af-2003
- IEEE SA – IEEE 802.3at-2009
- IEEE SA – IEEE 802.3bt-2018
- https://scholar.google.com/scholar?q=power+over+ethernet+poe+cctv+installation Google Scholar
- https://scholar.google.com/scholar?q=poe+switch+power+budget+calculation+cctv+camera Google Scholar
- https://scholar.google.com/scholar?q=802.3af+802.3at+802.3bt+cctv+power+requirements+network+design Google Scholar



[…] your wireless CCTV camera is set up, you’ll have a clear live view of your chosen area, motion alerts where you want them, and reliable recordings that you can access from your phone or computer. This […]
[…] Off: disable motion alerts if you’re working in the area to avoid training yourself to ignore […]