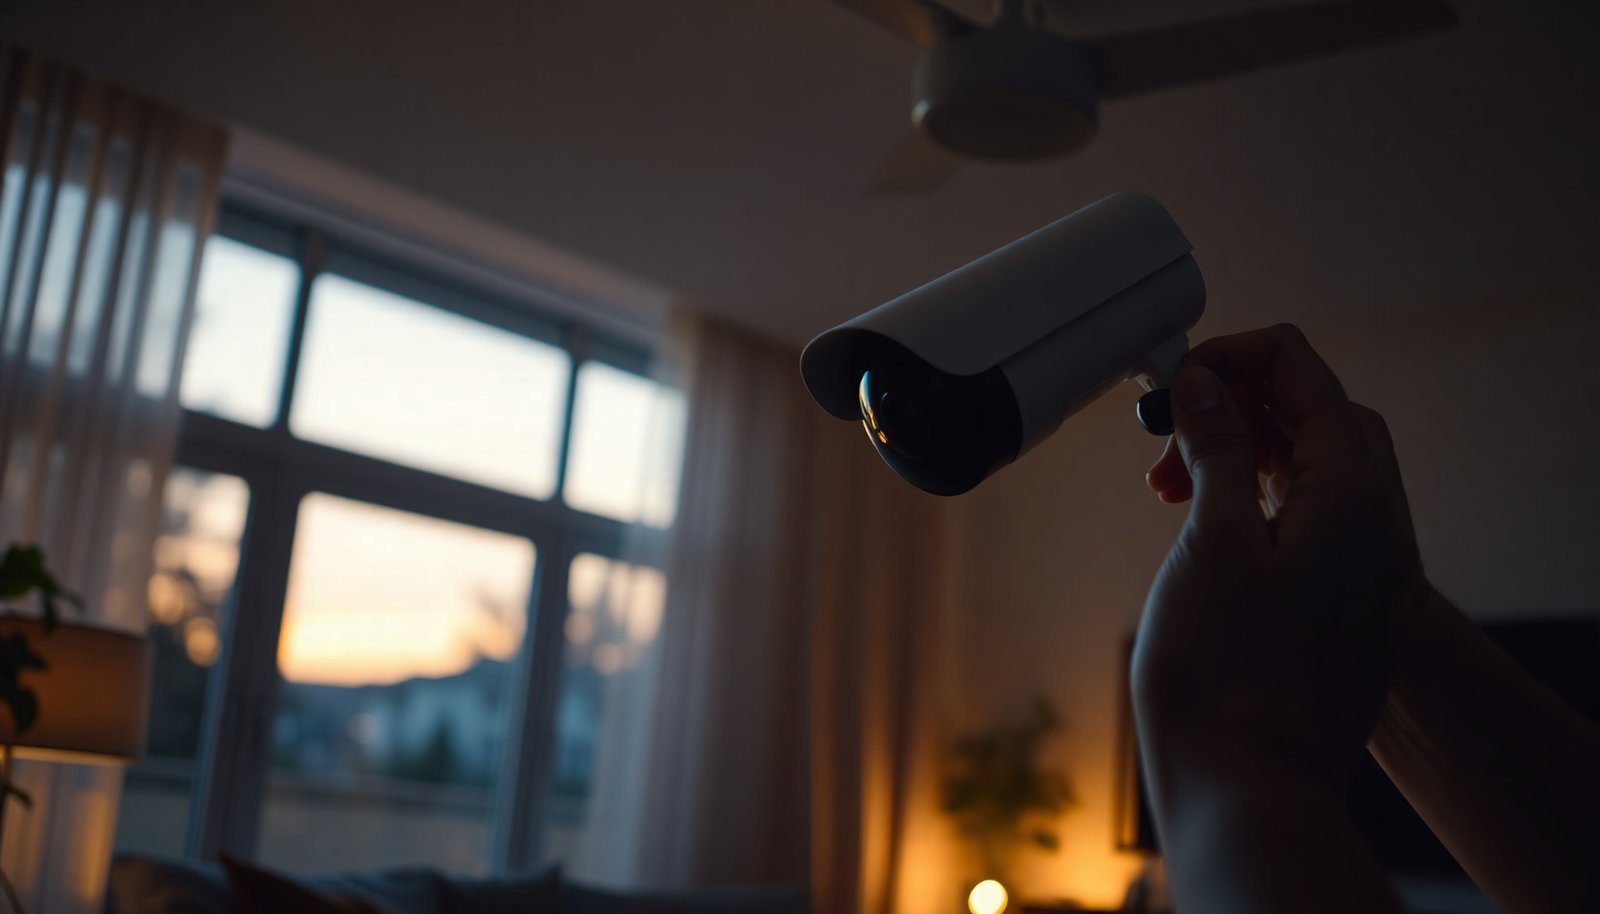

A properly installed indoor CCTV camera will deliver clear live footage and alerts from the room you choose, without awkward cables or blind spots. You’ll learn how to pick the right location, mount it securely, route power or Ethernet, and connect it to your phone app step by step. By the time you finish, you’ll know exactly what tools and setup details to have ready to get recording reliably.
Install your indoor CCTV camera by planning the location first, mounting the camera securely, then setting up power/Wi‑Fi and recording settings. Aim the view so faces and entry points are readable, reduce glare, and test motion detection before you close up the final placement. This guide walks you through the exact order to avoid common setup issues and missed coverage.
If you’re installing a camera for a home office, apartment entryway, living room, or garage door interior access, these steps apply. If your device requires professional wiring (hardwired power/PoE) or you’re dealing with unusual wall materials, you may need extra tools or help.
Pick the best indoor location and field of view

The fastest way to get “useful” indoor footage is to start with line of sight (doors, hallways, and ground-level windows) and then adjust the camera angle for readable faces. If you place an indoor CCTV camera based only on convenience, you typically end up with clips that show mostly ceilings, motion blur, or reflections—especially at night.
When I help people troubleshoot installs, the indoor CCTV camera placement problems usually trace back to three choices: where the camera sees first, where it sees clearly, and where it sees consistently during day and night. Start by identifying the paths people actually take. For most homes and apartments, that’s the route from an entry door to the inside hallway and the route toward interior rooms where someone would pause (mail area, living room entry, garage internal door).
– Choose entry points and “line of sight” areas first (doors, hallways, ground-level windows), not just convenient spots. Prioritize the camera’s first frame: you want the initial movement to trigger motion and still keep the person in frame. If you can, cover the approach angle (someone walking toward the camera’s view) rather than only side-to-side movement, because many indoor CCTV cameras track more reliably when the subject crosses the center of the image.
– Mount height and angle so cameras capture faces at typical distances—avoid aiming too high or directly at reflective surfaces. A practical rule is: face-level recognition requires a downward tilt that keeps eyes in the central field while still leaving enough background to understand where the person came from. Avoid mounting so high that the camera captures only the top of heads and sky/wall behind. Also avoid aiming at mirrors, glossy picture frames, shiny ceiling finishes, or directly at LED fixtures.
What to do during placement planning (before you drill):
– Stand where the intruder would stand first (usually just outside/just inside the entry) and then again where they would move after entering.
– Simulate “motion start” and “motion stop”: motion detection often triggers at the beginning of movement, and that’s when blur matters most. You want a clean early view.
– Identify bright sources in the room. A camera can look fine on a test screen during daylight, then fail at night when headlights, hallway LEDs, or TV backlighting creates flare.
Check power options and connectivity before mounting
The simplest installs are those where power and network coverage already match the intended location. For an indoor CCTV camera, connectivity problems show up later as delayed alerts, missing clips, or repeated “offline” states—so you want to verify both before you mount.
Start by categorizing your camera’s power and network needs. Many indoor CCTV cameras are battery or plug-in, but some require hardwired power or PoE (Power over Ethernet). PoE is particularly common in higher-reliability setups because it combines power and data on one cable.
A few standards-level facts help you plan realistically:
– IEEE 802.3af specifies up to 15.4W at the power sourcing equipment (PSE) and 12.95W at the powered device (PD) (IEEE 802.3af).
– IEEE 802.3at specifies up to 30W at the PSE and 25.5W at the PD (IEEE 802.3at).
– For Wi‑Fi planning, the 2.4 GHz ISM band spans 2400–2483.5 MHz in most regulatory domains (FCC rules for 2.4 GHz ISM operation), which is one reason it penetrates walls better than higher bands.
These numbers matter because infrared (IR) LEDs, pan/tilt motors (if your indoor CCTV camera supports them), and “always-on” processing all draw current. If a camera’s power budget is tight, it can throttle features or trigger unstable behavior under certain lighting.
– Confirm whether your camera is battery, plug-in, hardwired, or PoE, and place it within the required range of power (or network). If your indoor CCTV camera is plug-in, keep in mind that many wall outlets are offset from the most useful view angles. If you mount and then realize the cable won’t reach, you’ll end up changing either coverage or cable management—both of which can degrade performance.
– Plan Wi‑Fi coverage: if your router is far, consider running a cable where possible or using a better indoor signal setup (). For most indoor CCTV camera installs, a strong signal at the camera’s mounting height is more important than “great Wi‑Fi somewhere in the house.” Walls, metal studs, and reflective surfaces can cut real-world throughput, even when your phone shows good signal at arm’s length.
Power/connectivity method tradeoffs (quick comparison)
Below is a practical comparison for common indoor CCTV camera installation paths. Use it to decide where DIY makes sense and where it’s worth bringing in help.
| Criteria | Plug‑in / Battery (DIY-friendly) | Hardwired / PoE (Higher reliability) |
|---|---|---|
| Setup time | Typically fastest (minutes to hours) | Slower if you need cable routing |
| Network stability | Depends heavily on Wi‑Fi strength | Less sensitive to Wi‑Fi dead spots |
| Alert timing and clip consistency | Can delay if Wi‑Fi drops during motion | More consistent event delivery |
| Reliability during outages | May still work if battery-capable (varies by model) | Depends on UPS availability |
| Cable visibility | Usually minimal planning overhead | Requires structured routing and terminations |
| Power budget planning | Limited by outlet/battery capacity | Plannable via PoE standard power levels |
| Long-term maintenance | Battery swaps or recharging may be needed | Fewer power-related interruptions if installed well |
| DIY risk | Lower risk; fewer pathways to “no video” | Higher risk if you’re unfamiliar with wiring or PoE |
| Best performance potential | Good if Wi‑Fi coverage is strong | Often better for critical entry coverage |
| Scalability | Adds load mainly through outlets/battery | Adds load via switch/PoE budgeting |
| Best For | Quick deployments where Wi‑Fi is already strong | Coverage that must be consistent, especially for entry points |
Repeat this planning step specifically for your indoor CCTV camera: power type and Wi‑Fi reach determine where you can mount without creating future “offline” problems.
Install the camera mount and secure the device
The key to a clean indoor CCTV camera install is to mount the bracket securely first, then route power/network cables so nothing pulls or pinches the line. When the camera shifts even slightly after placement, your carefully chosen field of view becomes “close but not useful.”
– Use the included mounting template/holes, then tighten the bracket so it won’t shift when nudged lightly. If you’re drilling into drywall, use the correct wall anchors for the wall type (drywall-only anchors are not the same as anchors meant for masonry). For stud mounting, line up your bracket holes with stud locations to avoid brittle anchor failures.
– Keep cable routing clean where applicable (use wall anchors for drywall, avoid pinching cables, and leave a small service loop). A service loop prevents strain when the camera is removed for maintenance, and it also helps you correct angle without tension. Avoid tight bends right at the cable entry point—many cable types can degrade if sharply creased.
During this step, you want the camera physically stable enough to re-check motion detection after final tightening. In my own installs, the most common “it worked before I closed it up” problem is minor bracket slip——so you should always confirm angle and motion sensitivity after the last screw is tightened.
Set up the app, pairing, and core recording settings
The fastest way to avoid frustration is to complete app pairing and event recording setup immediately after you power the indoor CCTV camera—before you fully finalize mounting. This gives you a safe window to correct motion zones, notification triggers, and recording destination.
– Install the app, power on the camera, and pair it as the instructions specify (placement near the router can help during setup). If pairing fails, it’s usually a signal strength or network compatibility issue rather than a defective camera. Temporarily placing your indoor CCTV camera near your router (even just for pairing and early tests) prevents wasting time drilling and cabling before you know the device is stable.
– Configure what matters most: motion zones/area, sensitivity, notifications, and whether you’re recording to local storage, cloud, or both (). Different apps label the same concepts differently—for example, “motion zones,” “activity areas,” “person detection,” or “event sensitivity.” Use the manual’s terminology, and verify the setting by watching a live preview while you walk in front of the camera.
To keep alerts useful, set expectations:
– Decide what you want alerts for: door approach, person detection, or any movement.
– If your indoor CCTV camera supports “activity schedule,” match it to your household patterns (e.g., active all night for entryway coverage).
– Ensure recording is enabled for the event type you care about. A common misconfiguration is enabling notifications but leaving event recording off (so you get pings without clips).
Test coverage, audio, and night/IR performance
The most reliable indoor CCTV camera installs include a deliberate “walk test” in both normal lighting and night/IR mode. You can have perfect daytime framing and still get glare, blur, or missed alerts after the lights go out.
– Do a quick “walk test” in normal lighting, then check playback to confirm you’re getting recognizable video where you need it. Walk the exact routes you intended to cover: approach the entry, pause briefly, then move deeper into the room. Watch whether the camera captures faces clearly early in the event—not just at the end.
– If the camera uses IR/night mode, verify it doesn’t cause glare on nearby walls/ceilings and adjust the angle if needed. IR reflection is a common indoor CCTV camera issue because walls and ceilings are close enough to bounce IR back into the lens. Small angle changes often make a major difference, especially near bright paint, textured walls, or low ceilings.
If your indoor CCTV camera includes audio, do a short sound check as well: confirm whether voices are understandable at the intended distance and whether ventilation noise triggers false positives in “smart detection” modes (if present). Even basic microphone performance can vary by room acoustics.
What can go wrong (and how to avoid it)
Indoor CCTV camera failures usually come from predictable setup mistakes: wrong placement, weak connectivity, or overly aggressive detection settings. When you treat installation as a single step instead of an ordered process, these issues show up after mounting, when you can’t easily fix them.
– Poor visibility due to wrong placement: aiming at a light source, mounting too high, or capturing mostly ceilings/windows can make faces unreadable. If you see bright hotspots in the app live view, reposition before drilling. Glare isn’t just a “quality” issue—it can reduce effective contrast so faces don’t register.
– Connectivity drops during motion: weak Wi‑Fi, interference, or distance from the router can cause delayed alerts or missing clips. Test motion events while you’re standing at normal trigger distances (not just next to the camera). In busy homes, microwaves, neighboring networks, and thick walls can affect performance during simultaneous traffic.
– Over-triggering alerts: overly large motion zones or high sensitivity can spam notifications—reduce the monitored area or tune sensitivity. Use “exclusion zones” if your indoor CCTV camera supports them (for example, exclude windows with moving curtains). Keep the monitored area as small as possible while still covering the approach path.
Verdict: do this DIY setup first (with one caveat)
This is a solid DIY installation if your indoor CCTV camera is designed for plug-in (or has straightforward mounting) and you can reach power and Wi‑Fi where it needs to go. If your coverage goal includes a critical entryway and you can’t achieve reliable network signal, you’ll likely get better results by adding range improvement or switching to a wired/PoE approach—especially as of 2026, when smart detection features are more sensitive to latency.
Skip DIY and get help if you need to run hardwired power/PoE through walls, if your mounting surface is unsuitable for anchors, or if you can’t achieve reliable network signal at the intended location. Also consider professional help if you’re installing in a multi-tenant environment where building rules or shared wiring constraints apply.
Quick scan checklist (save this)
– [ ] Pick a spot that covers doors/hallway/entry points
– [ ] Avoid glare; don’t aim at bright lights or reflective surfaces
– [ ] Ensure power and Wi‑Fi reach the final location
– [ ] Mount securely (anchors/brackets tight, cable not pinched)
– [ ] Configure motion zones, sensitivity, and notification rules
– [ ] Test daytime + night/IR and check actual playback quality
Indoor CCTV Planning—PoE Power Budgets and Wi‑Fi Bandwidth Basics (Standards)
| # | Standard / Band | Primary value | Secondary value | Setup headroom (higher = better) |
|---|---|---|---|---|
| 1 | IEEE 802.3af (PoE) | 15.4 W @ PSE | 12.95 W @ PD | 12.95 W |
| 2 | IEEE 802.3at (PoE+) | 30.0 W @ PSE | 25.5 W @ PD | 25.5 W |
| 3 | IEEE 802.3bt Type 3 (PoE++) | 60.0 W @ PSE | 51.0 W @ PD | 51.0 W |
| 4 | IEEE 802.3bt Type 4 (PoE++) | 90.0 W @ PSE | 71.3 W @ PD | 71.3 W |
| 5 | 2.4 GHz ISM band | 2400 MHz | 2483.5 MHz | 83.5 MHz |
| 6 | 5 GHz unlicensed range | 5150 MHz | 5850 MHz | 700 MHz |
| 7 | 2.4 GHz non‑overlapping 20 MHz channels | 1 / 6 / 11 | 3 channels | 3 |
These planning details help you understand why an indoor CCTV camera can feel “fine” in pairing but become unreliable after mounting: if PoE power or Wi‑Fi performance is marginal, real-world events stress the weakest link.
Frequently Asked Questions
What tools do I need to install an indoor CCTV camera?
At minimum, have a drill (or a screwdriver for wall/ceiling mounts), a power adapter/ethernet cable depending on your indoor CCTV camera type, a ladder if needed, and a stud finder or anchors for secure mounting. For setup, keep your smartphone/tablet and the camera’s app handy, along with a stable Wi‑Fi connection if you’re using wireless IP CCTV. If you plan to route cables neatly, also use cable clips and a small cable channel or conduit.
How should I place an indoor CCTV camera for the best coverage?
Mount the camera at a height that captures faces and upper bodies, typically around 7–9 ft (2–2.7 m), and avoid aiming directly at bright windows to reduce glare and backlight. Focus on high-traffic entry points like hallways, doors, and stairways, and angle the lens to cover the area where someone would approach the home. Test the live view in the app before fully tightening the mount so you can fine-tune the field of view and avoid blind spots.
How do I install and mount an indoor CCTV camera safely?
Start by choosing the mounting location, then mark screw holes and verify you’re not drilling into electrical wiring or plumbing. Use appropriate wall anchors or mount to studs for stability, especially if you’re installing an indoor dome or turret CCTV camera that may be bumped. After mounting, secure cables with clips to prevent strain on connectors, and make sure the camera is firmly attached before tightening all screws.
Why is my indoor CCTV camera not connecting to Wi‑Fi, and how can I fix it?
Most Wi‑Fi issues come from weak signal, incorrect password, or compatibility problems with 2.4 GHz vs 5 GHz networks. Move the camera closer to the router temporarily and confirm the network details in the CCTV camera app, then try again using the correct band recommended by the manufacturer. If you have persistent dropouts, consider improving indoor Wi‑Fi coverage with a mesh system or switching to an ethernet-connected indoor security camera.
Which settings should I configure on an indoor CCTV camera after installation?
In the app, set motion detection zones, sensitivity, and notification schedules so the indoor CCTV camera triggers on meaningful events rather than shadows or HVAC airflow. Enable proper recording options (cloud or local NVR/storage) and confirm the correct time zone and daylight saving settings for accurate timestamps. For privacy and security, turn on encryption if available, change default passwords, and restrict access to your indoor security camera to trusted users.
📅 Last Updated: November 03, 2026 | Topic: How should I install an indoor CCTV camera? | Content verified for accuracy and freshness.
References
- Closed-circuit television
- Closed-circuit television camera
- https://ico.org.uk/for-organisations/guide-to-data-protection/cctv/
- https://ico.org.uk/media/for-organisations/documents/1545/cctv-code-of-practice.pdf
- https://www.oaic.gov.au/privacy/guidance-and-advice/cctv/
- https://www.ncsc.gov.uk/guidance/securing-your-smart-home
- https://scholar.google.com/scholar?q=indoor+CCTV+camera+installation Google Scholar
- https://scholar.google.com/scholar?q=IP+camera+placement+field+of+view+mounting+height Google Scholar
- https://scholar.google.com/scholar?q=CCTV+privacy+guidelines+installation+signage+retention Google Scholar