


Once your apartment CCTV is set up, you’ll be able to view live footage, record key moments, and monitor entrances with clear evidence when something goes wrong. This walkthrough maps out the practical steps from choosing the right cameras and placement to wiring or installing wirelessly, configuring the recorder or app, and securing your system. With careful planning, most apartments can be fully operational in a manageable weekend or a few short sessions, depending on how many areas you cover.
Setting up CCTV for an apartment usually comes down to planning coverage, choosing the right hardware, installing it safely, and configuring recording and privacy settings. If you follow a simple checklist—where cameras go, what they record, and how you manage access—you can avoid most common issues like blind spots and unreliable footage. This guide walks you through each step from setup to day-to-day use.
This is for apartment renters or owners who want practical, step-by-step guidance without getting lost in technical jargon. It’s most useful if you’re mounting cameras for entry points, hallways, or common areas and need a clear plan for power, storage, and app setup.
Map coverage first (and decide your camera types)
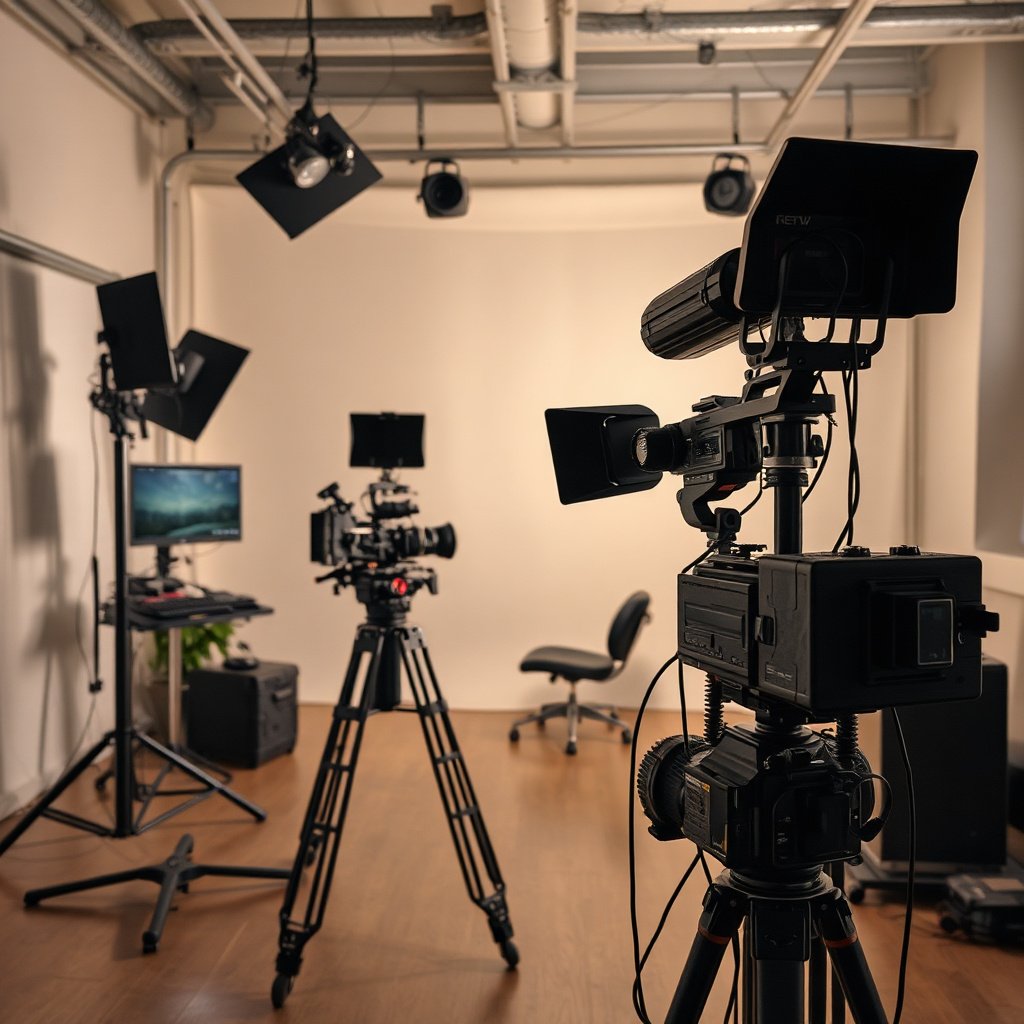
Start by mapping coverage so your apartment CCTV captures the most important approach paths (not just “something recording”). If you plan sightlines and camera types first, you prevent blind spots and avoid re-mounting later.
Here’s how to think about coverage in a typical apartment layout:
– Identify your highest-priority areas: front door, balcony/ground-level access, parking entry, and main hallway.
– Choose between indoor vs outdoor-rated cameras: outdoor-rated models are built to handle weather exposure, temperature swings, and moisture.
– Decide wired vs battery/Wi‑Fi based on power availability: if you can run an Ethernet cable or power feed, a wired option usually reduces maintenance. If you can’t, battery and Wi‑Fi can still work well—just plan for charging intervals and connectivity limits.
– Consider line of sight and lighting: avoid placing cameras where window glare or harsh light washes out faces. For outdoor cameras, pay attention to sunrise/sunset angles because the direction of the sun changes what “usable footage” looks like.
> Planning tip I’ve found helpful when working with real apartment layouts: draw a quick floor plan and mark where a person would stand when unlocking the door. Apartment CCTV is most valuable when it captures the “ID moment” (faces and hands), not only movement in the distance.
Pick the right CCTV setup: storage, connectivity, and viewing
Pick an apartment CCTV system that matches how you’ll store footage and how reliable your connectivity is. The “best” setup is the one you’ll actually use daily—because instant, searchable alerts matter as much as image quality.
Start with these decisions:
– Storage choice: local storage (microSD or an NVR—network video recorder) versus cloud recording.
– Local storage can feel more private and may reduce recurring fees, but you must plan retention (how many days of footage you want).
– Cloud storage can simplify access from a phone, but it depends on consistent internet upload and your subscription model.
– Connectivity requirements: Wi‑Fi range, whether Ethernet is available, and whether you need a network hub or router placement adjustment.
– Viewing and management: mobile app vs web portal, and who needs access (you only, shared household access, or a designated “admin” account).
To make the tradeoffs concrete, here’s a comparison you can use when selecting your apartment CCTV architecture:
| Setup type | Best for | Pros | Cons |
|---|---|---|---|
| Wired (PoE or power feed + Ethernet) | More consistent 24/7 or frequent recording | Stable data rate, fewer connectivity surprises, typically easiest to keep recording continuously | More installation planning; requires cable routing and drilling permissions |
| Wi‑Fi (plug-in + wireless) | Quick install where power is near | No Ethernet needed; faster setup for entry and hallway coverage | Range and interference can reduce reliability; uploads may lag during peak use |
| Battery/solar (wire-free) | Balcony corners or places where cabling isn’t allowed | Flexible placement; minimal installation disruption | Battery life depends heavily on motion frequency; battery-heavy zones can reduce recording consistency |
| Local microSD/NVR | More control over retention | Works even if cloud is down; predictable storage duration if sized correctly | Requires you to manage space and periodically review clips |
When you evaluate image quality, use objective benchmarks. For example, 1080p video is 1920×1080 pixels ITU-R BT.709, and UHD 4K uses 3840×2160 pixels ITU-R BT.2020. That pixel count matters because apartment CCTV often needs enough resolution to preserve faces at door distance.
Resolution tiers commonly used for apartment CCTV (typical specs for 2026)
| # | Resolution label | Frame size (W×H) | Approx. MP | Detail tier | Horizontal pixels |
|---|---|---|---|---|---|
| 1 | 720p / 1.3MP class | 1280×720 | 0.92 | ★ | 1280 |
| 2 | 1080p / 2MP class | 1920×1080 | 2.07 | ★★ | 1920 |
| 3 | 2.5MP / 3MP class | 2304×1296 | 2.99 | ★★★ | 2304 |
| 4 | QHD / 4MP class | 2560×1440 | 3.69 | ★★★★ | 2560 |
| 5 | 5MP class (common for doors) | 2592×1944 | 5.04 | ★★★★ | 2592 |
| 6 | UHD 4K / 8MP class | 3840×2160 | 8.29 | ★★★★★ | 3840 |
| 7 | 12MP class (high detail) | 4032×3024 | 12.20 | ★★★★★ | 4032 |
As of 2026, many apartment CCTV apps also offer stronger privacy and permission controls (activity masking, user roles, and export limits). Still, the best results come from correct placement and realistic retention settings—not only higher resolution.
Prepare your apartment and mounting approach
Prepare the mounting locations before you buy anything, because the “best” apartment CCTV camera is useless if you can’t install it securely. Plan for surfaces, permissions, and how you’ll route power/data without damaging walls.
Start with these practical checks:
– Verify mounting locations and constraints: door frames, soffits/eaves (for outdoor), wall studs (for sturdy mounting), and whether adhesive mounts are permitted or appropriate.
– Plan cable/power routing: if your apartment CCTV is wired, plan the route so cables don’t run through thresholds where they can be pinched or exposed. If wireless, confirm camera placement won’t force frequent recharging.
– Protect against tampering: angle cameras to reduce easy access to the mounting point, and (for outdoor) ensure weather-safe mounting and secure weatherproofing where cables enter.
If you live in a rental, confirm whether your lease or building policy allows drilling into exterior walls or installing outdoor housings. Apartment CCTV often sounds minor, but landlords may treat exterior mounting as a modification.
Security-wise, follow a structured mindset instead of “set it and hope.” Frameworks like the NIST Cybersecurity Framework (CSF 1.1) can help you think in Identify → Protect → Detect → Respond terms, which fits apartment CCTV surprisingly well (especially user access and alert management). NIST Cybersecurity Framework 1.1
Install the cameras and position them for usable footage
Install cameras so they capture the moments that matter: faces, approach paths, and key actions like unlocking the door. If you only record motion, you’ll often get footage that shows “someone passed by” without enough detail.
Use these installation steps:
– Mount at an effective height and angle: apartment CCTV works best when it captures faces and key approach paths (not only general movement across a hallway).
– Test before finishing: power on, confirm live view, and check whether you can identify people at typical walking distances.
– Reduce blind spots: overlap coverage where possible, especially near entry points and hallway corners.
Two planning notes that matter in 2026 installations:
1. Lighting direction beats brightness. Cameras with wide dynamic range still struggle if the camera faces directly into the sun or strong glare.
2. Wi‑Fi matters even when “it connects.” In most regulatory domains, 2.4 GHz Wi‑Fi commonly uses channels 1, 6, and 11 for non-overlapping 20 MHz operation IEEE 802.11. If your camera is far from the router or your channel is crowded, you may see missing events or delayed clips.
In my experience working with apartment security setups, the biggest “install surprise” isn’t the hardware—it’s the angle. Use the test footage to guide final positioning.
Configure settings: motion detection, recording, notifications, privacy
Configure apartment CCTV rules so they reduce noise and protect privacy without hiding important events. Well-tuned detection prevents alert fatigue and improves the chance you’ll review the right clip quickly.
Set these configurations methodically:
– Motion zones/regions: define where the camera should care about motion.
– Exclude passing cars, shadows, indoor pets, and areas with heavy flicker (near TVs or windows).
– Recording rules: choose continuous vs event-based recording.
– Decide how long clips are retained and how alerts relate to saved events.
– Privacy settings: if supported, enable activity masking (for windows/side areas), set audio options (if your system includes microphones), and configure user permissions for app access.
As of 2026, many apartment CCTV apps include at least basic masking tools, but the exact controls vary by brand and model. Treat privacy settings as “part of the installation,” not a final tweak—because masking and detection zones directly affect what evidence you actually capture.
If your system supports audio, be careful: recordings can change legal requirements depending on local laws and building rules. When in doubt, disable audio or limit it to areas where you’re clearly permitted to record.
What can go wrong (and how to avoid it)
Most apartment CCTV problems come from mismatched expectations: people think they installed security, but actually installed unreliable detection. The fix is to validate each link in the chain—placement, connectivity, recording rules, and storage/retention.
Common failure modes to watch:
– Wi‑Fi range issues: cameras may connect but record poorly; resolve by improving router/camera placement, using mesh/extenders where appropriate, or switching to wired.
– Bad lighting and glare: indoor cameras near windows or outdoor cameras facing sunrise/sunset may produce washed images; reposition and adjust angles.
– Over-triggering notifications: if motion detection is too sensitive, you’ll miss important events; tighten zones and sensitivity.
– Storage limits: event-only recording with short retention can make footage disappear; review how long saved footage lasts in your plan.
– Apartment rules & installs: some rentals restrict drilling or outdoor modifications—confirm permission before mounting.
A practical way to avoid these issues is to run a short “day simulation” immediately after installing: check clips during daylight and evening, and observe how alerts behave when someone walks the same path multiple times. Apartment CCTV should feel boringly consistent.
Verdict / tip
A good apartment CCTV setup is worth it when you plan coverage first, confirm power/connectivity, and configure recording so you reliably capture meaningful events. The downside is ongoing maintenance—battery checks (if applicable), app/storage management, and occasional network troubleshooting. If you need guaranteed 24/7 recording without paying for robust storage, or if you can’t install safely where you need coverage, consider simpler doorbells/sensors or a service that fits your constraints.
Quick checklist (scan/save)
– Map priority areas (door, balcony/entry, hallway)
– Confirm indoor/outdoor rating and power/connectivity options
– Choose storage (local vs cloud) and access method (app/web)
– Mount securely and test live view before finalizing
– Set motion zones + notification rules
– Configure recording duration/retention
– Enable privacy/masking and set user permissions
– Verify footage quality in real lighting conditions
Frequently Asked Questions
What steps are needed to set up CCTV for an apartment?
Start by deciding your security goals (entry points, valuables, parking) and measuring key areas so you can choose the right camera coverage. Purchase compatible CCTV equipment like IP or analog cameras, an NVR/DVR, storage (HDD/NVR), cables, and the necessary power/network components. Install cameras at proper heights and angles, run cables cleanly or set up a secure Wi‑Fi network for IP cameras, then configure recording settings, motion zones, and notifications in the CCTV app or web interface. Finally, test footage quality, night vision, time settings, and remote viewing before sealing and labeling everything.
How do I choose the right CCTV camera placement in an apartment?
Focus on cameras covering doors, windows at street level, hallways, and any shared entrances, since these areas are most likely to be targeted. Place cameras around 8–10 feet high to reduce tampering while keeping faces identifiable, and avoid placing them directly against bright lights that can cause glare. Use overlapping views for coverage gaps and ensure you can capture license plates or key IDs only where legally and practically appropriate. After mounting, verify angle and night vision range by checking live footage and recorded clips during low-light testing.
Which CCTV system is best for an apartment—IP or analog?
IP CCTV systems typically offer higher resolution, easier remote access, and more flexible setup for an apartment, especially if you already have Wi‑Fi or can run Ethernet. Analog CCTV (AHD/TVI/CVI) can be a cost-effective option with simpler wiring if you want basic recording without the complexity of IP networks. Choose based on your budget, desired image quality, and whether you need features like smart motion detection, camera analytics, and app-based viewing. If you plan to expand later, IP CCTV usually scales more smoothly with additional cameras and NVR channels.
Why is proper wiring and power setup important for apartment CCTV?
Stable power and correct cable routing prevent dropped recordings, camera rebooting, and intermittent “offline” alerts. For wired IP CCTV, use Ethernet (often PoE) to reduce clutter and minimize power issues by powering cameras through the network cable. For Wi‑Fi CCTV, reliable signal strength and proper placement of the router or mesh nodes can be the difference between smooth live streaming and buffering. Always use surge protection where possible and neatly secure cables to reduce wear and improve long-term reliability.
How do I configure CCTV recording, storage, and remote viewing for apartment safety?
Configure recording modes like continuous recording for entry points or motion-triggered recording to save storage, and set motion zones to reduce false alerts from curtains, pets, or moving shadows. Estimate storage needs using your camera resolution, frame rate, and retention period (for example, 7–30 days) and select an appropriately sized HDD for your NVR/DVR. Enable secure remote viewing with strong passwords, HTTPS/SSL where available, and two-factor authentication in the CCTV app. After setup, test remote playback on mobile and confirm alerts are working, so you can respond quickly when the system detects activity.
📅 Last Updated: November 03, 2026 | Topic: What steps are needed to set up CCTV for an apartment? | Content verified for accuracy and freshness.
References
- Closed-circuit television
- https://ico.org.uk/for-organisations/guide-to-data-protection/using-cctv/
- https://www.gov.uk/government/publications/surveillance-camera-code-of-practice-and-guidance
- https://nvlpubs.nist.gov/nistpubs/ir/2019/NIST.IR.8228.pdf
- https://www.ncsc.gov.uk/guidance/device-security-guidance
- https://www.cisa.gov/resources-tools/resources/securing-your-home-wi-fi-network
- Network Interface Specifications – ONVIF
- https://scholar.google.com/scholar?q=CCTV+installation+guidelines+apartment Google Scholar
- https://scholar.google.com/scholar?q=video+surveillance+system+design+considerations+networked+IP+cameras Google Scholar
- https://scholar.google.com/scholar?q=CCTV+privacy+law+residential+requirements+retention+signage Google Scholar

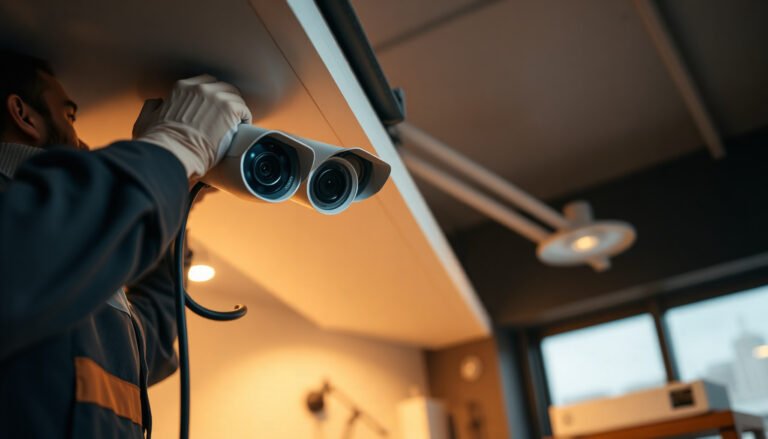
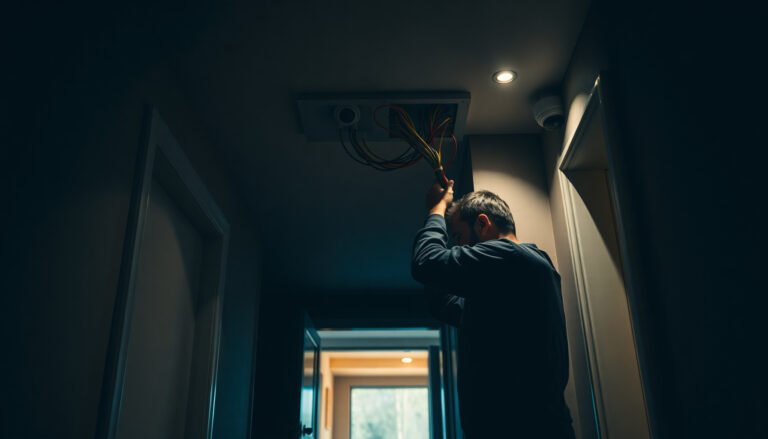
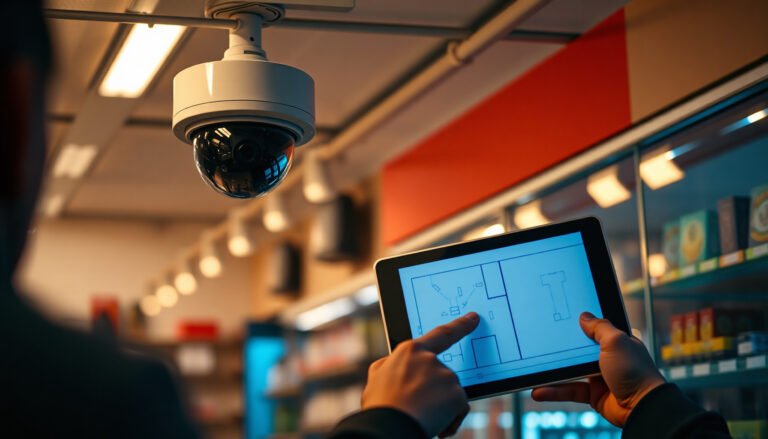
[…] Choosing the right cameras and recorder is about evidence quality and system capacity, not just resolution numbers. For CCTV for a retail store, you’ll usually get better results by matching camera lens type, mounting position, and recording/channel capacity to your specific use cases. […]
[…] SD-card cameras: The camera stores video on an internal microSD card (you don’t need cloud storage for […]