
By the end, you’ll have a working PoE CCTV system where every camera powers up through a single Ethernet cable and records clean footage to your NVR with the correct network settings. In the next steps, you’ll learn exactly what hardware to choose, how to plan your cable runs and PoE budget, and how to connect, configure, and test each component so it’s reliable from day one. You can complete the setup in a single focused session if your cable and device layout are ready.
A properly set up PoE CCTV system comes down to one thing: match power and bandwidth to your camera count, then configure the NVR/network so every camera stays online and records on schedule. In practice, that means planning placement first, wiring each camera back to a PoE switch or PoE-capable NVR, and verifying—before you finish the install—that IP connectivity and recording streams are actually working as intended in your specific environment (As of 2026).
If you’re installing 2–10+ cameras at home, a small office, or a light commercial site, this is for you—especially if you want a simpler “one cable per camera” setup using Ethernet (PoE). It also fits when you’re replacing an older analog system and moving toward IP cameras.
Plan camera placement and system layout
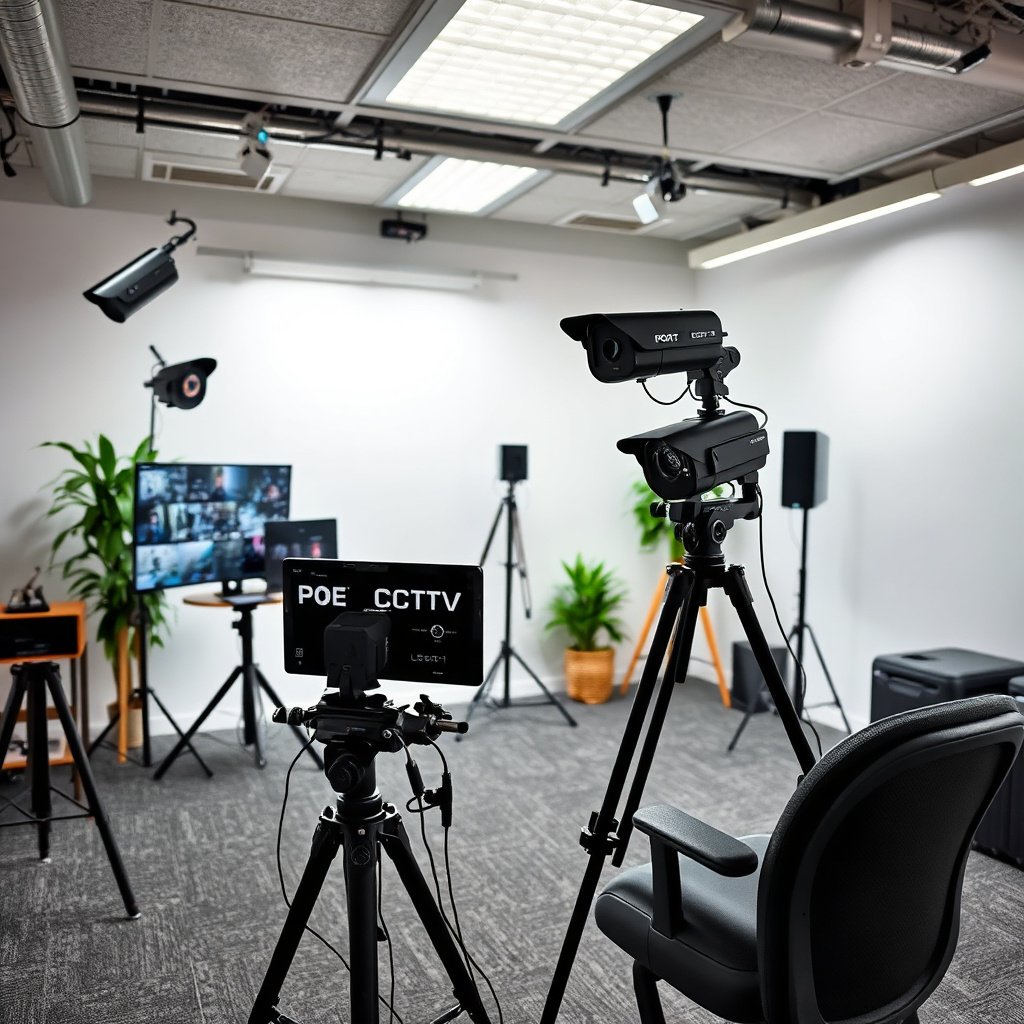
A PoE CCTV system works best when your placement decisions match what you need to capture (faces at entry points, vehicles in approach lanes) instead of just “covering everything.” The fastest installs—and the cleanest troubleshooting—come from mapping sight lines and cable routes before you drill.
– Decide what each camera must cover (door entry, driveway, rear gate, parking rows) and avoid aiming at lots of glare or direct sun. Even a high-quality PoE CCTV system struggles when the scene is backlit; plan cameras to reduce blown highlights and reflections off vehicles or gates.
– Map the cable routes early: from each camera location back to your NVR/switch rack or utility closet. A PoE CCTV system is “one cable per camera,” but that cable still needs a sensible home-run path to your network gear—prefer structured cable routes where possible.
– Check sight lines and mounting heights before drilling—small angle changes can drastically affect facial details and license-plate readability. For a PoE CCTV system, you generally want the camera tilted so faces/plates fall in the camera’s usable field of view, not only at the extreme edges where compression artifacts are more noticeable.
From my day-to-day work assisting with PoE CCTV system installs, the most common placement issue isn’t hardware—it’s simply that the camera is mounted “close enough” and the result is a usable but not evidence-grade image. The fix usually means re-mounting, not reconfiguring, so measure before you commit.
Choose PoE gear that can actually power your cameras
The key to a reliable PoE CCTV system is ensuring your PoE switch (or PoE-enabled NVR) provides enough power to start and run every camera at the same time. Most “camera offline” incidents trace back to power budgeting mistakes—not bad cabling or a faulty IP address.
– Count cameras and confirm each camera’s PoE requirement (often labeled by watts “W” or PoE class); then compare to your PoE switch’s total power budget. When manufacturers list power draw, use it—don’t guess—because PoE cameras can vary widely with IR LEDs, weather-rated heaters, and lens size.
– Pick an appropriate network setup: many systems use a PoE switch feeding an NVR, while some NVRs include built-in PoE ports for fewer cameras. For a PoE CCTV system, this choice impacts cable topology and how power faults behave when you scale from 2 to 10+ cameras.
– Verify support for your target features (resolution, H.264/H.265, audio, onboard storage vs NVR storage, and ONVIF compatibility if you’re mixing brands). A PoE CCTV system is strongest when cameras and NVR align on codecs and stream behavior; ONVIF compatibility can help, but it’s not a guarantee of identical feature support.
Power math that avoids 2 a.m. surprises
Power standards define maximums at the network side, which is useful for planning the “worst-case” PoE CCTV system scenario.
According to IEEE 802.3, standard Ethernet twisted-pair runs are limited to 100 meters per link (typically for 100BASE-TX-class cabling).
According to IEEE 802.3af, PoE “Type 1” supplies up to 15.4 W at the PSE (power sourcing equipment).
According to IEEE 802.3at, PoE+ supplies up to 30 W at the PSE for “Type 2.”
According to IEEE 802.3bt, PoE “Type 3/4” scales to higher power levels intended for more demanding endpoints.
Comparison: PoE switch + NVR vs PoE-enabled NVR
You’re choosing the chassis that supplies PoE to your PoE CCTV system cameras. Here’s the practical difference most installers see when scaling and troubleshooting.
| Feature | PoE switch + NVR | PoE-enabled NVR |
|---|---|---|
| Camera count flexibility | High—add ports via larger switch | Limited to built-in PoE ports |
| Power budget transparency | Easier to reason about per-switch | May be harder to see if docs are vague |
| Network design options (VLAN/segmentation) | More configurable with separate switch | Often simpler, fewer knobs |
| Upgrade path | Swap NVR or switch independently | Upgrades can require replacing the unit |
| Troubleshooting workflow | Switch logs help isolate PoE/power events | NVR UI may be less detailed |
| Spare parts / redundancy | More modular replacements | More “single device” risk |
| Typical wiring complexity | Slightly more rack/closet structure | Simpler cabling for 2–4 cameras |
| Best for what scenario | Growth, mixed camera features, light commercial | Small installs where simplicity matters |
| Best For | Most PoE CCTV system builds that may expand | 2–4 camera setups with minimal future changes |
PoE planning snapshot (using worst-case planning by standard class)
The table below helps you sanity-check PoE CCTV system power planning using IEEE maximum power levels as the basis for “safe math.” Always verify the exact camera wattage in the camera datasheet, because some endpoints draw less than the maximum.
Worst-Case PoE Power Scenarios for Planning a PoE CCTV System (IEEE max)
| # | Scenario | PoE Standard (max class) | Worst-case Power per Camera (PD max)* | Power-Capability Rating |
|---|---|---|---|---|
| 1 | 4 cameras × PoE Type 1 planning | IEEE 802.3af | 12.95 W | ★★★☆☆ |
| 2 | 8 cameras × PoE Type 1 planning | IEEE 802.3af | 12.95 W | ★★★☆☆ |
| 3 | 6 cameras × PoE Type 2 planning | IEEE 802.3at | 25.50 W | ★★★★☆ |
| 4 | 10 cameras × PoE Type 2 planning | IEEE 802.3at | 25.50 W | ★★★★☆ |
| 5 | 6 cameras × PoE Type 3 planning | IEEE 802.3bt (Type 3) | 51.0 W | ★★★★★ |
| 6 | 8 cameras × PoE Type 3 planning | IEEE 802.3bt (Type 3) | 51.0 W | ★★★★★ |
| 7 | 6 cameras × PoE Type 4 planning | IEEE 802.3bt (Type 4) | 71.3 W | ★★★★★ |
Based on IEEE worst-case PD power planning. Use each camera’s datasheet wattage for final budgeting. As of 2026, standards are still the baseline for conservative planning.
Install and cable PoE cameras correctly
A stable PoE CCTV system depends on cable runs that remain reliable under real-world outdoor conditions—heat, moisture, and physical stress. Get the wiring right first, then configure the NVR, because it’s far easier to fix cabling before you seal everything up.
– Run Ethernet cable from every camera back to the PoE switch/NVR, and keep terminations neat—loose connectors are a common cause of “camera offline” issues. Use consistent patching and label both ends so that troubleshooting a PoE CCTV system months later is straightforward.
– Use the right cable type for your environment and distance; follow the camera and switch manufacturer guidance for maximum Ethernet length and any required equipment (like PoE extenders). Remember the 100 m per segment planning limit for standard Ethernet links (per IEEE 802.3), and plan carefully if you need longer distances.
– Weatherproof outdoor runs: use rated outdoor cable, sealed junctions, and proper cable glands/conduit where needed. In a PoE CCTV system install, outdoor cable protection isn’t optional—water intrusion can cause intermittent drops that look like “network” issues.
If you’re routing cables through conduit, avoid sharp bends and leave service loops at the camera and at your rack. From experience, it’s usually faster to have an extra 10–20 cm of slack now than to fight cable strain later.
Configure the network and bring cameras online
A PoE CCTV system is only as good as its network stability and stream configuration after discovery. The goal is to have each camera reliably reachable by the NVR—without intermittent drops, duplicate IP conflicts, or recording the wrong stream.
– Use your NVR’s camera discovery tool (or the PoE switch/NVR management UI) to “add” cameras rather than relying on guesswork with IP addresses. Discovery is particularly helpful when multiple cameras share similar default settings in the first boot phase.
– Assign IP settings in a clean way: either let the system handle DHCP automatically or set static IPs consistently (whichever your documentation recommends). For a PoE CCTV system, consistency matters more than the method—what you want is predictable addressing that survives reboots.
– Confirm stream settings (main vs substream) so recording quality and bandwidth match your storage and network capacity. Many NVRs record from a primary stream (higher quality) while using a lower-bitrate substream for mobile viewing—verify which one is actually being written to disk.
DHCP vs Static IP: which one keeps your PoE CCTV system calmer?
Choose based on how likely you are to change routers, subnets, or DHCP scopes—then stick to one approach across cameras.
| Criteria | DHCP-first | Static IP |
|---|---|---|
| Initial setup time | Fast discovery, fewer manual steps | More manual configuration |
| Resilience to router changes | Better if DHCP settings remain stable | Better if you keep the subnet and plan maintenance |
| Risk of IP conflicts | Medium (depends on DHCP scope) | Lower if documented and managed |
| Troubleshooting clarity | Can be confusing without DHCP reservations | Straightforward once documented |
| NVR discovery compatibility | Usually very strong | Also strong, but depends on NVR workflow |
| Change-management overhead | Lower for routine camera replacements | Higher when onboarding or swapping devices |
| Works best in environments with… | Stable home/office network | Planned network admin control |
| Impact on PoE CCTV stability | High, if DHCP reservations are used | High, if you avoid duplicate assignments |
| Documentation needs | Still needed (DHCP reservations list) | Essential (static IP list + camera mapping) |
| Verdict | Use DHCP with reservations when you want quick setup and lower admin burden | Use static IPs when you control network changes and want maximum predictability |
Set recording schedule, storage, and image quality
A PoE CCTV system records value only if the schedule, stream choice, and detection settings match your operational reality. You want the NVR to save the right events at the right quality without filling storage too quickly.
– Choose what to record (always-on vs motion-based) and when; motion-only can reduce storage use, but you’ll want correct sensitivity and detection zones. In 2026 installations, many owners prefer motion-based capture for archiving efficiency, but you must tune it per camera.
– Configure storage settings on the NVR (drive type/capacity, overwrite behavior, retention targets) based on your expected recording mode—don’t set and forget. A PoE CCTV system usually fails silently when storage policies don’t match your bitrate and schedule.
– Tune image quality: adjust resolution, frame rate, exposure/IR behavior at night, and privacy masks where needed to avoid wasted recording time. Calibrating IR reflections is especially important if you mount cameras close to walls or under soffits.
Because every location has different lighting, you should plan a short “tuning window” right after installation. In my experience supporting installs, the first 24–72 hours of real footage is where the best improvements happen—before homeowners or teams stop watching and assume the system is set.
What can go wrong (and how to avoid it)
A PoE CCTV system fails most often at the power and configuration boundaries. If you address the most common failure modes early, you prevent the frustrating “it works sometimes” behavior that shows up after everything is mounted.
– PoE power shortfalls: If the switch/NVR’s power budget can’t meet all camera demands at once, some cameras may fail to boot or reboot intermittently. Double-check wattage per camera and total power limits, and factor in worst-case behavior if your documentation mentions it.
– Network instability: Wi‑Fi is generally the weak link for CCTV; if you’re using Wi‑Fi for remote viewing, keep cameras wired and only stream over Wi‑Fi on your viewing devices. For a PoE CCTV system, the camera-to-NVR leg should stay Ethernet.
– Wrong recording expectations: Motion detection settings that are too sensitive can fill storage quickly; settings that are too low can miss events. Plan to iterate after a real-world test period.
Additional pitfalls I commonly see in PoE CCTV system installs:
– Wrong stream being recorded: Many cameras expose multiple streams; verify what the NVR writes to disk.
– Outdoor water ingress at terminations: Even a great PoE setup can “flake” if connectors aren’t sealed.
– Overlooking the 100 m link planning limit: Long runs often require PoE extenders or additional structured cabling design.
Quick checklist + final tips
A smooth PoE CCTV system install follows a simple sequence: plan placement, plan power, run clean cable, then verify online status and recording. If you check these items in order, you’ll avoid most rework and reboots.
– Before you drill: confirm camera angles, mounting points, and cable paths (dry-run routes without committing hardware).
– Power check: verify each camera’s PoE requirement and ensure your switch/NVR has enough total PoE budget for all cameras running together.
– During bring-up: add cameras via NVR discovery, confirm each camera is reachable, and verify the correct stream is being recorded.
– Quality pass: set your schedule, test motion zones/sensitivity, then check a few hours of footage to confirm events are actually captured.
– Downsides / when to skip: If you need zero hassle or you’re not comfortable with basic network concepts (DHCP vs static IP, router/VLAN basics), consider using a system with a guided setup workflow—or have an installer handle configuration.
– Scanable checklist (save this)
| Step | Verify |
|---|---|
| Placement | Key areas covered, glare minimized |
| Hardware | PoE switch/NVR supports your camera count + power |
| Cabling | Correct runs, solid terminations, outdoor-rated protection |
| Online status | Cameras discovered and stable (no frequent drops) |
| Recording | Correct schedule + motion zones/sensitivity |
| Storage | Drive capacity and overwrite/retention behavior set correctly |
Frequently Asked Questions
What components do I need to properly set up a PoE CCTV system?
To set up PoE CCTV, you typically need PoE IP cameras, a PoE NVR or PoE network switch, Ethernet Cat5e/Cat6 cabling, mounting hardware, and a reliable network router for access. If you’re covering more cameras than your switch ports or budget allows, plan for additional PoE switches or use an NVR that supports the camera count. For best reliability, also include surge protection and an appropriate rack or junction box for cable management.
How do I calculate PoE power and bandwidth before installing PoE CCTV cameras?
Check your switch/NVR’s total PoE budget (watts) and each camera’s power draw (watts) to ensure the system can power all cameras at their target settings. You should also confirm your network has enough capacity by considering camera resolution, frame rate, and video codec, since higher bitrate streams consume more bandwidth. For simple planning, use the manufacturer’s bitrate specs and add headroom for stable PoE CCTV performance over long cable runs.
Which Ethernet cable type and length limits should I follow for PoE CCTV?
Use Cat5e or Cat6 for PoE CCTV, as these standards support reliable Ethernet data rates for IP cameras. Stick close to the standard 100-meter (328 ft) limit per cable run; if you need longer distances, use an Ethernet extender, fiber media converter, or additional intermediate switches. Keeping cable runs properly terminated and protected helps prevent issues like dropped frames or unstable camera connections.
How do I configure IP addresses, NVR settings, and remote viewing for PoE CCTV?
Start by assigning cameras either via DHCP or static IP addresses, then make sure the camera IPs match what your NVR expects so recording starts correctly. In your NVR interface, verify channel mapping, set the correct time zone/NTP for accurate timestamps, and configure recording schedules and motion alerts. For remote access, set up secure login credentials and, if needed, use VPN or a properly configured remote access method to avoid exposing your PoE CCTV system to the internet.
Why do PoE CCTV systems fail (no video, rebooting, or signal drops) and how can I fix them?
Most failures come from insufficient PoE power, using the wrong cable quality, exceeding the 100-meter run, or loose/incorrect Ethernet terminations. Troubleshoot by confirming PoE power delivery in the switch/NVR, checking link status on each port, and testing cameras one at a time to isolate the problem. You can often prevent “no signal” and rebooting by upgrading cabling to Cat6, enabling proper port settings, and using surge protection to protect against electrical spikes.
📅 Last Updated: November 03, 2026 | Topic: How do I properly set up a PoE CCTV system? | Content verified for accuracy and freshness.
References
- Power over Ethernet
- Structured cabling
- IP camera
- IEEE SA – IEEE 802.3af-2003
- IEEE SA – IEEE 802.3at-2009
- IEEE SA – IEEE 802.3bt-2018
- Profile S – ONVIF
- https://scholar.google.com/scholar?q=PoE+CCTV+system+setup+power+budget+installation Google Scholar
- https://scholar.google.com/scholar?q=IEEE+802.3af+802.3at+802.3bt+PoE+planning+for+IP+cameras Google Scholar
- https://scholar.google.com/scholar?q=ONVIF+Profile+S+setup+IP+cameras+PoE Google Scholar