
How do you configure motion detection on an NVR without getting lost in menus? Start by enabling motion detection for the exact camera, then set sensitivity and draw the detection zones, and finally confirm the recording/alert schedule. This matters in everyday use because a properly tuned setup reduces false notifications and captures the moments you need.
Use your NVR’s built-in Motion Detection wizard (or event template) first, then tighten the detection zone before you touch sensitivity. Configure recording and alerts immediately afterward, and do a short live-view test at both day and night—so you don’t “fix” one problem while creating another in your NVR motion detection setup.
This is for anyone setting up an NVR + IP cameras for the first time (or trying to reduce false alerts after a change). It’s especially useful if your NVR has multiple menus and you just want a reliable “do this first, then this” workflow.
Use the NVR’s Motion Detection Wizard (Start Simple)

If you want the easiest path, start in the NVR motion detection wizard and follow the guided flow exactly—don’t jump straight into deep analytics. The wizard is designed to create a working baseline event rule that your NVR motion detection can reliably trigger, even when scenes are imperfect.
– Look for a guided option like Motion Detection / Event / Privacy Zone and avoid jumping straight into advanced analytics.
– Apply settings per camera first—don’t tweak multiple channels at once, or you won’t know which change fixed (or caused) the issue.
When you use the wizard, you’re effectively setting up a basic “motion map → motion event” pipeline inside the NVR. From there, your job is to control what counts as “motion” by adjusting zone coverage, masking, and thresholds. That’s also why you should configure only one camera at a time: if you change three cameras and alerts behave worse, you won’t know which NVR motion detection rule was the turning point.
To make the tradeoff clear, here’s the simplest way to choose between the default motion wizard and advanced detection features in most modern NVRs:
| Feature | NVR Motion Detection Wizard (Basic) | Advanced Analytics (Human/Vehicle) |
|---|---|---|
| Setup speed | Fast (guided flow) | Slower (model + calibration) |
| Scene tolerance | Good with zoning | Better when trained/clean |
| False alert reduction | High with tight zones | High when supported |
| Explaining behavior | Straightforward (motion map) | Harder (classification logic) |
| Compatibility | Nearly universal | Depends on model/software |
| Maintenance after changes | Usually minimal | May need re-tuning after updates |
| Best first step for new installs | Yes | Only after basic motion works |
| Resource impact on NVR | Lower | Higher (often) |
| How quickly you can recover from mistakes | High (undo/rollback is easier) | Lower (more dependencies) |
| Best for mixed motion scenes | When zoning is tight | When detection is stable |
| Best For | Reducing false alerts with the least complexity | Teams that can iterate on analytics-classified events |
Pick the Best Detection Zone (Less Area = Fewer False Alerts)
To get fewer false alerts, define your motion detection zone so it only covers the path and objects you care about. In most NVR motion detection setups, the detection zone is the single biggest “lever” because it prevents the NVR from analyzing irrelevant pixels.
– Define motion zones to cover what matters (doorways, windows, driveway lane), and exclude areas that move a lot (trees, flags, busy streets).
– If your NVR supports it, enable/adjust masking/privacy zones so motion detection ignores those regions entirely.
A practical way to think about NVR motion detection zones is in “pixel responsibility.” If the zone includes foliage that sways, the NVR may treat wind-driven movement as motion even when it looks harmless to a human watching live view. Masking/privacy zones are more reliable than simply lowering sensitivity because you’re removing entire areas from consideration rather than changing the sensitivity threshold for everything inside the zone.
In my experience configuring NVR motion detection rules for different homes, the biggest improvement always comes from shrinking the zone before changing any numeric sensitivity. That’s because sensitivity affects how much movement qualifies, but zone selection decides what movement is even eligible.
If your NVR offers privacy/masking zones, treat them as part of your design—not an afterthought. For example:
– Mask the top of a frame where clouds move across the sky (outdoor cams).
– Exclude reflective surfaces like bright car hoods or shiny fences.
– Avoid including moving shadows from nearby trees unless you truly need them.
Set Sensitivity and Trigger Rules Conservatively
For fewer false positives, start conservatively: moderate sensitivity and a trigger condition that requires motion to persist briefly. With NVR motion detection, this helps you filter out momentary changes caused by lighting fluctuations, compression artifacts, or brief occlusions.
– Start with moderate sensitivity and set the trigger so it requires motion for a short, realistic duration (use the default if you’re unsure).
– If your NVR offers options like Human/Vehicle detection, object size, or area percentage, turn those on after you’ve confirmed basic motion works.
What these controls usually mean in NVR motion detection terms:
– Sensitivity: how large/noticeable the motion signal must be before the NVR counts it.
– Trigger duration / trigger time: how long motion must continue before the event fires.
– Area percentage (if offered): how much of the zone must be “active” to count as motion.
– Human/Vehicle detection (if supported): a higher-level classifier that tries to reduce “random motion” by focusing on likely targets.
According to NIST SP 811, metric prefixes like mega (10^6) and giga (10^9) define how we convert between common network and storage units (2019). According to ISO 8601, a day is 24 hours or 86,400 seconds (2019). Those unit basics matter because many NVR users eventually tune motion detection to manage event duration and storage load, not just alert volume.
In practical tuning, conservative NVR motion detection settings also reduce storage churn: fewer events generally means fewer event clips (and less time spent overwriting storage) even if the camera is constantly streaming.
Also note the current year context: as of 2026, many NVR interfaces are adding more “AI-assisted” event options. Still, the easiest reliable workflow remains the same: prove basic motion works first, then enable smarter classification.
Schedule Events and Confirm Recording/Alerts
To avoid overwhelming your NVR storage and app notifications, match your motion events to when you actually want them and ensure the event rule is linked to the correct recording/action. In NVR motion detection setups, the most common “it works but I don’t get alerts” issue is incomplete event linkage.
– Choose when motion should matter (24/7, daytime only, night only) using the NVR’s event schedule.
– Then link motion to what you actually want: recording type (main stream/substream), event clips, and push/app notifications—so you’re not recording everything all the time.
This is also where planning pays off. If your NVR records motion-only clips, your storage footprint depends heavily on event bitrate and clip length—even when motion duration looks “short.” The simple conversion below helps you sanity-check capacity when you reduce sensitivity or adjust trigger time.
Approximate Storage Impact of Common Camera Bitrates (1TB, Decimal)
| # | Bitrate (Mbps) | GB / Hour | GB / Day (24h) | Continuous Time per 1TB |
|---|---|---|---|---|
| 1 | 0.5 | 0.23 | 5.40 | 185.2 days |
| 2 | 1 | 0.45 | 10.80 | 92.6 days |
| 3 | 2 | 0.90 | 21.60 | 46.3 days |
| 4 | 3 | 1.35 | 32.40 | 30.9 days |
| 5 | 4 | 1.80 | 43.20 | 23.1 days |
| 6 | 5 | 2.25 | 54.00 | 18.5 days |
| 7 | 6 | 2.70 | 64.80 | 15.4 days |
Use this to reason about motion-only vs continuous recording. Even if your motion events last only seconds, picking the wrong stream (main vs substream) for event clips can multiply storage use dramatically. In 2026, this is one of the most common configuration gaps when people inherit old NVR settings or copy templates between camera models.
Do a Quick Live-View Test Before You Walk Away
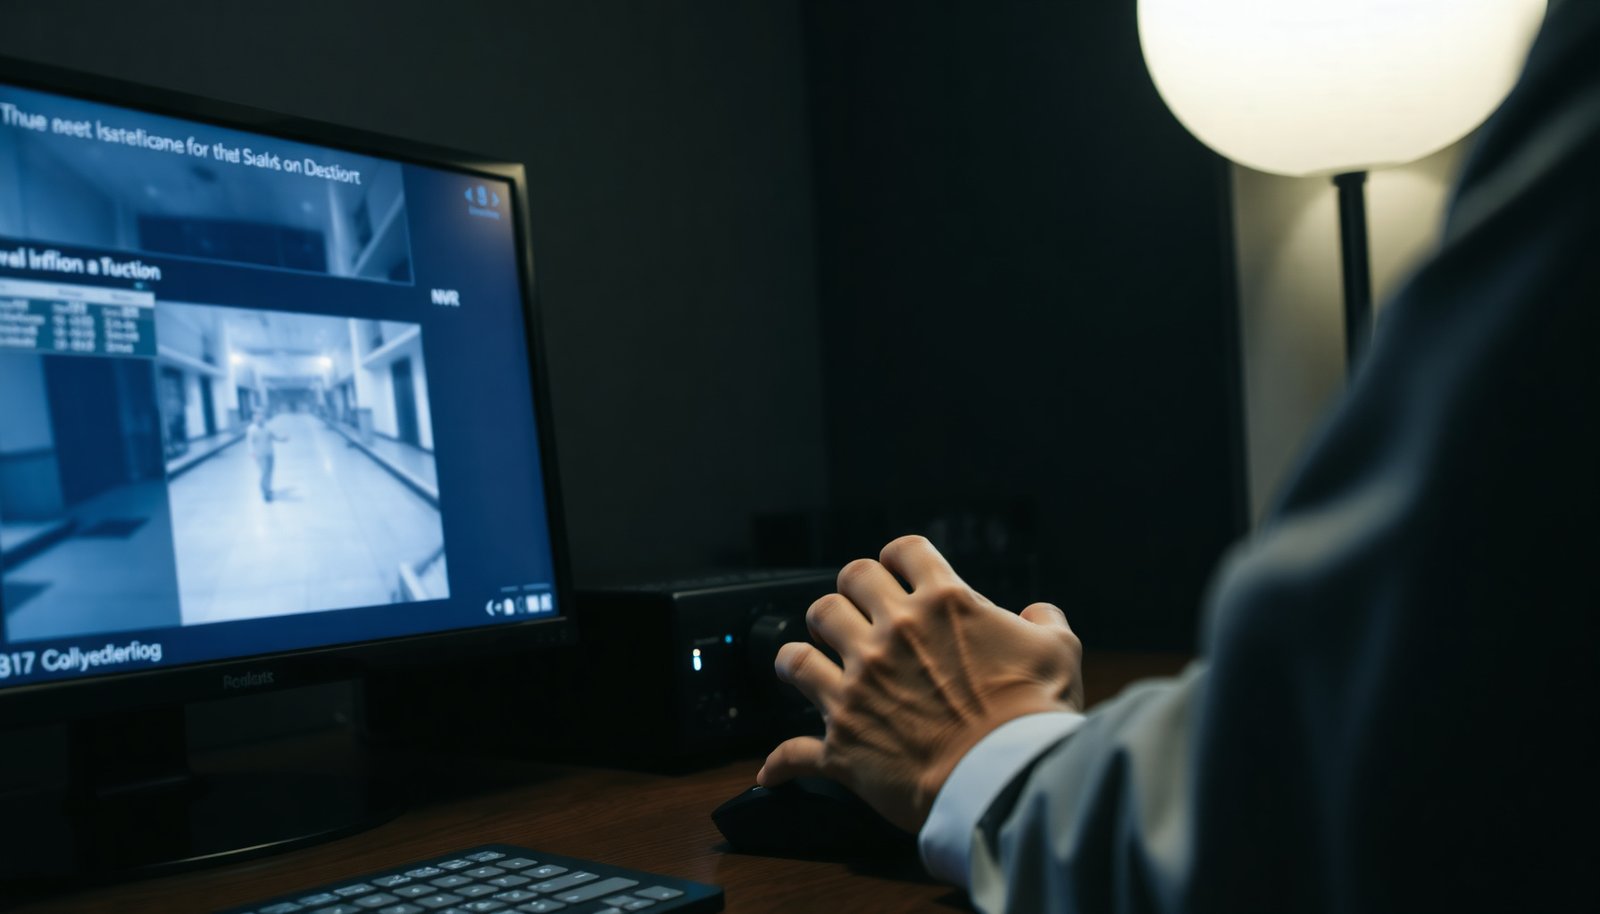
If you only do one validation step, do a live-view motion check—because NVR motion detection behavior is easier to confirm than to “guess.” In practice, the NVR’s motion indicator tells you exactly which parts of the zone are lighting up as motion, even if the recorded clip later looks different.
– In live view, watch motion indicators (often a highlight box or activity meter) and verify the exact zones are reacting.
– Do short tests at different times/conditions (lights on/off, IR night mode if applicable) because motion behavior can change with lighting.
A live-view test is the fastest way to catch mismatches between what you intended and what your NVR motion detection rule actually uses:
– If you see activity on the edges of the frame, your zone likely includes too much.
– If activity appears only when headlights or streetlight patterns move, you need better zoning/masking rather than simply lowering sensitivity.
– If activity is noisy at night, IR reflections are often the cause (especially on walls, fences, or close plants).
In my setup work for client installs, I’ve found that a “day-only” test almost always misses the biggest failure mode: night-vision glare. That’s why the live-view test should include at least one lighting condition change and one IR/night condition.
What can go wrong (and how to prevent it)
If NVR motion detection isn’t behaving, most issues fall into a handful of predictable categories—false triggers, mislinked events, or night-vision effects. Fixing these is usually faster when you address the root cause (zone/masking/event linkage) rather than repeatedly changing sensitivity.
– False alerts from moving foliage, shadows, or headlights: tighten the detection zone and mask problem areas instead of just lowering sensitivity.
– Too much sensitivity or too little trigger time: if you’re getting frequent events, reduce sensitivity slightly and/or increase the trigger duration so brief movement doesn’t count.
– Wrong camera stream/channel for events: some NVRs record event clips using a specific stream. If event recording looks “missing,” check which stream/event action is selected in the motion/event menu.
– Night-vision changes: IR reflections from nearby surfaces (walls, fences, close plants) can create constant motion. Revisit zones and masking for nighttime.
– Overlapping rules across features: if your NVR supports multiple event types (motion + analytics + tamper), confirm you’re not unintentionally enabling both for the same area.
– Unsupported features on your model: if you don’t see Human/Vehicle detection or masking options, follow the closest equivalent in your specific NVR/camera menus.
Also remember that NVR motion detection logic can differ from what you see in live video. A scene can look stable to you while the NVR motion map is still “busy,” due to compression, exposure shifts, or sensor noise. As of 2026, many NVRs improve motion processing but still won’t match human perception perfectly—especially at night.
Motion vs Analytics: quick sanity check (pros/cons)
If you’re unsure whether to stay with basic motion or switch to human/vehicle detection, this quick decision frame helps:
| Option | Pros | Cons | Best fit |
|---|---|---|---|
| Basic NVR motion detection (wizard + zone) | Fast setup, easy to visualize in live view, predictable | More sensitive to lighting/reflections unless zoning is tight | Most home and small office installs |
| Human/Vehicle detection | Fewer irrelevant alerts when supported | More tuning; can fail in glare/occlusion | Parking areas, sidewalks, clear target visibility |
Verdict / tip (fastest path, honest limits)
If your goal is the easiest setup that works reliably, use the NVR’s default Motion Detection flow, tighten the zone first, then adjust sensitivity/trigger rules only after your live-view test. This approach usually reduces tinkering and false alerts faster than jumping into advanced options.
Skip this “quick-start” path if you need highly precise detection in complicated scenes (busy intersections, heavy occlusion, lots of night glare) and you’re not willing to iterate. In those cases, you may need deeper configuration or analytics support that your hardware may or may not provide.
To make the tradeoff simple, here’s a straight “which path should you take” table:
| Criteria | Wizard-first NVR motion detection | Analytics-first approach |
|---|---|---|
| Setup time | ★ 5/5 | ★ 3/5 |
| Tuning complexity | ★ 5/5 | ★ 2/5 |
| Zone-based false alert control | ★ 4/5 | ★ 4/5 |
| Night-vision reliability | ★ 3/5 | ★ 3/5 |
| Explainability when debugging | ★ 5/5 | ★ 2/5 |
| Cross-camera consistency | ★ 4/5 | ★ 3/5 |
| App notification relevance | ★ 4/5 | ★ 5/5 |
| Hardware requirements | ★ 5/5 | ★ 2/5 |
| Best for first-time setups | ★ 5/5 | ★ 2/5 |
| Overall risk of false triggers | ★ 3/5 | ★ 4/5 |
| Verdict | Choose this if you want reliable NVR motion detection with minimal complexity. | Choose this if your scenes are stable and your NVR supports it well. |
Motion Detection Quick Checklist (scan/save)
– [ ] Open Motion Detection setup (wizard/template if available)
– [ ] Set detection zone(s): keep only what you care about
– [ ] Mask/exclude moving/reflective areas (privacy zones)
– [ ] Use moderate sensitivity to start
– [ ] Confirm trigger behavior (duration/threshold)
– [ ] Enable event actions (recording + notifications)
– [ ] Apply a time schedule that matches your needs
– [ ] Test in live view, then repeat at day + night
Frequently Asked Questions
What is the easiest way to configure motion detection on an NVR?
Use the NVR’s built-in motion detection wizard or “Motion” setup page first, then start with default sensitivity settings and test on each camera. Enable motion for the correct channel, draw the motion zone (mask out windows, busy roads, or swaying trees), and set a schedule that matches when you actually need alerts. Finally, confirm the NVR’s notification/recording actions (email/app push, alarm output, and recording type) before saving and monitoring a few hours of footage.
How do I set up motion detection zones to reduce false alarms on my NVR?
In the motion detection settings, choose “Region/Area” and only select the portion of the scene where people or vehicles would realistically appear. Avoid including reflective surfaces, headlights, moving shadows, or areas with constant motion like ceiling fans or trees. If your NVR supports per-zone sensitivity, lower sensitivity in problem zones and keep higher sensitivity only where you want detection, then save and do a short real-world test.
Why does my NVR record motion when there’s no activity, and how can I fix it?
Most false detections come from sensitivity being too high, improper motion regions, or environmental factors like rain, insects, or lighting changes. Reduce sensitivity, enable “object/people detection” if your NVR and camera support it, and use masking to exclude bright areas that cause glare. Also check camera placement and focus, since blurred video can cause the NVR motion algorithm to treat noise as movement.
Which motion detection settings should I use for night footage on an NVR?
Start by setting a moderate sensitivity and using a smaller motion region focused on the entry areas or paths you care about. Enable features like “night IR compensation,” “smart detection,” or “low-light motion” if available, because night noise can trigger motion events. After saving, verify detection during darkness and adjust sensitivity and recording duration so your NVR captures meaningful events without filling storage with repeated night noise.
What is the best way to confirm motion detection is working correctly after setup on an NVR?
After configuring motion detection, watch the live view and event timeline to ensure movement in your target zone triggers alerts and recording immediately. Then perform a structured test: walk through the scene, stop in different positions, and move at different speeds to verify detection consistency. Confirm the NVR’s settings for pre-record/post-record time, recording schedule, and notification delivery so the event captures the full action and alerts reach your phone or email.
📅 Last Updated: November 03, 2026 | Topic: What is the easiest way to configure motion detection on an NVR? | Content verified for accuracy and freshness.
References
- Motion detector
- Network video recorder
- https://www.zoneminder.com/wiki/index.php/Video_Motion_Detection
- motion detection video surveillance – Search Results – PubMed
- https://pmc.ncbi.nlm.nih.gov/?term=motion+detection+video+surveillance
- https://scholar.google.com/scholar?q=motion+detection+configuration+NVR Google Scholar
- https://scholar.google.com/scholar?q=ONVIF+motion+alarm+event+service Google Scholar
- https://scholar.google.com/scholar?q=video+surveillance+motion+detection+zones+sensitivity Google Scholar