
The fastest way to test CCTV night vision is to power the camera in a dark space, switch to Night/IR mode, and confirm the image quality as the IR LEDs turn on and the viewing range stabilizes. You can complete a reliable check in about 10–20 minutes with clear pass/fail observations. Gather the camera, its monitor/NVR app, a way to dim the area, and—if available—an IR light source to verify response before you fine-tune focus and alignment.
The easiest way to test CCTV night vision is to switch the camera to night mode/IR, then verify the image quality on the actual monitor (or NVR view) while you check focus and coverage in a dark area. If you want a fast “sanity check,” you can also use your phone camera to see whether the IR LEDs are working—but use the DVR/NVR image as the real test.
This is for anyone installing or troubleshooting outdoor or indoor CCTV and wants quick confidence that the IR lighting and night settings are functioning correctly—especially when you haven’t confirmed performance in low light yet.
What you need for a quick night-vision test
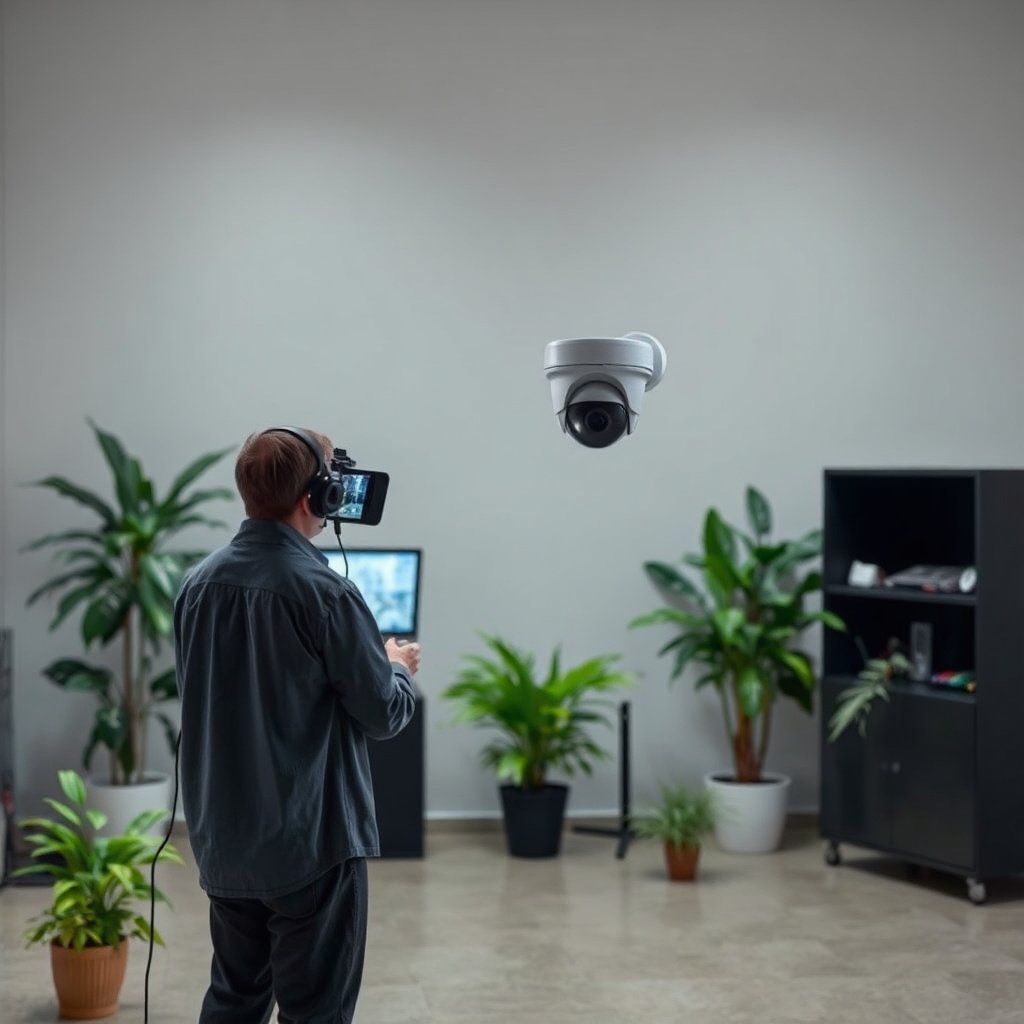
For a fast, reliable CCTV night-vision test, assemble the minimum items that let you judge the real recorded output—not just whether IR is “on.” These three essentials keep the process objective and repeatable, and they still work well in 2026 for both analog and IP CCTV workflows.
– The camera live feed on a monitor (or NVR/app view), so you’re judging the real output
– A truly dark testing area (turn off outdoor lights or close shutters/curtains)
– Access to the camera’s night/IR settings (auto IR, manual IR, or night mode option)
Why the “monitor/NVR view” is the real measurement
A phone camera can show IR glow, but CCTV night vision quality depends on focus, lens sharpness, IR alignment, and how the camera’s processing handles exposure and noise. By contrast, the monitor/NVR stream shows what your system records and displays—so it directly answers whether your night mode is actually usable.
To ground expectations: CCTV IR illumination typically uses near-infrared wavelengths (often around 850 nm or 940 nm), which are outside normal visible light perception. According to NIST, near-infrared radiation spans roughly 700–2500 nm (NIST, “Near-Infrared (NIR),” 2023). Because the human eye loses sensitivity beyond ~700 nm, IR can appear “invisible” to people even when it’s strongly affecting the camera (Encyclopaedia Britannica, “Vision,” 2022). That’s why the DVR/NVR feed is the decisive test for CCTV night vision.
Step-by-step: the easiest practical test (10–15 minutes)
For the simplest practical CCTV night-vision check, force the camera into the night/IR mode you care about, then confirm sharpness and coverage from the NVR/monitor in a dark scene. This approach usually takes 10–15 minutes and catches the most common installation and configuration failures.
– Step into a dark area with the camera active, then switch night mode to the IR/night setting you want to test (or confirm Auto IR triggers)
– Check the live image for clarity: can you see key details clearly (edges/face area/doorway area you care about)?
– Move the camera’s target area slightly (or use a ladder/angle check if the setup allows) and confirm the image stays sharp—especially around the center of coverage
Step 1: Put CCTV night vision into a known state
Start by making sure CCTV night vision isn’t “guessing.” If your camera has Auto IR, observe whether the IR illuminators activate when lights are turned off. If it has Manual IR / Night mode, switch to the exact mode you want (especially if Auto behaves inconsistently in your environment).
In 2026, many systems also include “schedule” modes (day/night by time) alongside light-sensor modes. If schedule is enabled, CCTV night vision may not react to darkness when you expect it to—so always confirm the mode indicator in the camera menu or NVR UI.
Step 2: Verify clarity where it matters
When you evaluate CCTV night vision on the NVR/monitor, check more than “is there an image?” Look for these indicators:
– Edge definition: doorframes, numbers, window frames, or fence lines
– Face/ID zone (if applicable): center-of-interest region should not smear
– Contrast consistency: shadows shouldn’t collapse into a single gray blob
– Focus behavior: pan or reframe slightly—if it’s noticeably “soft,” focus is likely off (not the IR)
If the image looks noisy but sharply focused, that may be exposure processing; if it looks softly blurred everywhere, that’s usually lens focus or misalignment.
Step 3: Confirm coverage stays sharp across the scene
Coverage problems often hide in the “center looks okay” trap. After your first pass:
– Step closer to the target area (within your intended monitoring range).
– Check the edges of your field of view for blur or loss of detail.
– If your mounting allows it, verify that small changes in aim don’t instantly degrade clarity—stability matters for CCTV night vision reliability.
Use a phone as a fast IR check (optional, not the main test)
For a quick IR hardware sanity check, a phone can confirm whether the CCTV IR LEDs are firing—but it shouldn’t be treated as proof of usable night recording. Use the phone only to reduce guesswork; verify actual CCTV night vision performance on the DVR/NVR view.
– Turn off visible lights and look at the CCTV image first; then (optionally) view the camera through your phone camera app
– If the camera is emitting IR, you may see a purple/bright glow or “hot spots” in your phone view—this confirms IR is likely on
– Still rely on the DVR/NVR image for real night quality, because phone sensors and settings can mislead you about actual recorded detail
Why phone glow can be misleading
Phone sensors and “computational photography” vary widely. Some phones suppress near-infrared or shift exposure in ways that make IR appear stronger or weaker than it is. Also, CCTV night vision can fail even when IR is emitting—for example:
– IR is aimed at a wall instead of the target
– Focus is slightly off, so captured detail collapses
– The camera is still in day mode due to a schedule override
Phone checks are therefore best treated as: “Is the illuminator working?” not “Is the recording sharp?”
Tune the setting that usually breaks night vision
If CCTV night vision isn’t working as expected, the fastest wins come from focus first, then IR activation behavior, then exposure washout. This sequence aligns with how most camera optics and IR control loops fail during real installs, and it keeps troubleshooting efficient in 2026.
– Focus first: night images often look worst when the lens is slightly out of focus (especially after installation)
– Confirm IR behavior: if Auto IR never turns on, try manual IR/night mode to force activation and re-check the scene
– Watch for washout: if the image is too bright or objects near the camera look blown out, you may need angle/position changes or adjust IR exposure-related settings (use your camera’s on-screen menu)
Focus: the most common root cause
Night mode often makes softness obvious because:
– Low light increases noise and reduces contrast
– IR illumination may highlight fine blur differently than daylight
– Any slight lens movement during mounting becomes more visible
If CCTV night vision looks “hazy,” adjust focus and re-check on the NVR/monitor, not on a phone preview. Re-check once after tightening the mounting screws, since lens focus can drift during final alignment.
IR activation: Auto vs manual behavior
If Auto IR never triggers:
– Darken the scene further (remove ambient sources you might not notice—porch LEDs, street reflections, indicator lights).
– Use manual IR/night mode temporarily to force activation.
– Confirm whether the camera has a schedule mode or an override that prevents Auto switching.
Washout and “hot spots”: positioning and exposure tuning
A common complaint is “IR is on, but the picture is too bright near the camera.” That’s often due to:
– IR angle reflecting off nearby surfaces
– Objects being too close relative to IR spread
– Exposure or IR intensity settings pushing the sensor into saturation
Tune incrementally: change one variable (angle or IR intensity / exposure-related settings in the camera OSD), then re-check CCTV night vision output on the monitor/NVR.
IR Illumination Choices and What They Affect in CCTV Night Vision Testing (2024)
| # | IR approach | Typical wavelength | Common night-use note | Tends to reduce | Image-risk at close range |
|---|---|---|---|---|---|
| 1 | 850 nm IR LEDs | ~850 nm | Baseline CCTV night vision in many cameras | Less “invisible” than 940 nm | High washout risk |
| 2 | 940 nm IR LEDs | ~940 nm | Often chosen for reduced visible glow | Visible “purple glow” to people | Moderate close-range risk |
| 3 | Integrated IR (built-in LEDs) | Depends on model (commonly 850/940 nm) | Simplest setup, shorter spread | Reduced alignment complexity | High “hot spot” risk |
| 4 | External IR illuminator | Depends on illuminator (850/940 nm common) | Easier aiming at target distance | Near-field washout vs poorly aimed built-in IR | Lower risk with correct angle |
| 5 | Wide-angle IR flood | Commonly 850/940 nm | Covers broad area, including close objects | Blind corners in the same direction | High hot-spot risk |
| 6 | Narrow-beam IR (spot) | Commonly 850/940 nm | Improves contrast at distance | Reduced over-illumination near camera | Lower washout risk |
| 7 | Auto IR with light-sensor threshold | Commonly 850/940 nm (per camera spec) | Dynamic switching to reduce IR overuse | Unnecessary exposure and noise | Can mis-trigger in bright reflections |
Interpreting what you see during CCTV night vision testing
If your system uses IR LEDs, expect near-IR behavior rather than visible lighting. According to NIST, near-IR lies outside the visible range, so “seeing the IR” with the human eye isn’t reliable—hence the need to check the camera feed directly (NIST, “Near-Infrared (NIR),” 2023). For practical troubleshooting, focus on sharpness, coverage, and saturation behavior in the NVR/monitor view.
What can go wrong (and how to spot it fast)
For CCTV night vision failures, you can often pinpoint the cause quickly by matching symptom patterns to a small set of issues: focus, mode selection, IR emission, or insufficient darkness. As of 2026, these errors still account for most “it looks fine in the day but fails at night” reports.
– IR is working but the picture is still soft: focus is usually the cause; re-check lens/focus and mounting stability
– The camera turns on “night mode” but nothing improves: the camera may be in the wrong mode (day/night schedule) or IR may be disabled via a setting
– You only tested with a phone: phone glow doesn’t guarantee usable detail for recording—always verify the NVR/monitor output
– You’re testing in the wrong darkness level: if there’s still enough ambient light, you might think night vision is good even though true low-light performance is unproven
Fast diagnostic mapping: symptom → likely cause
Use this quick logic when reviewing CCTV night vision output:
– Soft image + IR glow/hardware seems active → lens focus, then stability (tighten mount, confirm no flex).
– Night mode indicator changes, but IR doesn’t meaningfully change image quality → check if you’re actually on IR mode (not a schedule override), and confirm IR is enabled in the menu.
– Phone shows IR glow, but DVR image looks washed out or noisy → IR alignment, exposure settings, or saturation near-field.
The darkness test is not “dark enough” by default
Many installs are tested near existing street lighting, porch lights, or signage. If ambient light remains, CCTV night vision may look acceptable—but your system could fail later when the environment shifts. For the most reliable sanity check, increase darkness by turning off or blocking visible sources, then re-check clarity again on the monitor/NVR view.
Verdict: best approach, plus who should skip it
If you want the easiest test, do this: force night/IR mode (or confirm Auto IR triggers), then judge the DVR/NVR live image while you confirm focus and coverage in a dark area. This is ideal for most installs and troubleshooting quick issues like “IR not turning on” or “image is blurry at night.”
Skip this quick method if you need verified performance at specific distances for compliance/security requirements—at that point you’ll want a controlled test plan and (often) professional measurement. Also skip phone-based IR checking as your only proof, since it can’t replace the recorded camera output.
Pros/cons: what you gain with each check method
| Method | Pros | Cons |
|---|---|---|
| DVR/NVR live feed (recommended) | Validates actual recording/display sharpness, coverage, and saturation under IR processing. | Takes a few extra minutes because you must view the monitored output. |
| Phone camera IR glow (optional) | Quickly confirms IR LEDs are likely emitting when the scene is dark. | Doesn’t guarantee usable CCTV night vision detail; phone optics and processing can mislead. |
Quick scan checklist (print/save)
| Check | What to look for | Pass/Fail |
|---|---|---|
| IR activates | Camera switches to night/IR (or image changes accordingly) | [PASS]/[FAIL] |
| Image is sharp | Details are clear, not smeared or overly blurry | [PASS]/[FAIL] |
| Coverage is where you need it | Target area is visible without major blind spots | [PASS]/[FAIL] |
| No heavy washout | Near objects aren’t blown out; overall brightness is usable | [PASS]/[FAIL] |
| Stable mounting | Camera angle hasn’t shifted; no vibration/misalignment | [PASS]/[FAIL] |
Frequently Asked Questions
What is the easiest way to test CCTV night vision at home?
The easiest way is to turn on the camera at night in a dark room and check the live view while looking for IR illumination. Use a nearby reflective object (like a white wall, tiled surface, or a small piece of paper) and slowly move it closer to confirm the picture brightens at the expected range. If your CCTV system supports it, enable the “IR” or “Night” mode and verify that the image switches properly from day to night.
How can I test the IR range of my CCTV night vision camera?
Start by setting the camera view to a clear target area with minimal clutter and then place an object at known distances (for example 3m, 5m, 10m). Watch the live image or playback footage and note where the picture becomes too dim or blurry to identify faces or objects. If you have adjustable IR intensity, test with it at the default setting first, then repeat at a higher/lower level to find the practical IR range for your exact environment.
Why does my CCTV night vision look blurry or washed out when it turns on?
Blurriness or “haze” is often caused by IR reflection from nearby surfaces, dirty/dusty lenses, or an incorrect camera distance to reflective objects. Clean the lens with a microfiber cloth and ensure the camera isn’t facing directly toward windows, painted walls, or metal surfaces that reflect IR back into the lens. Also check the mounting height and angle—too steep or too close can cause poor focusing and overexposure during night vision.
Which setting should I use to test CCTV night vision—Auto IR, manual IR, or night mode?
For the easiest testing, use Auto IR or Night Mode so the camera controls the switch based on available light, then confirm the transition is smooth in the live feed. If you want repeatable results, switch to manual IR (or manual night vision mode) to remove variables and test consistently at the same brightness level. Compare images from each setting to ensure your CCTV night vision is not overdriving or under-illuminating the scene.
What is the best way to verify CCTV night vision quality using recordings rather than live view?
Record a short clip at night under the same conditions you intend to monitor, then review playback at full resolution to evaluate clarity, exposure, and object recognition. Look for signs of motion blur, frame smearing, and inconsistent brightness when people or vehicles move through the scene. If available, test with both starlight/low-light mode (if supported) and IR mode, because some CCTV cameras rely on different sensors or processing that affects night vision performance.
📅 Last Updated: November 03, 2026 | Topic: What is the easiest way to test CCTV night vision? | Content verified for accuracy and freshness.
References
- [Withdrawn] Surveillance camera code of practice – GOV.UK
- Night vision
- Infrared
- Photometry
- Lux
- Optical transfer function
- Test card
- https://scholar.google.com/scholar?q=CCTV+IR+night+vision+testing+method Google Scholar
- https://scholar.google.com/scholar?q=low-light+video+camera+performance+evaluation Google Scholar
- https://scholar.google.com/scholar?q=infrared+illumination+measurement+camera+sensitivity Google Scholar