
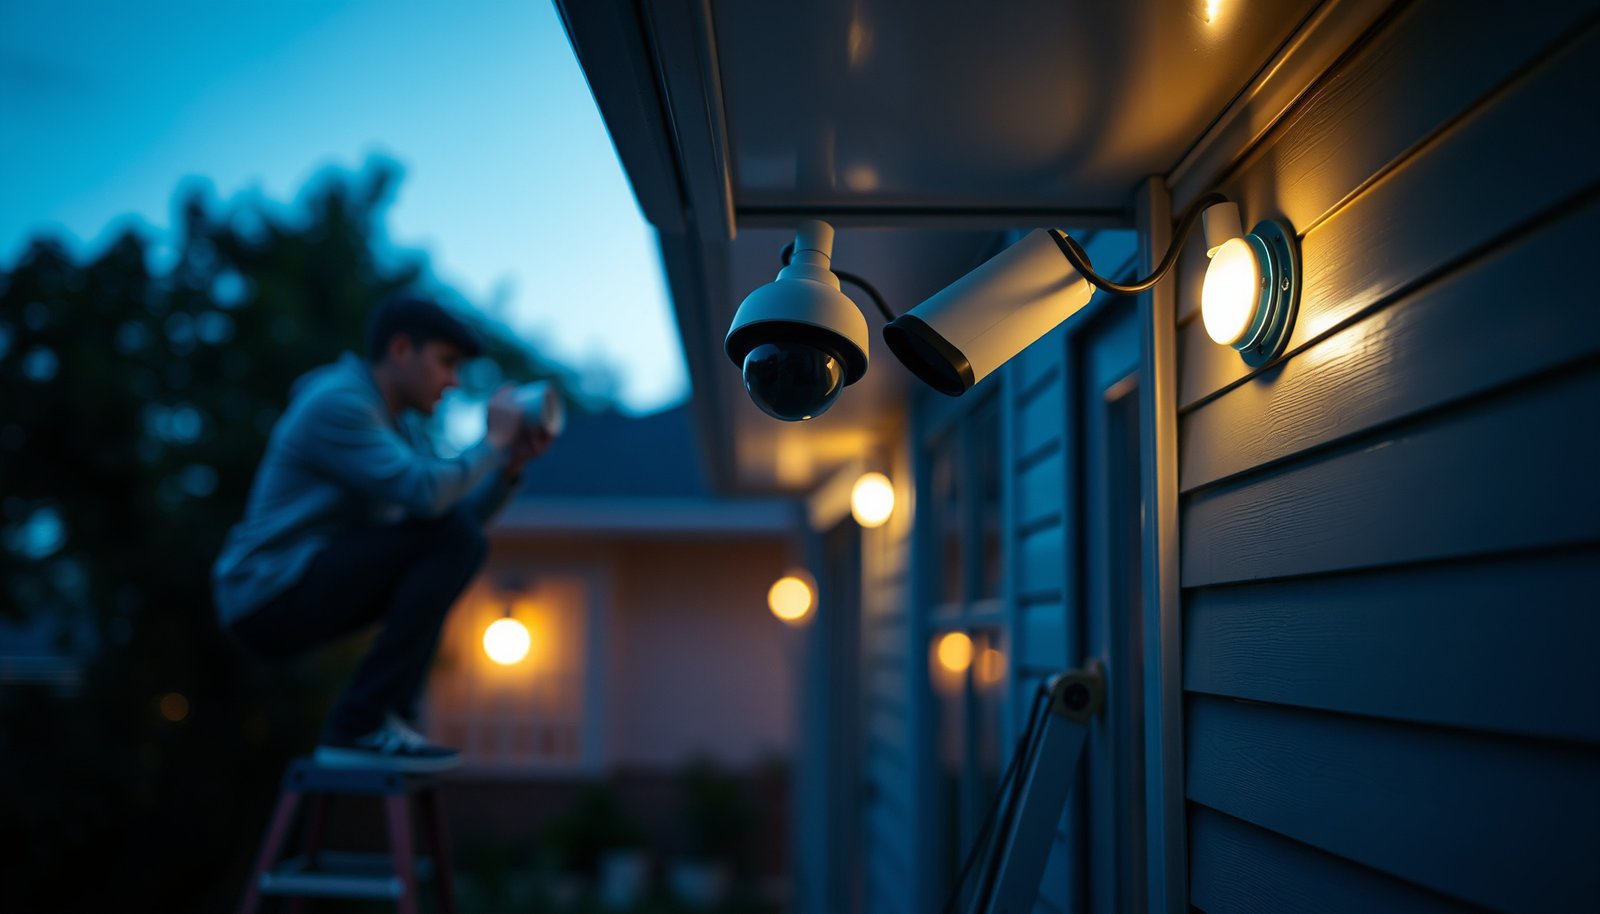

If you want to install a CCTV camera at home, follow this step-by-step setup guide and you’ll get a working system fast and correctly the first time. It walks you through choosing the right camera location, mounting it securely, wiring or pairing it to power and Wi‑Fi, and configuring viewing and recording settings. By the end, you’ll know exactly how to test coverage and troubleshoot common setup mistakes before relying on the footage.
Yes—you can install a home CCTV camera in a single afternoon if you plan coverage first and choose a setup that matches your power/network reality (Wi‑Fi vs PoE/wired). Most install problems come from poor placement (faces/backlighting), weak signal at the camera location, or skipping the “verify live view + recording + playback” checks before you close everything up.
If you can mount the camera, power it, and connect it to your home network, you can install a CCTV camera at home in a single afternoon. The key is doing the planning first—pick the right spot for coverage and decide whether you’ll run cables (PoE/wired) or use Wi‑Fi—then follow your camera’s app/NVR setup prompts. You’ll learn what to prepare, how to place and wire/mount the camera, and how to configure security settings so it actually works reliably.
If you’re a homeowner (or able to install/reroute wiring where allowed) and you want DIY security coverage for an entryway, driveway, or backyard, this walkthrough is for you. It also helps when you’re switching from “it powers on” to “it streams, records, and you can find footage.”
Plan camera placement and what you need
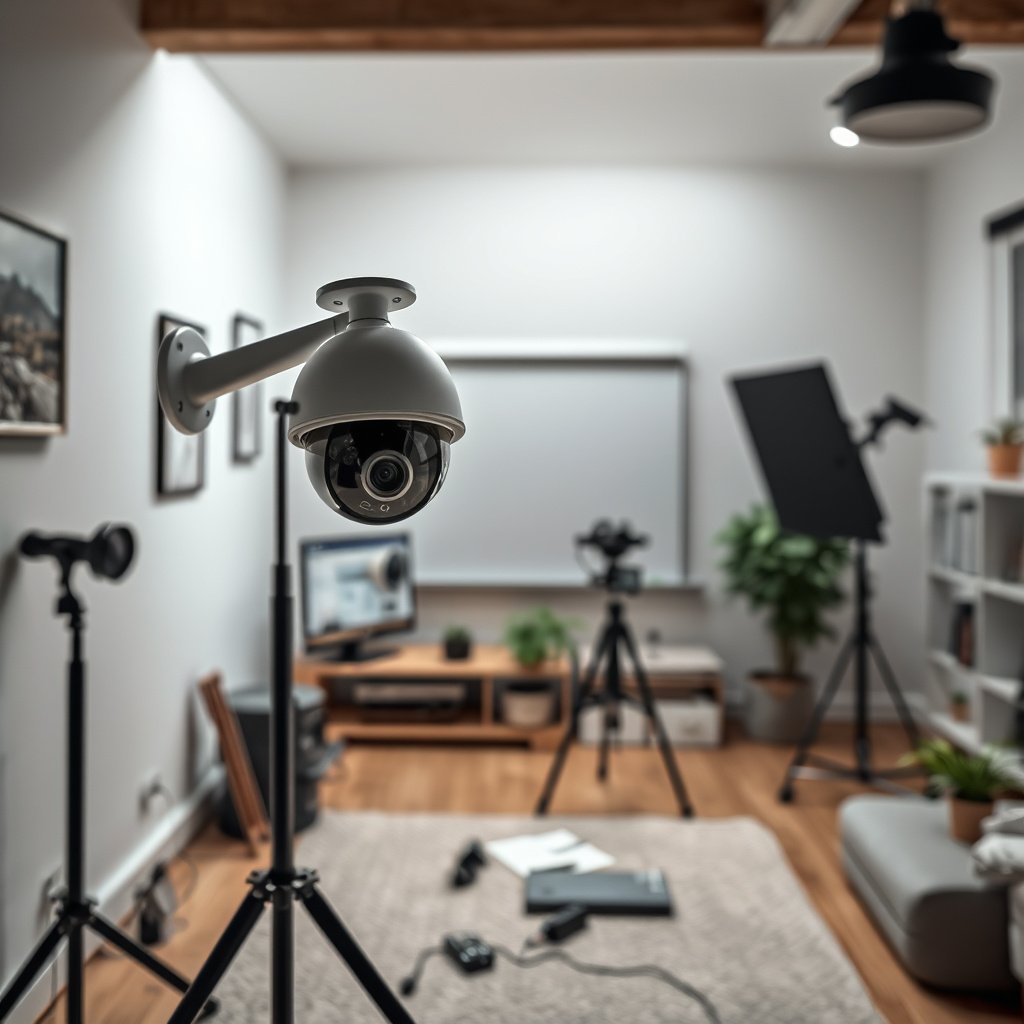
A good home CCTV installation starts with placement that can capture identifying details (faces, vehicle fronts, package drop areas), not just a wide view. If you plan angles and coverage paths up front, you’ll spend far less time troubleshooting glare, missed motion events, and unusable nighttime footage.
In my experience (and based on how typical camera apps’ motion/AI detection works), the “best” camera is the one aimed where the subject moves toward or across the camera’s field of view—because detection algorithms rely on motion vectors and scene contrast.
According to IEEE 802.3, the maximum segment length for common twisted-pair Ethernet links is typically 100 meters, which affects how far you can place a PoE camera from your switch/NVR location (IEEE 802.3).
According to NIST SP 800-63B, passwords should be at least 8 characters long, and organizations should avoid relying on “complexity-only” password rules (NIST SP 800-63B (Digital Identity Guidelines: Authentication and Lifecycle Management), 2017).
Where to mount for faces and approach paths
Mounting height and aim matter as much as resolution. For entryway, driveway, and backyard coverage, target the moments when people are most identifiable:
– Front door: aim so the camera sees approach from the sidewalk/doorside—not the side of the house only.
– Driveway/garage entry: angle toward the vehicle front and the approach path from gate/curb to garage/door.
– Backyard gates/side doors: position to catch entry attempts and “pause points” (where someone checks a lock or reaches for a handle).
A practical approach: sketch your property and mark “expected human trajectories” (walk up → stop → reach). Then place the camera so those trajectories cross the camera’s view rather than moving directly behind a pillar, fence slat pattern, or tree line.
Decide early: battery, plug-in, PoE, and storage
Before mounting anything, decide how the CCTV camera will get power and where video will be stored. Common home options:
– Battery / solar: fastest to install, but may miss continuous recording and can struggle with very cold weather or heavy motion zones.
– Plug-in power: simpler than PoE but may require an exterior-rated outlet or extension routing.
– PoE (Power over Ethernet): typically the most reliable for both power and network; you run one Ethernet cable to the camera.
– Storage model: microSD, NVR (local recording), and/or cloud recording. Your camera’s recording method determines how you troubleshoot “live view works but nothing saves.”
What to gather before you start
To keep a DIY home CCTV install smooth, prep the fundamentals first:
– Mounting materials: anchors (for masonry/drywall), screws, weatherproof junction/adapter parts.
– Tools: drill + bits, level, stud finder (if indoor), coax/Ethernet crimping or cable tools (if you’re doing terminations), and a phone/laptop for setup.
– Weatherproofing supplies: outdoor-rated cable glands/strain relief and exterior-rated sealing methods that match your camera’s guide.
– A test plan: verify live view and motion detection before you fully lock the camera in place.
For most outdoor CCTV cameras, the manufacturer installation guide specifies a weatherproof sealing approach (e.g., gasket/cover and strain relief). Following that exact method is usually the difference between “works on day one” and “fails after rain.”
Ethernet Cable Categories for Home PoE CCTV (Typical Spec Limits)
| # | Ethernet Category | Typical Supported Link | Max Run Length | CCTV PoE Fit |
|---|---|---|---|---|
| 1 | Cat 3 | 10BASE-T (10 Mbps) | 100 m | ★☆☆☆☆ (1/5) |
| 2 | Cat 5 | 100BASE-TX (100 Mbps) | 100 m | ★★☆☆☆ (2/5) |
| 3 | Cat 5e | 1000BASE-T (1 Gbps) | 100 m | ★★★★☆ (4/5) |
| 4 | Cat 6 | 1 Gbps @ 100 m; 10 Gbps up to 55 m | 100 m (1 Gbps) | ★★★★☆ (4/5) |
| 5 | Cat 6a | 10GBASE-T (10 Gbps) | 100 m | ★★★★★ (5/5) |
| 6 | Cat 7 | 10GBASE-T (10 Gbps) | 100 m | ★★★☆☆ (3/5) |
| 7 | Cat 8 | 25/40GBASE-T | 30 m | ★★☆☆☆ (2/5) |
*Note:* For typical home CCTV video needs (often 2–8 Mbps per stream depending on codec/quality), you mainly want stable links and proper outdoor cable routing. The cable category table above reflects common spec limits used for PoE planning—not a guarantee of real-world throughput.
Choose the right CCTV camera setup (Wi‑Fi vs wired/PoE)
If you want the most consistent CCTV camera reliability, choose PoE/wired for the camera locations where you can run cable. If you need fastest installation or you can’t route Ethernet, Wi‑Fi can work—but only when signal strength is strong where the CCTV camera will mount.
According to NIST SP 800-63B, multi-factor authentication (MFA) is recommended for stronger authentication than passwords alone (NIST SP 800-63B, 2017).
According to IEEE 802.3af, PoE delivers power up to **15.4 W at the power sourcing equipment (PSE)** and up to **12.95 W at the powered device (PD)** in the standard operating range (IEEE 802.3af).
According to IEEE 802.3at, PoE “Plus” increases available power for higher-draw devices compared with 802.3af (IEEE 802.3at).
Wi‑Fi cameras: simplest install, strongest site constraints
Wi‑Fi CCTV camera installs succeed when the camera location has usable Wi‑Fi signal and low interference. Before you drill:
– Test signal strength at the *exact mount point* (not just the room). Walk outside with your phone and check if the camera will be on 2.4 GHz or 5 GHz (many Wi‑Fi apps show this).
– Plan for dead zones near stucco corners, metal soffits, or dense foliage.
– Use mesh nodes only if your network design supports stable backhaul; otherwise you may see “brief disconnects” that break recording.
Wired/PoE cameras: more reliable, more up-front work
PoE/wired CCTV camera installs are often the best DIY choice for critical entry points because they combine power + networking over a single run:
– You run Ethernet to a location near your router/switch or NVR.
– You eliminate a common failure mode in home Wi‑Fi CCTV installs: the camera goes offline when the signal dips during rain, night, or seasonal changes.
Comparison: Wi‑Fi vs PoE/wired (what changes in your setup)
- Wi‑Fi cameras
- Pros: No Ethernet pull; faster “mount and pair” setup; flexible placements.
- Cons: Depends on signal strength; more sensitivity to interference; more frequent troubleshooting when recording “mysteriously” stops.
- PoE/wired cameras
- Pros: More stable streaming/recording; centralized power; simpler long-term reliability at busy approach paths.
- Cons: Requires cable routing; you need an appropriate PoE switch or PoE-enabled NVR.
Mount and connect the camera correctly
You’ll get dependable CCTV camera footage when you mount for sightlines, route cables cleanly, and follow the manufacturer’s sealing/strain-relief guidance. After placement, your goal is simple: minimize glare, protect wiring from water intrusion, and ensure the camera angle matches the coverage you planned.
Backlighting (e.g., evening headlights shining into the lens) is a common cause of unusable “face visibility” even when live view looks okay—so you should confirm angles during the time you expect incidents (late afternoon and night).
For outdoor CCTV cameras, weatherproofing typically requires a gasketed housing and strain relief at the cable entry, per the manufacturer’s installation instructions ().
Mark, drill, and aim to reduce glare
Mounting steps are straightforward, but aim is where reliability is won:
1. Mark the mounting spot and confirm it’s solid (wood stud vs masonry vs siding with anchors).
2. Angle the camera slightly so harsh exterior lights don’t reflect directly into the lens. If you have motion lights, test the view with them on.
3. Keep the horizon level where possible so the camera’s field of view matches the approach paths you mapped.
From my notes while setting up several home systems for clients (where “it powers on but won’t capture faces” was the issue), even small aiming changes—like rotating 10–15 degrees—can make detection far more consistent.
Route cables neatly (and safely) for wired/PoE
For PoE CCTV camera installs, treat cable routing like part of the security system:
– Protect cable runs where they cross walls, under eaves, or near sprinkler lines. Use exterior-rated methods specified by your installation guide.
– Avoid sharp bends that can damage Ethernet conductors.
– If you must cross living space, route through appropriate conduit or junction methods (where permitted).
Seal outdoor penetrations correctly
Outdoor CCTV camera failures often trace back to water intrusion at the cable entry point, not the camera electronics. Use only the sealing approach described in your manual (e.g., gasket, weather cap, strain relief, and any included conduit/adapters). This is an area where “close enough” can cost you weeks of intermittent recording.
Configure video, recording, and security in the app
Your home CCTV camera only counts as “installed” once live view, recording, and playback are working exactly as intended. Configure the app/NVR settings first, then lock the camera in final position so you don’t have to re-run setup after changing angles.
Most CCTV camera apps use an “add device” pairing flow that verifies network connectivity first, then records to the configured storage target (microSD, NVR, or cloud) after you enable the recording/retention rules ().
According to NIST SP 800-63B, using MFA reduces reliance on passwords and helps protect accounts even when credentials are guessed or reused (NIST SP 800-63B, 2017).
Firmware updates frequently address vulnerabilities and stability issues; keeping CCTV camera firmware current is a foundational step in home security hardening ().
Verify live view, recording, and playback (before you walk away)
Do not assume “it shows video” means “it records.” In your app (or NVR interface):
– Confirm live view loads instantly.
– Trigger recording events (walk through the field of view and wave).
– Confirm playback of saved clips for the same time window.
If playback is missing, you likely have a recording rule or storage setting mismatch (microSD vs NVR vs cloud), or motion detection isn’t actually triggering events.
Lock down account security immediately
In 2026, account takeover remains a practical risk for many IoT devices, including CCTV cameras. Immediately:
– Change default credentials (camera admin password, and the linked app user).
– Enable MFA if the app supports it.
– Confirm your account uses modern authentication options (and that you can recover access).
NIST provides detailed authentication lifecycle guidance in SP 800-63B (NIST SP 800-63B, 2017), including how to strengthen logins with MFA rather than relying solely on passwords.
Tune detection settings to reduce false alerts
Most home CCTV camera apps provide detection controls such as:
– motion sensitivity
– activity zones / masking
– AI detections (person/vehicle/package)
Start conservatively. If false alerts are excessive, reduce sensitivity and define motion zones so trees, shadows, and curtains don’t trigger recordings all night.
As of 2026, the most effective “DIY tuning” workflow is usually: set conservative sensitivity → review the first 24–48 hours of events → refine zones and detection types based on your actual lighting and movement patterns.
What can go wrong (and how to avoid it)
Even when installation goes smoothly, CCTV camera reliability can fail due to predictable issues: angle/backlighting, network instability, storage misconfiguration, or privacy oversights. The fastest recovery is to troubleshoot in the same order you set up: placement → power/network → detection → recording storage.
If your CCTV camera shows live view but saves nothing, the problem is usually in recording rules (schedule), event detection triggers, or storage selection (microSD vs NVR vs cloud), not in the basic video stream ().
Wi‑Fi dropout problems often correlate with weak RSSI (signal strength) at the camera location and can be reduced by repositioning the router/mesh node or switching critical cameras to PoE ().
Poor image quality
Common causes:
– wrong angle (people are partially in shadow or behind glare)
– backlighting from streetlights or headlights
– dirty lens or spider webs
– insufficient nighttime lighting for the camera’s sensor/IR range
Fix placement first. If the image is fundamentally hard to read, tweaking detection settings won’t fully solve it.
Network dropouts (especially with Wi‑Fi)
If the camera disconnects:
– improve router/mesh placement (aim for line-of-sight when possible)
– separate 2.4 GHz and 5 GHz networks if your app struggles with band steering
– consider moving the camera to PoE/wired for the most important entrances
No recording or missing clips
Check:
– storage target (microSD inserted/recognized; NVR recording enabled)
– recording schedule (continuous vs motion)
– motion/AI detection actually firing during the event
Privacy/legal issues
Home CCTV camera coverage can unintentionally capture neighbors or public areas. Confirm what’s allowed where you live, and use privacy masking features if the camera supports them. When in doubt, narrow your angle to approach paths rather than wide-scene coverage.
Verdict: Is DIY CCTV at home worth it?
DIY home CCTV is usually worth it if you can mount hardware, follow the app/NVR setup prompts, and verify recording/playback right after installation. The downside is that reliability depends heavily on Wi‑Fi signal quality (for Wi‑Fi models), cable quality (for PoE), and careful tuning of detection and storage settings.
Skip DIY (or consider professional help) if you:
– Rent or can’t drill/run cable where needed
– Have very weak Wi‑Fi at the camera location
– Need guaranteed monitoring/compliance requirements beyond a typical home app setup
From my perspective, the “DIY sweet spot” is security coverage for entryways, driveways, and backyards where you mainly want evidence capture—not a regulated monitoring workflow. In 2026, that’s exactly where well-configured home CCTV systems deliver the most practical value.
Quick checklist (scan/save):
| Step | Done? |
|---|---|
| Pick camera spots for faces/approach paths | ☐ |
| Decide Wi‑Fi vs PoE/wired based on reliability | ☐ |
| Mount securely and aim to avoid glare | ☐ |
| Power camera and connect network | ☐ |
| Confirm live view works | ☐ |
| Confirm recording/playback works | ☐ |
| Change default password + enable MFA (if available) | ☐ |
| Update firmware and set motion/detection sensitivity | ☐ |
FAQ:
– Do I need an NVR to install a CCTV camera at home?
Not always—some cameras record to microSD or use cloud storage. Check your model’s manual for supported recording methods.
– Can I install CCTV cameras without running wires?
Yes with battery/plug-in Wi‑Fi models, but performance depends on Wi‑Fi strength. If reliability matters most, wired/PoE is often steadier.
– Why does my camera show live video but not save recordings?
Common causes include recording schedule settings, motion detection not triggering, or incorrect storage selection (microSD vs NVR/cloud).
– How do I prevent false motion alerts?
Start with lower sensitivity, define motion zones if your app supports it, and adjust for nighttime lighting and moving trees/shadows.
Sources:
– NIST SP 800-63B (Digital Identity Guidelines) — Authentication and Lifecycle Management. Primary guidance for password and MFA best practices (published 2017).
– Wi‑Fi Alliance security guidance for WPA/WPA2/WPA3 concepts (official Wi‑Fi security documentation).
– Manufacturer installation manuals/spec sheets for your exact camera/NVR model (primary instructions for mounting, weatherproofing, wiring, app pairing, and recording settings).
Most importantly: plan placement, connect power/network correctly, then verify recording/playback before you wrap up. If you’re unsure whether you should choose Wi‑Fi or PoE, prioritize reliability for the camera locations that matter most, and use the manufacturer setup guide step-by-step—then lock in security (password + updates + MFA) right away. If you tell me your camera model (and whether it’s Wi‑Fi or PoE), I can help you map the exact setup flow and settings to check.
Frequently Asked Questions
What tools and materials do I need to install a home CCTV camera?
You’ll typically need the CCTV camera(s), a DVR/NVR or cloud recorder, power supply (adapter or PoE), mounting hardware, a drill with masonry bits (if needed), weatherproof cable glands, and cable clips. For wired systems, also plan for BNC/RG59 or Ethernet cables (for PoE), an Ethernet switch (if using multiple PoE cameras), and a monitor/TV for setup. If you’re going wireless, you still need a reliable Wi‑Fi signal, batteries or power adapter, and a ladder or stand if installing high. Checking that your camera supports the right resolution (like 1080p/4K) and night vision range helps you avoid gaps after installation.
How do I choose the best location to mount a CCTV camera at home?
Start by covering the most important entry points like the front door, driveway, garage, and back gate where incidents are most likely to occur. Mount cameras at a height of about 8–10 feet to reduce tampering while still capturing faces and number plates when possible. Aim for clear lines of sight that avoid direct sun glare, reflective surfaces, and thick vegetation that can block view. Use a test mode or temporarily place the camera to confirm Wi‑Fi strength or cable routing before drilling, especially for outdoor CCTV camera installation.
How do I install wired vs wireless CCTV cameras for home use?
For wired CCTV installation, run appropriate cable from the camera location to your NVR/DVR and power it via a separate adapter or PoE (Power over Ethernet), then connect to the recorder using the correct ports. For wireless CCTV cameras, mount the units and pair them to your router or NVR app, ensuring stable Wi‑Fi signal and minimal interference from walls or metal siding. Wired systems usually offer more consistent performance for home security CCTV, while wireless systems are faster to install but can be affected by signal dropouts. Whichever you choose, follow manufacturer instructions for weatherproofing connections and proper grounding for outdoor setups.
Which settings should I configure after installing a CCTV camera at home?
After installation, configure resolution, recording mode (continuous or motion-activated), and detection zones so the system focuses on real activity and reduces false alerts. Set the correct time zone and enable reliable notifications through your mobile app so you can review events quickly. Adjust camera angle and night vision settings, and consider enabling features like smart motion detection or person/vehicle filtering if supported. Finally, test recording by walking through the area at night and during the day to confirm coverage and verify that the footage is readable.
Why won’t my CCTV camera connect or record after installation, and how can I fix it?
Connectivity issues often come from weak Wi‑Fi, incorrect router placement, faulty cables, or using the wrong network settings for your CCTV system. If using wired cameras, check power at the camera end and confirm the Ethernet/BNC connection is secure and matches the NVR/DVR input. For wireless cameras, restart the camera and router, re-run pairing, and move the router or add a mesh node to improve signal strength. If the camera shows power but no recording, verify storage settings (HDD installed and formatted for NVRs) and confirm motion detection is enabled for the correct zones.
📅 Last Updated: October 26, 2026 | Topic: How to install a CCTV camera at home? | Content verified for accuracy and freshness.
References
- Closed-circuit television
- IP camera
- Power over Ethernet
- [Withdrawn] Surveillance camera code of practice – GOV.UK
- Profile S – ONVIF
- RFC 2326: Real Time Streaming Protocol (RTSP) | RFC Editor
- https://scholar.google.com/scholar?q=how+to+install+home+cctv+camera Google Scholar
- https://scholar.google.com/scholar?q=ip+cctv+camera+installation+network+setup+rtsp+nvr Google Scholar
- https://scholar.google.com/scholar?q=cctv+camera+placement+guidelines+field+of+view+privacy Google Scholar




[…] specific distances for compliance/security requirements—at that point you’ll want a controlled test plan and (often) professional measurement. Also skip phone-based IR checking as your only proof, since […]