Installing your Ezviz camera is simple. Start by unboxing it and verifying all components are included. Choose a location with visibility, ideally near entry points. Download the Ezviz app from your app store and create an account. Once logged in, connect the camera to your Wi-Fi by tapping "Add Device" in the app. Mount the camera securely using the included hardware. Next, adjust the camera settings for peak performance. Finally, test the camera to confirm everything is functioning properly. If you want to fine-tune your setup, there's more information available to help you along the way.
Choosing the Right Location
When it comes to choosing the right location for your Ezviz camera, you'll want to contemplate both visibility and coverage. You don't just want your camera to sit in a corner, hidden from view. Instead, think about placing it in an open area where it can monitor more of your surroundings. The more you can see, the safer you'll feel.
Consider areas that are prone to foot traffic or potential intruders. This could be near doors, windows, or any other entry points. You'll want to guarantee that your camera captures clear footage of anyone approaching. At the same time, avoid locations where the camera might be obstructed by trees, fences, or other objects that could block its line of sight.
Don't forget about the height! Mounting your camera too low could make it vulnerable to tampering. Aim for a higher vantage point to maximize its effectiveness. But remember, you also need to make sure it's accessible for maintenance. You'll want to check the lens and any connections periodically.
Lastly, think about the lighting. Placing your camera in a well-lit area can improve video quality, especially at night. If you're in a darker spot, consider adding external lights or choosing a camera with night vision capabilities.
Unboxing Your Ezviz Camera
After selecting the perfect spot for your Ezviz camera, it's time to unbox it and prepare for installation. Unboxing is an exciting step, marking the beginning of your journey to enhanced security. Grab a pair of scissors or a box cutter, and let's jump in!
Carefully open the box and take out the camera along with any accessories. Here's what you'll typically find inside:
- Ezviz Camera: Your sleek new device ready to keep an eye on things.
- Mounting Kit: All the screws and anchors you'll need for installation.
- Power Adapter: Make sure your camera's powered up and ready to roll.
- Quick Start Guide: A handy manual with essential info to get you started.
- Warranty Card: Keep this for your records in case you need service.
As you unbox, take a moment to appreciate your new camera. Feel free to play around with the camera's features and check the build quality. Inspect each component to verify everything's in order. If something seems off, it's better to address it now than later.
Once you've confirmed everything's there and in good shape, you'll be one step closer to securing your space. Enjoy this process—it's all about setting up a space that feels free and safe for you and your loved ones. Now, let's get ready for the next step!
Downloading the Ezviz App
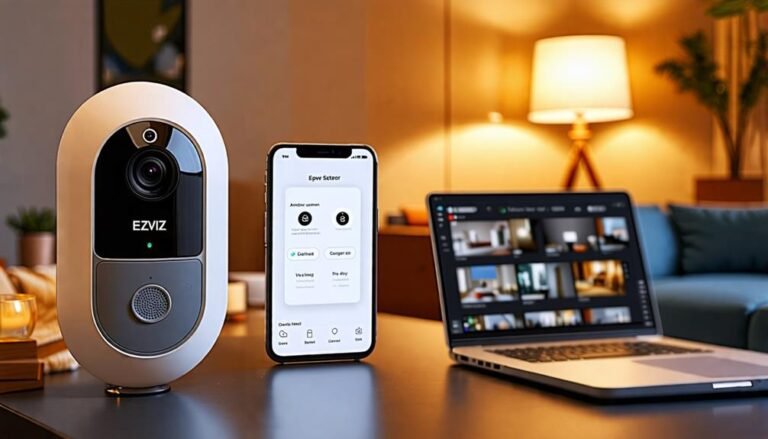
To get started with your Ezviz camera, you'll need to download the Ezviz app from your device's app store. Once you've got the app, we'll walk you through the installation steps and setting up your account. This process is essential for accessing all the features your camera has to offer.
App Store Access
Getting started with your Ezviz camera involves downloading the Ezviz app, which is available on both the Apple App Store and Google Play Store. This app is essential for managing your camera and giving you the freedom to monitor your space from anywhere. Here's how to easily access the app:
- Open your App Store: On your device, find the App Store or Google Play Store icon and tap it.
- Search for "Ezviz": Use the search bar to type in "Ezviz" and hit enter.
- Select the App: Look for the official Ezviz app in the search results. It should have a recognizable logo.
- Download and Install: Tap on the download or install button. Depending on your connection, this should only take a moment.
- Open the App: Once installed, find the app on your device and tap to open it.
With the app ready, you're one step closer to enjoying the security and convenience your Ezviz camera offers. Take a deep breath, and embrace the freedom of knowing your space is monitored effectively!
Installation Steps Overview
Now that you've successfully downloaded the Ezviz app, it's time to move on to the installation steps for your camera. This app is your gateway to managing and monitoring your new camera, giving you the freedom to keep an eye on things wherever you are.
First, verify your camera is powered on and connected to your Wi-Fi network. It's essential for seamless operation. Open the Ezviz app, and you'll be greeted by an intuitive interface designed for ease of use.
Look for the option to add a new device. You'll typically find a "+" icon or a similar prompt. Tap on it, and the app will guide you through the process. It may ask you to scan a QR code located on your camera or enter a device ID. Follow the on-screen instructions closely; they're there to help you set everything up smoothly.
Once the camera's connected, you'll have the freedom to customize settings, view live footage, and receive alerts, all from your mobile device. Enjoy the peace of mind that comes with knowing your space is being monitored effortlessly!
Account Setup Process
Setting up your Ezviz account starts with downloading the Ezviz app from your device's app store. Whether you're using an Android or an iOS device, the process is straightforward. Just search for "Ezviz" in your app store, hit download, and let it install. Once that's done, you're ready to create your account and enjoy the freedom of monitoring your space.
Here's what you need to do next:
- Open the Ezviz app and tap on "Sign Up."
- Enter your email address and create a strong password.
- Verify your email by clicking the link sent to your inbox.
- Log in to the app using your new credentials.
- Explore the app's features to set up your camera just the way you like.
And that's it! You're now on your way to having full control over your security setup. By downloading the Ezviz app and creating your account, you're embracing the freedom to monitor your surroundings from wherever you are. Enjoy the peace of mind that comes with knowing your space is secure!
Creating an Ezviz Account
Now that you've downloaded the Ezviz app, it's time to create your account. You'll need to register by providing some basic information and then verify your email to complete the process. Let's walk through these steps to get you set up and ready to use your camera.
Download Ezviz App
To get started with your Ezviz camera, you'll need to download the Ezviz app, which serves as the gateway to managing your device effectively. This app isn't just a tool; it's your control center for surveillance and security. Once you've got it on your smartphone, you'll unveil a world of features designed to give you peace of mind.
Here's what you can expect from the Ezviz app:
- Live Viewing: Check in on your camera feeds anytime, anywhere.
- Notifications: Get instant alerts for any movement or alerts detected.
- Cloud Storage: Easily access your recorded videos and images.
- Two-Way Audio: Communicate through your camera, no matter where you are.
- User-Friendly Interface: Navigate with ease and customize settings to suit your needs.
Downloading the app is a breeze, so take that first step toward a more secure environment. With the Ezviz app at your fingertips, you're not just monitoring your space; you're embracing freedom and control over your home security. Once it's on your device, you're closer to setting everything up just the way you want it.
Register Your Account
After downloading the Ezviz app, you'll need to register an account to access its full potential. This step allows you to gain entry to features that give you complete control over your home security. To start, open the app and tap on the "Register" button. You'll be prompted to enter your email address and create a secure password. Choose a password that's unique and hard to guess—this is your first line of defense for your privacy.
Next, you'll receive a confirmation email, so make sure you have access to the email account you provided. Fill out any additional information requested, like your name and phone number, to personalize your account. This information can help in recovery if you ever forget your password.
Once you've filled in the necessary details, hit "Register." It'll only take a moment before you can start exploring the app's features. Remember, having your own Ezviz account not only keeps your camera settings intact but also enables you to access your camera footage from anywhere. Enjoy the freedom of managing your security system on your terms!
Verify Your Email
Once you've registered your account, it's important to verify your email to fully activate your Ezviz features. This step guarantees that you've got access to all the tools and functionalities you need to enjoy your security system without any hiccups. Here's how to do it:
- Check your inbox: Look for the verification email from Ezviz. It might take a few minutes to arrive, so be patient.
- Spam folder: If you don't see it in your inbox, check your spam or junk folder. Sometimes, emails sneak in there.
- Click the link: Once you find the email, click on the verification link inside. This action confirms your identity and activates your account.
- Confirmation message: After clicking the link, you should see a confirmation message on your screen. This means you're all set!
- Log in: Finally, log in to your Ezviz account. You're now free to explore all the features and settings that come with your camera system.
Verifying your email is a quick and easy step, but it's vital for getting the most out of your Ezviz experience. Enjoy your newfound freedom!
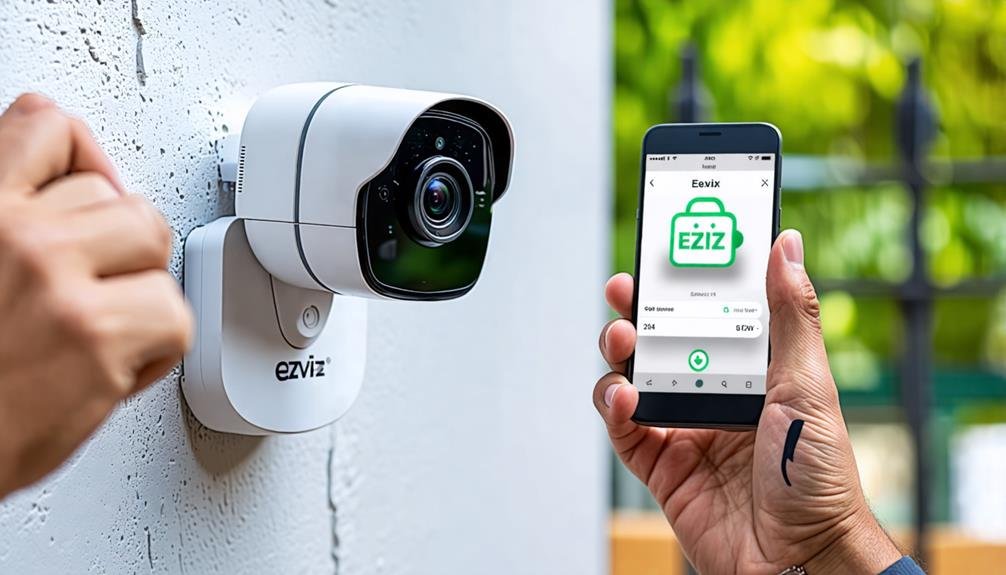
Connecting the Camera to Wi-Fi
Connecting your Ezviz camera to Wi-Fi is an essential step to confirm you can access live feeds and receive notifications. It's all about staying connected and having the freedom to monitor your surroundings from anywhere. Let's explore the straightforward process of linking your camera to your network.
First, make sure your camera is powered on and within range of your Wi-Fi router. Open the Ezviz app on your smartphone, and log in to your account if you haven't already. Tap on the "Add Device" button, and follow the prompts to select your camera model. You'll see an option to connect to Wi-Fi; choose it.
Next, the app will prompt you to scan a QR code displayed on your camera. This code syncs your camera with your Wi-Fi network. If your camera doesn't have a QR code feature, you can manually enter your Wi-Fi credentials. Be mindful of the case sensitivity when you type in your password.
Once you've entered your information, your camera will attempt to connect to your network. This may take a minute. You'll know it's successful when you see a confirmation message in the app. Now you can enjoy the freedom of viewing live feeds and receiving notifications right on your phone!
If you run into any issues, double-check your Wi-Fi settings and verify your camera isn't too far from the router. You're now one step closer to enhancing your home security!
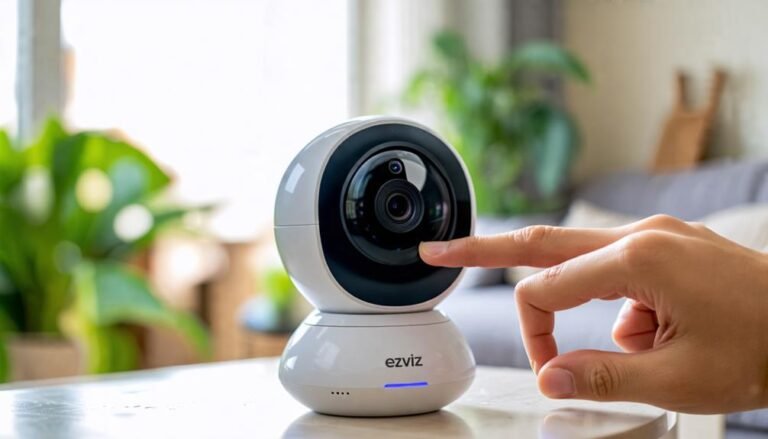
Mounting the Camera Securely
Mounting your Ezviz camera securely is essential for ideal performance and security. If you want to keep your property safe and guarantee your camera captures the best footage, you've gotta pay attention to how and where you mount it. Here are some tips to help you do it right:
- Choose the Right Location: Find a spot that covers the most important areas, like entryways or driveways, but also consider the camera's field of view.
- Use Quality Mounting Hardware: Don't skimp on screws or anchors. High-quality materials keep your camera stable and safe from the elements.
- Check the Angle: Before securing everything, hold the camera in place to get the perfect angle. You want to capture everything you need without obstructions.
- Test for Stability: After installation, give your camera a gentle shake. If it wobbles or feels loose, you might need to resecure it or use additional hardware.
- Consider Power Sources: If your camera needs a power source, guarantee the installation area has easy access to an outlet or consider running an extension cord discreetly.
Configuring Camera Settings
After you've secured your Ezviz camera in the ideal position, the next step is configuring its settings to enhance performance. Start by opening the Ezviz app on your smartphone or tablet. If you haven't already, create an account or log in. Once you're in, select your camera from the list of devices. This will take you to the camera settings where you can customize various features.
First, adjust the resolution and frame rate. Higher resolutions provide clearer images but may require more bandwidth. If you're looking to save on data usage, a lower resolution might be best. Next, set up motion detection sensitivity. You want to avoid unnecessary alerts, so play around with the settings until you find the sweet spot that captures important movements without bombarding you with notifications.
Now, consider the camera's field of view. You can modify the angle or zoom in on specific areas. This is vital for ensuring you're monitoring the right spots. If your camera has night vision, make sure it's activated, and check the infrared settings for peak performance in low-light conditions.
Testing and Final Adjustments
Now that you've configured your Ezviz camera settings, it's time to test everything to verify ideal performance. This step's vital for guaranteeing your camera operates as intended and captures those moments that matter. Here's how to conduct your tests and make any final adjustments.
First, check the camera's live feed. Open the app and verify the video quality meets your expectations. Look for clarity and color accuracy. Next, try adjusting the camera angle. You want to make certain you're covering all the areas you intended.
Here are some key things to test:
- Motion Detection: Walk in front of the camera to see if it picks up your movement promptly.
- Night Vision: Check how well it performs in low light. This feature is essential for nighttime security.
- Audio Quality: If your camera has a microphone, test it by speaking near the camera.
- Notification Settings: Make sure you're receiving alerts on your smartphone when the camera detects movement.
- Wi-Fi Connection: Confirm the camera maintains a stable connection throughout the testing process.
After testing, take note of any adjustments needed. You might find that the camera needs a slight reposition or that the sensitivity settings require tweaking. Don't hesitate to make these changes now, so you can enjoy the freedom and peace of mind that comes with a fully functional surveillance system.
Frequently Asked Questions
What Power Source Does the Ezviz Camera Require?
You might be surprised to learn that the power source for the Ezviz camera is pretty straightforward. It typically requires a standard power outlet, which gives you the freedom to place it wherever you need surveillance. Some models even come with rechargeable batteries, so you won't have to worry about cords restricting your placement options. Just make sure you've got the right setup, and you'll enjoy peace of mind in no time!
Can I Access My Camera Remotely?
Yes, you can access your camera remotely! With the right app and internet connection, you can view live feeds and recordings from anywhere. Just make certain your camera's settings are configured for remote access. It gives you the freedom to keep an eye on your property no matter where you are. You'll feel more secure knowing your camera's always just a tap away, allowing you to enjoy peace of mind anytime.
How Do I Troubleshoot Connection Issues?
When you're dealing with connection issues, it's important to know that about 30% of users experience similar problems at some point. Start by checking your Wi-Fi signal strength; weak signals often lead to dropped connections. Make certain your camera's firmware is up-to-date, and try rebooting both the camera and your router. If problems persist, consider resetting the camera to factory settings. You deserve seamless access to your security system without frustration.
Is the Ezviz Camera Weatherproof?
Yes, the Ezviz camera is designed to be weatherproof, so you can use it outdoors without worrying about rain or snow. It's built to withstand various weather conditions, giving you peace of mind while monitoring your property. Just make sure to install it in a location that allows for ideal performance. You'll enjoy the freedom of knowing your camera's protected, letting you focus on what matters most without constant concerns about the elements.
Can Multiple Users Access the Same Camera?
Yes, multiple users can access the same Ezviz camera. You can easily invite friends or family to view the live feed or recorded footage by sharing the camera's access. Just make certain everyone has the Ezviz app installed and create a shared account. This way, you're all connected, keeping an eye on things together. It's a great way to share security responsibilities and guarantee everyone feels safe and informed.