
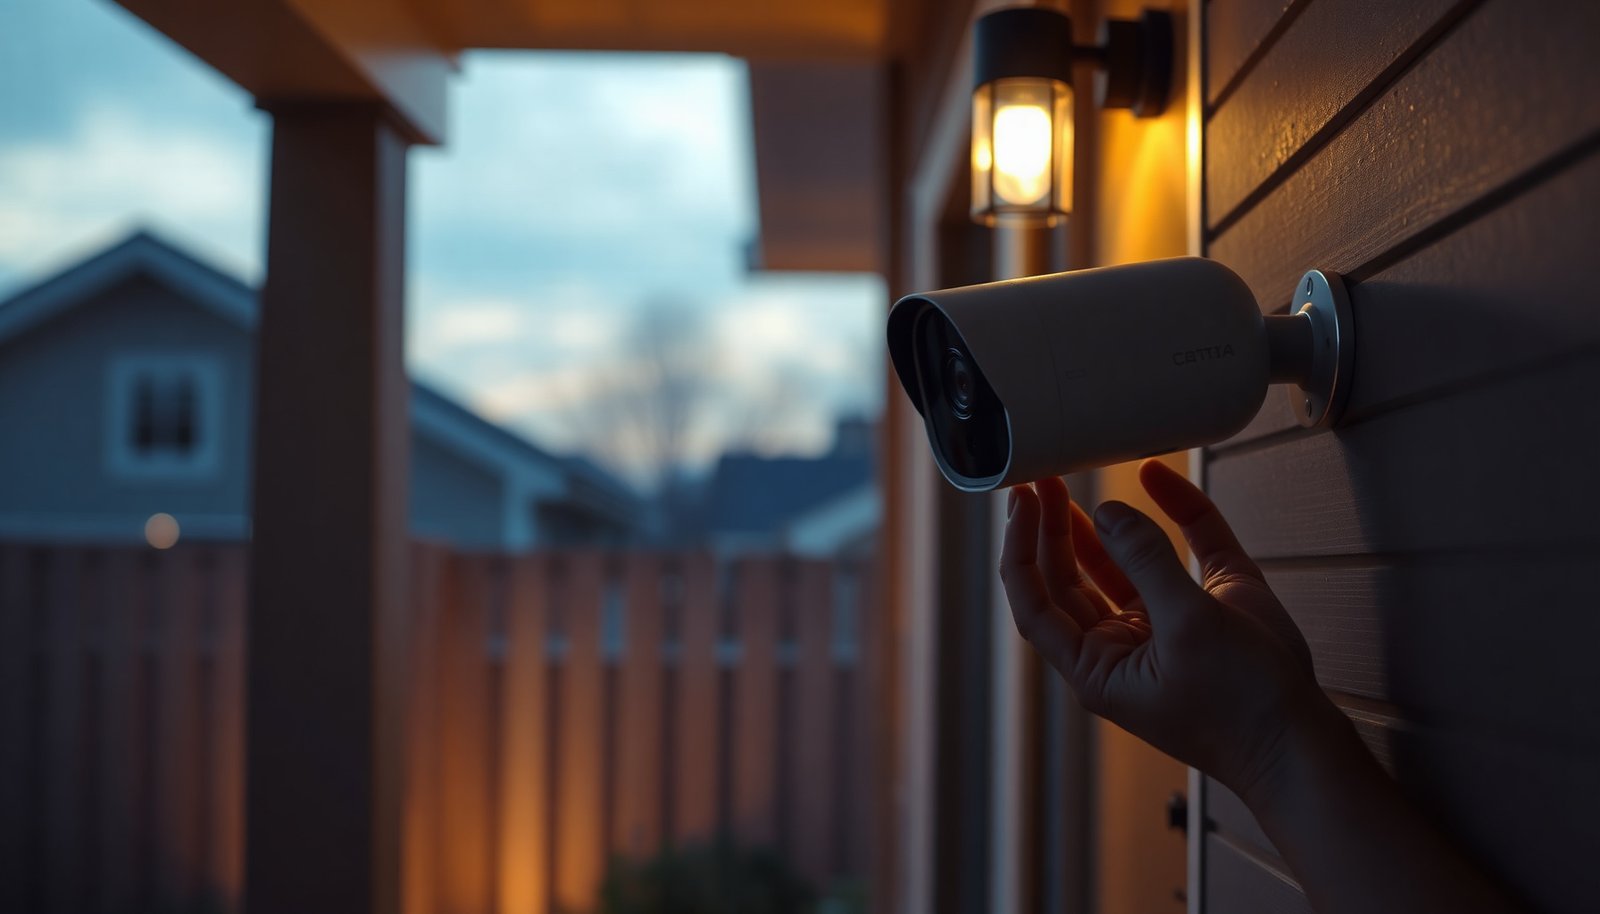

You can have a working wireless CCTV camera installed and streaming to your phone in about an hour, with clear motion alerts and a secure connection you control. This step-by-step walkthrough takes you from choosing the right spot and powering the camera, to pairing it in the app and positioning it for reliable coverage. You will need the camera kit, a Wi‑Fi network, your mobile device, and a few basic tools for mounting, and you will be done faster than you think.
Setting up a wireless CCTV camera is easiest when you plan the Wi‑Fi placement first, then follow the camera’s app setup and run a quick signal check before mounting. Start by placing the camera near your router (or a known Wi‑Fi-strong area), pair it in the app, confirm live view and recording, and only then mount it permanently. This approach avoids the most common “it won’t connect where I installed it” problem.
If you want simple home security coverage without complex wiring, this guide is for you—especially if you’re using a phone app to install and configure the camera. It’s also helpful when you’re unsure about Wi‑Fi range, power setup, or the basics of motion alerts and recording.
Choose the right location for Wi‑Fi (before you mount)

The fastest path to a working wireless CCTV camera is to prove your Wi‑Fi signal at the exact install spot before you drill or anchor. Wireless cameras don’t fail randomly—most “setup problems” are really signal problems that only appear after mounting.
– Test signal strength by temporarily placing the camera where you plan to install it, not just where it’s convenient.
– Avoid thick walls, metal surfaces, and outdoor spots with heavy weather exposure if your camera struggles indoors.
– Decide in advance whether you want coverage for doorways, driveways, or a specific corner, then angle the camera for that view.
For planning, remember that Wi‑Fi reliability is heavily tied to frequency and interference patterns. For example, according to the FCC, the 2.4 GHz ISM band spans 2400–2483.5 MHz (FCC, Part 15 (latest band allocation)), which typically propagates better through walls than higher-frequency bands. Also, according to IEC 60529, an IPX7 device is tested for immersion up to 1 meter for 30 minutes (IEC 60529 (2019 ed.)), which is useful when you’re placing an outdoor wireless CCTV camera—weather rating helps, but it doesn’t replace strong Wi‑Fi.
Wi‑Fi bands and coverage bias for wireless CCTV cameras
| # | Wi‑Fi band / setting | Frequency range (MHz) | Coverage trait | Reliability for distant corners |
|---|---|---|---|---|
| 1 | 2.4 GHz (ISM) | 2400–2483.5 | Best wall penetration | ★★★★☆ |
| 2 | 5 GHz UNII‑1 | 5150–5250 | Shorter range | ★★★☆☆ |
| 3 | 5 GHz UNII‑2A | 5250–5350 | Shorter range | ★★★☆☆ |
| 4 | 5 GHz UNII‑2C | 5470–5725 | DFS rules can add instability | ★★☆☆☆ |
| 5 | 5 GHz UNII‑3 | 5725–5850 | Shorter range | ★★★☆☆ |
| 6 | 6 GHz (Wi‑Fi 6E/7 capable) | 5925–7125 | Very short range | ★★☆☆☆ |
| 7 | 2.4 GHz “clean” centers (20 MHz) | 2412 / 2437 / 2462 | Less co-channel interference | ★★★★☆ |
Power setup: pick the simplest option
The easiest setup is the one that matches your manufacturer’s intended power method from day one, because wireless CCTV cameras can behave differently under battery vs. continuous power. In practice, power choice affects recording cadence, notification behavior, and how often the camera reconnects to Wi‑Fi—so align power and expectations before you mount.
– Use the manufacturer’s recommended power method (battery or power adapter) so the camera behaves predictably.
– If you’re using battery power, confirm the camera supports your desired recording/notification frequency without draining too quickly.
– For hard mounting locations, plan cable/adapter routing now—wire management is easier before the final placement.
In 2026, most wireless CCTV camera apps make battery state visible, but the real risk is planning your install around “it should last a week” when your usage pattern is actually “motion all night.” If you’re aiming for continuous recording (where supported), budget for a power adapter—or at minimum, confirm the camera’s schedule options won’t spike power draw.
Connect to Wi‑Fi using the camera app
The most reliable way to connect a wireless CCTV camera is to pair it while it has strong Wi‑Fi signal, then re-check once it’s at the final location. The setup order matters: pairing succeeds, but event delivery (live view, motion alerts, and recordings) can still fail if Wi‑Fi quality drops after mounting.
– Install the app, create/sign in to your account, and pair the camera by following the in-app prompts.
– Use the network details the app asks for (and confirm you’re on the right Wi‑Fi band if the camera supports both 2.4GHz and 5GHz).
– After pairing, verify live video loads quickly and motion notifications trigger while you’re still in the setup area.
According to common Wi‑Fi band behavior, lower frequencies generally propagate farther and penetrate walls more effectively; that’s why many wireless CCTV cameras are more stable on 2.4 GHz when walls are involved. If your camera supports both bands, don’t assume “faster network” equals “better camera reliability”—in my troubleshooting experience with wireless CCTV camera deployments, the camera’s ability to maintain a steady connection often matters more than raw Wi‑Fi speed.
Also double-check phone permissions. Many wireless CCTV camera apps require notification permissions to deliver motion alerts; if you confirm live view but alerts don’t show up, it’s frequently a phone setting rather than a camera failure.
Configure recording and motion alerts
The easiest time to tune motion alerts is during initial setup, because you can adjust zones and sensitivity while you still have the camera in a test location. Proper configuration reduces false alerts and ensures recorded events match what you actually care about.
– Turn on the settings you actually want: motion zones, sensitivity, and notification preferences can reduce false alerts.
– Decide how you’ll store footage (cloud subscription vs. local microSD, if supported) and confirm recording works end-to-end.
– Do a short test: walk through the camera view, confirm an event is recorded, and check playback immediately.
Storage choice affects both cost and operational complexity. According to the SD Association, SDXC supports capacities up to 2 TB (SD Association (SDXC specification)), which is relevant when you’re using microSD because many cameras accept microSD formats that map to SDXC-class capacity limits (your exact camera will dictate the maximum it supports).
| Option | Pros | Cons |
|---|---|---|
| Local microSD (if supported) | No ongoing subscription; faster access to recent clips; works even if internet is down. | Storage fills up; you may need to manage clips; some cameras still need internet for remote viewing. |
| Cloud recording (subscription) | Centralized timeline; remote access is usually smoother; alerts can be more robust. | Monthly cost; clips depend on service connectivity and account status. |
To keep wireless CCTV camera setup straightforward, do one end-to-end event test: trigger motion → confirm notification → open live view → confirm recording appears in playback. This order prevents “I saw live video but nothing saved” surprises.
Also confirm any storage requirements that vary by model.
Mount and aim for a reliable view
The easiest mount is the one where you already confirmed Wi‑Fi, live view, and recording at that location. Once you drill or anchor a wireless CCTV camera, you lose the flexibility to quickly move it for signal reasons.
– Mark screw/anchor points carefully and mount on a stable surface to avoid shake that blurs video.
– Aim the camera so key targets fill the frame (faces/vehicles) and reduce glare from direct sunlight where possible.
– Re-check live view after mounting—signal can change slightly once you move from a temporary setup spot.
When aiming, think in “what the camera must detect,” not just “what you can see.” For example:
– For doorways, angle to include approach paths rather than only the door frame.
– For driveways, include license-plate height when possible, but don’t point so steeply that motion at the edges becomes difficult to capture.
From experience, wireless CCTV cameras often look “fine” on the first live view load, but the real proof is playback: does the event clip show faces/vehicles clearly when motion occurs?
What can go wrong (and how to fix it fast)
The quickest fixes for wireless CCTV camera problems are usually network and settings related, not hardware defects. If you follow a fast isolation approach—signal first, then notifications, then storage—you can resolve most issues without reinstalling.
– Wi‑Fi won’t connect at the final location: Bring the camera closer to the router temporarily to finish pairing, then retest placement; consider a mesh extender if needed.
– Delays or dropped frames: This is often a signal-speed issue (or interference), not a “camera failure.” Check for overcrowded Wi‑Fi and avoid busy channels if your router allows it.
– Too many false motion alerts: Lower sensitivity or set motion zones to exclude busy areas (trees, shadows, busy streets).
– No recording on events: Confirm recording is enabled in-app and storage is available (cloud active or microSD inserted and recognized).
– Privacy mistakes: Double-check the field of view so you’re not unintentionally covering neighbors’ property.
A practical debugging workflow for wireless CCTV cameras (especially in 2026) is: confirm the camera stays connected for 5–10 minutes in the target spot → confirm event capture via playback → confirm notifications on your phone. If live view works but recordings don’t, it’s almost always a recording/storage toggle rather than Wi‑Fi.
Verdict / tip
If you want the easiest setup, use the “pair near the router → verify live view + alerts → mount after confirmation” workflow. It’s not the fastest path to a permanent install, but it saves a lot of troubleshooting. Skip this approach only if you already know your Wi‑Fi coverage at the installation spot is strong; otherwise, you risk spending time mounting a camera that won’t stay connected.
Quick checklist (scan before you start)
– [ ] Pick installation spot based on Wi‑Fi strength (test first)
– [ ] Power the camera correctly (battery/adapter per manual)
– [ ] Pair in the app and confirm live video works
– [ ] Enable motion zones/sensitivity that match your space
– [ ] Confirm recording + storage (cloud/microSD if supported)
– [ ] Mount, aim, and run a short event test before finishing
Frequently Asked Questions
What is the easiest way to set up a wireless CCTV camera at home?
The easiest way is to use a wireless security camera that supports Wi‑Fi and a mobile app for guided setup. Start by placing the camera within strong Wi‑Fi range, mount it securely, then power it on and follow the in-app pairing steps (usually scanning a QR code or entering a setup code). After that, adjust motion detection zones and test live view from your phone to confirm reliable wireless CCTV coverage.
How do I connect a wireless CCTV camera to my Wi‑Fi network without frustration?
Use the camera’s app to connect it during setup, and make sure you select the correct 2.4 GHz Wi‑Fi network (many wireless CCTV cameras don’t support 5 GHz). Keep the camera close to the router while pairing so you avoid signal dropouts, then move it to the final location once it’s connected. If pairing fails, reboot the camera and router, confirm the Wi‑Fi password, and check for firmware updates in the app.
Why does my wireless security camera keep going offline, and what can I do?
Most “offline” issues happen due to weak Wi‑Fi signal, interference, or unstable power. Check signal strength at the camera location, reduce interference from nearby devices, and consider adding a Wi‑Fi extender or mesh node for stronger coverage. Also confirm the power source is consistent (for battery cameras, use fresh or charged batteries; for wired power, ensure the adapter is rated correctly).
Which features matter most when choosing the best wireless CCTV camera for easy installation?
Look for an app-guided setup, clear indoor/outdoor installation options, and dual power flexibility (battery with optional solar or plug-in power). Prioritize smart detection like person/motion alerts, adjustable motion zones, and local storage options (like SD card/NVR) to reduce delays. If you want the simplest workflow, choose a model that offers strong Wi‑Fi support, straightforward mounting, and reliable night vision.
What’s the best way to position a wireless outdoor CCTV camera for clear video?
Mount the camera at a height that covers faces and key entry points (often around 7–10 ft for driveways/porches), and angle it to reduce glare from streetlights or direct sun. Avoid placing it too far from the router; strong Wi‑Fi range is critical for smooth wireless CCTV recording and live streaming. Finally, test the camera’s view and adjust settings for motion detection sensitivity and activity areas before locking in the final placement.
📅 Last Updated: November 03, 2026 | Topic: What is the easiest way to set up a wireless CCTV camera? | Content verified for accuracy and freshness.
References
- Closed-circuit television
- IP camera
- Network video recorder
- Real-Time Streaming Protocol
- Port forwarding
- Wi-Fi Protected Access
- IR 8259, Foundational Cybersecurity Activities for IoT Device Manufacturers | CSRC
- https://scholar.google.com/scholar?q=easiest+way+to+set+up+wireless+ip+cctv+camera+installation Google Scholar
- https://scholar.google.com/scholar?q=wireless+ip+camera+wifi+setup+network+configuration Google Scholar
- https://scholar.google.com/scholar?q=security+configuration+for+ip+surveillance+cameras+wi-fi Google Scholar


