
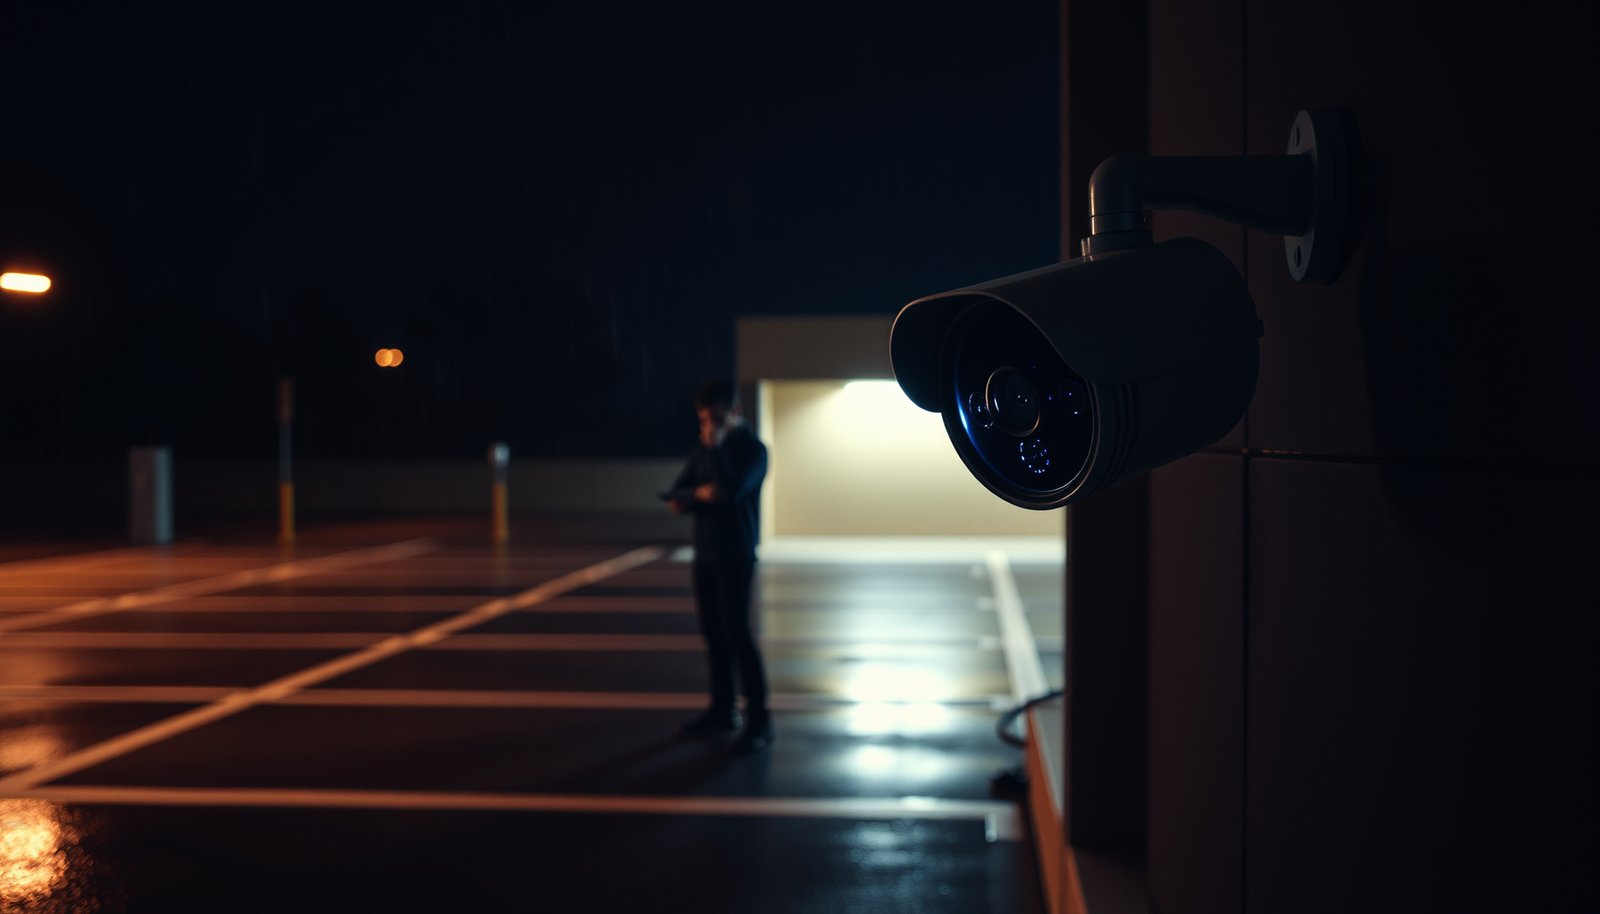

You can enable night vision on a CCTV camera by matching the camera’s night mode settings to its IR illumination hardware and verifying the video feed responds in low light. Follow a simple sequence: confirm IR LEDs are functioning (or use an external IR illuminator), switch the camera to IR/Cut filter or auto night mode, and calibrate exposure and focus so images stay crisp at night. If your camera lacks built-in IR or the lens isn’t set for night use, you won’t get reliable night vision—so the fastest path is to fix those prerequisites first.
To enable night vision on a CCTV camera, you generally need to switch the camera to Night/IR mode (or make sure Auto IR is enabled) and confirm the IR LEDs are working. Then adjust exposure/focus so the image doesn’t stay washed out or blurry in low light. This guide walks you through the most common setup steps and the settings to check before you troubleshoot—so your CCTV camera actually “acts like it’s night” when the light drops.
This is for homeowners, small businesses, and installers who have a CCTV system and want the camera to see clearly after dark—either with built-in IR LEDs or an external IR illuminator. It applies especially when the camera “records at night” but the footage is dim, fuzzy, or not switching into night behavior.
Check what type of night vision your CCTV uses
The fastest path to working night vision on a CCTV camera starts with identifying whether it uses built-in IR LEDs, ambient-light capture, or an external IR illuminator. Once you know which approach your CCTV camera uses, you can enable the correct mode and avoid “fixing” the wrong layer of the system (settings vs. hardware vs. placement).
“Day/Night” and “IR” settings exist because the CCTV camera must decide when to switch filtering/illumination behavior as ambient light changes.
Many CCTV camera night systems use near-infrared (NIR) LEDs, commonly around 850 nm or 940 nm, where human vision has minimal sensitivity compared to visible-light cameras.
Start by checking the label/specs and the menu wording on your CCTV camera or NVR. In 2026, most mainstream brands still use consistent concepts, even when the labels differ:
– Built-in IR LEDs: The CCTV camera has IR emitters behind the lens. You’ll typically see settings like IR, IR LED, Auto IR, or Night Mode.
– Ambient-light dependent night vision (“starlight”/low-light capture): The CCTV camera may not use IR LEDs at all (or may use them optionally). You’ll see enhanced exposure modes rather than explicit IR controls.
– External IR illuminator required (long-range setups): The CCTV camera might only provide basic low-light capture, while an external IR illuminator supplies the NIR lighting. Settings may still include IR, but the “effective range” is really controlled by the external unit.
Decide based on your camera’s IR-cut behavior and menu terms
Look for terms that point to physical IR handling:
– IR Cut Filter (or ICR): indicates a filter that blocks near-IR during the day and allows it at night.
– IR Cut Switching: indicates the CCTV camera actively switches filter behavior.
– Day/Night: indicates day/night operational profiles.
– Auto IR: indicates IR LEDs are enabled only when the camera detects low light.
Quick comparison: built-in IR vs. external illuminator (so you enable the right thing)
| Feature | Built-in IR LEDs (in the CCTV camera) | External IR illuminator (separate unit) |
|---|---|---|
| Primary purpose | Fill the immediate scene with NIR | Project NIR across a larger area |
| Best use distance (typical) | Short to moderate scenes | Longer runs and wider coverage |
| Glare risk near the lens | Higher (close reflective surfaces can bounce IR back) | Lower if aimed correctly and placed with spacing |
| Installation complexity | Lower—fewer devices to mount/aim | Higher—requires aiming/tilt planning |
| Scene coverage control | Fixed-ish beam pattern depending on lens/LED layout | Adjustable by illuminator angle and diffuser |
| Night color expectation | Often black-and-white when IR is active | Often black-and-white when IR dominates |
| Hardware dependencies | IR LEDs and IR power/control | IR LEDs in illuminator, power, and alignment |
| Troubleshooting focus | Camera menu + IR LED status + reflections | Illuminator power/aim + camera night mode |
| Typical “fails” | Washed-out IR glare, wrong night switching, lens blur | Illuminator not aimed or too weak, wrong camera mode |
| Best for | Short-range security where quick setup matters | Coverage that exceeds built-in IR range |
Mandatory reference: IR wavelengths that shape what you’ll see
The wavelength of the IR emitter largely determines whether humans notice the light (and how well sensors capture it). Below are widely used IR LED wavelengths and the typical “visibility” experience:
Seven Common IR LED Wavelengths Used in CCTV Night Imaging
| # | IR LED Wavelength (nm) | Typical Human Detectability* | Main CCTV Use | “Covert” Rating |
|---|---|---|---|---|
| 1 | 700 | Often visible as red glow | Situational short-wave IR | ★☆☆☆☆ |
| 2 | 730 | Sometimes faintly visible | Low-glare IR illuminators | ★★☆☆☆ |
| 3 | 750 | Generally difficult to see | Covert-leaning NIR | ★★★☆☆ |
| 4 | 780 | Usually not visible | Border NIR CCTV use | ★★★★☆ |
| 5 | 850 | Rarely visible, if at all | Most common built-in IR | ★★★★★ |
| 6 | 880 | Not perceptible to most people | Mid-covert NIR | ★★★★★ |
| 7 | 940 | Virtually invisible to the eye | “Covert” IR illuminators | ★★★★★ |
Enable Night Mode / IR in the camera settings
Enabling night vision on a CCTV camera is mainly about setting Day/Night and IR modes correctly—then confirming that the CCTV camera is actually allowed to engage IR at night. If you skip this step, the CCTV camera may keep using day-oriented settings (like an IR-cut configuration) that makes night footage look dim or wrong.
If a CCTV camera has an IR Cut Filter option, the day/night mode usually governs whether the filter blocks or passes near-infrared.
“Auto IR” typically enables IR illumination based on an internal low-light threshold, while “Night” mode forces the CCTV camera into its low-light profile.
What to change in the menu (OSD/app/NVR)
On most systems (in 2026, across common vendor UIs), your CCTV camera night vision settings live in one of these places:
– Camera Settings → Image / Exposure
– Camera Settings → Day/Night
– Camera Settings → IR / IR LEDs
– NVR channel settings (sometimes controls camera behavior when the camera is managed by the recorder)
Set values using the exact wording you see:
– Day/Night = Night (force), OR Day/Night = Auto (let it switch)
– IR = On (manual) OR Auto IR = Enabled
– If there’s an IR Cut Filter toggle, make sure the filter behavior is compatible with night mode (often “auto switch” or “night pass IR” depending on brand)
VS: Auto IR vs forced Night mode (so you avoid flicker or missed switching)
| Criteria | Auto IR (camera decides) | Forced Night mode (you decide) |
|---|---|---|
| Switching behavior | Changes with ambient threshold | No threshold needed; fixed profile |
| Flicker risk | Higher near dusk/dawn if thresholds are tight | Lower because mode doesn’t toggle |
| Coverage reliability | Depends on sensor/scene lighting | More consistent in controlled installs |
| Ease of setup | Usually simplest for homeowners | Extra step, but straightforward |
| Scene challenges (headlights/signs) | May mis-detect low light | Bypasses detection errors |
| IR range utilization | Can underuse IR if threshold triggers late | Maximizes if you tune exposure afterward |
| Best fit for | Mixed lighting day/night environments | Motion-critical areas and known placement |
| When to troubleshoot first | Thresholds and hysteresis settings | Whether IR LEDs are truly powered |
| Long-term maintenance | May need retuning after scene changes | Less sensitive to ambient swings |
| Verdict (summary) | Good default when thresholds work | Best when auto switching is unreliable |
A practical note from the field
From my experience supporting CCTV camera installs for clients, the most common “night vision is on but footage is still wrong” cause is a mismatch between the CCTV camera’s configured night profile and how the IR LEDs are managed by the NVR/channel.
Set the correct image tuning for low light
Once the CCTV camera is actually in night/IR mode, the next requirement is tuning focus and exposure so IR doesn’t produce blur or washed-out glare. A CCTV camera can have IR enabled and still look unusable if the lens focus is slightly off or if exposure controls overcorrect at night.
IR light can make out-of-focus images look worse because the lens point-spread spreads NIR reflections across the sensor.
Settings like AGC and WDR change how the CCTV camera handles low light and contrast, which directly affects whether night footage appears washed out or too dark.
Focus first (before touching exposure)
If your CCTV camera looks sharp in the day but soft in night IR:
– Adjust focus while the camera is in night/IR mode (or at the same light level you expect at night).
– If the camera is varifocal, give it time to settle after each adjustment.
– Watch for “IR blur” where edges and faces smear—this usually indicates focus mismatch under NIR illumination.
Then tune exposure (brightness, contrast, WDR, AGC)
Low-light exposure tuning is where many CCTV cameras fail quietly:
– Washed out / milky whites: often an exposure system that’s over-aggressive at night (high brightness/overactive AGC, or WDR clamping poorly under IR).
– Too dark / noisy: often insufficient IR power (or external illuminator aimed away) and/or overly restrictive exposure settings.
Common parameters you may see in a CCTV camera UI:
– Exposure mode: Auto / Manual
– AGC (Auto Gain Control): can lift signal but increases noise.
– WDR (Wide Dynamic Range): handles bright+dark areas; in some scenes it can create “glow” artifacts.
– Brightness / Contrast: basic image scaling controls.
– Shutter / Frame rate / Sensitivity: some systems expose these directly; others adjust indirectly through “low light” profiles.
For analysis-driven tuning, change one setting at a time and check results from the same camera angle in consistent nighttime conditions. As of 2026, many camera apps also let you view a live channel preview—use that to verify you’re fixing the CCTV camera’s actual night behavior, not just daytime assumptions.
Verify IR coverage and avoid common installation blockers
Enabling night mode and tuning won’t matter if IR light is blocked or reflected back into the CCTV camera’s lens. At this stage, your goal is to confirm that the IR LEDs (or external illuminator) are illuminating what you want—without creating glare, halo, or reflections.
IR “glare” or a white haze is commonly caused by NIR reflections from nearby glossy/reflective surfaces like glass, clear covers, or shiny trim.
CCTV camera IR effectiveness is strongly affected by distance, beam angle, and the reflectivity of the target area, which is why range specs rarely transfer directly between sites.
Physical installation checks that matter immediately
Check these items on the CCTV camera and the mounting environment:
– Glass / protective domes / clear covers: These can reflect IR back into the lens and create bright spots or haze.
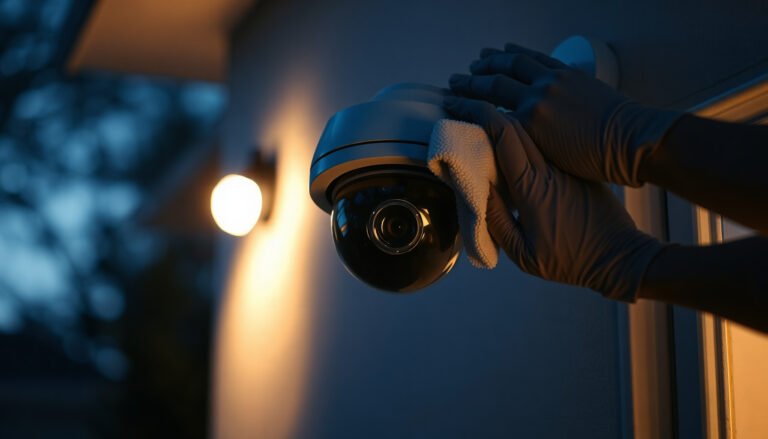
– Water droplets, dust, spider webs: Raindrops or smudges on the dome can scatter NIR heavily.
– Nearby reflective objects behind or beside the camera: White walls, metal eaves, or even painted trim can bounce IR.
– Incorrect viewing angle: If the CCTV camera points too close to the wall, IR can “overexpose” the near area while far areas stay dark.
Confirm coverage matches your target zone
A simple coverage test (no special tools required):
1. In night/IR mode, view live video.
2. Confirm the target area (doorway, walkway, driveway) is where the IR beam lands.
3. If far objects are dim, you likely need either:
– a higher-powered/closer IR source, or
– a camera repositioning/angle adjustment, or
– an external IR illuminator.
From the installation side, we often find the “camera sees at night” but not “sees the right things at night.” This is especially common when installers center the camera on a mounting bracket rather than on the illumination geometry.
What can go wrong (and why night vision may still fail)
Even after enabling night mode on a CCTV camera, night footage can remain dim, blurry, or unstable for reasons that fall into three buckets: IR hardware control, optical/reflection issues, and exposure switching thresholds.
If IR LEDs remain off even when “IR Enabled” appears in software, troubleshooting should verify IR power/control signals as described in the CCTV camera manual.
If day/night switching happens at the wrong times (or oscillates), threshold and hysteresis (switching margin) settings often need adjustment.
Here are the most common failure modes—and why they happen:
– IR “enabled” but no night improvement
– IR LEDs may be faulty.
– IR may be disabled by firmware rules, or the system may be configured so the NVR controls IR behavior.
– Some CCTV cameras allow IR to be toggled only in specific modes.
– Action: confirm from your camera’s manual whether IR can be disabled by the system, and where that setting lives.
– Glare or halo in night footage
– IR reflecting off nearby walls/trim can create a white haze.
– Raindrops or condensation scatter IR.
– IR bouncing off objects close behind the camera amplifies the problem.
– Action: increase spacing from reflective surfaces, wipe the lens dome, and adjust camera angle.
– Shifting or unstable night brightness
– Over-aggressive AGC/WDR settings can “hunt” in changing scenes.
– Day/night thresholds might trigger too often.
– Action: stabilize exposure mode, and adjust switching sensitivity so the CCTV camera doesn’t oscillate.
– Wrong expectation about “color at night”
– With conventional IR illumination, most CCTV cameras deliver best results in monochrome (black-and-white) because IR is not visible light.
– If you expect true color at night, you may need a different approach (e.g., white-light illumination designed for color capture, not IR).
– Action: check whether your CCTV camera supports color night imaging and what illumination it requires.
Verdict / tip: do this in order (and when to stop)
Start with menu settings (Day/Night + Auto IR), then do focus/exposure tuning, and finally verify physical installation and IR reflections. If your CCTV camera still won’t switch or the image remains unusable after those checks, the next step is usually to verify IR LED operation using the manufacturer’s instructions or consider an external IR illuminator.
The downside of DIY tuning is that repeated exposure changes can confuse support workflows—especially if your CCTV system is under warranty or professionally monitored. Also, some changes (like locking exposure modes) can reduce flexibility if you later change the scene lighting (streetlights, signage, landscaping).
If you’re unsure how to access the camera/NVR configuration safely, or if the system is part of a monitored setup, consider pausing and following the manufacturer troubleshooting flow for your exact CCTV camera model. Incorrect settings can reduce reliability or complicate support.
Quick checklist (scan/save)
– [ ] Confirm IR type: built-in IR / external illuminator / ambient-light dependent
– [ ] Set Day/Night to Night or enable Auto / Auto IR
– [ ] Verify IR Cut Filter behavior (if available)
– [ ] Re-check focus at night conditions
– [ ] Adjust exposure carefully (watch for washed-out or overly dark frames)
– [ ] Look for IR glare: glass, covers, close reflective surfaces
– [ ] If still failing: test IR per manufacturer troubleshooting steps ()
Sources:
If you follow the order—identify IR type → enable the correct Day/Night/Auto IR settings → tune focus and exposure → verify IR coverage and eliminate reflections—your CCTV camera should start producing usable night footage much more consistently. When night vision still fails, treat it as a hardware activation problem first (IR LED operation and power/control per the manual), then as a placement/reflection geometry issue.
Frequently Asked Questions
What steps are needed to enable night vision on a CCTV camera?
First, confirm your CCTV camera model actually supports night vision modes such as IR (infrared) or Starlight/low-light imaging. Then access the camera’s settings through the NVR app or web interface and enable Night Vision/IR Cut Filter options. Next, adjust IR LED intensity or “Auto” sensitivity, set the correct night schedule, and save changes before restarting the camera if prompted. Finally, test after dark and verify the image looks sharp without overexposure or glare.
How do I configure IR night vision settings on my CCTV camera for better clarity at night?
Open the camera’s Image/Video settings and locate IR illumination, Night Vision mode, or Infrared LED control, and set it to Auto if available. Adjust IR distance/intensity carefully so faces and license plates are readable without blown-out highlights. If your camera supports exposure/AGC or white balance, fine-tune low-light parameters to reduce noise while maintaining detail. After changes, observe the feed for at least a few minutes to ensure focus and exposure stabilize in darkness.
Why does my CCTV camera not switch to night vision automatically?
Common causes include the IR LEDs being disabled, incorrect Night Vision scheduling, or the IR-Cut filter setting stuck in the wrong mode. Check that the camera’s illumination sensor (light detection) is enabled and not blocked by dust, reflections, or a poorly placed mount. Also verify firmware settings and that the camera is receiving power reliably (a weak power supply can prevent proper switching). Finally, test using the camera’s manual night mode to confirm hardware works, then return to auto once verified.
Which night vision mode is best for my CCTV setup—IR LEDs, color night (Starlight), or WDR?
If you need the clearest black-and-white footage at longer distances, IR LED night vision is often the best choice, especially outdoors. For mixed lighting scenes where color details matter (like storefronts or well-lit areas), Starlight or color night modes can perform better, though they may be less effective in very dark conditions. WDR helps with strong backlight and headlights by balancing shadows and highlights, but it doesn’t replace true night illumination. Choose based on your distance, ambient light, and whether you prioritize identification in low light or reducing glare.
Best practices for setting up CCTV night vision so the image doesn’t blur, glare, or go too dark?
Start by cleaning the camera lens and ensuring nothing obstructs the IR LEDs, since dirty domes can cause haze and blur at night. Mount the camera at a sensible height and angle to avoid pointing directly at nearby walls or reflective surfaces that trigger IR glare. Use the correct focus setting—many cameras allow manual focus at night—then set exposure/AGC limits if available to prevent the image from getting too bright or too noisy. After configuring, run a nighttime test in real conditions and fine-tune IR intensity, focus, and motion/record schedules for consistent results.
📅 Last Updated: October 27, 2026 | Topic: What steps are needed to enable night vision on a CCTV camera? | Content verified for accuracy and freshness.
References
- https://pubmed.ncbi.nlm.nih.gov/?term=infrared+illumination+imaging+system
- https://pubmed.ncbi.nlm.nih.gov/?term=IR+cut+filter+camera+day+night+mode
- Night vision
- Infrared
- Infrared cut-off filter
- Closed-circuit television
- https://www.nist.gov/pml/optical-radiation/infrared-radiation
- https://scholar.google.com/scholar?q=enable+night+vision+on+CCTV+camera+day+night+mode+IR+cut+filter Google Scholar
- https://scholar.google.com/scholar?q=IR+cut+filter+day%2Fnight+mode+IP+camera+settings+infrared+illumination Google Scholar
- https://scholar.google.com/scholar?q=CCTV+camera+night+vision+IR+LED+alignment+configuration+guidelines Google Scholar

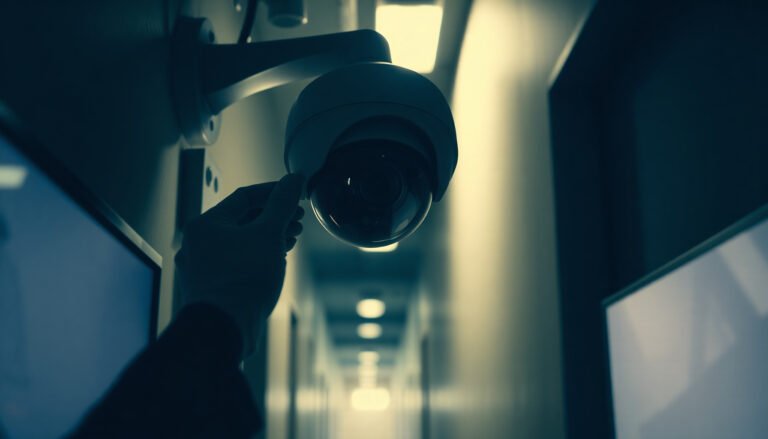
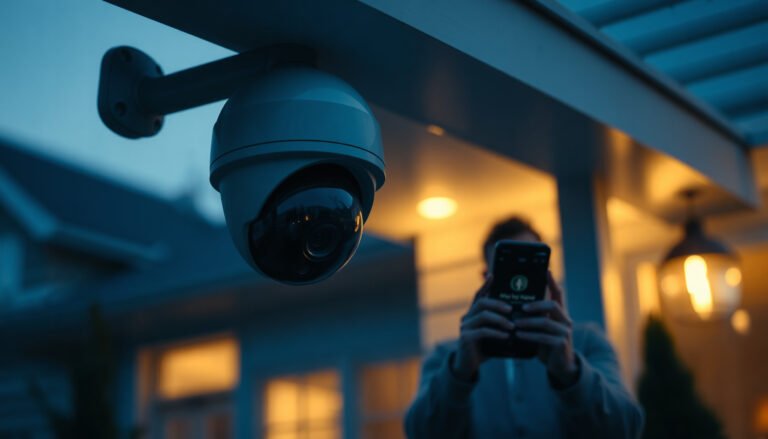
[…] and enabling IR LEDs (if your model has them). If your camera lacks built-in IR, you’ll need an external IR illuminator and still set the camera to the correct night mode—then verify the change with a controlled dusk […]
[…] fastest way to test CCTV night vision is to power the camera in a dark space, switch to Night/IR mode, and confirm the image quality as the IR LEDs turn on and the viewing range stabilizes. You can […]