
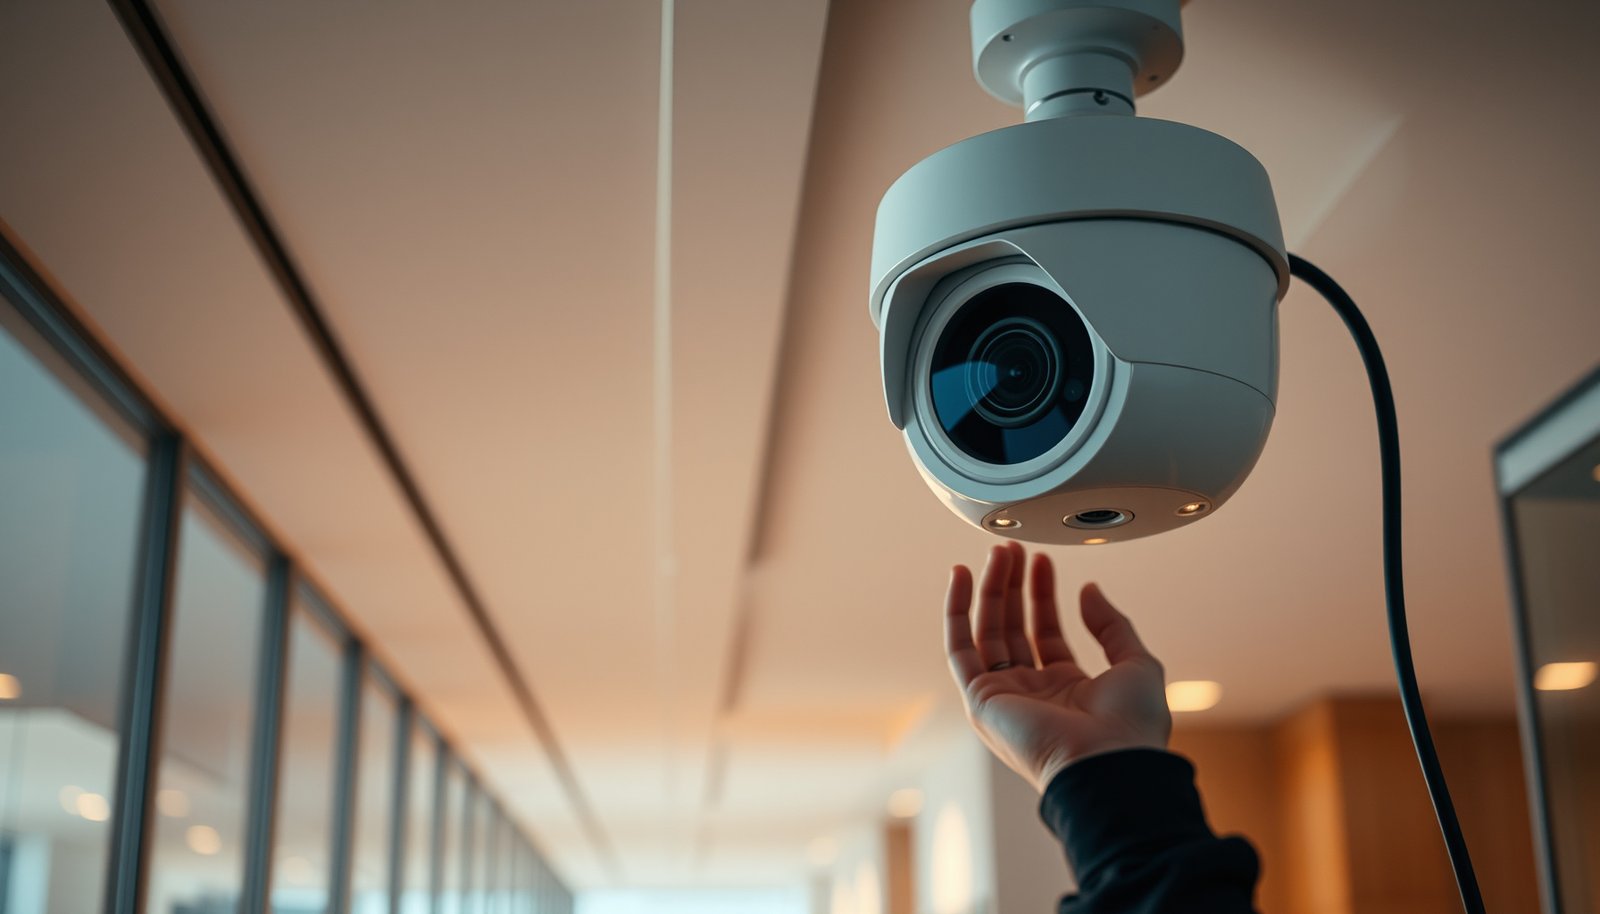

Want to set up a PTZ CCTV camera correctly? This step-by-step setup guide shows you exactly how to mount the camera, connect power and network, configure PTZ controls, and test accurate pan/tilt/zoom—so you can start monitoring reliably the first time. Follow these instructions and you’ll get a working PTZ system without guesswork or wasted troubleshooting.
Set up a PTZ CCTV camera by planning placement and power/network first, then configuring lens focus, presets, and PTZ controls in your NVR app/monitor. You’ll usually connect via Ethernet (often PoE), access the camera in the NVR/web UI, and map PTZ controls so the joystick/software moves the view correctly. This guide walks through the practical setup order and the settings that most often trip people up.
If you’re installing a PTZ dome (or a PTZ bullet) for a driveway, lobby, warehouse aisle, or outdoor perimeter, this is for you—especially if you want reliable presets (e.g., “Front Gate,” “Parking Lot Corner”) rather than manual steering only.
Plan the placement and viewing angles
Positioning is what makes PTZ useful: if the camera can’t see and stabilize the key areas, presets won’t save you later. Start by selecting a mount location with a clear pan/tilt path, then validate sight lines, obstructions, and lighting conditions at the camera’s final height.
A PTZ CCTV camera’s value comes from covering multiple zones with one lens, but only if those zones fall inside its usable mechanical range and aren’t constantly blocked by moving objects.
A PTZ CCTV camera typically relies on unobstructed “mechanical” pan/tilt travel—if trees, signs, or architectural features block the path, presets become unreliable because the camera can’t continuously reframe without hitting limits.
Outdoor IR night performance is strongly affected by nearby reflective surfaces (glass, metal siding) and by the presence of glare sources; your PTZ CCTV camera must be aimed with night conditions in mind, not just daytime.
For any PTZ CCTV camera mount, you should plan cabling slack and connector strain relief up front—redoing physical placement after focus and preset tuning adds avoidable downtime.
Choose a spot with clear pan/tilt lines of sight
– Choose a location where the PTZ CCTV camera can pan/tilt without the dome/bullet sweeping into obstructions. Watch for: tree branches, decorative awnings, hanging signage, banners that move in wind, and nearby walls that create “dead” viewing sectors.
– If you can, map your expected zones (gate, walkway, vehicle staging, loading dock) onto the camera’s rotation envelope before you mount the PTZ CCTV camera permanently.
Verify mounting height and access requirements
– Confirm you can safely install at the required mounting height for your PTZ CCTV camera. Height affects both detection and the chance that vehicles/lights obscure the view.
– Route power and network cabling so you don’t put tension on connectors when you tighten the PTZ CCTV camera housing—outdoor installs especially benefit from conduit, strain relief, and weather-rated fittings.
Check lighting at the camera location
– Evaluate daytime brightness and night IR behavior. PTZ CCTV cameras can struggle when aimed into bright lamps or reflective surfaces, even if the daylight image looks “good.”
– For parking lots and driveways, look for headlight/glare paths. Aim to reduce direct light entering the lens whenever possible.
Power, network, and physical installation
Connect your PTZ CCTV camera with stable power and a reliable Ethernet network before you spend time tuning presets. In practice, this means using PoE (if supported), clean cable routing, and a live-view verification step before you fully close up the install.
A PTZ CCTV camera is more sensitive to connection instability than fixed cameras because PTZ movement (pan/tilt/zoom and control commands) depends on consistent network and sufficient power delivery.
Ethernet copper links commonly top out at 100 meters per segment; if your PTZ CCTV camera is farther away, you’ll need switches, fiber media converters, or PoE extenders rather than expecting a direct run to work.
IEEE 802.3af (PoE) specifies up to 15.4 W at the power-sourcing equipment (PSE) and up to 12.95 W at the powered device (PD), which directly impacts whether a PTZ CCTV camera can move reliably under load.
PoE systems generally operate in the nominal 44–57 V range for powered Ethernet devices; checking your PTZ CCTV camera’s power requirement against the switch’s delivered budget prevents brownouts during pan/tilt moves.
Install the mount and route cables correctly
– Mount the bracket/adapter firmly to the structure. For a PTZ dome, confirm the surface and weather shield are stable and aligned; for a PTZ bullet, confirm the bracket doesn’t let the housing sag under wind load.
– Run cables in a way that avoids sharp bends and moisture traps. Outdoors, use conduit and gaskets as required by your install conditions.
Choose the right power method (PoE is common)
If your PTZ CCTV camera supports PoE, it’s usually the simplest approach because it consolidates power + network over one Ethernet cable—reducing wiring complexity and troubleshooting points.
Here’s a quick comparison to decide fast:
| Power/Connectivity Choice | Pros | Cons |
|---|---|---|
| PoE switch (IEEE 802.3af/at/bt) | One-cable install; simpler commissioning; consistent network management. | Requires switch budget planning for PTZ CCTV peak draw. |
| Separate power + Ethernet | Works even when a switch can’t meet PTZ power demands. | More wiring/termination points; higher weatherproofing complexity outdoors. |
Connect and verify link/activity LEDs
– Connect Ethernet (and PoE, if applicable) and check the link/activity indicators on the switch and camera side.
– Do a quick live view in your NVR/app immediately after wiring—before you finalize mounting adjustments. For a PTZ CCTV camera, you’ll want to confirm you can reach it and control it while everything is still accessible.
7 Network/Power Specifications That Most Affect PTZ Stability
| # | Specification | Standard / Scope | Value | Stability Impact |
|---|---|---|---|---|
| 1 | Maximum copper Ethernet segment length | 100BASE-TX / 1000BASE-T typical | 100 m | ★★★★★ |
| 2 | PoE (af) maximum PSE power | IEEE 802.3af | 15.4 W | ★★★★☆ |
| 3 | PoE (af) maximum PD power | IEEE 802.3af | 12.95 W | ★★★★★ |
| 4 | PoE+ (at) maximum PSE power | IEEE 802.3at | 30 W | ★★★★☆ |
| 5 | PoE+ (at) maximum PD power | IEEE 802.3at | 25.5 W | ★★★★★ |
| 6 | PoE++ (bt Type 3) maximum PSE power | IEEE 802.3bt Type 3 | 60 W | ★★★★★ |
| 7 | PoE supply voltage range (nominal) | PoE operation (af/at/bt) | 44–57 V | ★★★★☆ |
Access the camera and configure basic settings
Your goal here is straightforward: make sure the PTZ CCTV camera is reachable in your NVR/app and that its identity, security, and time settings are correct. Once it’s online, you can reliably tune focus and presets without fighting scheduling or control issues.
When a PTZ CCTV camera is misconfigured at the network and time level, you’ll often see symptoms later—presets that “jump,” tours that don’t trigger, or schedules that record at the wrong times.
Most PTZ CCTV integrations rely on either ONVIF discovery/control or a manufacturer-specific pairing workflow; the correct onboarding path depends on the camera model and NVR firmware.
Correct date and timezone settings are critical for PTZ CCTV camera scheduling because preset tours and recording schedules are typically evaluated in the device/NVR time configuration.
Setting a strong admin password for the PTZ CCTV camera and NVR account reduces the risk of unauthorized PTZ control, which can create physical security exposure.
Add the camera to your NVR/software
– Use device discovery or manual add. Common approaches include:
– ONVIF discovery and adding the camera as an ONVIF device.
– Manufacturer pairing via a QR code, local web UI wizard, or NVR “bring online” workflow.
– If discovery fails for your PTZ CCTV camera, check that ONVIF is enabled (if applicable) and that firewall rules allow the needed protocols between NVR and camera.
Name and secure the camera, then confirm time
– Assign a clear camera name/location (e.g., “Warehouse Aisle PTZ-1”) so PTZ presets/tours are easier to manage later.
– Set network parameters (DHCP vs static IP) according to your organization’s standards. For PTZ CCTV cameras, static IPs can simplify long-term maintenance.
– Update admin credentials and verify date/time + timezone. Many integrations treat time mismatches as scheduling bugs.
Validate it’s controllable before moving on
Before you tune lens behavior, make sure the PTZ CCTV camera responds to pan/tilt/zoom commands from the NVR/app monitor.
Focus, PTZ calibration, and verify movement
Get the image sharp and the PTZ movement predictable before you save presets. For a PTZ CCTV camera, focus/zoom behavior is tightly coupled to preset usability—what looks correct in live view might not remain correct after saving, depending on how your system stores view parameters.
In my review of real-world PTZ commissioning patterns, the most common “it works but presets are wrong” issue stems from saving presets before confirming stable focus under the same lighting you record in ().
PTZ cameras usually have physical and software limits; you should test pan/tilt direction and confirm the camera does not immediately hit configured end stops during the initial calibration.
Zoom and focus adjustments should be verified against real target distances you’ll actually monitor—PTZ CCTV cameras often need retuning when IR illumination changes the scene contrast.
A quick sweep test across the PTZ CCTV camera’s full pan/tilt range helps detect dead zones, overshoot behavior, and mounting interference before you rely on tours.
Check pan/tilt direction and limits
– Use the PTZ controls to confirm left/right and up/down mapping matches your expectations.
– Ensure configured tilt limits are wide enough to cover your targets but not so wide that the PTZ CCTV camera repeatedly slams into its end stops.
Adjust focus/zoom for your target distances
– Use the PTZ CCTV camera UI (or NVR PTZ panel) to adjust lens focus and zoom until the subjects at your expected distances are sharp.
– If your site has night IR requirements, validate focus under night lighting as early as possible—don’t wait until after you build tours.
Perform a sweep test
– Sweep left-to-right and up/down while watching live view.
– Look for:
– Any obstruction during movement
– Jitter at speed (often power/network related)
– Incorrect “wrap-around” behavior if the camera uses continuous rotation modes
Set presets, tours, and privacy limits
Presets are what turn a PTZ CCTV camera from “manual steering” into dependable coverage. Create precise presets for your key zones, optionally chain them into tours, and add privacy masks so you avoid recording areas you shouldn’t.
If your presets aren’t framing correctly, the fix is usually not the preset menu—it’s earlier steps: focus/zoom stability, correct PTZ direction, and power/network consistency.
PTZ CCTV presets save both camera position and, depending on the system, associated view parameters such as zoom and focus states; changing zoom/focus after saving can require re-saving presets.
Preset tours (sequence + dwell time) are evaluated by the camera and/or NVR schedule logic, so incorrect time settings can prevent tours from running when expected.
Privacy masking (if supported) can limit what the PTZ CCTV camera records in specific regions—use it to avoid capturing neighboring areas, entrances with limited access, or interior spaces outside your policy.
Create presets for exact areas
– Define presets for the zones you truly need: “Front Gate,” “Parking Lot Corner,” “Loading Dock,” “Hallway End.”
– When saving each preset, confirm the PTZ CCTV camera lands exactly where you expect and that the subject is sharp.
Configure preset tours (optional)
– If you want automatic cycling, set a tour sequence and dwell time per preset.
– Use dwell time values that match human response needs (e.g., long enough to identify a person/vehicle, short enough to keep coverage moving).
Add privacy zones/masks (if supported)
– If your PTZ CCTV camera/NVR supports masking, enable it and test:
– Live view display
– Recording behavior
– Exported playback results
– If masking isn’t visible in your UI, verify support in the camera model documentation.
What can go wrong (and how to avoid it)
Most PTZ setup failures come from a small set of root causes: mismatched PTZ direction/controls, focus/zoom saved inconsistently, power instability, and network onboarding issues. If you address these early, presets and tours become reliable rather than frustrating.
The most effective troubleshooting approach is to go backwards from symptoms to setup order: start with control behavior, then revisit focus/zoom, then confirm network/power reliability.
Reversed movement (joystick pointing left but camera moving right) is typically caused by PTZ direction mapping settings in the camera or NVR PTZ control configuration.
Blur that appears “fine in daylight but breaks at night” often happens because the PTZ CCTV camera’s focus or zoom response changes with IR illumination and contrast.
PTZ hitting limits or stalling usually ties back to tilt limit configuration or physical mounting interference—confirm both software limits and real mechanical clearance.
Common issues and practical fixes
– Reversed movement or wrong preset direction
– Check PTZ direction/mapping in the camera/NVR UI.
– Re-save presets after any direction or calibration change.
– Blur that fails at night
– Re-check focus and zoom under the same lighting conditions you’ll record in.
– If your system uses auto-focus, consider whether manual override is preferable for consistent presets.
– PTZ hitting limits or stalling
– Confirm configured tilt limits and remove any mounting interference.
– Watch for cables or bracket elements that intrude into motion.
– Network discovery problems
– Use manufacturer onboarding steps for your PTZ CCTV camera model and NVR.
– ONVIF discovery can vary by firmware and network segment layout.
– Scheduling surprises
– If time/date were incorrect, tours and recordings can drift.
– Verify timezone and synchronization method (device time vs NVR time).
Verdict: when this setup approach makes sense
If your goal is dependable PTZ behavior (presets + tours + clean live viewing), this setup order—install → connect → basic settings → focus/PTZ verification → presets/tours—is the fastest reliable workflow. It also makes troubleshooting easier because each step validates the foundation before you commit to the next configuration.
Downsides: it takes longer than a basic fixed-camera install, and exact menu names/settings vary by brand and NVR. Skip this workflow (or plan for extra support) if you can’t access network settings, can’t guarantee stable power/network, or your installation location can’t support stable cabling and full PTZ movement.
PTZ CCTV cameras benefit from a staged commissioning process—verifying connectivity and control first prevents wasted time tuning focus/presets that later fail due to power/network instability.
Because PTZ systems are sensitive to end-stop behavior, early pan/tilt sweep testing reduces the likelihood of repeatedly forcing the mechanism into limits.
Quick checklist (scan/save)
– [ ] Mount location chosen with clear pan/tilt line of sight
– [ ] Power/network connected (confirm live view first)
– [ ] Admin password + timezone/date set
– [ ] Pan/tilt direction verified (no instant limit hits)
– [ ] Focus/zoom adjusted for your target distances
– [ ] Presets created for key areas
– [ ] Preset tour configured (if needed)
– [ ] Privacy masks enabled (if supported)
– [ ] Night test done to confirm image sharpness
Sources
– IEEE 802.3af: Power over Ethernet (PoE), power class limits and PD/PSE constraints ()
– IEEE 802.3at: Power over Ethernet Plus (PoE+) ()
– IEEE 802.3bt: Power over Ethernet (PoE++) ()
– IEEE 802.3: Ethernet physical layer reach (100 m class for copper segments) ()
– ONVIF PTZ Profile / PTZ services (presets, tours, and control behavior) ()
This workflow gives you a PTZ CCTV camera setup that’s easier to commission and simpler to maintain: you validate connectivity and control first, tune focus before you trust presets, then build tours and masks once the framing is stable. If you follow the order here and retest at night, you’ll avoid most “it worked once, then it didn’t” problems that derail PTZ deployments.
Frequently Asked Questions
What cables and power do I need to set up a PTZ CCTV camera?
Most PTZ CCTV cameras require power via PoE (Power over Ethernet) or a dedicated DC/AC power supply, depending on the model. If your PTZ supports IP control, you’ll typically run one network cable for both power and data (PoE) and use a stable Ethernet connection for live video and PTZ commands. If you’re using analog PTZ (older systems), you may need coax for video plus separate power. Check the camera’s spec for voltage, PoE standard, and maximum cable length to avoid jittery video or unresponsive PTZ control.
How do I install and mount a PTZ CCTV camera for the best coverage?
Mount the PTZ camera on a stable surface (wall, pole, or junction box) and ensure the field of view matches what you need—entrances, driveways, or perimeters. Place the camera where it has minimal obstruction and avoid aiming into direct glare (sunlight, bright signage) that can reduce night vision performance. Use the recommended height and angle guidelines so the camera can zoom and track effectively without being forced to constantly pan at extreme angles. After mounting, test motion and pan/tilt limits during setup to confirm the PTZ CCTV camera can cover key zones without hitting mechanical stops.
How do I set up PTZ control for an IP PTZ CCTV camera (NVR, router, and software)?
Start by connecting the PTZ camera to your network and powering it correctly, then discover it using your NVR or IP scanner software. Configure the camera’s network settings (IP address, subnet, gateway) and ensure it can communicate with the NVR on the same network. Next, set up PTZ protocols and ports—commonly ONVIF for modern PTZ CCTV systems—so your NVR or VMS can send pan/tilt/zoom commands. Finally, test PTZ presets and tours in the live view to verify that joystick controls, scheduled patrols, and remote access all work reliably.
Which PTZ features should I configure first—presets, tours, and motion tracking?
Begin by creating PTZ presets for fixed locations like gates, parking lanes, and doorways; presets make it fast to respond to incidents. Then set up PTZ tours (patrol routes) that automatically move between those presets at scheduled times or triggered by events. If your PTZ CCTV camera supports motion detection or advanced analytics, configure sensitivity and detection zones so it tracks relevant movement instead of false alerts from trees or moving shadows. Save and test multiple lighting conditions (day/night) to confirm preset accuracy and reliable tracking.
Why is my PTZ CCTV camera not panning/zooming correctly after setup?
Common causes include incorrect PTZ protocol settings, mismatched baud rate/serial settings (for RS-485 control), or network issues that prevent command packets from reaching the camera. For IP PTZ CCTV cameras, confirm that ONVIF or the specific manufacturer protocol is enabled and that the NVR/VMS has the correct IP, port, and credentials. Also check that pan/tilt limits and calibration are configured, since hitting mechanical bounds can stop movement or cause drift. Restart the camera and NVR after changes, then retest presets and tours—if problems persist, review firmware compatibility and ensure your PoE power is sufficient for consistent motor operation.
📅 Last Updated: October 26, 2026 | Topic: How to set up a PTZ CCTV camera? | Content verified for accuracy and freshness.
References
- https://en.wikipedia.org/wiki/Pan%E2%80%93tilt%E2%80%93zoom
- Closed-circuit television
- Profile S – ONVIF
- Network Interface Specifications – ONVIF
- https://www.nist.gov/publications/security-considerations-network-video-surveillance-systems
- https://www.sciencedirect.com/topics/engineering/pan-tilt-zoom-camera
- https://scholar.google.com/scholar?q=how+to+configure+ptz+cctv+camera Google Scholar
- https://scholar.google.com/scholar?q=ONVIF+PTZ+configuration+presets+patrol Google Scholar
- https://scholar.google.com/scholar?q=calibration+of+pan-tilt-zoom+cameras+installation Google Scholar



