To add your Ezviz camera to another phone, first, download the Ezviz app from your app store and install it. Open the app and log into your account using your existing credentials. Once logged in, tap on "Add Device" and select the camera you want to connect. You'll need to scan the QR code on the camera for easy setup. After that, connect to your Wi-Fi network by entering the password. Don't forget to check and adjust any camera settings to suit your needs. Keep going to discover more tips and tricks for optimizing your camera experience!
Check Device Compatibility
Before engaging in the setup process, you'll want to verify that your phone is compatible with the Ezviz camera. This step's significant because, without the right device, you might find yourself stuck and unable to access all the features that give you the freedom to monitor your surroundings effortlessly.
Start by checking if your smartphone is running on a supported operating system. Ezviz cameras typically work with both iOS and Android devices, but it's important to confirm your phone's OS version aligns with the app requirements. You don't want to miss out on the sleek features just because you're using an outdated version.
Next, look at your phone's hardware specifications. While most modern devices should have no issue, older models might struggle with connectivity or performance. A strong Wi-Fi connection is also a must, as it'll allow you to stream video and receive alerts without interruption.
If you're using an Android device, check for permissions needed by the Ezviz app. You may need to enable location services or grant access to your camera and microphone. For iPhone users, make sure you've allowed notifications to keep you informed of any activity captured by the camera.
Taking a moment to verify compatibility can save you headaches later on. Once you've confirmed everything checks out, you'll be all set to engage in the next steps of adding your Ezviz camera to another phone, making sure you maintain your freedom to monitor your space anytime, anywhere.
Download the Ezviz App
To get started with your Ezviz camera, you'll need to download the Ezviz app from your device's app store. After installation, you'll go through a quick account registration process to guarantee everything's set up correctly. Don't forget to check if your device is compatible with the app before you proceed!
App Store Installation
Start by downloading the Ezviz app from your device's app store. Whether you're using an Android or iOS device, the process is straightforward. Just open your app store, type "Ezviz" in the search bar, and hit enter. You'll see the app pop up in the search results.
Tap on the app icon, and you'll find a button to download or install it. Go ahead and click that. Depending on your internet connection, the download should only take a few moments. Once it's installed, you'll see the Ezviz icon on your home screen or app drawer, ready for you to release its potential.
Account Registration Process
Once you've downloaded the Ezviz app, you'll need to create an account to access its features. This process is straightforward and takes just a few minutes. Here's how you can do it:
- Open the app and select "Register."
- Enter your email address or phone number.
- Create a strong password that's easy for you to remember.
- Follow the prompts to verify your account via a code sent to your email or phone.
To give you a clear overview of the registration process, here's a simple table:
| Step | Action Required | Additional Notes |
|---|---|---|
| Step 1 | Open the Ezviz app | Downloaded from App Store |
| Step 2 | Choose "Register" | |
| Step 3 | Enter email/phone and password | Use a strong password |
| Step 4 | Verify your account | Check your inbox/sms |
Once you've completed these steps, you'll have the freedom to explore all the wonderful features Ezviz offers. Your camera will be just a few taps away!
Device Compatibility Check
Before adding your Ezviz camera to another phone, it's essential to verify that your device is compatible with the Ezviz app. You want to confirm you're not wasting time on a device that won't support your camera's functionality. Here's a quick checklist to help you out:
- Operating System: Make sure your phone runs on iOS 9.0 or later, or Android 4.0 or later.
- App Store Access: Confirm that you can access the Apple App Store or Google Play Store to download the Ezviz app.
- Storage Space: Check if you have enough storage space on your device for the app and any updates. A few megabytes usually suffice.
- Internet Connection: Verify your phone has a stable internet connection, whether through Wi-Fi or mobile data.
Log Into Your Account
To access your Ezviz camera on another phone, you'll need to log into your existing account. This process is straightforward, but it requires a few quick steps to guarantee you can enjoy the freedom of monitoring your space from anywhere.
First, download the Ezviz app from your phone's app store if you haven't already done so. Once it's installed, launch the app. You'll be greeted with a login screen where you can enter your credentials. If you've forgotten your password, don't worry—there's an option to reset it. Just follow the prompts, and you'll regain access in no time.
After entering your username and password, tap on the login button. If your credentials are correct, you'll be directed to your account dashboard. This is where you can see all of your connected devices. If you've set up multiple cameras or devices, you'll have the freedom to choose which one you want to view or manage.
In case you're using a different phone than usual, you might need to verify your identity through a code sent to your registered email or phone number. This extra layer of security guarantees that your camera feed remains private and secure. Once you're logged in, you're all set to access your Ezviz camera, giving you peace of mind as you stay connected to your space. Enjoy the freedom of surveillance right from your pocket!
Access Camera Settings
Accessing your camera settings is essential for customizing your Ezviz experience. With the right adjustments, you can enhance security, optimize performance, and tailor notifications to fit your lifestyle. Here's how you can navigate your camera settings:
- Open the Ezviz App: Launch the app on your phone, and make sure you're logged into your account. This is your gateway to all camera settings.
- Select Your Camera: From the home screen, tap on the camera you want to configure. This will bring up the specific options for that device.
- Access Settings: Look for the gear icon, usually found in the top right corner. Tapping on it will lead you to various settings that you can modify.
- Customize Your Preferences: Here, you can adjust settings like motion detection, recording schedules, and notification preferences. You can also manage storage options and set up alerts to keep you informed without overwhelming you.
Taking a little time to explore these settings allows you to personalize your camera's functionality. Whether it's ensuring you receive timely alerts or fine-tuning the video quality, you've got the power to make the Ezviz camera work for you. Embrace the freedom to create a security setup that suits your needs and lifestyle. Enjoy the peace of mind that comes with knowing you've got everything just the way you want it!
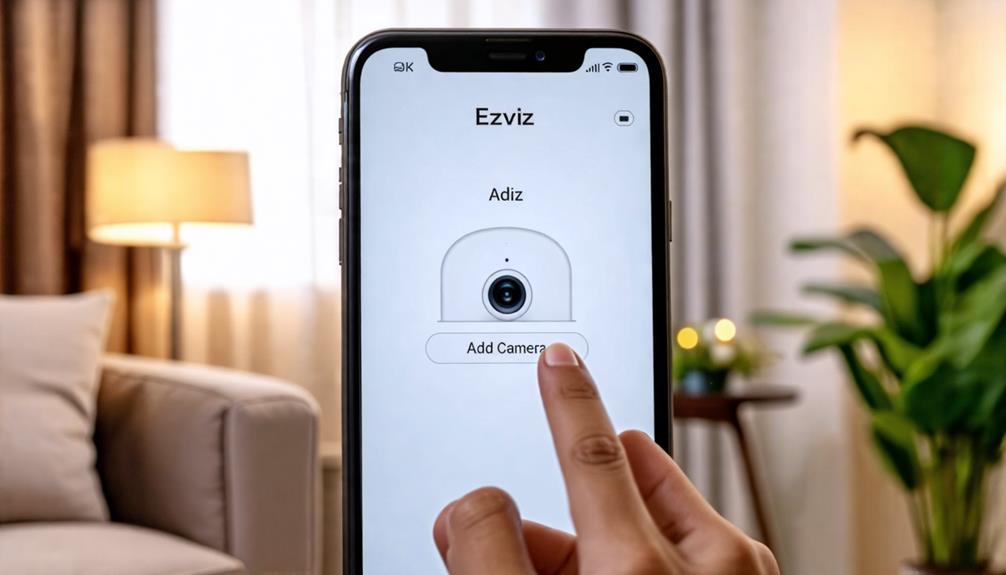
Select Add Device
To start adding your Ezviz camera to another phone, open the Ezviz app on your device. Once you're in, choose the type of device you want to add, and then follow the setup instructions provided. This will guarantee a smooth connection process for your camera.
Open Ezviz App
Opening the Ezviz app on your phone is the first step to adding your camera. It's crucial to have this app handy, as it connects you to your surveillance needs seamlessly. Once you've got the app open, you're ready to take control of your camera setup. Here's what you should do next:
- Log In: Enter your credentials or create an account if you haven't yet.
- Navigate to the Dashboard: Once logged in, you'll see your home screen, where all your devices will be displayed.
- Select Add Device: Look for the option that allows you to add a new device. This is where the magic begins!
- Follow Prompts: The app will guide you through the setup process, ensuring a smooth experience.
This is your moment to embrace freedom and gain peace of mind. The Ezviz app puts you in charge, letting you manage your security from wherever you are. So, take a deep breath, trust the process, and enjoy the journey of connecting your camera!
Choose Device Type
Now that you've initiated the process of adding a device, the next step is to choose the type of camera you want to connect. This is a vital moment because it sets the foundation for your camera setup experience. You'll see a list of different camera models available for connection. Take a moment to locate the specific Ezviz camera you're looking to add. It might be labeled by its model number or a general name—don't worry, you can easily find it.
Once you've identified your camera, tap on it to proceed. This selection guarantees that your app knows exactly what type of device it's dealing with, which helps streamline the setup process. You're not just picking a camera; you're claiming your freedom to monitor your space with ease.
If you can't find your specific model right away, don't be discouraged. There's usually an option for "Other" or "Generic Camera," which can work too. Remember, this step is all about making your setup as seamless as possible, so trust your instincts and choose wisely. Your freedom to stay connected is just a few taps away!
Follow Setup Instructions
Once you've selected your camera model, it's time to follow the setup instructions to add your device. You're about to gain the freedom of monitoring your space from anywhere, so let's get to it. Here's how to set things up:
- Select Add Device: Open the Ezviz app on your phone and tap on the "Add Device" option. This will initiate the setup process.
- Connect to Wi-Fi: Choose your Wi-Fi network and enter the password. This step is essential for ensuring your camera stays connected and accessible.
- Scan QR Code: The app will prompt you to scan a QR code displayed on your camera. Make sure you're holding your phone close enough for a quick scan.
- Finalize Setup: Once the connection is established, follow any remaining prompts to complete the setup. This might include naming your camera or setting notifications.
Scan QR Code
To successfully add your Ezviz camera to another phone, you'll need to scan the QR code displayed on the camera's screen. This process is quick and straightforward, empowering you to manage your camera from a new device. Just grab your phone, open the Ezviz app, and follow these steps to get started.
Here's a quick reference table to illustrate the steps involved in scanning the QR code:
| Step Number | Action | Notes |
|---|---|---|
| 1 | Open the Ezviz app | Verify you're logged in |
| 2 | Navigate to 'Add Device' | Look for the plus icon |
| 3 | Select 'Scan QR Code' | Point your camera at the code |
| 4 | Align the QR code within the frame | Keep your hand steady |
| 5 | Confirm the connection | Wait for the success message |
Once you've scanned the QR code, the app will guide you through the next steps to finalize the addition of your camera. You'll feel a sense of freedom as you access your camera feed from anywhere, anytime. This process not only enhances your security but also gives you the flexibility to monitor your space from a device that suits your lifestyle. Don't hesitate; embrace the technology that allows you to stay connected, no matter where you are. Your Ezviz camera is just a scan away!
Connect to Wi-Fi
After you've successfully scanned the QR code, the next step is connecting your Ezviz camera to Wi-Fi. This connection is essential for ensuring your camera can send you real-time updates, no matter where you are. Let's walk through the process together.
- Open the Ezviz App: Launch the app on your phone. Make sure you're logged in to your account.
- Select Your Camera: Tap on the camera you want to connect. If it's your first time setting it up, you might find it under "Add Device."
- Choose Wi-Fi Settings: Go to the settings menu within the app. Here, you'll see the option to connect to Wi-Fi. Select it, and you'll be prompted to enter your Wi-Fi credentials.
- Enter Wi-Fi Credentials: Input your Wi-Fi network name and password. Be sure you've got the correct information—typos can lead to frustration and delays.
Once you've entered this information, the app will attempt to establish a connection. You'll know it's successful when you see a confirmation message. If it doesn't connect right away, don't sweat it; just double-check your credentials and try again.
This connection empowers you to monitor your space freely. Enjoy the peace of mind that comes with knowing your Ezviz camera is seamlessly integrated with your Wi-Fi network!
Adjust Camera Settings
Adjusting your camera settings is essential for getting the most out of your Ezviz camera. Once you've added the camera to your phone, explore the settings to tailor them to your needs. You'll want to start by adjusting the resolution. Higher resolution gives you clearer images, but keep in mind it might take up more storage space. If you're looking for more freedom in how you manage your recordings, consider setting up motion detection alerts. This way, you'll be notified only when there's activity, saving you from unnecessary notifications.
Next, check out the night vision settings. If your camera supports it, you can switch between color and black-and-white modes based on your preference. This feature can be significant for nighttime monitoring or dimly lit areas. You should also explore the audio settings. If your camera has a two-way audio feature, verify it's enabled so you can communicate freely through the camera.
Don't forget to adjust the recording schedule. You can set specific times for your camera to be active, aligning with your lifestyle and making it easier to manage your security. Finally, consider enabling cloud storage options if you want easy access to your footage from anywhere.
Share Access With Others
Once you've customized your Ezviz camera settings, you might want to share access with family or friends. This way, they can help keep an eye on things when you're not around. Sharing access is straightforward, and it empowers those you trust to stay connected with what's important to you. Here's how you can do it:
- Open the Ezviz App: Launch the app on your phone where your camera is already set up.
- Select the Camera: Tap on the camera you want to share. This directs you to its settings.
- Find 'Share Access': Look for the 'Share' option, usually located in the camera settings. Tap on it to start the sharing process.
- Invite Others: Enter the email address or phone number of the person you want to share access with. They'll receive an invitation to connect to your camera.
Once they accept, they'll have the freedom to view the live feed, receive notifications, and even manage some settings based on permissions you grant. It's a great way to keep loved ones in the loop without compromising your own privacy. Remember, you can revoke access anytime if you feel it's necessary. Sharing access with others not only enhances security but also fosters a sense of community and support among your circle. Enjoy the peace of mind that comes with sharing!
Frequently Asked Questions
Can I Add Multiple Cameras to One Phone?
Absolutely, you can add multiple cameras to one phone! It's a great way to keep an eye on different areas without juggling devices. Just make sure your app supports multiple camera connections. Once you've set up each camera, you'll be able to view live feeds and manage settings all from your phone. Enjoy the freedom of monitoring your space with ease, making your life more convenient and secure!
How Do I Remove a Camera From My Account?
To remove a camera from your account, open the app and navigate to your device list. Find the camera you want to remove, tap on it, and look for the settings option. You should see a "Remove" or "Delete" button—select that, and confirm your choice. Once you do this, the camera will be disconnected from your account, giving you the freedom to manage your devices as you wish. Enjoy the control!
What if I Forgot My Ezviz Account Password?
Forgetting your Ezviz account password can feel like losing a key to your own home. But don't worry, you've got options! Just open the app, tap on 'Forgot Password', and follow the prompts. You'll receive an email or SMS to create a new password. Remember, regaining access means reclaiming control over your security. So, take a deep breath and follow the steps to restore your peace of mind!
Is the Ezviz App Available on All Smartphones?
Yes, the Ezviz app is available on most smartphones, including both Android and iOS devices. You can easily download it from the Google Play Store or the Apple App Store. However, make sure your device meets the app's system requirements for the best performance. If you're looking to enjoy the freedom of monitoring your surroundings, having the app on your smartphone is essential. It lets you access your cameras anytime, anywhere.
Can I Access My Cameras Remotely From Another Country?
Absolutely, you can access your cameras remotely from another country, like having a window that lets you peek into your home from afar. Just make sure your cameras are connected to the internet and that you've got the Ezviz app installed on your device. Once everything's set up, you'll enjoy the freedom to monitor your space anytime, anywhere, ensuring peace of mind no matter where your adventures take you.