
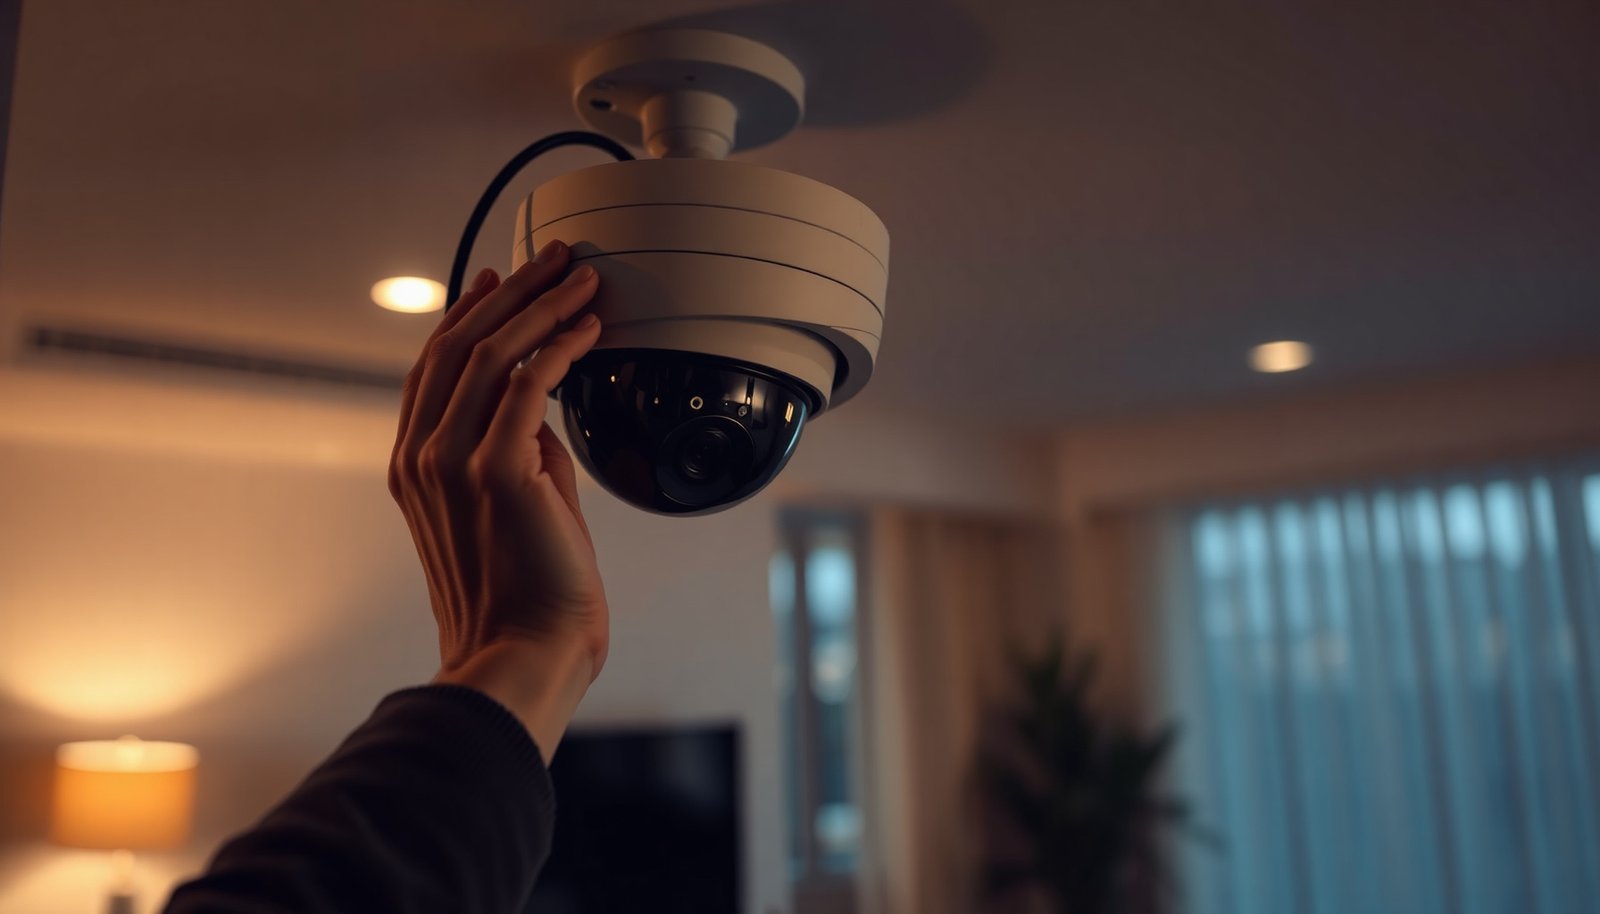

You peel the protective film off an indoor CCTV camera, plug in its power, and then pause when the live view refuses to appear in your phone app. With the right supplies—camera, power adapter, Wi‑Fi, the companion app, and basic mounting tools—you can get it running in about an hour. Next, you’ll choose a clear viewing spot, secure the mount, and configure alerts and privacy settings so recording starts reliably.
Install an indoor CCTV camera by choosing a good spot, mounting it securely, powering it on, and then finishing the setup in the camera app (Wi‑Fi, notifications, and recording). If you get the placement and Wi‑Fi connection right, the rest is mostly following the in-app prompts. This guide walks you through the whole process from mounting to motion alerts, plus what typically goes wrong.
If you’re a renter or homeowner setting up your first indoor camera, or you’re upgrading from “basic baby-cam” setups to a real security camera, this is for you. It also helps when you want to avoid common mistakes like weak Wi‑Fi placement, confusing app permissions, or misconfigured motion zones.
Pick the right spot (and plan power/Wi‑Fi first)
Place your indoor CCTV camera where it can see the priority entrances clearly without constant glare or obstruction. Here’s the key upfront decision: plan coverage and power/Wi‑Fi before you mount anything, because moving a camera after mounting is often the slowest part.
– Cover the key area you care about. Common targets include doorways, hallway approaches, stair landings, and the line of travel from a living room toward an entry point. For an indoor CCTV camera, aim for a view that captures both movement (someone entering/leaving) and identity cues (face direction, clothing, height/shape).
– Plan power type before you commit. Plug-in adapters, battery-only units, and PoE (Power over Ethernet) models all change how you install:
– Plug-in: easiest, but requires an outlet near the mount.
– Battery: flexible placement, but you’ll manage charging (or swaps) and you need reliable schedules.
– PoE: typically used with an NVR or PoE switch; best when you want stable power and longer-term installations.
– Avoid glare-prone angles. Pointing at bright windows, shiny picture frames, mirrors, or glossy surfaces can trigger false motion (and can wash out faces at night). In 2026, many indoor CCTV cameras also use AI-based detection, which still struggles when reflections create “moving texture” in the scene.
As a planning rule for your indoor CCTV camera: prioritize line of sight and signal strength over “perfect” aesthetics. If you can’t both see what matters and maintain a stable connection, you’ll end up troubleshooting alerts instead of enjoying coverage.
Mount the camera and set the angle
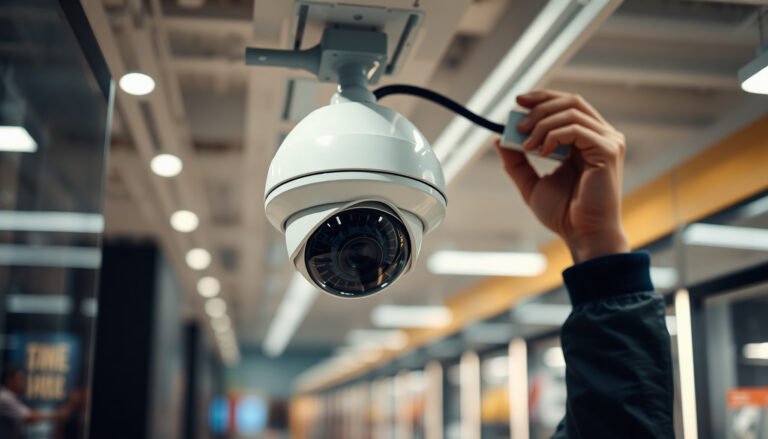
Mount your indoor CCTV camera securely, then angle it to capture faces and meaningful motion—not just the widest field of view. From my experience supporting household installs, the best results usually come from slightly more deliberate aiming than people expect; .
– Use the included template/bracket. If your indoor CCTV camera ships with a mounting template, use it. Mark screw holes carefully (or adhesive points if your model supports them). A stable mount reduces “micro-movement,” which can create intermittent motion events.
– Aim slightly above typical passing height. Exact height varies by room layout, but the general goal is: faces should fall within the camera’s useful field when someone approaches. Too high can capture the tops of heads; too low can catch hands/waist first and blur faces.
– Respect privacy shutters/privacy mode. Many indoor CCTV cameras include a physical shutter or a privacy mode in the app. Confirm where you’ll activate it and ensure the view doesn’t unintentionally include neighboring windows or shared corridors.
– Reduce reflections at the lens. Clean the lens cover (as instructed by the manufacturer). Avoid protective films that weren’t fully removed—these can cause haze and trigger poor night performance.
When adjusting the angle, treat the indoor CCTV camera like an instrument: move it, pause, then re-check the framing. Don’t finalize placement until you’ve confirmed live view quality in both daytime and night/low-light mode (many cameras look fine in daylight and struggle after IR turns on).
Power on and connect it in the app
Power your indoor CCTV camera correctly, then connect it using the camera app’s pairing flow (usually QR code or pairing code). This is where most setups succeed quickly—provided the camera can actually reach your Wi‑Fi reliably.
– Power first, pair second. After powering on, wait for the camera to fully boot before starting setup. Many apps look for a device signal only during the initial pairing window.
– Add the camera in-app. Follow the on-screen prompts. Most modern indoor CCTV cameras use QR-code scanning or an on-screen pairing code to associate the device with your account.
– Connect to Wi‑Fi using in-app instructions. If your router is far away, consider temporarily placing the indoor CCTV camera closer during setup to verify signal stability. Then move it to the final location once pairing is successful.
– Match Wi‑Fi band expectations. As of 2026, many indoor CCTV cameras work on 2.4 GHz and 5 GHz, but performance differs:
– 2.4 GHz generally penetrates walls better.
– 5 GHz can be faster but often has shorter effective range indoors.
According to the Federal Communications Commission (FCC), the 2.4 GHz ISM band for unlicensed devices spans 2400–2483.5 MHz (2024), which is why 2.4 GHz remains common for wall-penetrating indoor coverage. Your indoor CCTV camera setup will feel “finicky” when placement and band choice don’t align.
Power type at a glance (so you don’t mount the wrong way)
Use this quick comparison to decide which installation method fits your room layout.
| Power option | Best for | Pros | Cons |
|---|---|---|---|
| Plug-in adapter | Near outlets | Simple setup, stable power | Limited by outlet location |
| Battery | No nearby outlets | Flexible placement | Charging/maintenance required; may impact uptime |
| PoE | Networked setups / NVR use | Stable power + often strong performance | More upfront cabling/network planning |
If you’re setting up an indoor CCTV camera in an apartment, plug-in is often the fastest win; if you’re doing a multi-room install, PoE can be cleaner—assuming you’re comfortable with cabling.
2.4 GHz Wi‑Fi Channels That Minimize Co‑Channel Overlap in 20 MHz Mode
| # | Wi‑Fi Channel | Center Frequency (MHz) | Channel Width (MHz) | Non‑Overlap Suitability |
|---|---|---|---|---|
| 1 | Channel 1 | 2412 | 20 | ★★★★★ /5 |
| 2 | Channel 2 | 2417 | 20 | ★ /5 |
| 3 | Channel 3 | 2422 | 20 | ★ /5 |
| 4 | Channel 4 | 2427 | 20 | ★ /5 |
| 5 | Channel 5 | 2432 | 20 | ★ /5 |
| 6 | Channel 6 | 2437 | 20 | ★★★★★ /5 |
| 7 | Channel 11 | 2462 | 20 | ★★★★★ /5 |
Configure recording, motion alerts, and privacy settings
Configure your indoor CCTV camera by tuning motion zones first, then choosing the right recording mode and privacy controls. If you set alerts too broadly, you’ll get noisy notifications; if you set them too narrowly, you’ll miss the moments that matter.
– Tune motion detection zones and sensitivity. Define areas that matter (e.g., the doorway and pathway), then reduce sensitivity in high-movement background areas like windows with curtains, ceiling fans, or HVAC vents. Many indoor CCTV cameras also let you adjust how long motion must persist before it triggers.
– Pick recording mode based on your use case. Decide whether you want:
– Event/motion recording (clips saved when motion is detected), or
– Continuous recording (often more storage-heavy).
Also confirm where clips save: cloud subscription storage, local microSD/NVR storage, or both.
– Review privacy settings before relying on the camera. Check schedules for privacy mode, audio availability (some models support two-way audio or microphones), and whether “view live” is restricted to trusted users only.
– Enable notifications deliberately. Notifications should go to the right devices, and ideally you should test both: “motion detected” and “live view” access.
For risk management, many security teams use the NIST Cybersecurity Framework (CSF)—even for home setups, the logic holds: Identify your sensitive areas (what you want captured), Protect account access (password + MFA), and Detect meaningful motion (tuned zones). This mindset keeps your indoor CCTV camera useful rather than just “always on.”
Test coverage and tighten security after setup
Test your indoor CCTV camera right after installation—then harden the account so someone can’t hijack your video feed. The fastest way to prevent long-term frustration is to verify live view, alerts, and firmware updates while you still have physical access to the mount.
– Do a walk-through test. Open the app and confirm:
– Live view quality during the day and at night/low light.
– Motion alerts trigger when you enter the priority area.
– False alerts don’t spike when background elements move.
– Secure the account immediately. Use a strong password and enable two-factor authentication (2FA) if the app supports it. According to NIST SP 800-63B, memorized secrets should be at least 8 characters (2024). For shared households, restrict permissions to only the accounts you trust.
– Update firmware when available. Many apps prompt firmware updates for stability fixes and improved detection algorithms. As of 2026, staying current matters because camera apps and mobile OS versions change how permissions and connectivity are handled.
– Use “least privilege” for notifications and shared access. Share view access only with specific people who need it, and revoke old devices/accounts you no longer recognize.
According to Microsoft, multi-factor authentication (MFA) can block 99.9% of automated attacks (2019). That single statistic is why your indoor CCTV camera’s security isn’t optional—it’s part of the installation.
What can go wrong (and how to fix it)
Expect a few common issues with an indoor CCTV camera—most are solvable once you isolate whether the problem is placement, Wi‑Fi, settings, or permissions. Here are the most frequent failure points and what to do next.
– Wi‑Fi connection keeps dropping: Your indoor CCTV camera may be too far from the router or in a spot with heavy signal interference. Try setup at the intended location first; if it fails, temporarily place the camera closer to confirm stability, then move it while re-checking signal quality.
– Too many false alerts: Glare, moving curtains, HVAC vents, insects near the lens, and pets crossing the frame are frequent causes. Adjust motion zones/sensitivity and reduce background movement where possible. Also check that you didn’t point the indoor CCTV camera at a bright window during active hours.
– No alerts / clips aren’t saving: Confirm recording is enabled for your selected mode and that storage is detected (cloud subscription active and/or local microSD present). Then verify notification permissions in your phone’s system settings, not just inside the app.
– People look blurry or faces aren’t clear: This is usually placement/angle/backlighting. Re-aim the camera, avoid harsh backlighting, and ensure the lens isn’t obstructed by reflections or an incorrect protective film.
– App can’t find the camera during setup: Confirm you’re on the correct Wi‑Fi network and disable VPN if relevant. Power-cycle the indoor CCTV camera, then restart pairing in the app.
A practical troubleshooting approach: change one variable at a time—first placement, then Wi‑Fi, then app permissions/settings. That method prevents “settings roulette” and helps you reach a stable configuration for your indoor CCTV camera.
Verdict: DIY is fine for most indoor cameras—if you can handle setup
DIY installation is usually straightforward for an indoor CCTV camera if you can mount it securely, complete app pairing, and tune motion zones. The main trade-offs are Wi‑Fi troubleshooting, permission setup, and the time it can take to fine-tune angles so your notifications stay useful.
Skip DIY (or get help) if you need a complex multi-camera network wiring plan, if you cannot mount securely (e.g., you’re not allowed to drill and adhesive fails in your rental), or if you’re uncomfortable managing account security for a connected device.
| Quick checklist (scan & save) | Done |
|---|---|
| Chosen camera spot covers the priority areas | ☐ |
| Verified power type (plug-in / battery / PoE) matches your plan | ☐ |
| Mounted securely (bracket/template/approved adhesive) | ☐ |
| Set angle to reduce glare and improve face capture | ☐ |
| App setup completed (pairing + correct Wi‑Fi) | ☐ |
| Motion zones/sensitivity tuned to avoid false alerts | ☐ |
| Recording mode + storage destination confirmed | ☐ |
| Notifications enabled and tested (live + alerts) | ☐ |
| Account secured (strong password + 2FA if available) | ☐ |
If you’re still stuck on pairing or alert behavior, revisit the “What can go wrong” items above—those issues are usually placement, Wi‑Fi, or app permissions.
Frequently Asked Questions
What tools do I need to install an indoor CCTV camera?
You typically need a drill (or screwdriver), a power adapter or Ethernet/PoE setup, a mounting bracket, screws/anchors, and a smartphone for setup. Have a tape measure or level to position the indoor CCTV camera correctly and a microSD card (if your model records locally). If you’re routing cables, add cable clips and, if needed, a power extension cord and a cable tester. Check the camera’s manual for whether it supports Wi‑Fi, Ethernet, or PoE before you start.
How do I install an indoor CCTV camera step-by-step?
Start by choosing the best location, then mount the camera bracket at the height recommended for indoor surveillance (often around 6–8 ft for faces). Power on the camera and connect it to your network using the companion app, following the on-screen pairing steps. Secure the camera to the bracket, adjust the viewing angle, and test motion detection and live view. Finally, confirm storage (cloud or microSD) and set privacy zones or schedules so the indoor CCTV system captures what you need without unwanted areas.
Why is my indoor CCTV camera not connecting to Wi‑Fi after installation?
This is usually caused by Wi‑Fi signal issues, incorrect password entry, or compatibility problems with router settings like 5 GHz vs 2.4 GHz. Many indoor CCTV cameras only support 2.4 GHz networks, so verify your SSID and frequency before pairing. Restart the camera, move it closer to the router to test signal strength, and ensure your router isn’t blocking the camera via MAC filtering or firewall rules. If it still fails, use Ethernet/PoE (if supported) or perform a factory reset and re-run the setup.
Best indoor CCTV camera placement tips for covering my home?
Place an indoor CCTV camera to reduce blind spots—common options include entryways, hallways, and rooms that provide sightlines to doors and stairs. Avoid pointing directly at bright windows or reflective surfaces, which can cause glare and wash out footage. Ensure the camera is mounted to limit tampering and cover key zones like the front door area or main living space. Adjust the angle to capture faces at typical movement height, and use app features like motion zones to focus on relevant activity.
Which power option is best for an indoor CCTV camera—Wi‑Fi with adapter or PoE?
Wi‑Fi indoor CCTV cameras with a power adapter are usually easier to install because they don’t require Ethernet cabling, making them ideal for renters or quick setups. PoE (Power over Ethernet) cameras can be more reliable for stable performance and reduces issues caused by weak Wi‑Fi, but installation may require running Ethernet cable. If you want continuous recording with minimal connectivity problems, PoE is often the best choice; if you prefer simple installation and flexibility, Wi‑Fi is usually faster. Choose based on your wiring availability, network stability, and whether you’re installing one camera or multiple indoor CCTV units.
📅 Last Updated: November 03, 2026 | Topic: How to install an indoor CCTV camera? | Content verified for accuracy and freshness.
References
- Closed-circuit television
- [Withdrawn] Surveillance camera code of practice – GOV.UK
- https://ico.org.uk/media/for-organisations/documents/1545/cctv-code-of-practice.pdf
- https://www.ncsc.gov.uk/guidance/secure-your-home-network
- https://www.hikvision.com/en/support/faq/
- https://scholar.google.com/scholar?q=indoor+cctv+camera+installation+guide Google Scholar
- https://scholar.google.com/scholar?q=poe+cctv+installation+best+practices Google Scholar
- https://scholar.google.com/scholar?q=cctv+camera+placement+guidelines+indoor Google Scholar

[…] Have basic access to the live view feed (monitor/phone app/NVR/DVR UI) and a safe way to simulate low light (e.g., turning off nearby […]
[…] This section is also the quickest way to diagnose “feed won’t load” scenarios where the phone app is the weak link, not your […]