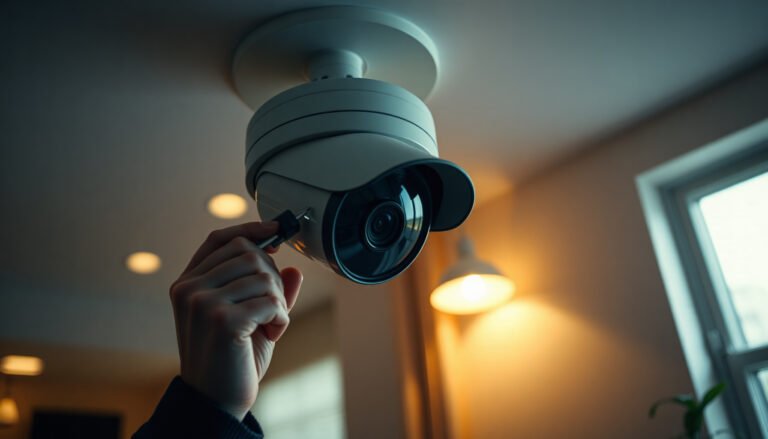
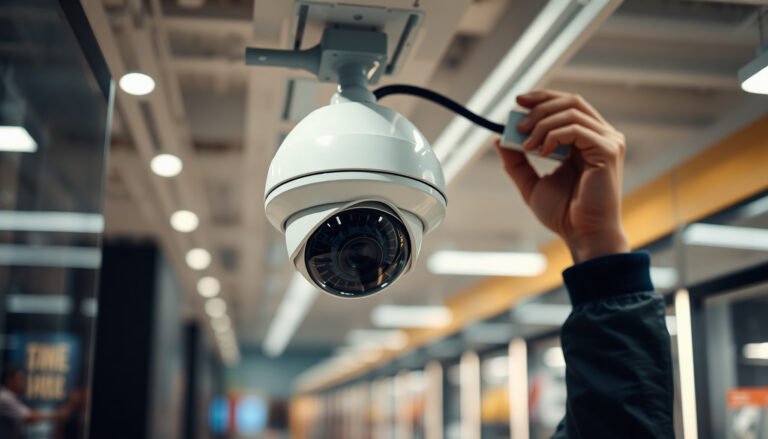
You peel off the protective film on an indoor CCTV camera, then stop when you realize the setup is more than plugging it in—it has to be mounted, powered, and connected so you can view live footage. You can usually get it working in an afternoon with basic tools and the camera’s power supply, the right placement location, and your Wi‑Fi password (or an Ethernet option). Once it’s connected, you’ll be able to configure alerts and test the field of view.
An indoor CCTV camera is easiest to install when you treat it as a three-part job: mount it securely, connect power and network, then configure privacy and motion settings in the app. If you follow the placement and connectivity steps from the manufacturer, many indoor cameras can be paired and recording the same day—without running new wires.
This guide is for homeowners and renters who want to set up an indoor camera in a home or apartment—especially if you’re doing it yourself without running new wiring. We’ll cover the practical steps, what to check before you start, and common setup mistakes that prevent clear footage.
What You Need Before You Start
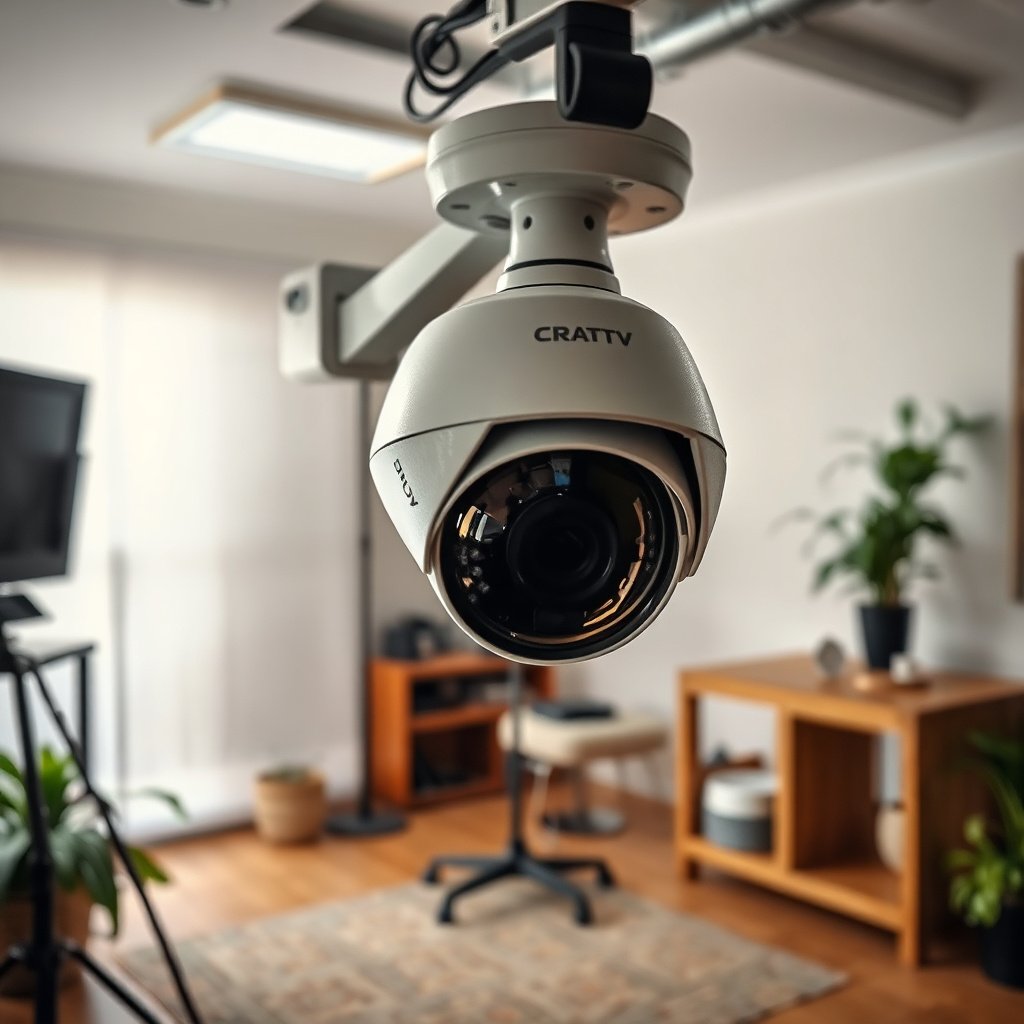
Having an indoor CCTV camera installation checklist ready prevents most “it won’t pair” and “why is the video useless?” problems. Before you mount anything, confirm power, network type, and storage so the camera can actually record where you want it to—especially as of 2026, when app workflows differ more by brand than by camera model family.
– Confirm your camera’s requirements: power type (plug-in vs. battery), Wi‑Fi vs. Ethernet, and whether it supports microSD or cloud storage.
– Gather essentials like a phone with the camera app, stable Wi‑Fi credentials, a screwdriver/drill if required, and (if mounting) wall anchors appropriate to your wall type.
– Decide your placement goals (face-level coverage, doorway visibility, desk/shelf views) so you don’t mount and then realize the field of view is wrong.
Data points that matter for indoor CCTV cameras (network + storage basics). According to RFC 1918 (1996), private IPv4 networks commonly use 10.0.0.0/8, 172.16.0.0/12, and 192.168.0.0/16—so if your router or app pairing assumes a different network type, onboarding can fail. According to SD Association specifications (UHS‑I), U1 cards have a minimum sequential write speed of 10 MB/s, which helps prevent dropped frames when motion recording kicks in. And for video planning, 720p is 1280×720 pixels while 1080p is 1920×1080 pixels—higher resolution generally increases storage use and can stress slower microSD cards if settings aren’t right.
7 Indoor CCTV Camera Setup Parameters That Most Affect Reliability
| # | Parameter | Target Value | Avoid | Why It Matters | What to Check | Stability Impact |
|---|---|---|---|---|---|---|
| 1 | Private IP addressing | 10/8, 172.16/12, 192.168/16 | Mismatched WAN assumptions | Enables LAN pairing + routing | App shows same network | ★★★★★ |
| 2 | 2.4 GHz Wi‑Fi non‑overlap | Channels 1 / 6 / 11 | Random channel hopping | Reduces interference collisions | Router channel setting | ★★★★☆ |
| 3 | 5 GHz channel groups | UNII‑1 (36–48), UNII‑3 (149–165) | Using very congested band at peak times | Often improves throughput vs 2.4 | Band steering in router | ★★★★☆ |
| 4 | microSD minimum write class | UHS‑I U1: ≥10 MB/s write | Slow/high-latency cards | Prevents frame drops during motion | Card speed grade in camera/app | ★★★★☆ |
| 5 | Resolution planning | 720p 1280×720 or 1080p 1920×1080 | Overextending distance at 720p | Affects face legibility + storage load | Resolution/FPS setting | ★★★☆☆ |
| 6 | Ethernet link speed (if available) | 100 Mbps (100BASE‑TX) | 10 Mbps (10BASE‑T) | Stabilizes streaming during motion events | Link speed in router/device details | ★★★★★ |
| 7 | Time sync port | NTP uses UDP 123 | Time drift (NTP blocked) | Improves event timeline accuracy | Router firewall/NTP settings | ★★★★☆ |
Choose the Best Spot for Indoor Coverage
The best spot for an indoor CCTV camera balances face-level visibility, strong Wi‑Fi (or Ethernet), and privacy-aware framing. Pick the location that supports your real use case first—doorway identification, hallway coverage, or monitoring a room—then adjust the angle before you commit.
– Aim for a view that captures faces at entry points (hallways, main rooms) while keeping glare and backlighting in mind.
– Keep the camera within a strong Wi‑Fi signal range, and avoid placing it too close to TVs/monitors or directly under intense lights.
– Verify privacy needs: point the camera away from windows/neighbor areas if your device supports angle adjustments or privacy masking.
In practice, indoor CCTV cameras struggle when they’re aimed at high-contrast scenes (bright windows behind subjects, or dark rooms with lamps pointing at the lens). If your indoor CCTV camera supports privacy masking, use it early—before you optimize motion zones—because masking can change how the app computes “what counts as movement.” As of 2026, most mainstream indoor camera apps also let you schedule privacy mode, which is helpful for daytime work-from-home scenarios.
Mounting: Secure Installation Without Making It Permanent Mistakes
Secure mounting matters because indoor CCTV camera vibration and minor angle drift will ruin face clarity over time. The goal is stability now—with a path that’s renter-friendly if you don’t want permanent holes.
– Use the manufacturer’s mounting template (if included) and keep the camera steady while marking screw/anchor points.
– For renters, prefer non-permanent options (stud-mounted only if allowed, or adhesive mounts rated for indoor use) and double-check surface compatibility.
– After mounting, do a quick live-view check in the app and adjust angle before final tightening or committing to adhesive.
A detail people miss: tighten screws gradually while watching the live view. Many indoor CCTV cameras include a mechanical pivot; if you over-tighten one side first, the lens can shift by a few degrees—enough to turn “doorway faces” into “forehead-level” footage. If you’re using adhesive mounts, confirm the surface is clean and dry (manufacturers often specify isopropyl-alcohol cleaning), then press firmly for the time listed in the manual.
Power and Network Setup (Getting the Camera Online)
The fastest path to getting an indoor CCTV camera online is correct power delivery first, then a pairing flow that matches your Wi‑Fi band. If you do networking right, you’ll spend far less time reattempting setup.
– Power the camera and follow the app’s pairing flow (usually involves holding a button and connecting to the camera’s temporary network).
– If your camera uses Wi‑Fi, place it (or plan placement) where the signal stays stable; if it struggles, try a router/mesh update rather than repeatedly remounting.
– If it supports Ethernet, use it for the most stable streaming/recording—especially in apartments where Wi‑Fi can be congested.
Most indoor CCTV camera pairing steps rely on the phone being on the same network the camera will join. If your router uses band steering (automatically switching between 2.4 GHz and 5 GHz), temporarily disabling band steering—or ensuring the camera is paired on the intended band—can prevent “paired but offline” behavior. Also check that the phone has a good connection; weak phone Wi‑Fi can cause the app to abandon pairing mid-step.
If you’re using Ethernet, remember that indoor CCTV cameras still often require internet access for app notifications or cloud backups (even if video storage is local on microSD). Plan for that: if your apartment router has strict client isolation, you may see live view work but notifications fail.
Configure Recording, Alerts, and Privacy Settings
Your indoor CCTV camera becomes useful when recording and alerts match your environment—not when everything is left at default. Configure motion zones, storage behavior, and privacy masking so the camera records the right events and avoids constant false triggers.
– Set motion zones/areas so alerts only trigger where you care (not on ceiling fans, curtains, or TV screens).
– Choose storage behavior: microSD settings (overwrite/retention) and/or cloud plan options—then confirm the device is actually recording.
– Enable privacy features like privacy mode schedules or masking if your camera offers them, especially for areas you don’t want captured.
Start with motion zones and sensitivity together. If your indoor CCTV camera offers “human detection” or “person alerts,” enable it—but still tune zones, because the app can only interpret what it can “see.” For storage, confirm both: (1) the camera is writing to microSD/cloud, and (2) the retention/overwrite rule is set the way you expect. For example, if overwrite is enabled, older events may disappear sooner than you think, especially if you’ve turned on continuous recording.
Finally, use privacy masking for predictable problem areas: windows with moving curtains, mirrors, and any view that could capture neighbor-facing entry points. In 2026, many indoor camera apps also let you schedule privacy mode to automatically stop recording during work hours or at night.
What Can Go Wrong (And How to Fix It Fast)
Indoor CCTV cameras usually fail in a predictable set of ways: bad positioning, weak connectivity, or overly sensitive detection. When you troubleshoot, fix the most fundamental issue first—video quality and connectivity—then tune alerts.
– Blurry or dark footage: clean the lens, confirm indoor lighting doesn’t create harsh glare, and avoid aiming directly at bright windows.
– Camera keeps going offline: improve Wi‑Fi signal, reduce interference sources, and re-check router settings if the app shows connectivity drops.
– False alerts: tighten motion zones, lower sensitivity if needed, and make sure pets/TV screens aren’t constantly triggering motion detection.
– Setup failures in the app: restart the camera, verify you’re using the correct Wi‑Fi band (if applicable), and re-run pairing instead of repeatedly trying partial steps.
Most common “bad footage” causes inside apartments: glass reflections (especially near TVs), LED lamp flicker, and nighttime scenes where subjects are backlit by a hallway light. Clean the lens and test from the placement you plan to keep—then adjust the angle slightly. Even a small upward tilt can increase glare and reduce face visibility.
If the indoor CCTV camera keeps disconnecting, don’t keep remounting as your first response. Instead, move the camera temporarily to a known strong signal area and test live view for stability. If it’s stable in one spot and not another, you’ve confirmed the placement issue, not the camera itself.
Verdict: Should You DIY an Indoor CCTV Camera?
DIY installation is usually a good choice if your indoor CCTV camera supports simple plug-in power and Wi‑Fi pairing, and you’re comfortable doing app configuration for motion/privacy. If Wi‑Fi coverage is weak or the camera is mounted in the wrong spot, DIY often turns into repeated angle tweaks and remounting.
Skip DIY (or consider professional help) if you need complex wiring, can’t ensure stable network connectivity, or you’re unsure about privacy/legal considerations for cameras pointed near windows or shared areas. Also, if your walls don’t support mounting safely, stick to manufacturer-approved temporary options.
| Decision factor | DIY indoor CCTV camera | Pro installation / help |
|---|---|---|
| Mounting accuracy | You can get it right with live-view checks | Better for complex angles or hard surfaces |
| Network reliability | You may need to test Wi‑Fi bands and router behavior | They can validate signal coverage and network setup |
| Privacy setup | You must manually configure masking/zones | They can help configure compliant coverage patterns |
| Time to first recording | Often same day | Often faster once on-site |
| Best for | Renters, simple setups, plug-in cameras | Multi-camera systems, HOA/building constraints |
If you’re doing it yourself in 2026, budget extra time for tuning motion zones and verifying that recording is truly happening on microSD or the cloud. That last step is where many “it’s installed” moments turn into “it never recorded.”
Quick Setup Checklist (Scan & Save)
The quickest way to avoid rework is to follow the indoor CCTV camera setup in the right order: mount, pair, then tune. Use this checklist to confirm each step produced the expected result before you move on.
– [ ] Confirm power + storage + network type (Wi‑Fi/Ethernet, microSD/cloud)
– [ ] Pick mounting spot and verify live view angle in the app
– [ ] Mount securely (or use renter-safe adhesive/mounting method)
– [ ] Pair in the app and connect to the correct Wi‑Fi network
– [ ] Set motion zones and sensitivity to reduce false alerts
– [ ] Turn on recording and confirm storage (microSD/cloud)
– [ ] Enable privacy mode/masking if available
Frequently Asked Questions
What tools do I need to install an indoor CCTV camera?
To install an indoor CCTV camera, you typically need a drill (or screwdriver), a power drill bit, wall anchors (if mounting to drywall), a stud finder (optional), a ladder or step stool, and a level for accurate alignment. For wired setups, have a suitable Ethernet cable or coax/power cable, plus weatherproof connectors if needed. Also keep a phone or monitor ready to test the camera’s live view and Wi‑Fi connection before final mounting.
How do you install an indoor CCTV camera with a power cable and app setup?
Start by choosing the camera location and ensuring power is available near where you plan to mount the indoor CCTV camera. Run the cable neatly back to a power source (and network switch/router if using Ethernet) and mount the camera using the included bracket. Then power it on, connect it to your CCTV app (or NVR), and confirm you can view live video and adjust motion detection settings before you fully secure everything.
How do you position an indoor security camera for the best coverage?
Place your indoor CCTV camera where it can capture faces and key activity areas, such as entrances, hallways, or room corners facing into the space. Mount it at a height that avoids easy tampering while still giving clear views—commonly around head level for people depending on your room layout. Avoid backlighting from windows, minimize glare from reflective surfaces, and test the field of view in live view mode to ensure faces are in frame.
Which is better for indoor CCTV cameras: Wi‑Fi or wired Ethernet?
Wi‑Fi indoor CCTV cameras are easier to install because they avoid running network cables, but performance depends on signal strength and interference. Wired Ethernet often provides more stable streaming and fewer connection dropouts, which is helpful for recording reliability. If you already have Ethernet in the room or you need consistent 24/7 coverage, wired may be the best choice; otherwise, Wi‑Fi can be ideal if your router coverage is strong.
Why won’t my indoor CCTV camera connect to Wi‑Fi, and how can I fix it?
Most indoor CCTV connectivity issues come from weak Wi‑Fi signal, incorrect Wi‑Fi credentials, or router settings like blocked 2.4GHz networks. Confirm the camera supports your network band (many indoor CCTV cameras use 2.4GHz), place the camera closer to the router during setup, and ensure your phone app is logged into the correct account. If problems continue, restart the camera and router, update the camera firmware in the app, and check for network restrictions such as “client isolation” or incompatible encryption settings.
📅 Last Updated: November 03, 2026 | Topic: How do you install an indoor CCTV camera? | Content verified for accuracy and freshness.
References
- Closed-circuit television
- IP camera
- Closed-circuit television
- https://www.nist.gov/publications/iot-device-cybersecurity-guidance-smart-home
- https://ico.org.uk/media/for-organisations/documents/1549/cctv-code-of-practice.pdf
- [Withdrawn] Surveillance camera code of practice – GOV.UK
- https://www.ncsc.gov.uk/guidance/securing-your-home-network
- https://scholar.google.com/scholar?q=how+to+install+an+indoor+cctv+camera Google Scholar
- https://scholar.google.com/scholar?q=indoor+ip+camera+installation+wifi+network+setup Google Scholar
- https://scholar.google.com/scholar?q=smart+home+camera+installation+security+best+practices Google Scholar