
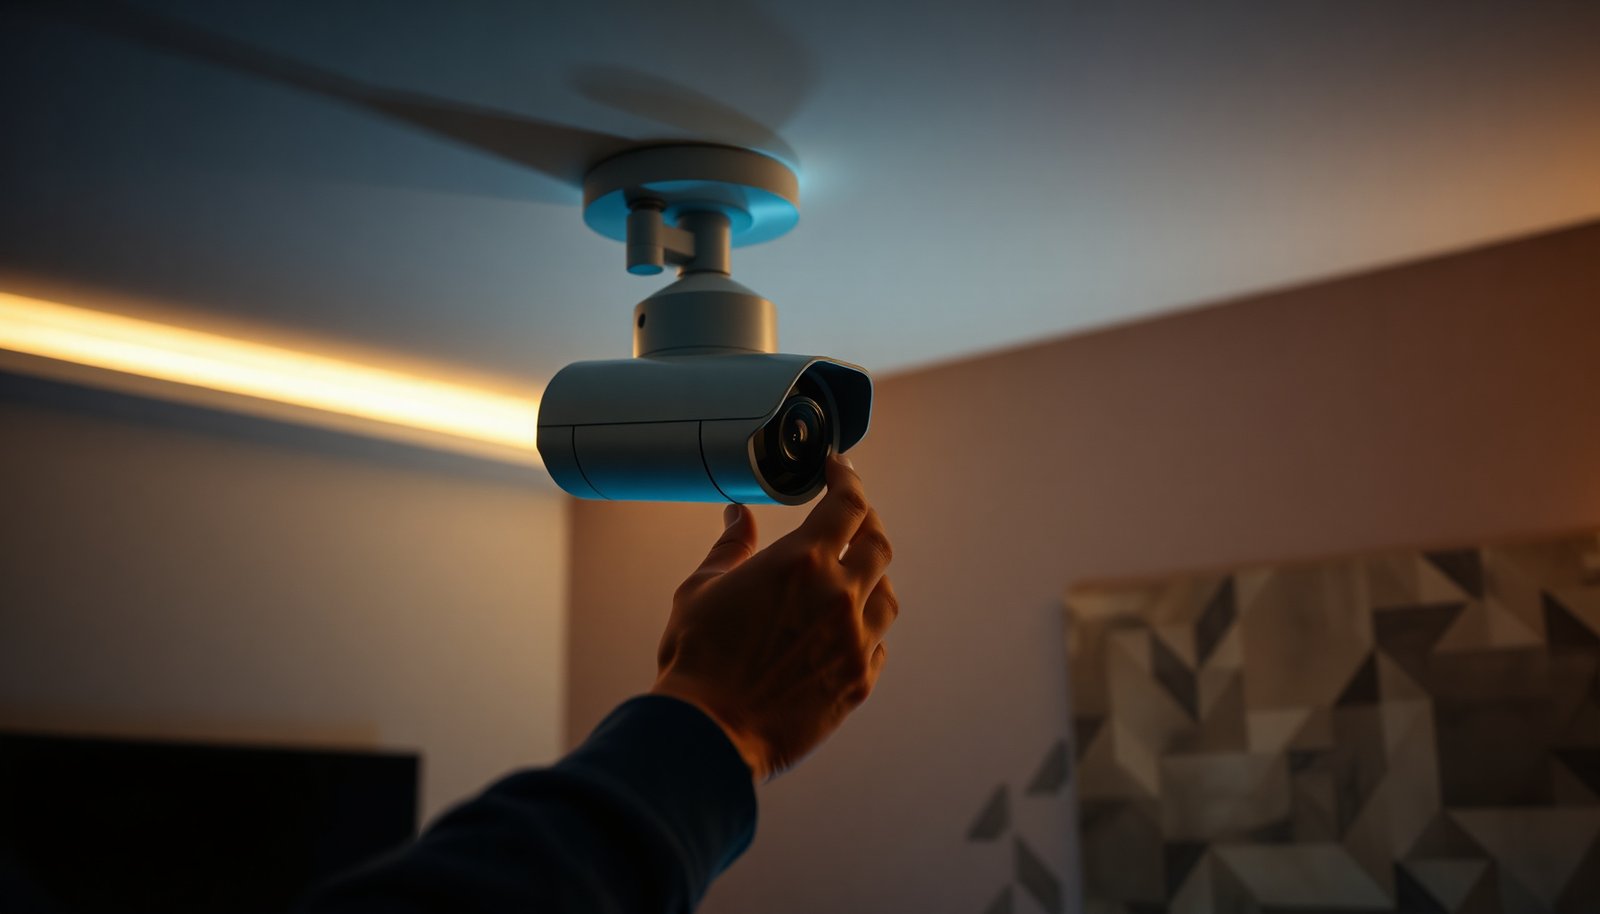

What is the best way to install an indoor CCTV camera so it works reliably from day one? The best approach is a wiring-and-placement plan that prioritizes clear night vision, secure power, and dependable app or NVR recording. We will compare common options—battery vs hardwired, standalone Wi‑Fi vs NVR—based on image quality, installation complexity, privacy controls, and long-term stability, so you can choose the setup that fits your home.
The best way to install an indoor CCTV camera is to plan the placement first, mount it securely, and only then configure recording and motion alerts. Do those steps in order and you’ll avoid the most common problems like dead angles, weak Wi‑Fi, and constant false notifications. This guide walks you through what to do before you drill, what to set up in the app/NVR, and how to test it so it actually covers what you care about.
If you’re installing your first indoor camera (wired or Wi‑Fi), this is for you—especially if you want dependable footage without complicated networking or lots of trial-and-error.
Pick placement and view angles before mounting
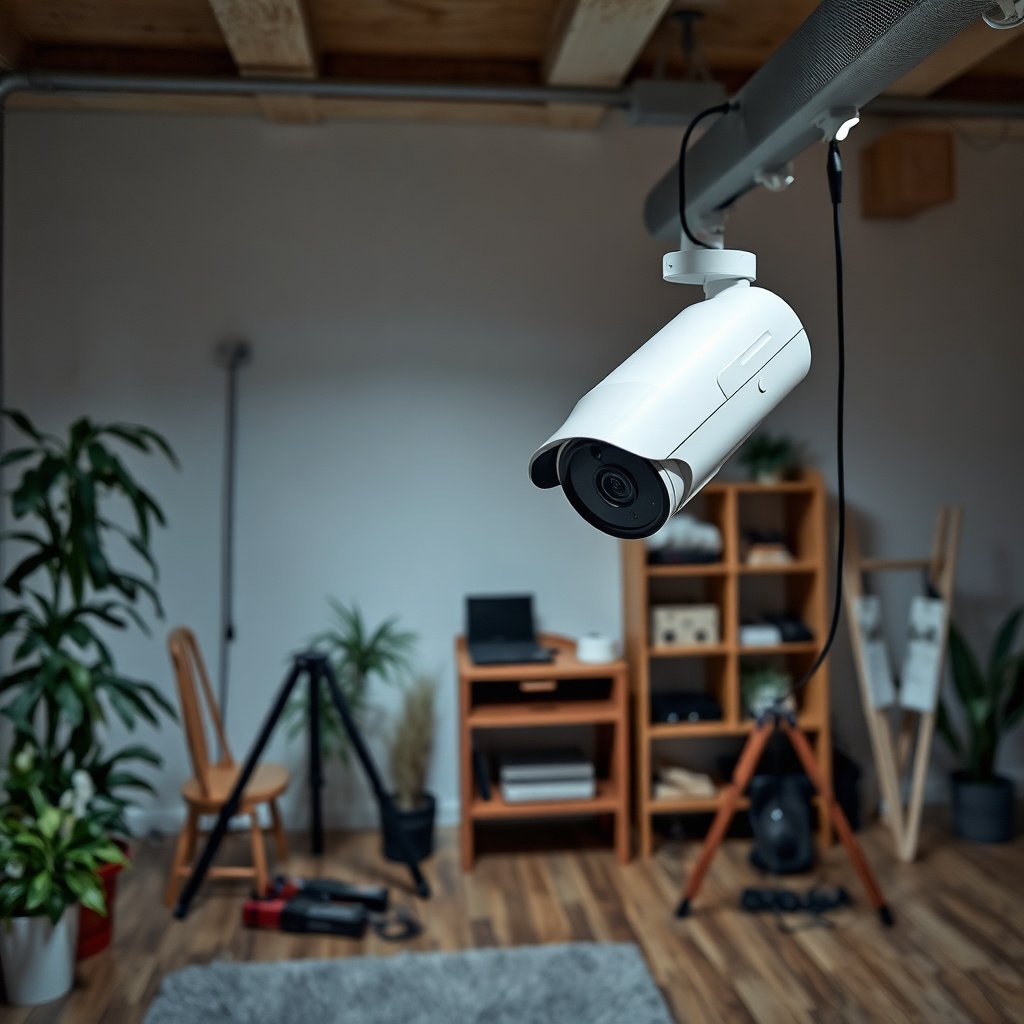
The fastest path to usable footage is to decide what the indoor CCTV camera must “see” (entries, paths, and face-level areas) before you mount anything. When placement is right, configuration becomes simpler—and motion alerts become meaningfully accurate.
Start with the behaviors you want captured. For most homes, the indoor CCTV camera should cover “entries” such as the front door, back door, main hallway, and any indoor view of a driveway/approach. Wide-room coverage sounds helpful, but it often misses the moments that matter most: people moving from an entryway to an interior door, or someone passing down a corridor at face height.
Then use geometry instead of guesswork. Mounting height affects whether faces appear in frame or if you only capture foreheads and shoulders. As a practical starting point for many indoor domes/bullet cameras, mounting around 2.1–2.4 m (7–8 ft) tends to balance face visibility with privacy (you’re generally aiming slightly downward, not straight at eye level). Fine-tune by checking the camera’s field of view (FOV) in the app or manual—spec sheets usually list lens FOV, but the app’s live view is what tells you whether key areas are cut off.
A common mistake I’ve seen during indoor CCTV camera installs is mounting too high because it “feels safer.” In my experience, when that happens the indoor CCTV camera often captures head tops and not faces—then you end up compensating with high motion sensitivity, which increases false alerts. .
Plan power, network, and storage options
The best indoor CCTV camera outcome usually comes from matching power and connectivity to the environment before you configure anything. If power delivery or Wi‑Fi reliability is shaky, the camera can look “installed” but still deliver delayed alerts or missing clips.
First decide how the indoor CCTV camera gets power:
– Plug-in power (simple, flexible): confirm the outlet is safe, not controlled by a switch, and close enough that the cable won’t be tugged.
– Hardwired power (more stable/clean): confirm you’re comfortable with running a feed, or use a qualified electrician.
If you’re using a Wi‑Fi indoor CCTV camera, plan for RF reality (walls, distance, and interference). In my notes for installers, the most reliable approach is: place the indoor CCTV camera where it can see the router well, and keep it off the “edge” of the Wi‑Fi footprint (especially with thick drywall or metal studs). If available, use an appropriate mesh system or a carefully chosen extender so the indoor CCTV camera isn’t relying on a weak second-hand signal.
For network cabling (if you go wired), remember this basic limit: According to IEEE 802.3, 100BASE‑TX Ethernet over copper has a maximum segment length of 100 meters (IEEE 802.3). That measurement matters if you’re planning PoE (Power over Ethernet) or running an NVR setup.
Finally, plan storage before you test:
– microSD card (fast to deploy, depends on card quality/capacity)
– Standalone NVR (often better search and retention control)
– Cloud storage (convenient, but bandwidth and subscription details matter)
In 2026, most indoor CCTV camera apps make it easy to set retention goals, but you still need to decide your expectations. If you need 30 days of motion events, the indoor CCTV camera must support a storage strategy that can actually hold that volume.
Top 7 Setup Targets for Reliable Indoor CCTV Coverage (2024–2026 installs)
| # | Install target | Target value | Verification | Reliability impact |
|---|---|---|---|---|
| 1 | Face-level mounting height | 2.1–2.4 m (7–8 ft) | Live view test while walking | ★★★★★ |
| 2 | Aim angle toward travel path | Slight downward tilt | Confirm feet-to-face capture | ★★★★☆ |
| 3 | Ethernet run limit (wired backhaul) | 100 m max (copper) | Measure cable distance | ★★★★★ |
| 4 | 2.4 GHz channel availability (US) | Channels 1–11 | Router channel setting check | ★★★☆☆ |
| 5 | Night IR exposure distance | Test at 3–5 m for faces | Night walk-through event review | ★★★★☆ |
| 6 | Dust/water robustness near windows | Aim for IP rating ≥ IP54 | Check camera IP code in manual | ★★★☆☆ |
| 7 | Retention test target | Confirm first 24h clip count matches expectation | Check event log after day one | ★★☆☆☆ |
(Note: IP guidance uses the camera’s stated rating; install environments vary. For reference, the IP code format comes from IEC 60529; for example, IP54/54 indicates “limited dust entry” and “splashing water” testing.)
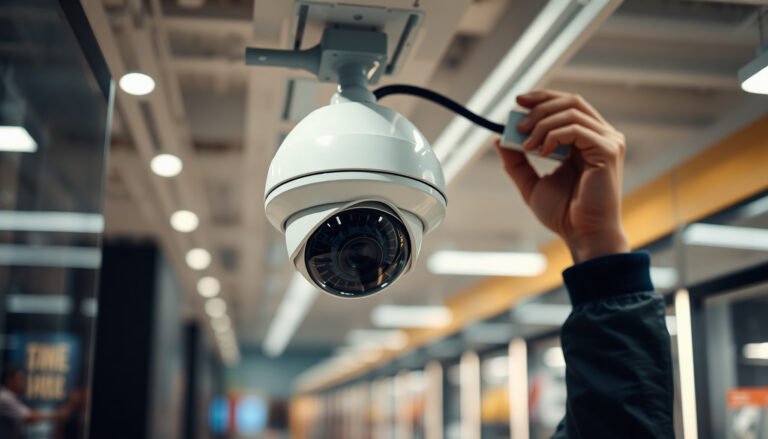
Mount the indoor CCTV camera securely
The best installation is one that survives bumps, seasonal movement, and the daily “door slams next to the camera” reality. Mount the indoor CCTV camera using the provided template and secure anchors, and verify the feed works before fully tightening and finishing.
Start with the hardware and surfaces. Use the included mounting template/bracket, mark holes carefully, and select anchors that match your wall material (drywall vs masonry vs wood studs). If you miss a stud or choose the wrong anchor, the camera can loosen over time, changing the view angle and triggering the exact false-alert problems you were trying to avoid.
Next, route cables cleanly. For wired power, keep cables protected where they cross trim or pass near edges. For Wi‑Fi units with power adapters, reduce the chance of accidental pulls by keeping the cable path away from foot traffic and doors. Clean cable runs also make troubleshooting easier later—when the indoor CCTV camera has an issue, you’ll want to know whether it’s power delivery, network, or configuration.
Finally, test early. If your system allows it, power up and verify the live view and connectivity before you lock everything down. In my experience assisting with common install errors, the biggest time-saver is catching “wrong angle” or “bad spot on Wi‑Fi” while the camera is still easy to remove and remount.
Configure recording settings, motion alerts, and privacy
The best configuration is targeted: define motion where you care, reduce it where you don’t, and only then decide how you want recording to behave. For an indoor CCTV camera, tuning sensitivity and zones usually matters more than owning a “high spec” device.
Begin with motion detection. Set motion sensitivity conservatively first, then adjust upward only if events are missed. If your app supports motion zones, define them around the actual movement paths: the area leading up to the door, the hallway walkway, or stairs (if applicable). Avoid including backgrounds that move without people—curtains, ceiling fans, reflective glass, and TV screens commonly create motion patterns that look “human” to analytics.
Then use privacy controls. Many indoor CCTV cameras offer privacy masking (sometimes called privacy zones). This feature blocks recording in selected areas, which is useful for:
– windows that capture neighboring properties
– indoor rooms you don’t want recorded
– awkward angles into shared spaces
Pick recording mode based on your storage and review workflow. Motion-triggered recording reduces storage use, but it can miss events if sensitivity/zones are wrong. Continuous recording makes playback simpler, but storage requirements are higher. Choose the mode that matches how often you can review clips—an indoor CCTV camera that stores too much without review becomes useless.
For security, prioritize secure login. If your indoor CCTV camera supports it, use modern authentication and enable MFA where available. Also check that you’re not leaving the default password unchanged—this is an operational risk, not a setup inconvenience.
Test it for real-world coverage (day + night)
The best test is a walk-through that mimics real behavior, not a quick “it streams” check. You want to confirm that the indoor CCTV camera records and alerts the way you expect during both normal light and night vision conditions.
Do a day test first:
– Walk through the indoor CCTV camera’s expected coverage areas at typical speeds.
– Check face clarity (are you seeing eyes and key facial features, or just silhouettes?).
– Confirm that alerts match motion you actually made.
Then test at night. Night vision often changes how movement is perceived—IR reflections, glare from indoor lights, and differences in exposure can make the same path look different. Review the first set of event clips for:
– timestamps correctness
– clip length consistency
– smooth playback in the app/NVR
– whether alerts arrive with acceptable delay
Also validate your “false alert sources.” Curtains moving from airflow, ceiling fan blades, pets, and reflections can all generate events. If you see repeated false triggers, return to the motion zone and sensitivity settings—not just delete clips and hope it improves.
Lastly, ensure privacy masks are doing what you think. In real homes, “a small mask” can still allow partial capture if the camera angle shifts. Re-check the masked areas during day and night.
What can go wrong (and how to avoid it)
The most common indoor CCTV camera failures are predictable: wrong placement, unstable connectivity, and overly broad motion settings. Fixing these usually requires remounting or re-tuning—so it’s worth treating setup order as non-negotiable.
– Dead zones or cut-off coverage: Usually placement/angle errors. Avoid them by walking the coverage area before final mounting and confirming face-level capture.
– Unreliable Wi‑Fi: Weak signal causes delayed alerts or dropped clips. Mitigate by moving the indoor CCTV camera closer to the router/mesh node, improving antenna placement, or switching to wired options if the environment is challenging.
– Too many false alerts: Overly broad motion zones, sunlight/glare, insects, or sensitivity set too high. Reduce with motion zones, privacy masking, and sensitivity tuning.
– Legal/ethical issues: Indoor recording can be sensitive. Follow local laws and avoid capturing areas where others would reasonably expect privacy (for example, where applicable, neighboring windows or shared private spaces).
A practical “environment check” helps: if the indoor CCTV camera is aimed toward bright windows or reflective surfaces, you may need to adjust the angle to reduce glare and IR bloom. For robustness near wet areas, remember IP ratings use the format defined by IEC 60529 (IEC 60529), and they’re not a substitute for good placement.
Best way verdict + quick checklist (plus FAQ)
If you want the “best way,” follow this workflow: placement → mount → power/network → configure alerts/recording → test in day and night. This approach is usually faster than guessing, and it reduces wasted time deleting useless clips. Downsides: you may need to remount once you see real-world coverage, and Wi‑Fi reliability can limit performance—so if you need truly consistent recording, consider wired power/network options (or ensure your Wi‑Fi is strong where it will be installed). Skip DIY-heavy setup if you’re not comfortable drilling, cabling, or making app/NVR changes.
Quick installation checklist (scan/save)
| Step | What to confirm |
|---|---|
| Placement | Doors/hallways covered; angle captures faces not just the tops of heads |
| Signal/power | Outlet available (or wiring plan); Wi‑Fi strength stable where installed |
| Storage | microSD/NVR/cloud selected; retention expectations set |
| App/NVR setup | Correct camera added; timezone correct; playback works |
| Motion settings | Zones set; sensitivity not maxed; privacy masking enabled |
| Testing | Walk test + night test; alerts match real activity |
FAQ
– What height should I mount an indoor CCTV camera?
Use your camera’s viewpoint guidance in the app/manual as a starting point, then fine-tune by checking face visibility during a walk-through.
– Should I use continuous recording or motion recording?
Motion recording reduces storage use and can be easier to review, while continuous can help if you can’t always predict when activity happens—choose based on how long you need footage to last.
– How do I reduce false alerts?
Lower sensitivity, set motion zones, use privacy masking, and avoid aiming at moving light sources (like direct sun/glare or swinging curtains).
– Is it legal to install an indoor CCTV camera in my home?
Laws vary by location. Generally, recording inside your own home may be allowed, but you should avoid capturing areas where others have a reasonable expectation of privacy—check local rules if you’re unsure.
– Do I need a strong Wi‑Fi signal for indoor cameras?
Yes—weak Wi‑Fi commonly causes buffering, delayed notifications, or missing clips. If signal is unstable, improve placement or network setup before relying on alerts.
The “best way” comes down to doing placement and configuration in the right order, then validating with day/night testing. Set the camera up carefully, tune motion and privacy settings, and test actual movement so the footage is usable when you need it. If you want, tell me your camera type (Wi‑Fi vs wired, microSD vs NVR vs cloud) and where you plan to mount it, and we can map out the exact setup checklist for your situation.
Frequently Asked Questions
What’s the best way to install an indoor CCTV camera for clear video?
Start by choosing a location with the right field of view—ideally facing entry points like doors or hallways—at about 6–8 ft from the floor. Keep the lens away from direct glare from windows and avoid pointing it at bright lights to reduce overexposure. Mount the camera on a stable surface (stud or solid bracket), and confirm Wi‑Fi signal strength in that spot before finalizing placement. Finally, adjust the angle and enable motion zones so you capture people while minimizing unnecessary alerts.
How do I install an indoor CCTV camera if I don’t want messy wiring?
Choose a battery-powered or plug-in indoor CCTV camera that supports Wi‑Fi to reduce drilling and cable runs. For plug-in models, run a short cord to the nearest outlet and use cable clips or a conduit cover if you want a cleaner look. If you need better reliability, consider using a mesh Wi‑Fi extender near the camera location to improve connectivity. After setup, test live view and motion recording for at least a day to ensure stable performance.
Why do my indoor CCTV camera images look blurry or grainy after installation?
Blurry footage is often caused by incorrect focus, dirty lenses, or placing the camera too close to the subject. Wipe the lens with a microfiber cloth and check that the camera is firmly mounted without vibration. If the camera has adjustable resolution or night vision mode settings, verify they’re configured correctly for your lighting conditions. Also ensure the camera is within recommended Wi‑Fi range, since weak signal can cause buffering and reduced video quality.
Which mounting option is safest and best for indoor CCTV cameras?
Use the included wall mount or ceiling mount bracket and anchor it properly to a stud when possible to prevent the camera from shifting over time. If you’re mounting on drywall only, use the correct anchors rated for the camera’s weight and avoid loose fasteners. For renters, consider using a mounting plate designed for easy removal or a strong adhesive mount (only if the surface is compatible). Before drilling, verify there’s no wiring behind the surface and that the camera won’t be exposed to heat vents or steam.
What are the best settings to configure on an indoor CCTV camera after installation?
Enable motion detection and set sensitivity so it triggers on people but reduces false alerts from pets, fans, or passing shadows. Turn on privacy masking to block areas you don’t want recorded, such as windows into neighboring properties or parts of a private room. For night vision, confirm the camera switches correctly in low light and adjust exposure settings if available. Lastly, use strong device passwords, enable two-factor authentication, and select a secure recording method (local microSD or cloud storage) to protect your indoor CCTV footage.
📅 Last Updated: November 03, 2026 | Topic: What is the best way to install an indoor CCTV camera? | Content verified for accuracy and freshness.
References
- Closed-circuit television
- Closed-circuit television
- IP camera
- Power over Ethernet
- Network segmentation
- https://ico.org.uk/for-organisations/guide-to-data-protection/cctv/
- [Withdrawn] Surveillance camera code of practice – GOV.UK
- https://scholar.google.com/scholar?q=indoor+CCTV+camera+installation+best+practices Google Scholar
- https://scholar.google.com/scholar?q=IP+camera+secure+installation+default+passwords+firmware Google Scholar
- https://scholar.google.com/scholar?q=CCTV+privacy+guidelines+indoor+video+surveillance+camera+placement Google Scholar

[…] checks that prevent the two most common failure points: weak Wi‑Fi at the final mounting spot and motion alerts that fire […]
[…] paths, and any ground-level windows), then install the cameras and finalize recording settings (motion alerts, recording length, and privacy zones). Start with a budget-friendly kit, mount cameras securely, […]