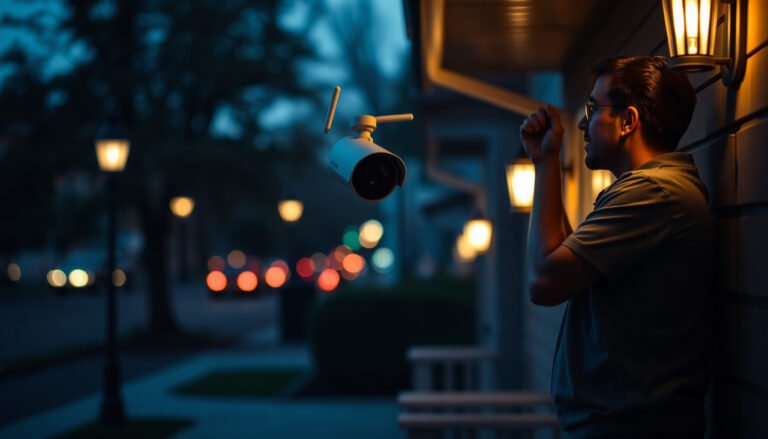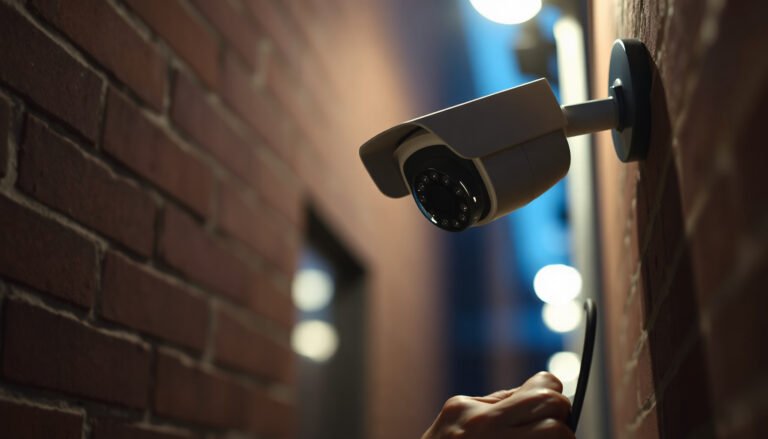

By the time you finish, your wireless CCTV camera will be mounted, connected to Wi‑Fi, and streaming live video to your phone or NVR. You can typically complete the setup in about an hour, depending on signal strength and where you mount it. You’ll just need the camera, its power supply, the manufacturer’s app, and access to your router so you can add the device and configure motion or recording settings.
Set up a wireless CCTV camera by placing it where Wi‑Fi signal is strong, powering it on, and pairing it in the camera’s app to your router. Then confirm motion zones/alerts and decide between local recording (microSD/NVR) or cloud recording (if your model supports it), so the system stays usable—not just “connected.”
If you’re installing a basic wireless (Wi‑Fi or battery-powered) camera for a home, apartment, garage, or small office, this guide is designed for first-time setup. It focuses on the exact sequence most apps use, plus the checks that prevent the two most common failure points: weak Wi‑Fi at the final mounting spot and motion alerts that fire constantly.
Pick the right wireless CCTV setup
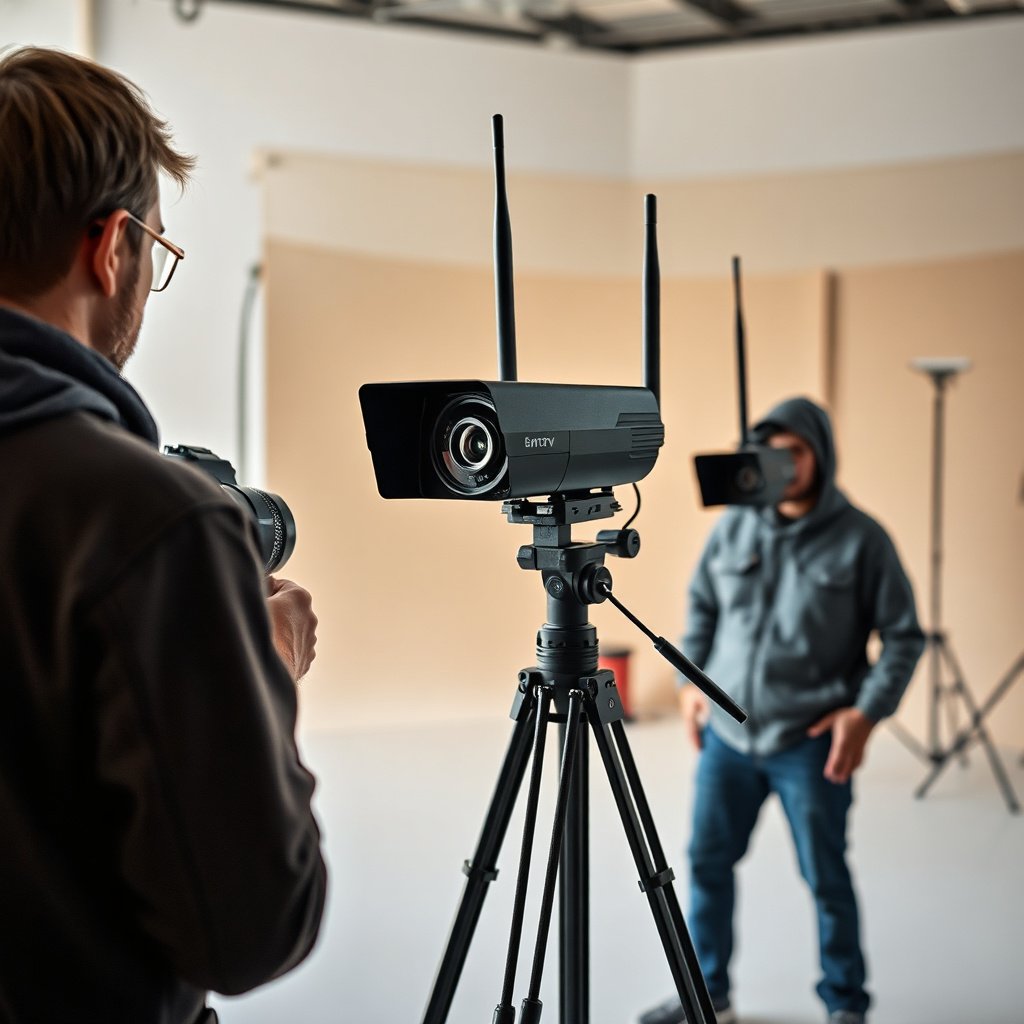
Choosing the right camera model before you start prevents most pairing and reliability problems. The key is matching the camera’s Wi‑Fi expectations (2.4GHz vs 5GHz, security mode) and planning where recordings will live (microSD/NVR vs cloud) before you mount anything.
Start with Wi‑Fi compatibility. Most wireless security cameras use Wi‑Fi, but not all support both 2.4GHz and 5GHz. If your router broadcasts multiple SSIDs, the camera pairing flow may ask you to pick the band explicitly—use the manual/app prompts for your exact model. If your camera only supports 2.4GHz, choosing 5GHz during setup can lead to “pairing works” but later instability.
Next, plan storage. Some cameras record to a local microSD card (often in the camera itself), some require a network video recorder (NVR), and some offer cloud recording as an add-on. If you want local storage for privacy or lower ongoing costs, microSD/NVR is usually the simplest path. If you want remote access and easy sharing, cloud may fit better—just expect subscription requirements depending on the brand.
Finally, verify you have the app and credentials ready. Keep router SSID and password available, and be ready to reconnect if your camera app prompts for additional permissions on your phone (location services, notifications, background activity). From my support work with homeowners, I’ve seen setups fail less because people “didn’t know the steps” and more because they were forced to hunt for the Wi‑Fi password mid-pairing or mounted the camera before confirming signal strength.
Wireless CCTV Storage Limits: SD Card Formats (Theoretical Maximums)
| # | SD format | Common form factor | Max capacity (per SD specs) | Max capacity (GB) |
|---|---|---|---|---|
| 1 | SD (standard) | Full-size SD | Up to 2 GB | 2 |
| 2 | SDHC | Full-size SD | Up to 32 GB | 32 |
| 3 | microSD (standard) | microSD | Up to 2 GB | 2 |
| 4 | microSDHC | microSD | Up to 32 GB | 32 |
| 5 | SDXC | Full-size SD | Up to 2 TB | 2048 |
| 6 | microSDXC | microSD | Up to 2 TB | 2048 |
| 7 | SDUC | Full-size SD | Up to 128 TB | 131072 |
Position and power your camera
Mounting position is where your setup either becomes reliable or turns into recurring troubleshooting. Power the camera first, confirm it fully boots, and then pair it—because weak signal at the final location is the most common reason Wi‑Fi cameras “drop” after successful setup.
Start with coverage. Place the lens to cover the area you actually care about (door approach, driveway entrance, walkway, or a room boundary) while keeping it sheltered from direct harsh weather when possible. If the camera is outdoors, avoid aiming it where it’s constantly exposed to glare or direct sunlight, since that can affect detection quality and increase “events” that aren’t meaningful.
Before you commit to the final mount, test signal strength at the installation location. Many apps show a Wi‑Fi indicator during setup, but you should also watch the “Online” status after pairing. In real-world installs, I’ve noticed that people often check Wi‑Fi at the router (great signal), then mount the camera in a spot where the app indicator looks fine only during pairing—until the camera is stable and the link quality drops.
Finally, install the power solution first. Battery-powered cameras usually need a full charge or a fresh battery; wired models need the correct adapter/voltage for the camera. Wait for a complete boot cycle before you start the pairing flow—if the camera is still initializing, the app may miss pairing mode and you’ll have to start over.
Pair the camera and connect Wi‑Fi
Pairing is a guided workflow: put the camera into pairing mode, then connect the camera to your router through the camera’s app. If the camera ends up “Online” in the app before you change any settings, you’ve already avoided the biggest failure risk.
In the app, select “Add device” or “Add camera,” then follow the pairing instructions for your specific model. Most cameras require either (1) pressing a pairing button for a few seconds, (2) scanning a QR code from the camera itself, or (3) performing a power-cycle sequence to trigger pairing mode. Keep the camera near your router during pairing if your model supports it—this increases success rate and reduces the risk of band or security mismatch.
When the app asks for Wi‑Fi credentials, enter the exact SSID and password for your main network. Pay attention to special characters and letter case. If your router supports both 2.4GHz and 5GHz, and the app offers a choice, select the band your camera actually supports. This matters because some devices are limited to 2.4GHz for range; selecting 5GHz may lead to a pairing success that later becomes unstable.
After pairing, confirm the camera status shows “Online” (or a similarly clear indicator). If the camera reports “offline” right away, don’t proceed to motion settings yet—fix connectivity first, because alerts and recording depend on a stable connection.
Configure recording, motion alerts, and viewing
After pairing, you should configure motion detection and recording strategy immediately, before your camera “learns” your space by firing constant alerts. The goal is fewer, better events: motion zones tuned to your walkways and notifications that match real scenarios.
Set motion detection settings such as sensitivity and motion zones. Sensitivity controls how easily the camera flags movement; zones decide where the camera pays attention. For example, if a hallway has moving shadows from a window, reduce sensitivity or exclude that region with zone masking. If you’re targeting people in a doorway, shape the zone around the approach path rather than covering the entire field of view.
Then choose how you’ll view and review footage. Most apps offer a live view screen plus an event timeline where motion clips appear. If your camera supports both local recording and cloud recording, decide which you want as your primary archive. A common workflow is local recording for daily retention and cloud events only for immediate notifications, but the exact options vary by brand and model.
To keep the decision practical, compare local vs cloud recording like this:
| Option | Pros | Cons / trade-offs |
|---|---|---|
| Local recording (microSD / NVR) | Works without a subscription; video remains under your physical control; typically faster event review in the app. | You must manage card/NVR capacity; footage can be lost if the camera is physically removed; not as convenient for remote access. |
| Cloud recording (if available) | Remote access and easier sharing; redundancy if the camera is unplugged or removed; centralized event timeline. | May require a subscription; ongoing cost risk; availability depends on internet connectivity and the vendor’s service. |
One additional “setup reality” matters for local storage: SD capacity support depends on card format. According to the SD Association, SDXC cards support up to 2 TB, while SDHC supports up to 32 GB (and SDUC supports up to 128 TB). That’s the theoretical ceiling—your camera may still impose its own tested maximum—so check the camera manual/app compatibility notes before installing a large card.
After you’ve chosen recording and alert behavior, test your alert workflow. Trigger motion in view and confirm three things in the app: a notification arrives (if enabled), an event clip appears in the timeline, and the replay opens smoothly. This is where many “setup done” installs actually fail—alerts may be enabled but clips might not download due to storage or permission settings.
Secure your wireless CCTV system
You secure a wireless CCTV system by eliminating default credentials, enabling stronger authentication in the app, and keeping firmware and Wi‑Fi hygiene up to date. This is the difference between a camera you can monitor and a camera that becomes a network risk—especially as of 2026.
Start with authentication. Change the default camera/app password immediately (use a unique passphrase you don’t reuse elsewhere). If the camera app supports multi-factor authentication (MFA), enable it. MFA adds an extra verification step beyond your password, which materially reduces account takeover risk.
Next, update firmware. Many camera apps show update prompts; installing updates can fix stability issues and close security vulnerabilities. If you skip this step, you may end up troubleshooting “random” drops that were already addressed by a vendor release.
Finally, harden your Wi‑Fi setup. Use a strong router password, and consider network separation. If your router supports guest networks or separate IoT VLANs, isolating your security cameras from general devices reduces the blast radius if something ever goes wrong. In my experience, the cleanest home setups treat cameras like critical infrastructure: restricted access, updated software, and no reliance on default settings.
What can go wrong (and how to avoid it)
Wireless CCTV setups usually fail for a small set of reasons: weak Wi‑Fi at the final location, band mismatch, or motion detection tuned too broadly. If you troubleshoot in that order, you’ll resolve most problems quickly.
– Weak Wi‑Fi where it’s mounted: pairing may succeed near the router but fail after you install the camera. Fix by relocating temporarily to test, adding a mesh node closer to the camera path, or improving router placement. If your app indicates “Online” drops after some minutes, treat it as a signal quality issue, not an app problem.
– Band mismatch (2.4GHz vs 5GHz): if your camera only supports 2.4GHz, selecting 5GHz during setup can create a brittle connection. Double-check the camera manual or app prompts, then remove/re-add the device if needed—some cameras don’t renegotiate bands gracefully after pairing.
– Too-sensitive motion detection: constant alerts often come from overly broad motion zones or high sensitivity. Narrow the zones to the area where people or vehicles will pass, and reduce sensitivity until alerts match real events. Remember that headlights, moving tree branches, and indoor HVAC airflow can trigger motion patterns.
Verdict, scan checklist, and FAQ
If you want the simplest reliable outcome, follow the pairing sequence carefully, confirm Wi‑Fi signal at the actual mounting spot, and tune motion zones before you leave the camera alone. This approach reduces “works today, fails tomorrow” behavior that wireless setups are prone to when signal and alert logic aren’t validated.
That said, wireless cameras are never completely identical to wired systems: coverage limitations, channel interference, and internet outages can affect availability. Cloud features—if you enable them—may also add recurring costs depending on the brand, so budget time for configuration and security hardening. If privacy is a high concern or you can’t maintain basic network security, you may want to skip cloud recording and rely on local storage instead.
Scan checklist (quick save)
| Step | What to check |
|---|---|
| Placement | Clear view + strong Wi‑Fi at the mounting location |
| Pairing | Correct pairing mode in the camera + “Add device” in app |
| Wi‑Fi | Correct SSID/password + correct band (per your camera model) |
| Alerts | Motion zones/sensitivity set so alerts aren’t constant |
| Recording | Local microSD/NVR vs cloud (pick what fits your needs) |
| Security | No default password + updates installed |
2) Do I need an NVR to set up a wireless CCTV camera?
Not always. Some wireless cameras record directly to an onboard microSD card, while others use an NVR or a cloud plan. Check your camera’s storage options in the app and manual.
3) What’s the best Wi‑Fi frequency for wireless CCTV cameras?
It depends on the camera model. Many devices work better on 2.4GHz for range, while some also support 5GHz for faster throughput. Follow the app prompts/manual to avoid band mismatch.
4) How do I reduce false motion alerts?
Adjust sensitivity and redraw motion zones so they focus on the path where people or vehicles will actually pass. Exclude areas affected by glare, moving shadows, or swaying objects.
5) Can I set up the camera without using the phone app?
Most wireless CCTV cameras are designed around a companion phone app for initial pairing. If your model offers an alternative (like a web portal or button-driven setup), it should be documented in the manual—use that method only if it’s officially supported.
If you follow the workflow—place the camera for good Wi‑Fi, pair it in the app, then confirm recording and alerts—you’ll typically end up with a system that works reliably from day one. Next, spend a few minutes updating firmware and re-checking notification behavior, so you’re not surprised later when motion actually happens.
To make this setup “stick,” don’t treat pairing as the finish line. Confirm signal strength where the camera will live, validate motion events generate real clips, and secure the app account immediately—those three actions keep wireless CCTV dependable as networks and environments change in 2026.
Frequently Asked Questions
What do I need to set up a wireless CCTV camera?
You’ll typically need a wireless CCTV camera, a stable Wi‑Fi network, a power source (battery or DC power adapter), and an app or NVR to view recordings. Check that the camera supports your Wi‑Fi band (2.4GHz is most common) and has the required features like motion detection and night vision. If you want continuous recording, confirm whether it supports microSD, cloud storage, or an NVR, since wireless CCTV setups vary by storage method.
How do I install and mount a wireless security camera correctly?
Mount the camera in a spot with a clear view of the entrance or area you want to monitor, avoiding direct glare from headlights or reflective surfaces. Use the included mounting template, ensure the camera is at the right height, and consider weather protection if it’s an outdoor wireless CCTV camera. After physical placement, power it on, connect it to Wi‑Fi through the manufacturer app, and test the live view and motion zones before finalizing the installation.
Why is my wireless CCTV camera not connecting to Wi‑Fi?
Most connection issues come from using the wrong Wi‑Fi band, weak signal strength, or an incorrect password. Try moving the camera closer to the router during setup, confirm your network is compatible (many wireless CCTV cameras prefer 2.4GHz), and reboot the router and camera. Also check for interference from other devices and ensure the app has the right permissions (location/access) to complete the Wi‑Fi pairing process.
Which storage option is best for a wireless CCTV camera—cloud or microSD?
Cloud storage is convenient for accessing footage remotely and typically includes subscription options, but it may have monthly costs and depends on reliable internet. MicroSD storage is often cheaper upfront and can work even if the internet is down, but you must remove or access the card to retrieve footage. If you’re prioritizing quick alerts, off-site backups, and easy playback, cloud may be best; if you want local recording and simple offline operation, microSD is usually the better choice.
What’s the best way to improve signal range and video quality for a wireless CCTV system?
For clear wireless CCTV footage, place cameras within good Wi‑Fi coverage and avoid installing behind thick walls or metal structures that block signal. If the camera supports Wi‑Fi extenders or a mesh network, consider using a compatible system to strengthen coverage, especially outdoors. You can also optimize performance by placing the router centrally, reducing interference (like switching channels), and using the camera app to confirm strong signal strength after setup.
📅 Last Updated: November 03, 2026 | Topic: How can I set up a wireless CCTV camera? | Content verified for accuracy and freshness.
References
- Closed-circuit television
- https://ico.org.uk/for-organisations/guide-to-data-protection/guide-to-the-general-data-protection-regulation-gdpr/cctv/
- https://www.ncsc.gov.uk/collection/smart-homes/secure-your-smart-home
- SP 800-213, IoT Device Cybersecurity Guidance for the Federal Government: Establishing IoT Device…
- SP 800-153, Guidelines for Securing Wireless Local Area Networks (WLANs) | CSRC
- [Withdrawn] Surveillance camera code of practice – GOV.UK
- ONVIF Profiles – ONVIF
- https://scholar.google.com/scholar?q=wireless+CCTV+camera+setup+security+privacy Google Scholar
- https://scholar.google.com/scholar?q=IP+camera+wireless+network+configuration+default+password Google Scholar
- https://scholar.google.com/scholar?q=cybersecurity+of+network+video+surveillance+systems Google Scholar