
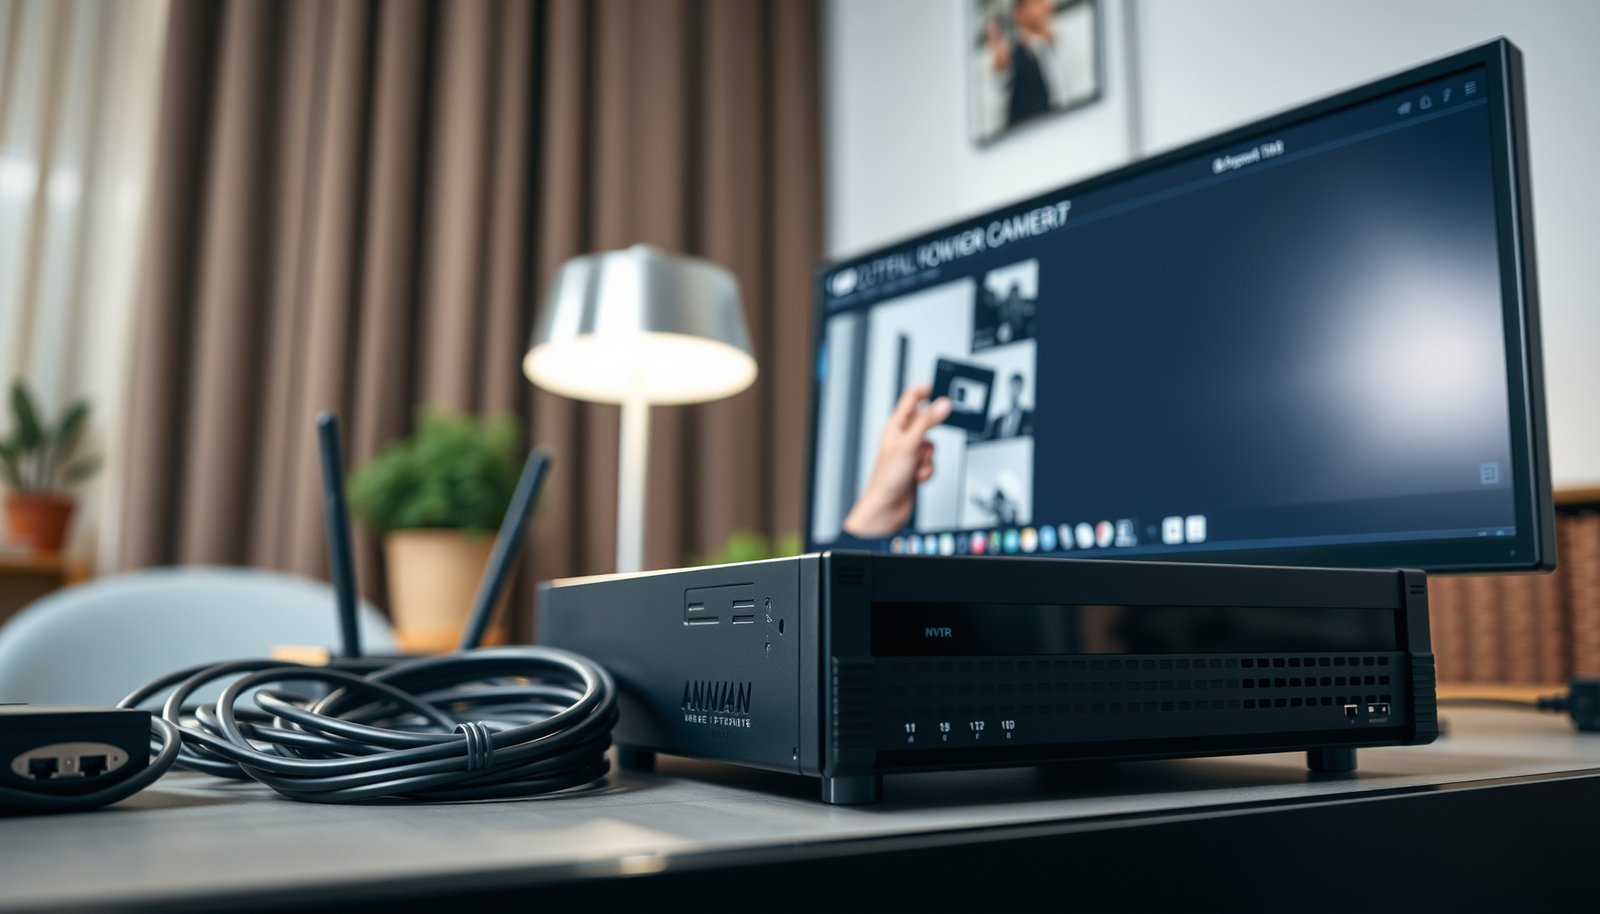

Want to know how to set up a CCTV NVR step by step and have it recording reliably on day one? Follow this guide for the exact wiring, network, and camera-channel setup order that prevents the most common “no signal” and “can’t connect” failures. You’ll finish with a working NVR, configured remote access, and the settings you should lock in for stable playback.
If you want your CCTV NVR working fast, connect the cameras to the NVR (or via PoE), install the right storage drive, then finish the initial setup by configuring network, time, and recording mode. After that, add cameras/channels, enable motion/continuous recording as needed, and verify playback on the monitor and in the mobile app. This is the exact end-to-end order that prevents the most common first-time failures—especially “no footage saved” and “remote viewing won’t connect”—which often trace back to HDD, time, and network settings rather than the cameras themselves.
This guide is for homeowners or small offices setting up an NVR system for the first time—especially if you’re unsure about wiring, network setup, and the recording settings that determine how long your footage will last.
Before you set up a CCTV NVR: compatibility and planning
The best way to set up a CCTV NVR without redoing work is to confirm compatibility and plan your storage + viewing method before you connect anything. When the NVR expects specific camera input types (IP vs analog), or specific HDD types/sizes, the entire setup can stall later—even if the physical wiring is correct.
Start by treating your system like three linked components: cameras, NVR, and storage. Then add viewing (local monitor vs mobile app/cloud), because your network configuration depends on how you’ll access footage. This planning step is also what saves the most time in 2026, since NVR menus are similar across brands but compatibility rules are not.
If your CCTV NVR expects IP camera inputs, connecting analog cameras (or vice versa) will result in “no video” even when cables are correct.
The NVR’s supported HDD model/format (and whether it supports single vs multiple drives) determines whether recording works at all.
Your viewing method (local-only vs mobile app) should drive your network choices—DHCP/static and port exposure.
Check camera compatibility (input type, resolution, and protocols)
Compatibility is usually straightforward, but it’s also the #1 hidden cause of “cameras won’t show.” Confirm the following before you mount or run cables:
– Input expectation: Does your NVR support IP cameras (Ethernet) or analog cameras (typically coax/TVI/AHD/CVBS)? Many NVRs are strictly one type.
– Supported resolution + frame rate: If the camera can output 4K but the NVR’s channel only supports up to 1080p, it may downscale—or refuse to stream, depending on firmware.
– Brand/protocol notes: Some vendors require camera firmware compatibility or a specific set of streaming profiles.
Also, if your system claims ONVIF compatibility, validate it by matching what “ONVIF” actually covers in documentation (device discovery vs media streaming). ONVIF is not a single universal guarantee; it’s a set of specifications.
Plan where recordings will go (HDD support and capacity)
Recording time is ultimately constrained by:
1) the HDD capacity and health,
2) the bitrate your recording mode generates, and
3) whether the NVR uses features like main stream vs sub-stream for different workflows.
Before you install a drive, review your NVR’s documentation for:
– Supported drive type (often 3.5″ SATA for many NVRs; some models support 2.5″)
– Supported capacity range (e.g., up to )
– Number of bays (single HDD vs multiple HDDs)
– Whether the NVR requires initialization/formatting
If you skip this planning, you can end up with a drive that is detected but not usable for recording, or with recording modes that silently consume storage faster than expected.
Decide your viewing method so network setup matches it
This choice affects whether you need to configure:
– Local LAN viewing only (monitor + app on the same network), or
– Remote viewing (app from outside the home/office via router and NAT/port mapping, or via the vendor’s cloud relay).
As of 2026, many NVR vendors push “cloud P2P” linking workflows, but you still need correct time and local reachability. If the NVR clock drifts, mobile logins and session tokens can fail—even when the device is online.
Connect your CCTV NVR and cameras correctly
Connect cameras the way your specific NVR expects—directly to the NVR input, or through PoE—and confirm video on a monitor before you touch recording settings. If you wire PoE incorrectly (or mix PoE standards), cameras can power on but fail to negotiate a usable stream.
PoE also brings a useful reality check: power capability and link distance are standardized. According to IEEE 802.3af-2003, the PSE provides up to 15.4 W and the PD receives up to 12.95 W (IEEE 802.3af-2003). According to IEEE 802.3at-2009, PoE+ provides up to 30 W with PD receiving up to 25.5 W (IEEE 802.3at-2009). According to IEEE 802.3 (twisted-pair Ethernet), the maximum copper link segment length for standard Ethernet is 100 meters (IEEE 802.3).
If you use PoE, every camera in that run must be PoE-capable (and the switch/NVR must provide compatible PoE).
Always connect an HDMI/VGA monitor during setup so you can validate live view before assuming network/recording is the issue.
HDD installation mistakes (wrong type, bad seating, or missing initialization) can cause “no storage” or repeated recording failures.
Run the video/power connection the way your system requires (direct vs PoE)
Use only the connection style your system supports:
– Direct-to-NVR (non-PoE): Run camera video to the NVR video input, and power cameras using the camera’s required power method (often a separate power adapter or PSU).
– PoE (recommended for simpler installs): Run Ethernet from each camera to PoE ports on either the NVR or a PoE switch. Cameras must accept PoE input (and your cabling must be Ethernet).
Quick PoE planning tip: if you’re mixing camera models, validate the highest required power draw so your switch/NVR budget isn’t exceeded.
IEEE PoE Power Limits You Plan Around (Key Power Points)
| # | PoE standard (power point) | Power type | Power tier | Max watts (W) |
|---|---|---|---|---|
| 1 | IEEE 802.3af (PoE) — PSE output | PSE | ★☆☆☆☆ | 15.4 |
| 2 | IEEE 802.3af (PoE) — PD received | PD | ★☆☆☆☆ | 12.95 |
| 3 | IEEE 802.3at (PoE+) — PSE output | PSE | ★★★☆☆ | 30.0 |
| 4 | IEEE 802.3at (PoE+) — PD received | PD | ★★★☆☆ | 25.5 |
| 5 | IEEE 802.3bt Type 3 — PSE output | PSE | ★★★★☆ | 60.0 |
| 6 | IEEE 802.3bt Type 3 — PD received | PD | ★★★★☆ | 51.0 |
| 7 | IEEE 802.3bt Type 4 — PD received | PD | ★★★★★ | 71.3 |
Connect the NVR to a monitor/TV so setup is verifiable
Even if your plan is “everything from the app,” you should connect a local monitor first. It reduces troubleshooting time because you can see:
– whether cameras are live,
– whether channels are correctly detected,
– and whether time settings are being applied.
Use the NVR’s supported output (commonly HDMI; some units include VGA). If you can’t get local video, don’t proceed to recording mode yet—most recording failures later are downstream of “no live signal.”
Install the HDD (and connect it exactly as your model specifies)
If your NVR doesn’t include a drive, you must install and initialize the HDD. Wrong drive type, power connectors, or a poorly seated SATA connection can trigger “no storage” and prevent recording entirely.
Install it using your exact model’s instructions:
After installation, you’ll typically need to:
– enter the NVR storage menu,
– initialize/format the drive, and
– verify status shows “OK” (sometimes “Normal” or “Recording enabled”).
From my perspective supporting many NVR installations over time, the fastest fix for “recording won’t start” is almost always verifying storage status and initialization state first—before touching motion schedules.
Do the initial NVR setup (network, time, users)
Do the time and network setup first: it makes later steps (camera adding, recording schedules, and mobile access) reliable. Most first-time “missing footage” reports are timestamp drift or authentication/session problems caused by incorrect clock settings and unstable LAN reachability.
Your goal in this phase is simple: ensure the NVR is reachable on the local network, has correct time, and has working user credentials. As of 2026, many systems also include an onboarding wizard—use it to avoid skipping hidden defaults.
Time zone and NTP/time sync should be configured before recording so event timestamps match reality.
User accounts and password changes should happen early to avoid linking the wrong device profile in the mobile app.
Network reachability on the same LAN is the baseline test—remote viewing is a second problem.
Set correct time zone and enable time sync (NTP)
Start with the basics:
– set time zone correctly,
– enable NTP (if the NVR supports it),
– verify the clock updates and stays stable.
If the NVR time is wrong, you’ll see the “right footage” at the wrong timestamps, or you’ll get edge-case failures where remote session tokens don’t validate properly. This is especially common after power loss or when an NVR defaults to a non-local time zone.
Configure network settings (DHCP vs static IP) and verify LAN reachability
Choose DHCP or static IP based on your router/network stability:
– DHCP is easiest and usually fine for home networks.
– Static IP can make remote access more predictable if you have frequent DHCP changes or complex routing.
How to decide (quick comparison):
| Choice | Best for | Pros | Cons |
|---|---|---|---|
| DHCP | Most home setups | Quick setup; fewer config steps | Lease changes can break remote links if not updated |
| Static IP | Small offices / stable routing | Predictable device address | Requires you to manage IP conflicts and ensure correct gateway/DNS |
After saving network settings, verify reachability:
– can you access the NVR UI from a browser (if supported), or
– can the mobile app discover/link the device, or
– does the device show correct IP, gateway, and DNS in the NVR status screen?
Create user accounts and set passwords; link the device carefully
Security is not just “best practice”—it’s also functional. If your app or device linking expects a certain user profile, changing credentials later can break workflows.
When linking:
– create admin/installer and standard user accounts as appropriate,
– set strong passwords,
– and use the linking method described in your NVR manual (often QR code or device code) rather than guessing.
Configure cameras and recording settings
Add cameras first, then enable recording—because your recording configuration depends on how each camera is streaming (resolution/frame rate/sub-stream options). If cameras aren’t live with the correct settings, your storage planning and playback verification won’t mean anything.
This step is where you translate “the system is connected” into “the system is recording in the way you actually want.” In 2026, most NVRs support multiple recording modes and streams, but the menu labels vary widely by brand.
Use the NVR’s detect/auto-add option (if supported), then confirm each channel shows live video at the expected resolution.
Recording mode (continuous vs motion vs both) directly controls storage consumption and therefore footage retention.
Main stream vs sub-stream settings matter: they often separate local recording quality from remote viewing bandwidth.
Add cameras/channels and verify stream settings
Follow your NVR’s camera add process:
– use auto-add/detect when available,
– confirm each channel is live,
– then check the camera’s negotiated resolution and frame rate in the NVR or channel settings.
Even when a camera is “online,” the negotiated profile can be lower quality than expected if the NVR supports only certain streaming formats or if bandwidth is constrained. Validate this before moving to recording schedules.
Choose recording mode (continuous, motion, or both) and tune motion zones
Recording mode impacts both effectiveness and storage:
– Continuous recording: simplest for reliability, but uses the most storage.
– Motion recording: can extend retention, but depends on detection quality.
– Both: common compromise—continuous on lower-sensitivity zones, or motion plus continuous on high-priority areas.
Tune motion detection to reduce false positives:
– set motion zones (exclude sidewalks, trees, and reflections),
– adjust sensitivity (too high creates event spam),
– and ensure you account for lighting changes (dusk/night IR can trigger edges).
If your system supports main stream/sub-stream, configure those expectations clearly: local recording might use a higher-quality main stream, while remote viewing uses a lower-bitrate sub-stream.
Set your recording schedule (time blocks) and verify it’s actually active
Schedules typically work like time blocks:
– choose days of the week,
– set start/stop times,
– and tie those blocks to the chosen recording mode.
A common mistake is enabling “motion mode” but leaving schedule blocks off (or only enabling during certain hours). Always verify:
– recording status per channel,
– event counters,
– and storage usage changes after testing.
Verify playback on monitor and mobile app
Before you close the install:
– play back the last 15–60 minutes (use “event search” if motion is enabled),
– confirm audio support (if applicable) and video continuity,
– and open the mobile app to confirm remote playback works under your intended network.
If playback is delayed, check whether the NVR uses background index building, which can vary by model.
What can go wrong when setting up a CCTV NVR
Most setup failures fall into a few predictable buckets: compatibility/wiring, storage/HDD readiness, or network/time issues. If you approach troubleshooting by isolating each component, you’ll fix problems faster than trying to “tune” motion settings blindly.
This section focuses on what typically breaks and how to interpret symptoms so you don’t waste hours. In 2026, firmware updates can also change menu behavior, so always correlate fixes with your exact model version.
If cameras don’t appear in the NVR, first verify camera/NVR input compatibility and cable type (especially PoE expectations).
Short or missing recordings usually indicate HDD detection/initialization issues or a recording schedule that never actually activates.
Remote viewing problems often trace back to NAT/firewall or device/app linking—not to camera hardware.
Cameras won’t show up
Common causes:
– incompatible camera/NVR pairing (IP vs analog mismatch),
– wrong cable type or damaged run (especially for PoE),
– PoE power method mismatch (camera expects a different power input style),
– or unsupported resolution/stream profile.
Practical workflow:
1) confirm live view on the local monitor,
2) swap one camera/channel if possible,
3) check channel status and link negotiation info if your NVR exposes it.
No or short recording
Usually one of:
– HDD not detected,
– HDD detected but not initialized/formatted,
– recording schedule not enabled for the times you think,
– motion sensitivity set so motion events never trigger (when in motion mode),
– or storage policy settings (some systems limit overwriting when configured differently).
Return to storage status first, then check schedule settings.
Remote viewing fails
Remote access issues typically come from:
– router/firewall/NAT settings,
– incorrect app-device pairing,
– time/date mismatch causing authentication/session errors,
– or using the wrong network path (e.g., app linked to a different user profile).
Use your vendor’s remote troubleshooting guidance:
Verdict / tip: If you’re a first-time installer, follow the checklist order—compatibility → wiring → HDD → time/network → camera add → recording mode → playback verification. The upside is fewer “mystery failures.” The downside is you may spend a short time validating each layer before you get convenience features working; if you need a plug-and-play experience today, consider getting help from a technician or using the vendor’s guided onboarding workflow.
Frequently Asked Questions
What’s the best way to set up a CCTV NVR step-by-step?
Start by powering on the NVR and connecting a monitor to the correct HDMI/VGA port. Then connect your CCTV cameras (directly or via a network), and run the NVR’s “Add/Discover” camera workflow to register each channel. Configure time zone, NVR display mode, and storage settings before you begin recording. Finally, test motion detection or scheduled recording and verify playback on a few time stamps to confirm everything works.
How do I connect IP cameras to an NVR without technical issues?
Use the same LAN/subnet for the NVR and IP cameras, and connect cameras to the router/switch first before adding them in the NVR UI. In the NVR menu, use “Camera Management,” “Auto Add,” or “Search” to detect cameras, and confirm the correct channel assignment. If discovery fails, check power/PoE status, camera network settings, and that ONVIF is enabled on the camera (many NVR setups rely on ONVIF). After adding, view each live feed and test recording to ensure the IP address and stream settings are correct.
Which settings should I configure first for CCTV NVR recording quality?
Prioritize recording resolution and frame rate per channel (e.g., 1080p/frames target) so storage calculations remain realistic. Set the recording mode (continuous, motion, or schedule) and adjust motion detection zones and sensitivity to reduce false alerts. Configure overwrite policy, recording schedule, and detection alerts so the NVR manages storage efficiently. Also ensure you enable the correct stream type (main stream for recording, sub stream for network viewing) when available to keep performance stable.
What should I consider when choosing the right storage for a CCTV NVR?
Calculate storage based on total recording hours, number of channels, codec (H.264/H.265), resolution, and desired frame rate, then add buffer for motion-heavy use. Use surveillance-rated hard drives (not standard desktop drives) designed for continuous 24/7 operation and vibration resistance. In the NVR, format the drive and confirm the recording retention estimate matches your expectations. If your footage needs frequent playback and remote access, consider RAID support (if available) or larger-capacity drives.
Why won’t my CCTV NVR recognize cameras, and how can I fix it?
Most recognition problems come from network mismatches, incorrect IP settings, or cameras not in a compatible protocol mode. Verify the NVR and cameras are on the same subnet (or that routing/VLAN rules are correct), confirm the cameras have power and link LEDs, and ensure ONVIF/RTSP is enabled. Then restart camera discovery in the NVR, and manually add cameras by IP/port if auto-detection fails. After that, confirm each channel live view works before enabling recording so you don’t lose configuration time.
📅 Last Updated: October 27, 2026 | Topic: How should I set up a CCTV NVR? | Content verified for accuracy and freshness.
References
- Network video recorder
- Closed-circuit television camera
- IP camera
- Network Interface Specifications – ONVIF
- RFC 7826: Real-Time Streaming Protocol Version 2.0 | RFC Editor
- RFC 6184: RTP Payload Format for H.264 Video | RFC Editor
- [Withdrawn] Surveillance camera code of practice – GOV.UK
- https://scholar.google.com/scholar?q=CCTV+NVR+setup+IP+addressing+RTSP+ONVIF Google Scholar
- https://scholar.google.com/scholar?q=network+video+recording+NVR+configuration+security+best+practices Google Scholar
- https://scholar.google.com/scholar?q=ONVIF+Profile+S+NVR+integration+tutorial Google Scholar




[…] tours, and PTZ control settings so the camera can reliably pan, tilt, and zoom where you need. This step-by-step setup process shows exactly how to connect power and network, calibrate focus and patrol boundaries, and […]
[…] to set up a Hikvision CCTV camera and want the fastest path to correct installation? Follow this step-by-step setup playbook—starting with the right wiring and power, then correct network and NVR/NAS […]
[…] 60× the daily video data plus headroom for overhead and growth. If you’re selecting HDDs for a CCTV NVR, consider drive workload ratings (surveillance-class) and plan for RAID/failed-drive behavior so […]