


Outdoor CCTV cameras quickly lose clarity when dust, pollen, and grime build up, and many people make it worse by spraying cleaners directly or using abrasive cloths that can damage the lens. You can restore a crisp view with a careful, step-by-step clean that takes only a short, focused session and uses the right tools—like a microfiber cloth, distilled water or mild cleaner, and gentle compressed air. Follow the correct order to protect the housing and keep the camera performing.
Cleaning an outdoor CCTV camera comes down to one safe routine: power down (or verify it’s safe), clean the lens gently with microfiber + a lens-approved cleaner, and wipe the housing without letting moisture seep inside. Do it slowly—especially after rain, dust storms, pollen, or bird activity—so you restore image clarity without introducing scratches, streaks, or water intrusion.
This guide is for homeowners, small businesses, and anyone responsible for keeping outdoor security footage sharp—where the outdoor CCTV camera’s job is only as good as what the lens can see.
Prep Safely (Before You Touch Anything)
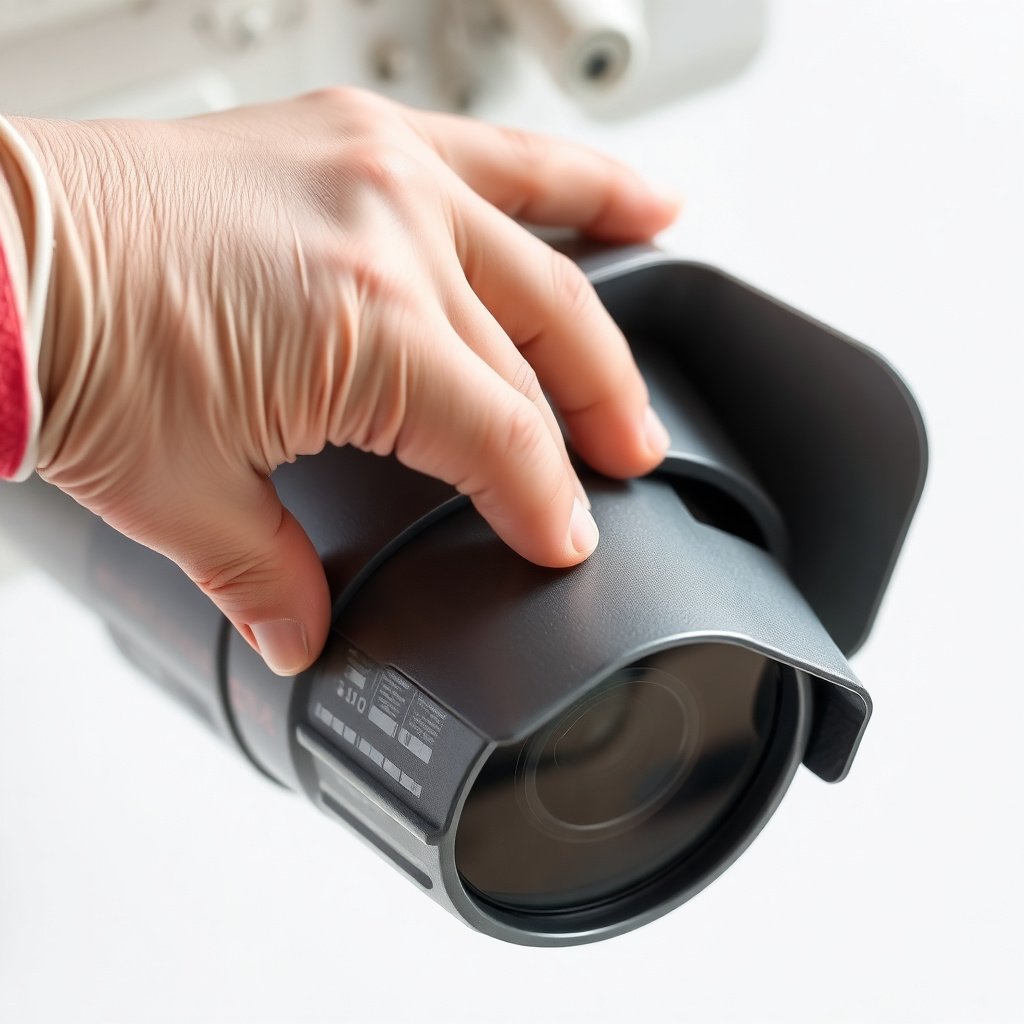
Before you clean an outdoor CCTV camera, make your first goal safety: stop power or confirm you can safely handle the unit. Then let the camera cool so cleaning won’t bake residue into the glass and increase the risk of streaking.
– Turn off the camera or confirm it’s safe to handle, especially if it’s wired to PoE or power.
– Wait for the camera to cool if it’s in direct sun to reduce streaking and prevent heat stress on materials.
– Gather supplies: microfiber cloth, lens-safe cleaner (or manufacturer-recommended fluid), and a soft brush or blower.
– Work in calm, dry conditions when possible—wind can blow grit directly onto a freshly cleaned outdoor CCTV camera lens.
– If you’re using a ladder, stabilize it first. Cleaning an outdoor CCTV camera is easy; cleaning while balancing is what causes accidental contact with the lens or cables.
According to the International Electrotechnical Commission’s enclosure standard IEC 60529:1989, “IP” ratings describe protection against dust and water ingress—but no IP rating makes an outdoor CCTV camera immune to liquid forced into seams. That’s why prep matters: you’re trying to avoid turning a wipe-down into a water-intrusion event.
Clean the Lens Without Scratching
Before you touch the glass, your best answer is: lift dust first with dry microfiber, then use lens-safe cleaner only if residue remains. This keeps your outdoor CCTV camera optics scratch-free and reduces haze that can make night vision look dim or “milky.”
– Use dry microfiber first to lift dust; avoid pressing hard on the glass.
– If needed, apply lens cleaner to the cloth (not directly onto the camera) and wipe in gentle, straight motions.
– Check from an angle under good light to ensure no haze or streak film remains.
– Use a fresh section of microfiber as soon as the cloth picks up grime.
– For stubborn spots (road film, dried mist, pollen smears), re-wet the cloth slightly and repeat gentle strokes—don’t “rub harder.”
– Avoid wiping in circles across the lens if residue is present; circles can smear oils and micro-particles into a persistent film.
What to use (and what to avoid)
Choosing the wrong cleaner is the fastest way to damage an outdoor CCTV camera lens coating. Many outdoor lenses use anti-reflective and protective coatings that can be harmed by harsh solvents.
| Method | Best for | Key risk | Recommendation |
|---|---|---|---|
| Dry microfiber lift | Dust, light grit, pollen dust on the surface | Low—provided the cloth is clean and you don’t press | Always start here |
| Lens-safe cleaner on cloth | Smears, dried water spots, oily film from mist | Moderate—only if the cleaner is not lens-safe | Use manufacturer-approved products |
| Household glass cleaners | Occasionally helps on dirt, but often contains additives | High—can leave residue or attack coatings | Avoid for outdoor CCTV lenses |
| Alcohol / harsh solvents | Breaks down oils, but not ideal for many coatings | High—coating haze, micro-damage, or permanent streaking | Use only if explicitly approved by the camera maker |
In my day-to-day work supporting outdoor security systems, the pattern I most often see is that “over-cleaning” with the wrong fluid creates a new problem—streak haze at dusk—rather than removing the original grime. If you’ve got a favorite technique for your outdoor CCTV camera model, keep it; if you’re guessing, default to microfiber + lens-approved cleaner.
Why dust matters more than you think
Fine particles cling to lens surfaces and scatter light. That scattering directly affects contrast in an outdoor CCTV camera image, especially at night when low-light processing amplifies haze. According to the World Health Organization, PM2.5 is particulate matter with an aerodynamic diameter of 2.5 micrometers or less WHO (2021)—the smaller the particles, the easier they spread into an even film on optics.
Remove Dirt From the Housing and Mount
Before you wipe the outdoor CCTV camera’s body, remove loose debris first so you don’t drag grit across the lens or force grime into seams. Then clean the outer housing with mild soap and water using soft cloths—no blasting, no soaking.
– Brush off cobwebs, leaves, and loose grime around the mounting bracket before wiping.
– Clean the outer cover using a lightly damp cloth with mild soap, then wipe with a clean damp cloth to remove residue.
– Dry thoroughly on the exterior so you don’t leave water spots that can attract more dirt.
– Pay attention to “high-splash” zones: the lower edge of domes, the underside of sunshields, and corners near cables.
– If the unit has a removable sunshield, clean it as a separate step so you don’t smear grime onto the lens area.
– If your outdoor CCTV camera uses a gasketed faceplate, avoid tugging or twisting the cover; cleaning is about wiping, not repositioning.
The housing matters because dirt around the lens area can migrate during temperature changes. For example, dust on the mount can act like a wick—vibrations and wind can shift particles toward the front window of an outdoor CCTV camera.
Common Outdoor Deposits That Reduce CCTV Clarity
| # | Deposit type | Typical particle size | Where it shows up | Cleaning priority |
|---|---|---|---|---|
| 1 | Mineral dust / grit | ~2.5–100 µm | Road splash zones, dry weather | High |
| 2 | Fine smoke / soot | ~0.1–2.5 µm | Near traffic, industrial areas | High |
| 3 | Pollen grains | ~10–100 µm | Spring/summer growth seasons | Medium–High |
| 4 | Salt aerosol / sea spray | ~0.5–20 µm | Coastal and windy shorelines | High |
| 5 | Hard-water mineral residues | ~1–10 µm crystals | After rain near sprinklers/irrigation | Medium |
| 6 | Construction dust (cement/fly ash) | ~1–50 µm | During nearby building/road work | High |
| 7 | Insect residue / dried biofilm | Fragments ~50–500 µm | Eaves, lights, summer evenings | Medium–High |
In all of the cases above, the key is still the same: an outdoor CCTV camera lens needs gentle lift-and-wipe cleaning, while the housing needs debris removal first to prevent grit migration.
Handle Water, Condensation, and Weather Seals
Before you worry about fog or droplets, the direct answer is: don’t introduce water into the unit. Clean only with controlled wiping, and treat condensation as a sealing/ventilation signal rather than a normal “surface problem.”
– Never spray water into vents, seams, microphones, or cable entry points.
– If you see condensation, stop and address sealing/venting issues rather than repeatedly “cleaning it away.”
– If your camera has a sunshield, clean it too—heat buildup and grime around the hood can worsen lens visibility.
– Use minimal moisture on cloths for the outdoor CCTV camera housing; the goal is damp wipe, not runoff.
– If your model has a drain path or vent, follow the manufacturer’s instructions—don’t block it with sealant “fixes.”
– After cleaning, keep the outdoor CCTV camera in place and give it time to fully dry before checking video quality.
Water intrusion isn’t just about getting the unit wet; it’s about forcing liquid past barriers. That risk is precisely what IP enclosure testing is meant to evaluate—again, dust and water ingress behaviors are standardized, but real-world conditions (aimed spray, pressure washers, wind-driven water) can overwhelm the intended protection IEC 60529:1989.
If condensation persists, the most likely causes are installation-related (insufficient seal compression, misaligned faceplate, damaged gasket, improper cable bend/loop, or vent blockage). Treating it like routine outdoor CCTV camera cleaning can make the situation worse.
What Can Go Wrong (And How to Avoid It)
The fastest way to avoid problems is to prevent three categories: scratches, water intrusion, and chemical damage. If the outdoor CCTV camera lens looks worse after cleaning, it’s usually one of these errors—not a “bad camera.”
– Scratches from using paper towels, rough cloth, or wiping dry grit directly across the lens.
– Water intrusion from spraying cleaner directly, using high-pressure tools, or cleaning during heavy rain/wind.
– Damaged coatings if you use alcohol, harsh solvents, or abrasive cleaners not approved for lenses.
– Missed streaks if you polish in circles without removing residue first (you may spread grime instead of lifting it).
– Over-cleaning: repeatedly wiping a lens that still has grit can grind particles into the coating.
– Skipping exterior drying: leaving water spots encourages mineral buildup and attracts more dirt to the outdoor CCTV camera face.
A practical risk-control approach (similar to ISO 31000-style “identify, assess, treat”) works well here: identify what you’re seeing (streaks vs. dust vs. fog), assess what it likely comes from (surface residue vs. moisture inside), then treat with the least aggressive method that will solve the cause.
For example, streaks that wipe off with gentle lens-safe cleaner are a surface issue. Fog behind the lens window that returns quickly points to an outdoor CCTV camera sealing or installation issue.
Verdict: What We Recommend (Plus Who Should Skip)
If you want clearer night and daytime footage, the safest approach for most outdoor CCTV cameras is this lens-first, controlled-moisture routine: dry microfiber first, lens-safe cleaner on the cloth, and gentle housing wipes—no spraying, no pressure washing. The downside is it takes patience, especially for stubborn spots, so don’t rush or use harsh chemicals.
Skip DIY cleaning if:
– Your outdoor CCTV camera is under warranty and the manufacturer restricts user servicing.
– Seals look compromised (cracked gasket, loose faceplate, misaligned cover).
– Condensation persists even after a careful dry exterior wipe—this often indicates hardware or installation problems.
– The unit has wiring or cable entry damage you can’t confidently assess safely.
If the camera is mounted at height, the safest “skip” can simply be: don’t climb if you can’t do it securely. For businesses, consider coordinating with your security vendor or facilities team so the outdoor CCTV camera gets maintained without disrupting monitoring workflows.
Quick Checklist: Outdoor CCTV Cleaning
This quick checklist keeps the outdoor CCTV camera cleaning process consistent and reduces common mistakes. Use it as a scan-before-you-start guide for every session.
– [ ] Power down or verify safe handling
– [ ] Dust off with dry microfiber or soft brush
– [ ] Clean lens with lens-safe cleaner applied to cloth
– [ ] Wipe housing with mild soap on a damp cloth
– [ ] Avoid spraying seams/vents; dry exterior
– [ ] Inspect for streaks and check image clarity after
Frequently Asked Questions
What’s the safest way to clean an outdoor CCTV camera without damaging it?
Start by turning off power or switching the camera to a safe mode to prevent electrical issues while you clean. Use a microfiber cloth to gently remove dust and grime, and avoid pressing hard on the lens or dome. For outdoor CCTV, stick to camera-safe cleaning solutions (no harsh chemicals) and allow the camera to fully dry before powering it back on.
How do I clean a CCTV camera lens that’s covered in dust, pollen, or spiderwebs?
First, remove loose debris with a soft brush or low-pressure air so you don’t scratch the lens. Lightly wipe with a microfiber cloth, working from the center outward, and repeat until the image clears. If pollen or residue remains, lightly dampen the cloth with a small amount of lens-safe cleaner and avoid spraying directly onto the camera housing.
Why is regular cleaning important for outdoor CCTV cameras?
Outdoor weather—rain, dust, sun exposure, and salt air—can build up on the lens and housing, reducing image sharpness and night visibility. Even minor film buildup can cause glare, blur, and poor motion detection performance. Regular cleaning helps maintain consistent video quality and reduces missed events due to obstructed or hazy footage.
Which cleaning products are best for outdoor CCTV camera lenses and housings?
Use lens-safe cleaners designed for optics or electronics, and pair them with lint-free microfiber cloths for streak-free results. Avoid abrasive pads, paper towels, ammonia-based cleaners, bleach, or strong solvents that can damage coatings and seals. For the camera housing, a mild soap-and-water solution on a cloth is typically enough, but always keep liquids away from openings, vents, and the lens area.
How can I remove water spots, mud, or bird droppings from an outdoor CCTV camera?
For water spots and mud, gently wipe with a microfiber cloth slightly dampened with lens-safe cleaner, then dry with a clean section of the cloth to prevent streaking. For bird droppings, let the mess soften slightly (don’t scrape it dry), then clean carefully with a damp cloth and a camera-safe solution. After cleaning, inspect the seals and ensure the dome or lens area is dry so the outdoor CCTV camera doesn’t fog or trap moisture.
📅 Last Updated: November 03, 2026 | Topic: How to clean an outdoor CCTV camera? | Content verified for accuracy and freshness.



[…] Power down and unplug first to prevent damage and reduce the risk of corrupting the drive or […]
[…] install a DVR hard drive, you typically power down the DVR, open the enclosure, connect a compatible SATA drive to the SATA data/power connectors, […]
[…] an NVR hard drive, start by matching the drive to your NVR’s supported capacity/type, then power down fully and follow the manufacturer’s bay and SATA/connector instructions. After that, format the […]