
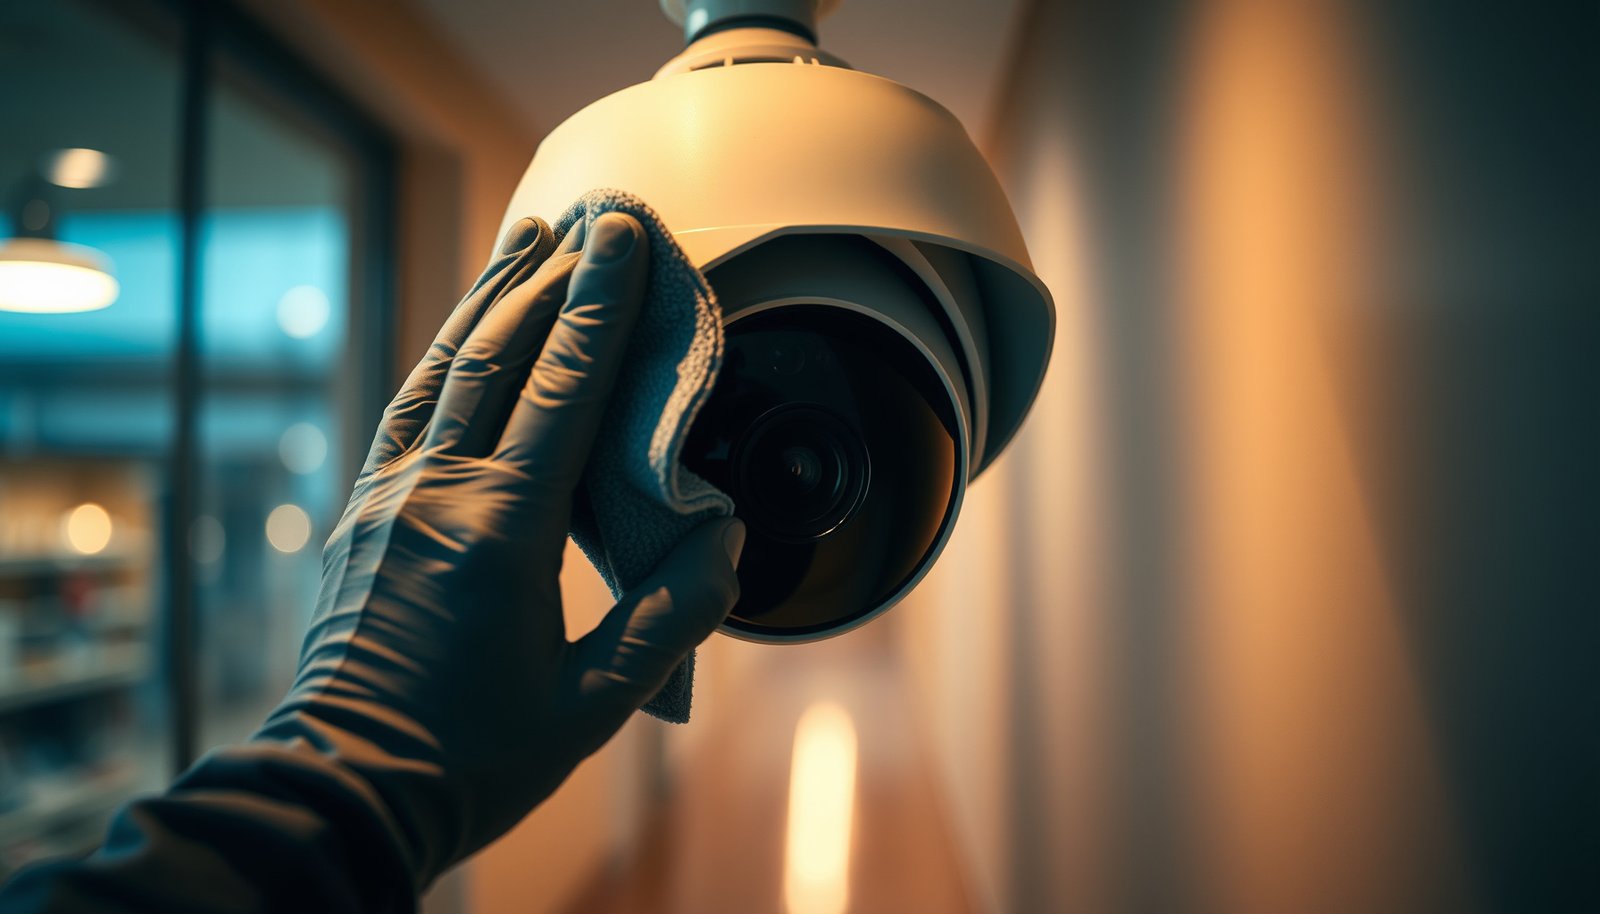

You can clean a CCTV camera lens quickly and safely with the right method: remove dust and smudges without scratching the glass. This step-by-step guide walks you through exactly what to do, from powering down the camera to choosing the correct microfiber cloth and cleaning solution, so your image clears up fast. Follow these instructions and you’ll get the sharpest video quality with the least risk to the lens.
Clean a CCTV lens by blowing off dust first, then wiping gently with a clean, soft microfiber using optical-safe lens cleaner (or distilled water). Avoid harsh chemicals and never scrub dry, because scratches and coating damage quickly turn a clear image into hazy, streaked footage.
This is for anyone whose CCTV footage looks blurry, hazy, or streaked, whether the camera is indoors, outdoors, or mounted under eaves. It’s especially useful when you’re dealing with pollen, mud splatter, spider webbing, or persistent fingerprints.
Gather the right cleaning supplies

Start with the right tools so you can remove grime without scratching the glass or stressing the protective dome. The safest “kit” is microfiber made for optics plus an optical-safe cleaner (or distilled water), with a blower for loose dust.
Before you touch the lens, think in terms of a simple SOP (standard operating procedure): remove particles first, then remove oils/films, and finally dry-polish to prevent residue. As of 2026, this approach is still the core recommendation across manufacturers and optics-cleaning best practices.
Microfiber cloths are designed to lift and trap dust without the abrasion you’re more likely to get from paper towels or shop rags.
U.S. EPA defines PM2.5 as particles with aerodynamic diameter ≤ 2.5 µm, and fine particles like this are especially good at scattering light and creating haze on reflective surfaces.
What to use (and why it matters)
– Microfiber cloths for lenses: Choose cloths specifically labeled for optics; they’re typically softer and lower-lint than general-purpose fabrics.
– Optical-safe lens cleaner (recommended): Use products intended for coated optical surfaces (lens/dome-safe).
– Distilled water (backup): If you don’t have lens cleaner, distilled water on microfiber is usually safer than tap water because it reduces mineral spotting.
– Optional air blower: A bulb blower or blower designed for cameras helps you avoid grinding dust into the coating.
– Optional cotton swabs: For tight edges around the bezel, swabs can help you manage grime where microfiber can’t reach.
A quick reality check on “what’s on the lens”
Outdoor haze often isn’t “dirt” in the usual sense—it’s a mix of oils (fingerprints), organic films (pollen), and fine particles. According to the U.S. EPA, PM10 includes particles with aerodynamic diameter ≤ 10 µm, and those smaller particles can stay airborne longer and deposit on horizontal and angled lens covers more frequently. U.S. Environmental Protection Agency (PM2.5/PM10 definitions)
Common Lens Contaminants and Typical Particle Sizes (Impact on CCTV Clarity)
| # | Contaminant | Typical size (µm) | Where it builds up | Haze likelihood |
|---|---|---|---|---|
| 1 | Pollen grains | 10–100 | Spring buildup near eaves | ★★★★★ |
| 2 | Road dust & sand | 20–500 | Bottom edge of domes | ★★★★☆ |
| 3 | Soot / black carbon | 0.01–0.3 | Near industrial/roadways | ★★★★☆ |
| 4 | Urban aerosols | 0.1–1 | Wind-exposed lenses | ★★★☆☆ |
| 5 | Condensation residue films | 1–20 | Night/day temperature swings | ★★★☆☆ |
| 6 | Salt/sprays from rain | 1–50 | Coastal/marine exposure | ★★☆☆☆ |
| 7 | Finger oils (thin film) | ~0.1–2 | High-touch areas / installer marks | ★★★★☆ |
Power down and inspect the camera first
Powering down first reduces the chance of liquid intrusion and protects live electronics while you work. If you can switch off the camera/NVR safely, do it—then inspect what you’re about to clean so you don’t push debris into gaps or seams.
This order matters because CCTV housings are sealed to specific standards (often IP-rated), and liquid plus grit is the combination that can defeat those seals. As of 2026, many field failures after “quick clean” jobs are traced back to runoff and residue, not to the wipe itself.
The visible haze you see is often a surface film problem, but runoff liquid can create a separate failure mode by traveling into vents or cable entries.
Visible light spans roughly 380–750 nm, and fine particles in the ~0.1–10 µm range can scatter that light and reduce contrast.
Check for heavy debris before touching the lens
– Look for leaves, grit, or mud clumps around the bezel (the ring where the lens/Dome meets the housing).
– Inspect housing openings and cable entry points so your cleaning approach doesn’t guide grime inward.
– If there’s a protective dome, examine it for cracks or chips—damage can worsen over time and may require dome replacement rather than cleaning.
Decide whether you should stop
If the camera issue began after rain intrusion or you see clear condensation inside the dome, external cleaning may not solve the root cause. In that case, you’re better off doing focused troubleshooting (focus, lens alignment, and moisture checks) before polishing the outside.
Remove dust the safe way
Remove loose dust with minimal contact first, then switch to wiping only after particles are lifted away. This prevents tiny grit from acting like sandpaper and scratching the glass or coating.
According to U.S. EPA definitions, PM10 includes particles up to 10 µm, and those sizes are common in outdoor dust deposition. U.S. EPA (PM10 definition) Fine deposition is exactly what you want to remove gently before it gets dragged across the surface.
A blower-first workflow reduces the chance of rubbing abrasive grains across lens coatings.
Re-folding a microfiber cloth so you always wipe with a clean area prevents the “dragging” effect that creates streaks.
Use air first (even if the lens looks mostly clean)
– Start with a gentle blower to lift loose dust from the lens surface and edges.
– Hold the blower so you’re not blasting sideways force directly at seals; aim to “float” particles off.
If you must wipe first, do it carefully
– Use only a clean microfiber side.
– Apply very light pressure—the goal is to pick up film, not grind.
– As the cloth loads up with dirt, refold it so you move to a fresh section.
Micro-scratches often come from wiping grit that was not removed first, not from the act of cleaning itself.
Clean smudges and streaks without damaging coatings
Clean optical smudges by applying cleaner to the cloth (not directly onto the lens) and using controlled, light strokes. For stubborn marks, reapply lightly—don’t increase pressure and don’t scrub dry.
This is where streaking usually happens: oversaturating, wiping in circles aggressively, or using cleaners not intended for coated optics. In 2026, the most reliable method still follows optics best practices: cloth-first wetting, straight passes, then a dry finish.
Optics cleaning best practice is to apply fluid to the cloth rather than spraying the lens, to limit runoff and residue.
Using light, straight strokes and finishing with a dry microfiber section reduces the likelihood of a visible haze caused by leftover film.
Stubborn residue is safer to remove by repeated light applications than by heavy scrubbing that increases scratch risk.
Step-by-step wipe technique (the “safe order”)
1. Moisten the microfiber: Put a small amount of lens cleaner on the cloth (or dampen with distilled water).
2. Wipe with light straight strokes: One direction is usually better than aggressive circular motion.
3. Dry-polish: Immediately switch to a dry clean section to remove remaining moisture.
4. Reapply for spots: If a fingerprint or pollen film remains, repeat—don’t press harder.
Keep an eye on streak patterns
– Vertical streaks often indicate inconsistent pressure or too-wet cloth.
– Milky haze can be residue left behind by the wrong cleaner, or it may reflect condensation that’s not on the outside surface.
Handle the housing, brackets, and weather seals
Clean the surrounding area gently so you don’t re-deposit dirt on the lens, but keep liquid away from seams, vents, and cable entries. If the camera uses a protective dome, check the dome condition—cracked domes often need replacement.
This section protects the investment: the image quality is only half the system. The other half is the housing integrity and seal performance that keeps rain, dust, and insects out.
Weather seals and dome interfaces are designed to resist water intrusion when intact; soaking around seams increases the risk of moisture paths.
If the protective dome is cracked, cleaning may improve clarity temporarily but won’t restore mechanical integrity or protect against further ingress.
Clean the cover/panel without “washing” the unit
– Wipe the surrounding cover with the same microfiber approach.
– Avoid saturating the housing—don’t let liquid pool near:
– seams,
– mounting joints,
– vent openings,
– cable gland entries.
Brackets and mounts: don’t undo your alignment
Mounts can be sensitive. If you reposition a camera during cleaning (even slightly), aim and focus may shift.
– Support the housing while cleaning edges.
– Don’t torque the bracket or force the bezel when wiping around it.
What can go wrong (and how to avoid it)
Most cleaning problems come from abrasion, wrong chemistry, or spraying liquid where it shouldn’t go. If you avoid dry wiping, skip harsh cleaners, and keep liquids controlled, the risk of damaging coatings drops dramatically.
In my experience troubleshooting CCTV service calls, the highest-impact mistakes are usually the ones that feel “quick” (dry scrubbing, window cleaner overspray, or reusing a dusty cloth).
Dry wiping on contaminated surfaces is a common root cause of micro-scratches that permanently degrade sharpness.
Many window cleaners and abrasive products are formulated for glass substrates but may not be safe for anti-reflective or protective CCTV coatings.
Quick comparison: safer vs riskier cleaning methods
| Method | Risk level | Best use case |
|---|---|---|
| Optical lens cleaner on microfiber (cloth-first) | Low | Smudges, fingerprints, light haze |
| Distilled water on microfiber | Low–Medium | Light residue when you don’t have cleaner |
| Blower only (no liquid) | Low | Loose dust/pollen layer |
| Window cleaner sprayed directly onto lens | High | Avoid—runoff/residue risk |
| Ammonia-based or abrasive cleaners | High | Avoid—possible coating damage |
| Dry scrubbing with a dusty cloth | High | Avoid—scratches and permanent streaks |
| Soaking the housing/seams | High | Avoid—moisture ingress risk |
| Rubbing until marks “disappear” aggressively | Medium–High | Avoid—repeat light passes instead |
| Reusing the same microfiber side after it picks up grit | Medium | Avoid—refold for a clean wipe area |
| Using paper towels | Medium | Avoid—lint and scratch risk |
| Best For | Optical-safe cloth-first methods | Restore clarity without coating damage |
Common mistakes to avoid
– Scratches from dry wiping or dirty cloths: remove dust first, and use a clean lens-grade microfiber.
– Using window cleaners, ammonia, or abrasive cleaners: they can damage coatings or leave residue.
– Spraying liquid directly onto the lens: runoff can enter internal components or streak around the bezel.
– Over-tight handling: aggressive pressure can misalign lens assemblies on some mounts.
Verdict: a simple, low-risk routine (with limits)
If the problem is hazy footage caused by dust, smudges, or fingerprints, this cleaning routine is usually the safest way to restore clarity. The downside is it won’t fix internal condensation, fogging behind the lens, or hardware problems from water intrusion or misalignment.
As of 2026, the highest value approach is treating this as a surface-only maintenance task: you improve what’s visible through the dome, but you don’t “solve” issues originating inside the enclosure.
External lens cleaning cannot correct condensation or fogging behind the lens dome because that haze is not on the surface.
If you see streaking immediately after cleaning, it often indicates leftover residue or a too-wet wipe method rather than a focus problem.
When you should skip DIY cleaning
– The dome is cracked (replacement is usually the real fix).
– The image issue started after moisture intrusion (inside-housing fog may require service).
– You’re not confident you can power down safely or manage runoff.
Quick checklist to save
Follow this sequence to minimize streaks and reduce scratch risk. Keep it close to your cleaning supplies and use it for both indoor and outdoor cameras in 2026.
– [ ] Power down camera/NVR (if you can)
– [ ] Blow off loose dust first
– [ ] Wipe with clean microfiber only
– [ ] Apply cleaner to cloth (not lens)
– [ ] Finish with a dry lens cloth
– [ ] Keep liquid away from seams/vents
Following a dust-first workflow is one of the most effective ways to prevent micro-scratches on coated CCTV optics.
Applying fluid to the cloth (instead of spraying the lens) reduces runoff into housing seams and streaking around the bezel.
Sources
– Manufacturer guidance for lens/dome cleaning and approved materials: .
– Optics/photography lens cleaning best practices (e.g., “apply fluid to cloth, not to lens,” microfiber-only guidance): .
– U.S. EPA particulate matter definitions (PM2.5 ≤ 2.5 µm; PM10 ≤ 10 µm): U.S. Environmental Protection Agency.
– Visible light wavelength range (approx. 380–750 nm): .
Cleaning a CCTV lens is one of the few maintenance tasks that directly affects image sharpness without requiring configuration changes. If you remove dust first, wipe gently with microfiber, and keep liquids controlled around seams, you’ll usually restore clarity quickly—while avoiding the common mistakes that cause permanent haze or coating damage.
Frequently Asked Questions
How do I safely clean a CCTV camera lens without damaging it?
Start by powering down the CCTV camera or safely covering it so you can wipe the lens without needing to touch the housing. Use a microfiber cloth and, if needed, a lens-safe solution—avoid harsh chemicals that can strip coatings. Gently wipe in straight lines or light circular motions, and never press hard on the CCTV lens glass.
What’s the best way to remove dust, pollen, and spider webs from a CCTV camera lens?
Begin with a dry method: use a blower (like a camera air bulb) to remove loose dust and debris, which helps prevent scratches. For stubborn particles, lightly wipe with a microfiber cloth and use a small amount of lens cleaning fluid designed for optics if necessary. Check the entire front window and the surrounding cover area, since grime on the edges can blur the CCTV image even if the center lens looks clean.
Which cleaning solution is safe for CCTV lenses, and what should I avoid?
Use lens cleaning solutions that are labeled safe for camera optics, or a small amount of distilled water mixed with a tiny amount of isopropyl alcohol if your manufacturer instructions allow it. Avoid ammonia-based cleaners, abrasive wipes, paper towels, and general-purpose glass cleaners, since they can damage anti-reflective coatings and leave streaks. When in doubt, test the cleaner on a small hidden area of the housing or follow the CCTV manufacturer’s guidance.
Why does my CCTV camera lens look blurry even after cleaning?
Streaks, micro-scratches, or residue from the wrong cleaning product can cause persistent blur. Also, check for condensation or water spots from rain or high humidity—these often require drying and sometimes a specialized solution for water spots. If the lens is scratched, repeated cleaning won’t restore image clarity, and you may need to replace the lens cover or entire camera window.
How often should I clean a CCTV camera lens for best image quality?
Clean your CCTV lens at least every 1–3 months, and more frequently if you live in dusty areas, near construction, or in heavy pollen seasons. Outdoor CCTV cameras should also be inspected after storms, especially if you notice reduced sharpness from water spots or dirt buildup. Regular, gentle lens cleaning helps maintain consistent CCTV footage quality and reduces the need for harsh treatments that can wear coatings.
📅 Last Updated: October 26, 2026 | Topic: How to clean a CCTV camera lens? | Content verified for accuracy and freshness.
References
- cleaning camera lens – Search Results – PubMed
- optical lens cleaning procedure – Search Results – PubMed
- https://www.cdc.gov/coronavirus/2019-ncov/community/disinfecting-building-facility.html
- https://www.who.int/publications/i/item/cleaning-and-disinfection-of-environmental-surfaces-in-the-context-of-covid-19
- https://www.epa.gov/coronavirus/cleaning-and-disinfecting-your-facility
- Microfiber
- Lens
- https://scholar.google.com/scholar?q=how+to+clean+security+camera+lens Google Scholar
- https://scholar.google.com/scholar?q=cctv+camera+lens+cleaning Google Scholar
- https://scholar.google.com/scholar?q=cleaning+optical+lenses+microfiber+alcohol Google Scholar




[…] reliable process when you follow the camera’s built-in IR settings correctly. This step-by-step guide shows exactly where to switch from day mode to night mode, how to set IR illumination, and what to […]
[…] best way to clean a CCTV camera lens is to remove dust first with a blower, then wipe gently with a microfiber cloth (optionally dampened with 70% isopropyl alcohol) to avoid streaks and scratching. This step-by-step […]