
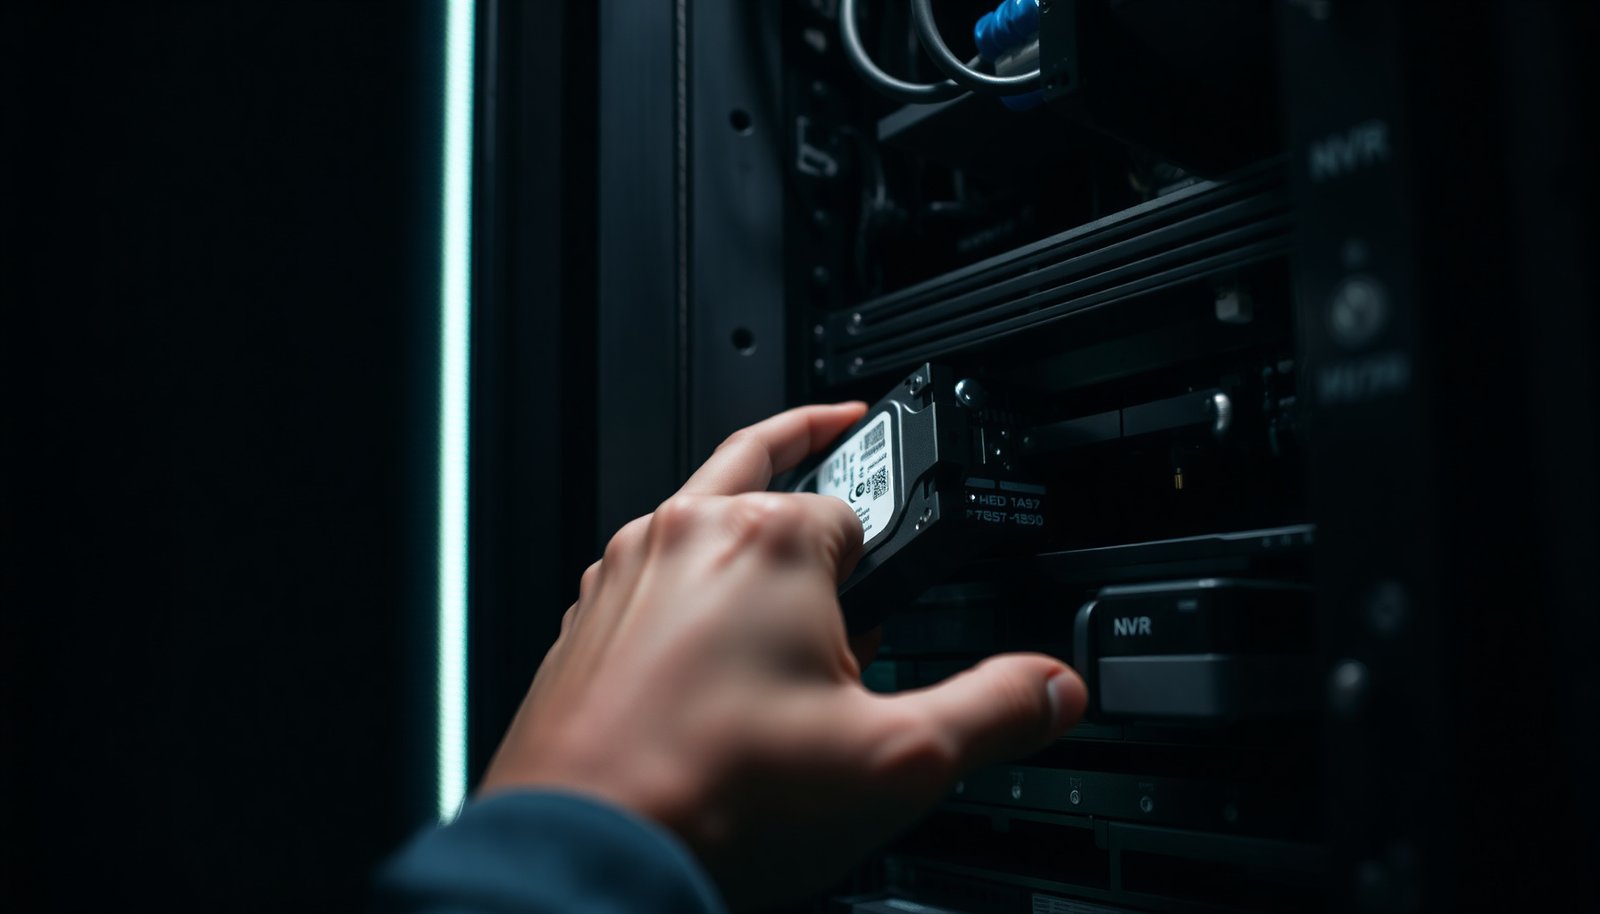

A common reason NVRs won’t recognize a new hard drive is rushing past compatibility and proper SATA connections, which leads to “no disk” errors or failed recording. Follow the step-by-step process to safely open the unit, install a compatible drive, secure it, and connect the correct data and power cables, typically in about 30–60 minutes. You’ll just need the right SATA drive, basic tools, and access to your NVR’s internal bays.
To install an NVR hard drive, power down the NVR, mount the drive in the NVR’s bay, then connect it using the SATA data and power cables (or the NVR’s internal connector) and confirm it’s detected in the NVR settings. This guide walks you through the safest order of operations, what to check before you start, and how to verify recording will work afterward.
This is for anyone setting up or upgrading a home or small-business NVR system—especially if you’re swapping in a new drive or moving from a basic storage setup to something larger.
Confirm compatibility before you open anything

Before you touch the chassis, confirm the NVR hard drive you plan to install matches the NVR’s supported interface, physical form factor, and capacity limits—this is the fastest way to avoid “drive not detected” problems. Here’s what to validate first so the NVR hard drive shows up immediately during boot.
What to check in the NVR’s specs
– Check your NVR model’s supported hard drive type (SATA/size/form factor) and whether it lists “surveillance” drives. Many NVRs expect 3.5″ SATA HDDs (and some support 2.5″ SATA drives in specific bays), but only your NVR’s manual can confirm what your model accepts.
– Verify the drive interface (usually SATA) and the NVR’s maximum supported capacity—don’t assume any drive will work. According to SATA-IO documentation, SATA III supports link speeds up to 6 Gb/s (the interface speed is not the same as real-world recording throughput, but it determines compatibility).
– If you have multiple drive bays, review how many drives the NVR supports and whether it expects RAID vs. single-drive operation. RAID expectations can affect not just recognition, but whether the NVR initializes storage as one volume or multiple volumes.
Why storage mode matters for installation success
Storage mode decisions (single-drive vs RAID) directly influence what the NVR will report in its storage screen and whether recording will allocate correctly per channel.
NVR Storage Mode Efficiency (4 Drives Assumption)
| # | Storage mode | Drives used | Typical redundancy | Usable capacity |
|---|---|---|---|---|
| 1 | Single drive (no RAID) | 1 | None | 100% |
| 2 | JBOD / Unbundled volumes | 4 | None | 100% |
| 3 | RAID 0 (striping) | 4 | None | 100% |
| 4 | RAID 1 (mirror) | 2 | Mirror pair | 50% |
| 5 | RAID 5 (4 drives) | 4 | 1-disk parity | 75% |
| 6 | RAID 6 (4 drives) | 4 | 2-disk parity | 50% |
| 7 | RAID 10 (4 drives) | 4 | Mirrors + striping | 50% |
Power down and prepare the right tools
Power down the NVR completely before you connect or disconnect any NVR hard drive cables—this avoids file-system corruption and reduces the chance of connector damage. A safe shutdown also makes drive initialization more predictable when the NVR boots again.
Shutdown steps that prevent avoidable damage
– Shut down the NVR properly, unplug power, and (if possible) unplug any external network or PoE connections to reduce risk. PoE (Power over Ethernet) usually won’t affect the HDD connectors directly, but it helps keep the system stable while you work.
– Use the correct screwdriver and keep the drive in an anti-static-safe surface or bag until you install it. Static discharge can be subtle but damaging, especially to controller electronics inside an NVR hard drive.
If you’re replacing an existing drive
– Take a quick photo of existing cable routing before disconnecting anything, if you’re replacing a drive. NVR hard drive cable layouts vary widely; a short “before” snapshot often saves 20–30 minutes of guesswork and prevents SATA cables from being re-routed into fan airflow paths.
Mount the hard drive in the NVR
Mounting the NVR hard drive correctly is mostly about alignment and secure seating—if the drive is cocked or not fully seated, the NVR may fail to detect it even when cables look connected. Once the drive is mounted straight and tightened appropriately, SATA connections usually become reliable.
Secure placement in the drive bay
– Slide the drive into the correct bay and align the screw holes; secure it firmly with the screws provided by the NVR (don’t overtighten). Overtightening can stress mounting points and contribute to vibration, which is a real long-term reliability factor for NVR HDDs.
– Make sure the drive is seated straight—crooked alignment can stress connectors and cause detection issues. SATA data and SATA power connectors are designed for a keyed fit; forcing a misaligned connector can damage pins or the drive’s connector housing.
– If your NVR has a dedicated caddy/tray, use it as instructed rather than forcing the bare drive into the chassis. Some NVRs are designed around slide-in trays to maintain consistent mechanical pressure and cooling.
Practical mounting checklist
Before you proceed to cable connections, verify the drive rails/caddy are fully engaged and that no wires are pinched along the bay’s edge. If your NVR has multiple bays, confirm the bay order your model expects (some systems treat “Bay 1” as the primary recording volume).
Connect the SATA data and power cables
Connecting the NVR hard drive with the correct cables and orientation is where most detection failures originate—so take your time and treat it like a precision connector job. SATA data and SATA power are separate, and mismatching either one can leave the drive spinning but invisible to the NVR.
SATA data and power connections
– Attach the SATA data cable to the drive and to the NVR’s internal SATA port (match the keyed connector orientation). According to SATA-IO SATA specifications, SATA data connectors are standardized with a 7-pin arrangement, and the keyed plug should align without force.
– Connect the SATA power cable to the drive; if your NVR uses a different style connector, follow the layout printed on the chassis or in the manual. According to SATA-IO SATA specifications, SATA power connectors use a 15-pin interface and provide the separate voltage rails the HDD controller needs to spin up.
– Tidy cables so they don’t interfere with fans or airflow—blocked airflow can lead to heat-related failures. In NVRs, drive bay airflow is often engineered around cable-free channels; even a slightly trapped SATA cable can raise internal temperatures over time.
Quick “no surprises” cable check
Before powering on, visually confirm both ends of the SATA data cable are fully seated and that the SATA power connector is not partially unlatched. If your NVR uses a multi-plug internal harness, confirm you’re plugging into the connector labeled for the drive bay—not a network or accessory header.
Boot up and verify the NVR detects the drive
After you power the NVR back on, verify detection in the NVR interface before you assume recording will work. This step is critical because the NVR can detect hardware yet still require initialization/formatting before it writes video.
Confirm detection and initialization
– Reconnect power, boot the NVR, and wait for the storage/drive screen to populate. Some NVRs take longer on first boot after a drive change while they verify capacity and storage layout.
– In the NVR UI, check that the drive shows as “detected” and/or “initialized,” then start the formatting/initialization process if prompted. If initialization is required, interrupting it (e.g., power loss) can leave the NVR unable to allocate recording space.
– Confirm you can create a storage/recording schedule (or verify existing schedules will write to the new drive). Channel-to-storage mapping can change after a storage reset, especially if you replaced a drive or altered RAID mode.
A practical verification approach
– Start with the storage page: confirm drive status, total capacity, and whether the NVR reports it as the recording target.
– Then check a live view + playback test on at least one camera channel after scheduling is applied.
What can go wrong (and what to check)
Most NVR hard drive problems fall into a few repeatable categories: compatibility mismatches, connection issues, storage mode expectations, and cooling constraints. When you approach failures systematically—rather than swapping cables randomly—you’ll resolve detection and recording problems faster.
Common failure modes
– Drive not detected: reseat SATA data/power connections and confirm the drive is supported by your specific NVR model. Also check you installed the drive into the bay the NVR actually monitors (some systems ignore unsupported bays).
– Wrong drive type or capacity: some NVRs reject non-supported drives or exceed capacity limits—double-check the NVR’s spec sheet or manual. Even if the interface is SATA, firmware capacity caps can still block initialization.
– Initialization/format errors: if formatting fails, try a different drive (if available) or confirm the NVR expects a specific storage mode (single drive vs. RAID). RAID mode mismatches can cause “not formatted” loops.
– Thermal issues: cramped cable routing or missing airflow can cause instability—ensure the fan path is clear. If the NVR reports abnormal temperatures or the drive repeatedly drops offline, airflow is often the real root cause.
– Recording still not working: even with a detected drive, you may need to confirm the recording mode, schedule, and channel-to-storage mapping. A drive can be “healthy” while recording settings prevent writes.
RAID vs single-drive: a quick compatibility reality check
Single-drive setups are usually simpler, but RAID can be valuable when uptime matters. Choose based on what your NVR actually supports and what your maintenance tolerance looks like.
| Aspect | Single drive (no RAID) | RAID (mirroring/striping/parity) |
|---|---|---|
| Setup complexity | Usually simpler | Often more steps and more constraints |
| Risk of immediate volume loss | Higher (drive failure stops recording) | Lower (depending on RAID level) |
| Usable capacity | High | Lower due to redundancy (varies by RAID type) |
| Initialization time | Often shorter | Often longer on multi-drive arrays |
| Maintenance behavior | Direct replacement is straightforward | Replacement/rebuild logic depends on RAID |
| Bay count requirements | Can work with 1 drive | Typically needs 2+ drives depending on level |
| Common NVR firmware limitations | Fewer compatibility flags | Some NVRs support only specific RAID layouts |
| Best failure recovery | Replace drive and reinitialize | Rebuild after drive replacement (varies) |
| Recording allocation | Usually direct | May require correct channel mapping to the RAID volume |
| Best for reliability goals | Simpler deployments | Uptime-focused deployments |
| Best For | Small systems where simplicity matters most | Sites that can’t afford total recording loss after a single disk fault |
Hands-on troubleshooting note
In my own troubleshooting workflow, the fastest fix I’ve seen for an NVR hard drive “detected/not initialized” loop was to fully reseat both SATA data and SATA power, then re-check that the storage menu selected the new drive as the recording target.
Verdict: do this if you want reliable storage, but skip if you can’t verify compatibility
Installing an NVR hard drive is usually straightforward and worth it for improved reliability and better retention—as long as your NVR supports the drive’s interface and capacity. Skip this DIY approach (or get help) if you don’t know your NVR model’s storage limits, if you’re uncomfortable opening the unit, or if your NVR requires a specific RAID/storage configuration you can’t confirm.
If you want to reduce risk further, keep the process aligned with a simple change-management mindset (for example, using a PDCA cycle: Plan your compatibility checks, Do the swap, Check detection/initialization, Act by verifying recording).
Quick checklist (save this)
– [ ] Power down NVR and unplug power
– [ ] Confirm drive is compatible (SATA/size/capacity/format requirements)
– [ ] Mount drive securely in the correct bay
– [ ] Connect SATA data + power cables
– [ ] Boot NVR and verify drive is detected
– [ ] Initialize/format when prompted
– [ ] Verify recording schedule and storage settings
Frequently Asked Questions
What should I look for when choosing an NVR hard drive?
Choose an NVR hard drive designed for surveillance recording, often labeled as “surveillance” or “CCTV” HDD, so it can handle continuous write workloads. Match the drive capacity to your retention needs (days of footage) and confirm compatibility with your NVR model’s supported drive sizes and interfaces (commonly SATA). If the NVR supports it, consider drives with adequate cache and performance ratings to reduce the risk of dropped frames during high-bitrate recording.
How do I properly install an NVR hard drive step-by-step?
Power off the NVR, unplug it, and let any internal components cool before opening the case. Insert the SATA drive into the correct bay, connect the SATA data cable to both the NVR board and the HDD, then connect the SATA power cable from the NVR power supply. Secure the drive with screws, re-check that cables are fully seated, close the enclosure, and then power on the NVR so it can detect and initialize the new hard drive in its storage settings.
Which SATA drive type and connections does an NVR require for reliable recording?
Most NVRs use standard 2.5-inch or 3.5-inch SATA HDDs (depending on the model), using SATA data and SATA power connections. Verify the NVR supports the physical form factor and confirm you have the correct mounting hardware for a 2.5-inch or 3.5-inch drive. Using the correct SATA cables and ensuring the connectors are firmly seated helps prevent “HDD not detected” errors and recording interruptions.
Why is my NVR not detecting the new hard drive after installation?
The most common causes are an incompatible drive type/capacity, incorrect cable connections, or the drive not being properly initialized in the NVR interface. Re-seat the SATA data and power connections, confirm the drive is supported by your NVR model, and check the NVR storage/management page for detection status. If the drive is still not recognized, test it in another compatible NVR (if possible) or try a known-good SATA drive to rule out a faulty unit.
Best practices for formatting and configuring an NVR hard drive for continuous 24/7 recording?
After installation, use the NVR’s built-in formatting/initialization option rather than formatting on a computer, so the drive is set up with the expected filesystem and settings. Set the recording mode (continuous, scheduled, or motion-based) and confirm the correct camera channels are assigned to the drive. Finally, verify storage status indicators and periodically check health information in the NVR to ensure the HDD is writing normally and that retention time matches your expected number of days.
📅 Last Updated: November 03, 2026 | Topic: How should I install an NVR hard drive? | Content verified for accuracy and freshness.
References
- Network video recorder
- Hard disk drive
- SATA
- Electrostatic discharge
- RAID
- Self-Monitoring, Analysis and Reporting Technology
- Disk formatting
- https://scholar.google.com/scholar?q=NVR+hard+drive+installation Google Scholar
- https://scholar.google.com/scholar?q=network+video+recorder+HDD+compatibility+formatting Google Scholar
- https://scholar.google.com/scholar?q=surveillance+HDD+installation+NVR+DVR Google Scholar



[…] you install an NVR hard drive, confirm compatibility and have the right tools so you don’t end up reopening the chassis. This is where you reduce […]