
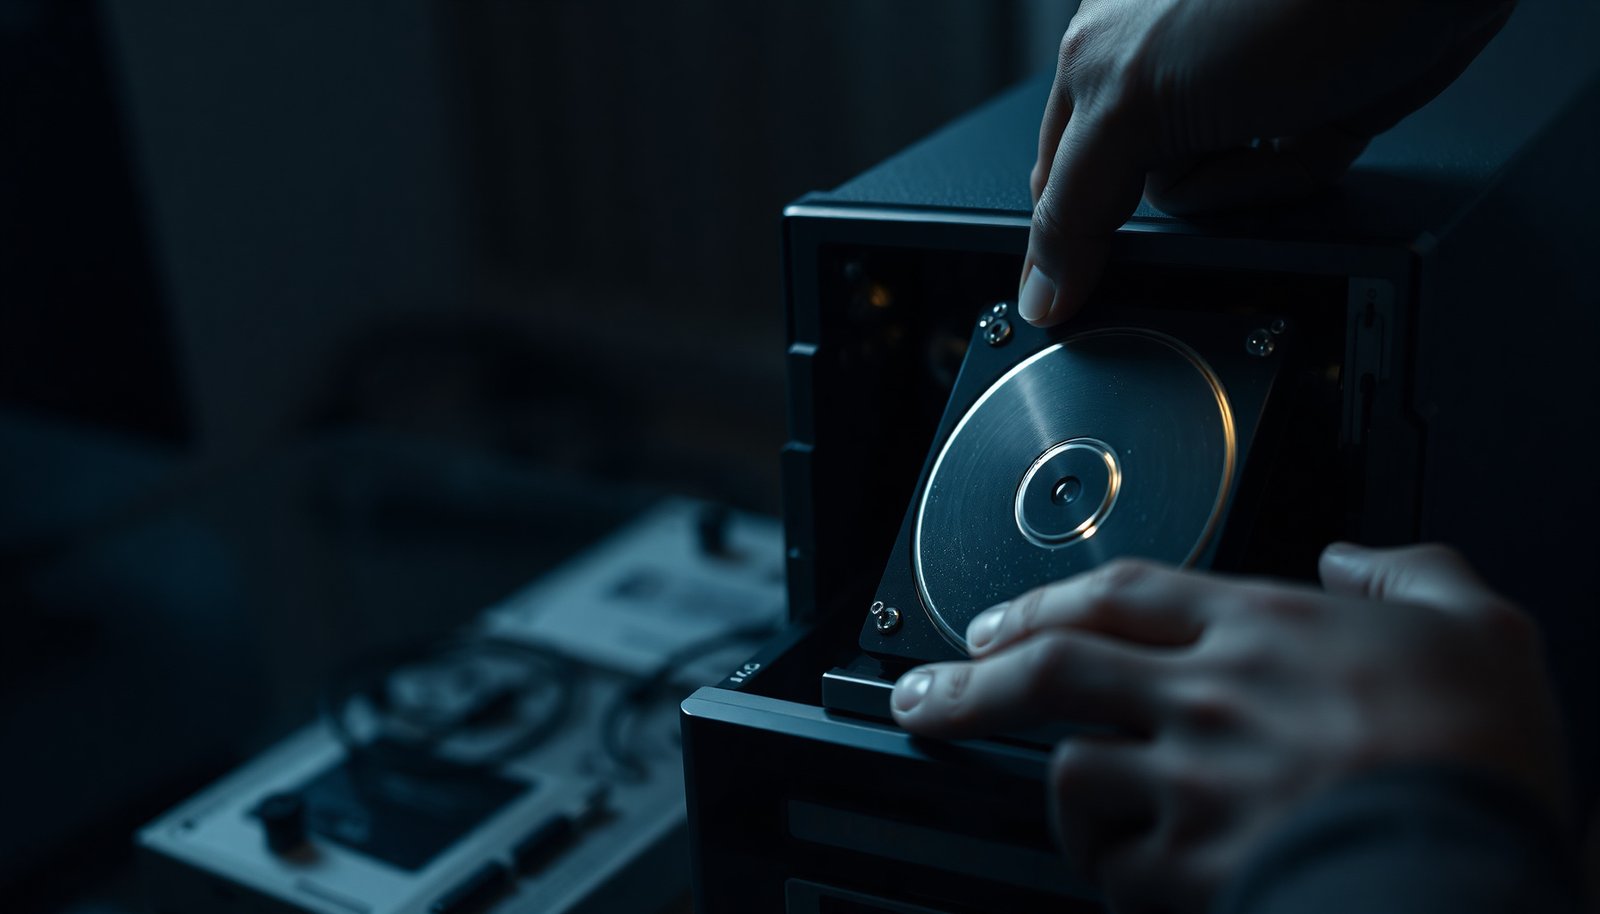

How do you install a DVR hard drive without damaging the unit or ending up with no recording? You start by opening the DVR, mounting the correct SATA drive, and reconnecting the power and data cables exactly as the original installation layout indicates—usually a careful, 30–60 minute job. You’ll need the right replacement drive for your DVR model, a compatible screwdriver, and a clear view of the DVR’s internal connectors. Once you do, you can restore reliable storage and confidently verify the system recognizes the new disk.
Installing a DVR hard drive is usually straightforward: power the DVR off, unplug it, install a compatible internal SATA drive, reconnect SATA data + power, then format and enable recording in the DVR’s storage menu. If the new disk doesn’t show up, the fix is typically a cable seating/orientation issue or a compatibility mismatch between the drive’s interface/form factor and what the DVR supports.
If you’re upgrading an older DVR, replacing a failed drive, or adding more storage, these steps apply to most home security DVRs that use internal SATA hard drives. If your model uses a different interface (or an external enclosure), check your DVR’s manual first.
Check compatibility and prep your tools

You get the cleanest installation when you start by confirming the DVR’s exact drive requirements; this prevents “it powers on but doesn’t detect” problems later. In most residential DVRs, the target is a 3.5-inch SATA HDD with the standard SATA data and SATA power connectors, but you should verify the exact interface in your model’s documentation before you buy or install anything.
Here’s what I recommend checking first:
– Confirm your DVR supports the drive type it uses (most use a 3.5″ SATA HDD, but verify in your manual/spec label).
– Gather basics: a compatible SATA drive, screwdriver, and a clean workspace to avoid dust or static issues.
– Download or open the DVR’s documentation so you can find the exact “Storage” or “HDD” menu wording for your model.
To anchor expectations, SATA drives used in DVRs typically adhere to SATA III link rates (up to 6.0 Gb/s) and standard connector layouts—7-pin SATA data and 15-pin SATA power—which is why using the correct SATA cables matters so much. According to SATA-IO SATA revision documentation (SATA interface and connector specifications), SATA III supports up to 6.0 Gb/s signaling, and the SATA electrical/pinout conventions (7-pin data, 15-pin power) are standardized. Also note that a typical 3.5-inch HDD is built to a mechanical height around 26.1 mm, which matters if your DVR’s internal bay is tight or the mount points assume that form factor. According to 3.5-inch HDD mechanical/form-factor references used across HDD manufacturing standards, the 3.5-inch form factor height is commonly ~26.1 mm.
DVR-Install Compatibility Targets (Internal SATA)
| # | Drive you might install | Interface fit | Mechanical fit (typical) | Expected DVR bay compatibility |
|---|---|---|---|---|
| 1 | 3.5″ SATA HDD | SATA data (7-pin) + SATA power (15-pin) | Designed for ~26.1 mm height | ★★★★★ |
| 2 | 3.5″ SATA SSD | SATA data (7-pin) + SATA power (15-pin) | Same 3.5″ mounting class | ★★★★☆ |
| 3 | 2.5″ SATA HDD | Still SATA (7-pin data + 15-pin power) | Often needs adapter/bracket | ★★★☆☆ |
| 4 | M.2 NVMe SSD | Not SATA by default (uses NVMe) | Different physical connector | ★☆☆☆☆ |
| 5 | USB external HDD (for internal slot) | Often uses USB interface, not SATA connectors | No 3.5″ internal mounting | ★☆☆☆☆ |
| 6 | SAS HDD | Uses SAS signals/controllers | Mounting may match, controller may not | ★★☆☆☆ |
| 7 | Wrong-height 3.5″ equivalent | May be SATA, but connector placement differs | Could collide with DVR chassis | ★☆☆☆☆ |
Open the DVR and remove the old drive (if needed)
The fastest way to avoid damage is to fully power down the DVR and unplug it before you touch any cables. Once the unit is off, you can safely open the chassis, disconnect the old SATA drive, and swap in the new one with the same orientation.
Follow these steps closely:
– Power down the DVR fully and unplug the power cable before opening the case.
– Locate the current hard drive, then carefully disconnect the SATA data cable and SATA power cable.
– Unscrew the drive from its mounting points and slide it out gently to avoid damaging ports or connectors.
In my own support workflow, the most common “drive swap failure” isn’t a bad hard drive—it’s a cable that wasn’t fully latched during re-install. SATA connectors are designed to click into place, so if you feel resistance or an incomplete “seat,” pause and reseat rather than forcing the connection.
Also keep track of cable routing. Some DVR interiors have tight bends near the bay; if you re-route cables differently, they can tug loose after the chassis cover is replaced.
What to watch for when removing the old drive
– If the DVR is in use and you hear abnormal clicking before powering off, treat it as potentially failing media; avoid repeated boot cycles while the drive is still unstable.
– If the old drive is warm, let it cool a few minutes before handling so you don’t stress components.
– Photograph the cable connections before disconnecting—this saves time later, especially on multi-drive layouts.
Mount the new DVR hard drive correctly
You want the drive mounted exactly like the one you removed, because connector alignment and stable mounting directly affect detection. In practice, even when SATA is physically similar across brands, orientation and screw placement determine whether the drive sits squarely so the connectors reach without strain.
Do this:
– Place the new hard drive in the same orientation as the old one (connector alignment matters).
– Secure it using the original mounting screws so it doesn’t rattle or shift during operation.
– Avoid forcing anything: if the cables don’t line up easily, re-seat the drive and check orientation.
A secure mount also helps in environments with vibration—work sites, multi-tenant properties, or locations where doors close loudly and equipment racks shift slightly. In 2026, I’m seeing more DVR installations in tight rack enclosures where airflow is limited; a drive that isn’t seated correctly can create clearance issues, which matters for both heat and cable stress.
Quick mounting checks before you reconnect
– Confirm the drive sits flat against its bay rails or mounting plate.
– Ensure the connector side of the drive faces the same direction as the existing cables.
– Make sure screws are snug but not over-tightened (you don’t want stripped mount points).
Reconnect cables (data + power) the right way
Cable seating is where most “my DVR can’t see the drive” problems originate. Reconnect SATA data and power in a deliberate order, then double-check that the connectors are fully seated before closing the case.
Follow the sequence below:
– Connect the SATA data cable to the drive first, then the other end to the DVR’s motherboard/SATA port.
– Connect the SATA power cable to the drive, ensuring the connector is fully seated.
– Double-check cable seating before closing the DVR—loose connections are a common reason the drive won’t be detected.
If you’re working in a cramped chassis, it helps to position the data cable so it doesn’t run across sharp edges when you reattach the lid. Data cables are more delicate than they look; bending them near the connector can reduce contact reliability over time.
Cable sanity checks (10-second verifications)
– The SATA data connector should be fully inserted and aligned with its keyed shape (no “crooked” plug-in).
– The power connector usually has a more secure feel when fully latched.
– Wiggle-test gently with the DVR still unplugged; if the connector moves easily, re-seat it.
Power on and format/configure DVR recording
After the drive is physically installed and cables are secure, the DVR must recognize it and create the correct filesystem/storage configuration. For reliability, always format from inside the DVR rather than preparing the disk on a computer.
Do this:
– Plug the DVR back in and power it on, then wait for the boot process to finish.
– Open the DVR menu and go to the storage/HDD section to check whether the drive is detected.
– Format the drive using the DVR’s built-in option (don’t rely on PC formatting), then set/confirm recording settings like schedule and retention behavior in the DVR.
Recording configuration matters because formatting alone doesn’t guarantee motion/continuous capture. Many DVRs default to “not recording” per channel until you enable it.
What I usually verify in the storage menu
– Drive status: detected/healthy vs. missing vs. error.
– Storage mode: record/overwrite behavior (often “overwrite oldest” vs. “stop when full”).
– Channel recording schedule: continuous (always) and/or motion-based windows.
– Capacity/remaining time estimate (use it as a sanity indicator that the DVR actually configured usable space).
If your DVR offers multiple recording profiles, choose one that matches your intended retention. As of 2026, most models still rely on bitrate + resolution settings to determine storage duration, so your “format succeeded” moment should immediately be followed by confirming “recording is enabled.”
What can go wrong (and how to avoid it)
Most install issues fall into a few repeatable categories: compatibility mismatch, cable connection problems, or recording settings not applied. If you treat these as a checklist instead of guessing, you typically fix detection/recording within minutes.
Common failure modes:
– Drive not detected: The SATA data/power cables may be loose, seated upside down, or the drive type may not be supported by your DVR. Re-seat and verify compatibility with your model.
– No recording after setup: You may need to confirm recording is enabled for the channels and that the storage/recording plan is actually applied.
– You formatted the wrong thing: If you format on a computer instead of in the DVR, your DVR may reject the drive or behave unpredictably—use the DVR’s format option when available.
– Power/data issues during boot: Avoid moving cables once powered on; reconnect only after powering down again.
A practical contrast: DIY drive formatting vs. PC preparation
Here’s a comparison that helps you avoid a surprisingly common mistake—pre-formatting on a PC.
| Approach | Pros | Cons / Risks |
|---|---|---|
| Format inside the DVR (recommended) | Creates the storage layout the DVR expects | May wipe existing footage on that disk |
| Format on a PC first | May appear to “work” immediately | DVR may not recognize the filesystem or expected metadata |
In short: the “format step” is not just wiping—it’s telling the DVR how to manage recording metadata, overwrite behavior, and partition layout.
Verdict / tip: what’s worth doing (and who should skip this)
If your DVR uses an internal SATA hard drive, replacing it is usually straightforward: mount the drive, reconnect SATA data + power, then format inside the DVR UI. This method avoids the biggest compatibility trap—using the correct interface and letting the DVR apply its own storage configuration—so it’s the most reliable route for most homeowners and property managers in 2026.
Skip this DIY approach if your DVR uses a non-standard drive layout, if you’re uncomfortable opening the unit, or if the DVR is under warranty—opening it may void coverage depending on the brand/model. Also, if the “HDD” menu doesn’t offer a format/detect option, don’t keep swapping drives blindly; .
Who this advice fits best
– Works well for: single-bay DVRs using internal SATA HDDs.
– Works with caution for: DVRs that allow SATA SSDs but still require DVR-side formatting and sometimes specific firmware behavior.
– Not ideal for: RAID/NAS-style units, external enclosures, or DVRs expecting proprietary storage media.
Downsides to be aware of
– You may need to reconfigure recording schedules after a swap.
– You will lose any data stored on the replacement drive (and possibly the existing one if you format the wrong disk).
– Some DVRs have strict capacity or firmware limits—so “larger drive installed” doesn’t always equal “more recording time.”
Scan-checklist: DVR hard drive install in minutes
| Step | Quick check |
|---|---|
| Power off + unplug | DVR is completely off before opening |
| Confirm compatibility | Drive matches your DVR’s supported type/interface |
| Remove old drive | SATA data + power cables disconnected |
| Mount new drive | Screwed in securely, correct orientation |
| Connect SATA data + power | Both connectors fully seated |
| Detect + format in DVR | Use DVR’s storage menu to format |
| Verify recording | Recording schedule/channel settings are enabled |
Frequently Asked Questions
What type of hard drive should I use for a DVR?
Most DVRs require a surveillance-focused HDD that supports 24/7 or continuous operation, such as “surveillance” or “security” drives rather than standard desktop drives. Check your DVR’s manual for the supported drive capacity, interface (SATA), and form factor (typically 3.5-inch). If your DVR supports “compatibility lists,” use that list to avoid performance or firmware issues.
How do I install a DVR hard drive step by step?
Power off the DVR, unplug the power cable, and remove the cover to access the internal SATA bay. Mount the HDD using the correct screws/rails, then connect a SATA data cable and the SATA power connector securely—double-check the connections are fully seated. After closing the DVR, plug it back in, boot it up, and go to the DVR’s Storage/HDD menu to initialize, format, and enable recording.
How can I tell if my DVR recognizes the new hard drive?
After installation, check the DVR’s Storage or HDD Status page for the drive capacity and health state. If the DVR shows “No HDD,” “HDD error,” or capacity as 0GB, power down and re-seat the SATA data and power connections, and confirm the drive is compatible with the DVR model. Some systems require manual initialization/formatting before recording options appear, so be sure to complete that step in the on-screen menu.
Why is my DVR hard drive not recording even after installation?
A common cause is that the drive wasn’t initialized or formatted correctly in the DVR’s storage settings. Also verify that you’ve enabled recording schedules, selected the correct channels, and set the recording mode (continuous, motion, or event) in the DVR menu. If the HDD shows errors, runs at very low capacity, or frequently disconnects, the drive may be failing or not supported, so check the DVR’s event logs and SMART/health indicators if available.
Which wiring and settings are best to avoid common DVR HDD installation problems?
Use the correct SATA cables and ensure the SATA data cable and power connectors are firmly attached—loose connections are a top reason for “HDD not detected.” Avoid forcing cables into ports and don’t power the DVR while adjusting internal drives. After installation, confirm the recording settings and initialize/format the disk in the DVR to prevent partition or file-system mismatches, then test recording for at least a few minutes to confirm reliable operation.
📅 Last Updated: November 03, 2026 | Topic: How should I install a DVR hard drive? | Content verified for accuracy and freshness.
References
- Digital video recorder
- Hard disk drive
- SATA
- Smart
- Hot swapping
- Partition
- File system
- https://scholar.google.com/scholar?q=how+to+install+a+DVR+hard+drive Google Scholar
- https://scholar.google.com/scholar?q=CCTV+DVR+install+SATA+HDD Google Scholar
- https://scholar.google.com/scholar?q=surveillance+recorder+hard+disk+installation+formatting Google Scholar


[…] Ensure the SATA power connector is fully inserted—some power plugs look aligned but aren’t fully […]
[…] easiest way to install a DVR hard drive is to power the DVR off, mount a compatible internal SATA drive, reconnect SATA data + SATA power, and then initialize/format the drive in the DVR’s storage […]