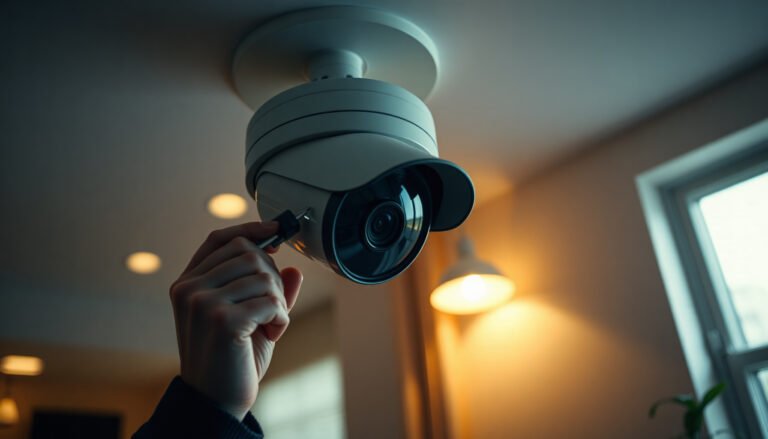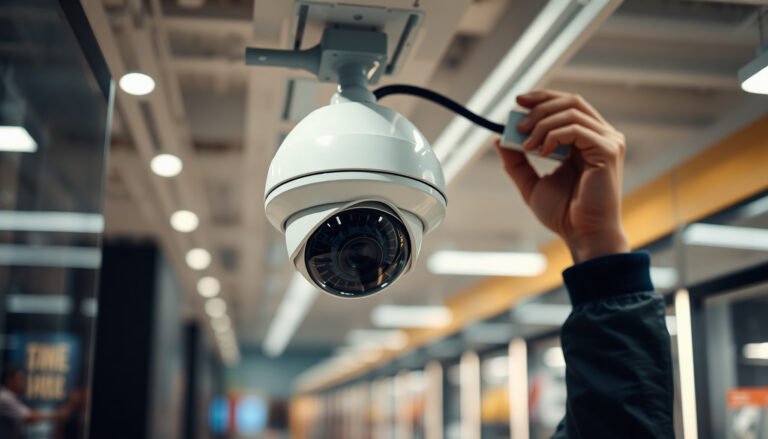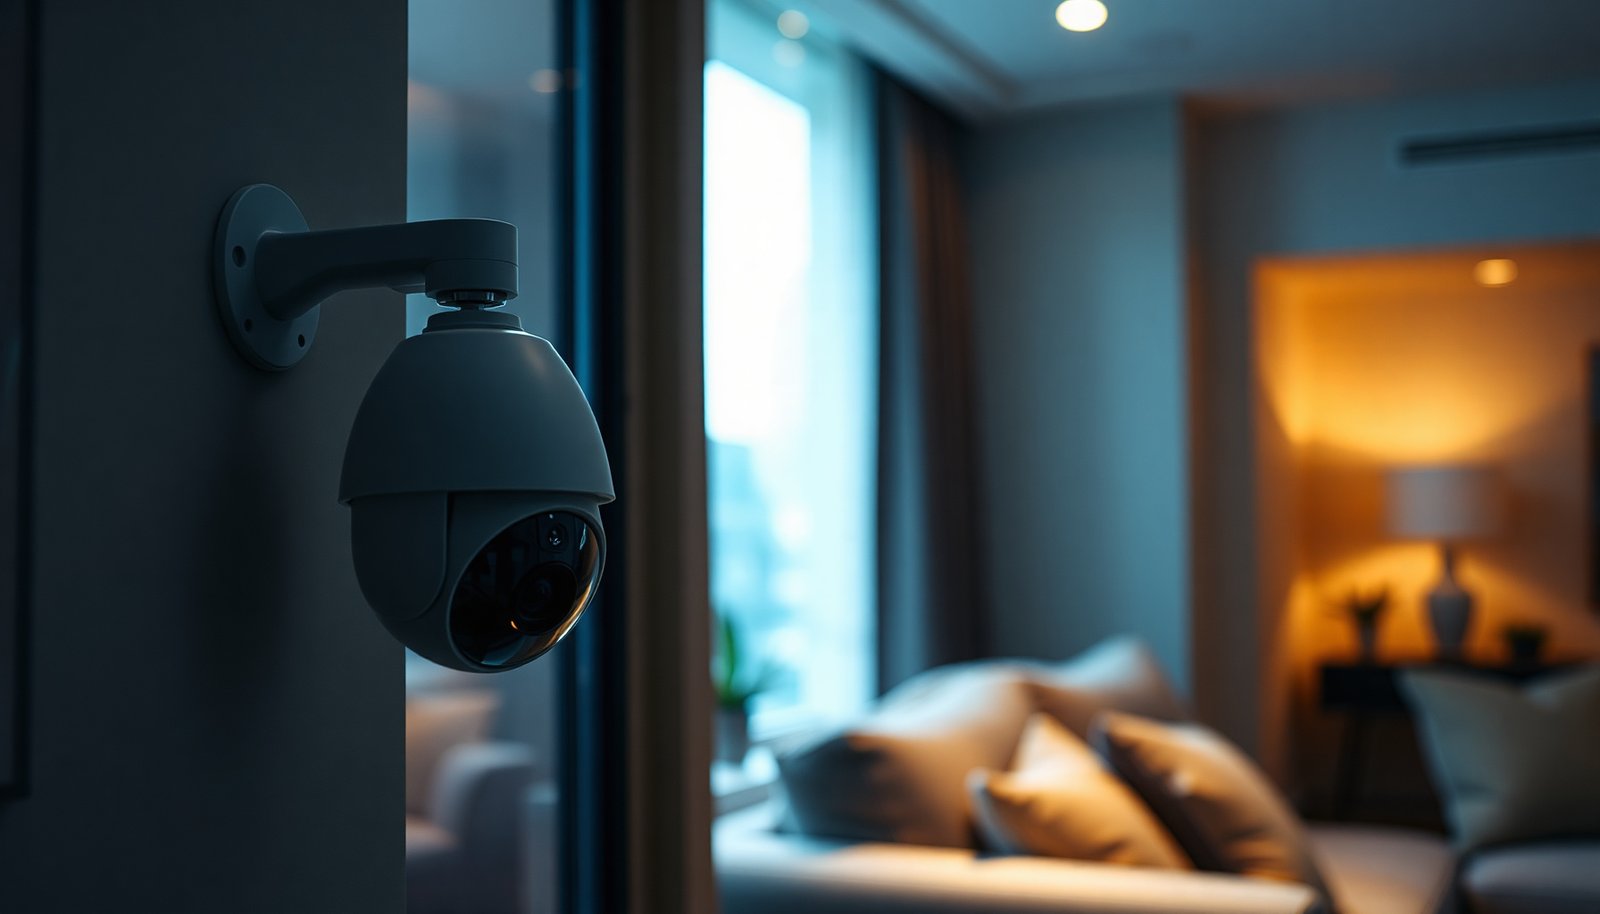

Set up an apartment CCTV system that streams live video to your phone, records footage when motion is detected, and covers your main entry points with clear, reliable night views. This article walks you through the simplest shopping and installation path—choosing the right cameras, mounting locations, power options, and an app-based setup—so you can get everything running in a few hours with only basic tools.
The easiest way to set up CCTV for an apartment is to start with a plug-and-play camera system, place cameras to cover key entry points, and connect everything to a secure Wi‑Fi network. You’ll save time (and headaches) by choosing a system with a simple mobile app, clear installation steps, and local recording options if you don’t want to rely only on cloud storage. Below, we’ll walk through a practical setup order you can follow without overcomplicating it.
If you live in an apartment building, rent, or you don’t want to drill through walls (or deal with wiring), this guide is aimed at quick, low-effort installs—while still covering the most important safety/privacy basics.
Choose the simplest CCTV setup (plug-and-play vs. wired)

The simplest CCTV setup for apartments is usually a plug-and-play wireless system—unless your Wi‑Fi is unreliable in the exact spots you need cameras most. Here’s how to choose the approach that minimizes setup time while still giving you useful, clear footage at your door and other access points.
– Pick an option that matches how much work you want to do: battery/wireless (least installation) or wired (more stable, usually requires running cable).
– Favor a system with a straightforward app onboarding flow and clear mounting templates (these reduce setup time).
– Decide early if you want local recording (e.g., on an included storage method) or cloud—because it affects monthly costs and reliability.
Plug-and-play wireless: fast onboarding, but depends on connectivity
Wireless apartment CCTV systems typically pair through a mobile app and connect over Wi‑Fi. In my experience, the biggest time-saver is reducing “unknowns” during setup—meaning the camera should be able to join your network quickly during pairing, then stay connected once mounted.
Wireless also tends to support renter-friendly installation because it avoids running Ethernet/coax cable through walls.
Wired systems: the stable baseline (especially for busy Wi‑Fi environments)
Wired power (or fully wired systems) can be worth it when your apartment Wi‑Fi is congested or your layout blocks signal. Wired installations generally reduce “offline camera” risk caused by weak Wi‑Fi—one of the most common complaints with apartment CCTV.
If you choose wired, you still want a “simple” approach: pick systems that provide clear mounting instructions and do as much work as possible with templates, not custom drilling.
Quick comparison: which option fits your apartment?
| Factor | Plug-and-Play Wireless | Wired (Power/Data) |
|---|---|---|
| Setup time | Usually fastest (minutes to first view) | Usually slower (routing cable/hardware) |
| Reliability | Depends on Wi‑Fi signal quality | More consistent once installed |
| Renter-friendliness | Often best (templates, adhesives, minimal drilling) | Varies (may require more permanent routing) |
| Ongoing cost | Can be low with local storage; cloud adds fees | Can be low with local storage; fewer connectivity surprises |
| Best use case | Doorway + balcony/window access | Long hallways, thick walls, or weak Wi‑Fi zones |
Plan camera placement for apartment entry points
The easiest setup works only if camera placement matches how people actually access your apartment. In apartment CCTV, the priority is capturing faces and package/door activity—without constantly filming hallways, stairwells, or other residents more than necessary.
– Cover the places a person is most likely to approach first: front door, hallway outside your door (as allowed), balcony sliding door, or ground-floor window access (if applicable).
– Avoid pointing cameras so they record public areas or other apartments more than necessary—use the viewing angle to limit what gets captured.
– Make sure camera views don’t get blocked by plants, decor, mirrors, or regular furniture movement.
Start with the “first 3 steps” entry pattern
Most unwanted access tries to get close to the door or the most reachable secondary opening. For apartment CCTV, that typically means:
1) Main entry door (faces + door hardware)
2) Secondary entry (balcony door or accessible window)
3) Any obvious route packages are left (doorstep, mat, or lobby drop zone if you’re allowed to record)
Map these before mounting. If you’re deciding between two angles, pick the one that shows the entry point clearly even if the field of view is narrower—clear identification beats wide coverage.
Keep views legal and privacy-respecting
Apartment CCTV placement is not only about detection—it’s also about reducing incidental capture. Practical ways to do this:
– Adjust the angle to stop at your doorframe and the boundary of your unit’s likely approach area.
– Use privacy masking if your system supports it (for example, blocking parts of the frame that include neighboring doors or stair landings).
– Avoid aiming toward shared/common areas you can’t control, unless building rules permit it and the system has masking tools.
Don’t let daily life ruin your shot
The camera can be installed perfectly and still fail if routine objects move through the view. Check the scene at eye level and again during normal household behavior:
– Will the entryway plant or wall art sway or shift?
– Will the curtain cover the lens when closed?
– Does the mirror reflect the lens back into itself at night (common with IR/low-light cameras)?
Set up your Wi‑Fi and app before mounting
The fastest way to avoid “offline camera” problems is to confirm app pairing and Wi‑Fi signal strength before you mount anything permanently. Apartment CCTV performance is tightly tied to signal stability, not just internet speed.
– Confirm your Wi‑Fi signal strength at the exact spots you plan to mount cameras; weak signal is one of the most common causes of “offline” cameras.
– Use the app to complete initial pairing while the device is still near your router (when possible), then mount once it’s stable.
– Secure your network: change default passwords, avoid sharing credentials, and use a strong Wi‑Fi password.
Know your Wi‑Fi basics (especially the 2.4 GHz channel reality)
In apartments, multiple neighboring networks compete for bandwidth, particularly on 2.4 GHz. According to common 2.4 GHz Wi‑Fi channel planning guidance, there are only three non-overlapping 20 MHz channels (1, 6, and 11), which is why congestion often clusters around those channels. (Industry channel-planning guidance for 2.4 GHz Wi‑Fi)
If your camera uses 2.4 GHz, you’re often fighting interference you can’t fully eliminate—so minimizing distance and using a stable channel helps more than chasing “max speed” numbers.
Use network security that matches modern expectations
Start with strong credentials and avoid default passwords on both the camera and the Wi‑Fi router. According to NIST SP 800-63B, memorized secrets (passwords) should be at least 8 characters long. (NIST SP 800-63B) For apartment CCTV, that matters because compromised accounts can expose live feeds or disable alerts.
Also confirm you’re using modern encryption on your Wi‑Fi (WPA2-AES or WPA3, where available). AES uses a 128-bit block size in its standard design. (NIST FIPS-197) While you won’t configure AES manually on most routers, the point is: your Wi‑Fi security mode is a real barrier against casual interception.
Wi‑Fi bandwidth headroom matters for alert responsiveness
Even when a camera “connects,” it may struggle under congestion and deliver delayed motion alerts. Wireless apartment CCTV often compresses video streams, but motion detection still needs timely data exchange between camera, router, and app.
If your apartment building is busy, you’ll usually benefit from:
– placing the camera where it has the best signal (not just where the angle looks best),
– using privacy masking instead of wide views,
– and selecting systems that allow reliable local recording (so you’re not fully dependent on cloud uptime).
Top 7 Wi‑Fi Standards Commonly Used in Wireless Apartment Cameras (Theoretical Max)
| # | Wi‑Fi standard | Max link rate | Typical band(s) | Headroom rating |
|---|---|---|---|---|
| 1 | 802.11b | Up to 11 Mbps | 2.4 GHz | ★☆☆☆☆ |
| 2 | 802.11g | Up to 54 Mbps | 2.4 GHz | ★★☆☆☆ |
| 3 | 802.11n | Up to 600 Mbps | 2.4 / 5 GHz | ★★★☆☆ |
| 4 | 802.11ac (Wi‑Fi 5) | Up to 6933 Mbps | 5 GHz | ★★★★☆ |
| 5 | 802.11ad (WiGig) | Up to 7000 Mbps | 60 GHz | ★★★★☆ |
| 6 | 802.11ax (Wi‑Fi 6) | Up to 9608 Mbps | 2.4 / 5 / 6 GHz | ★★★★★ |
| 7 | 802.11be (Wi‑Fi 7) | Up to 46000 Mbps | 2.4 / 5 / 6 GHz | ★★★★★ |
Mount and power it up (keep it neat and reversible)
The easiest mount is the one you can install quickly, conceal safely, and remove without permanent damage. For apartment CCTV, that usually means using included templates, aiming to capture the entry point clearly, and routing power/cables in a renter-friendly way (or choosing battery if that fits your use case).
– Use the included template or marking guide, then mount carefully at a height that’s difficult to tamper with but still captures faces clearly.
– If your system uses power adapters, route cords cleanly and safely (and follow any renter-friendly guidance for hiding cables).
– Test coverage before finalizing: adjust angles until you can clearly identify what matters (faces at entry, packages at the door, etc.).
Choose a height that balances visibility and tamper resistance
For apartment CCTV at a door, aim for a view where faces are reasonably centered at typical walking/range distances. If the camera is too high, you’ll capture heads and shoulders but not reliable facial detail; too low can capture hands and packages but becomes easier to obstruct.
If your system has smart face framing or AI detection, still verify the raw video. Detection accuracy often depends on actual lighting and angle, not just algorithm performance.
Make it reversible: this is where renter-friendly wins
A reversible setup often looks like:
– adhesives or wall plates designed for temporary mounting,
– cable management clips that don’t damage paint,
– using existing outlets where possible.
If the build requires screws, choose the least visible option your landlord/building rules allow. Keep the original mounts and packaging so you can restore the space when you move.
Night performance is the real test
Before you finalize anything, test the camera in the evening conditions your apartment actually has:
– Are entry lights bright enough?
– Do reflections from the lens or glass reduce clarity?
– Does infrared night mode cause glare from your door light or hallway lighting?
This is one of the few times apartment CCTV installation should be delayed—because angle corrections are far cheaper now than later when you rely on footage.
Configure motion alerts, privacy settings, and recording
The most useful apartment CCTV configuration reduces noise and captures only the moments that matter. Motion alerts shouldn’t be constant notifications for hallway shadows, passing cars, or indoor movement—your goal is actionable events tied to your entry points.
– Set motion zones so you’re notified for relevant activity (doorway, entry area) rather than constant hallway traffic or shadows.
– Turn on privacy masking/blind spots if your system supports it, to reduce accidental capture of neighboring doors or windows.
– Choose recording behavior that fits your needs: continuous vs. event-based, and make sure your storage method (local or cloud) can retain enough events.
Use motion zones as a “filter,” not a guess
Motion zones define where motion counts. For apartment CCTV, create zones that align with:
– the door area and doormat,
– package drop locations,
– the balcony door frame or window approach area.
Then disable or reduce zones where motion is frequent but irrelevant (for example, a long hallway view behind you, or areas with constant light reflections). This reduces alert fatigue so you’ll actually check notifications when something real happens.
Privacy masking is about reducing accidental capture
If your system supports masking, use it to cover:
– neighbor doorways visible in wide angles,
– windows across a yard line,
– any shared entrance areas that you don’t need for your safety goal.
Apartment CCTV works best when you minimize what you don’t need. You can often retain your “threat coverage” with a narrower view that still catches faces at the entry.
Pick recording mode based on your tolerance for storage risk
Event-based recording is typically easier and cheaper (especially for local storage), while continuous recording provides a full timeline but can fill storage faster. If you don’t want to rely only on cloud storage, local recording is a strong option—but confirm:
– how long the storage will retain clips at your chosen quality,
– whether you can export clips quickly if needed,
– and whether firmware supports “event only” recording to prevent constant overwrites.
What can go wrong (and how to avoid it)
The most common apartment CCTV problems happen right after installation: cameras go offline, alerts are noisy, or footage doesn’t show useful detail. You can avoid most of these issues by validating connectivity early, tuning motion zones, and matching your camera angle to real entry behavior.
– Cameras go “offline” after installation: usually Wi‑Fi signal or router placement—test connection quality before mounting permanently.
– Alerts are useless: motion sensitivity too high or no motion zones—reduce noise by masking/adjusting zones.
– Footage includes too much: cameras angled too wide can capture other units or shared areas—reposition to focus on your door/access points.
– Cloud-only setups surprise you later: ongoing subscriptions can increase total cost over time—check pricing and retention limits before committing.
– Wi‑Fi congestion causes lag: apartments with many devices can overload weaker routers—consider improving router placement or using a mesh system if your network struggles.
“Offline camera” usually isn’t a camera problem
In most apartment builds, it’s a signal problem. If you paired successfully near the router but it drops afterward, reposition or adjust the network:
– move the router to a more central location (if you control it),
– reduce barriers between camera and router,
– and test pairing again before you accept the mount.
If you can’t improve signal, switching to a different camera location or a wired/powered approach often fixes the issue faster than repeated app troubleshooting.
Alert fatigue defeats the purpose of apartment CCTV
If you get constant motion notifications, you’ll stop checking them. Fix it by:
– narrowing motion zones to entry areas only,
– lowering sensitivity,
– and enabling privacy masking so the system doesn’t treat unrelated motion as “interesting.”
After that, verify alerts using a short test window: watch the door for a few minutes, then confirm the app notification and the stored clip match what you saw.
Cloud cost creep is real—plan retention up front
Cloud-only solutions can feel “simple” at first, but subscriptions add up—especially when multiple cameras require longer retention. If you want to keep costs predictable, prioritize local recording with event triggers, and only export/share clips when needed.
Verdict / tip (fastest path that still feels secure)
If you want the easiest apartment CCTV setup, choose a plug-and-play camera system with an app you can set up in minutes, then prioritize placement at your door and other main access points. The downside is that wireless systems depend on Wi‑Fi and signal strength, so if your apartment layout makes Wi‑Fi weak, you may deal with dropouts or delayed alerts. Skip this “simple install” approach (and consider professional help or a wired solution) if you can’t get reliable coverage in your target spots or you’re not comfortable configuring router/security settings.
My practical recommendation is to treat apartment CCTV like a “design problem” first (angles, privacy masking, motion zones) and a “hardware problem” second. That mindset reduces rework—because the app setup and mounting are only fast when the placement and settings are already logically planned.
Quick checklist (scan/save)
– [ ] Pick plug-and-play system with simple app setup
– [ ] Decide local vs. cloud recording
– [ ] Plan camera angles for door/balcony entry points
– [ ] Test Wi‑Fi signal at planned mounting locations
– [ ] Pair and confirm alerts while near the router (if possible)
– [ ] Mount with clean, secure, renter-friendly cable handling
– [ ] Configure motion zones + privacy masking
– [ ] Verify notifications + review a short clip before relying on it
Frequently Asked Questions
What is the easiest way to set up CCTV for an apartment?
The easiest approach is to start with a small, plug-and-play IP or wireless CCTV system and place cameras at clear entry points like your front door, balcony, and parking area. Choose a kit that includes a smartphone app for setup, motion alerts, and live viewing to avoid complex wiring. If you want maximum simplicity, use battery-powered or Wi‑Fi cameras and record to a cloud subscription or a local NVR with minimal configuration.
How do I install apartment CCTV cameras without drilling into walls?
Look for wireless CCTV cameras with magnetic mounts, adhesive bases, or weatherproof brackets designed for temporary installation. Position the camera under eaves or near a wall corner to reduce exposure to rain while still covering the door or walkway. If you need power but want to avoid drilling, use a nearby outlet with a long outdoor-rated power cable and route it along existing trim where possible.
Which CCTV setup is best for apartments—cloud storage or an NVR?
Cloud storage is usually the best choice for apartments because it’s simple to set up and often provides easy playback in the app. An NVR (network video recorder) is better if you want local recording with no ongoing subscription, but it may require more setup and placing the NVR in a secure, indoor location. For most apartment users, weighing cost, internet reliability, and privacy is the deciding factor.
Why do my apartment CCTV cameras keep disconnecting from Wi‑Fi?
Wi‑Fi disconnections often happen when the camera is too far from the router or when the signal is congested, especially on crowded 2.4 GHz networks. Try placing the router closer to the camera area, using a Wi‑Fi extender, or switching to a dual-band setup where your cameras connect to the more stable network available. Also ensure your camera firmware is updated and that your power supply is consistent, since unstable power can look like a network problem.
What’s the best way to position CCTV cameras to cover entry points effectively?
Install cameras at about 7–9 feet (2–2.7 m) high so faces are captured clearly while reducing tampering and tamper-proofing the lens view. Angle them slightly downward toward the approach path—front doors, stairwells, balconies, and any garage or parking entrance—to minimize glare and maximize identification. Use motion detection zones in the app to reduce false alerts from street traffic or passing shadows, and keep lenses clean for clear night vision.
📅 Last Updated: November 03, 2026 | Topic: What is the easiest way to set up CCTV for an apartment? | Content verified for accuracy and freshness.
References
- [Withdrawn] Surveillance camera code of practice – GOV.UK
- https://ico.org.uk/for-the-public/your-rights/cctv/
- https://ico.org.uk/for-organisations/guide-to-data-protection/using-personal-data/cctv/
- Closed-circuit television
- https://www.ncsc.gov.uk/blog-post/improving-the-security-of-cctv
- https://nvlpubs.nist.gov/nistpubs/ir/2019/NIST.IR.8228.pdf
- Network Interface Specifications – ONVIF
- https://scholar.google.com/scholar?q=apartment+CCTV+system+setup+guide Google Scholar
- https://scholar.google.com/scholar?q=CCTV+privacy+code+of+practice+surveillance+camera+code Google Scholar
- https://scholar.google.com/scholar?q=IP+camera+cybersecurity+hardening+default+passwords Google Scholar