
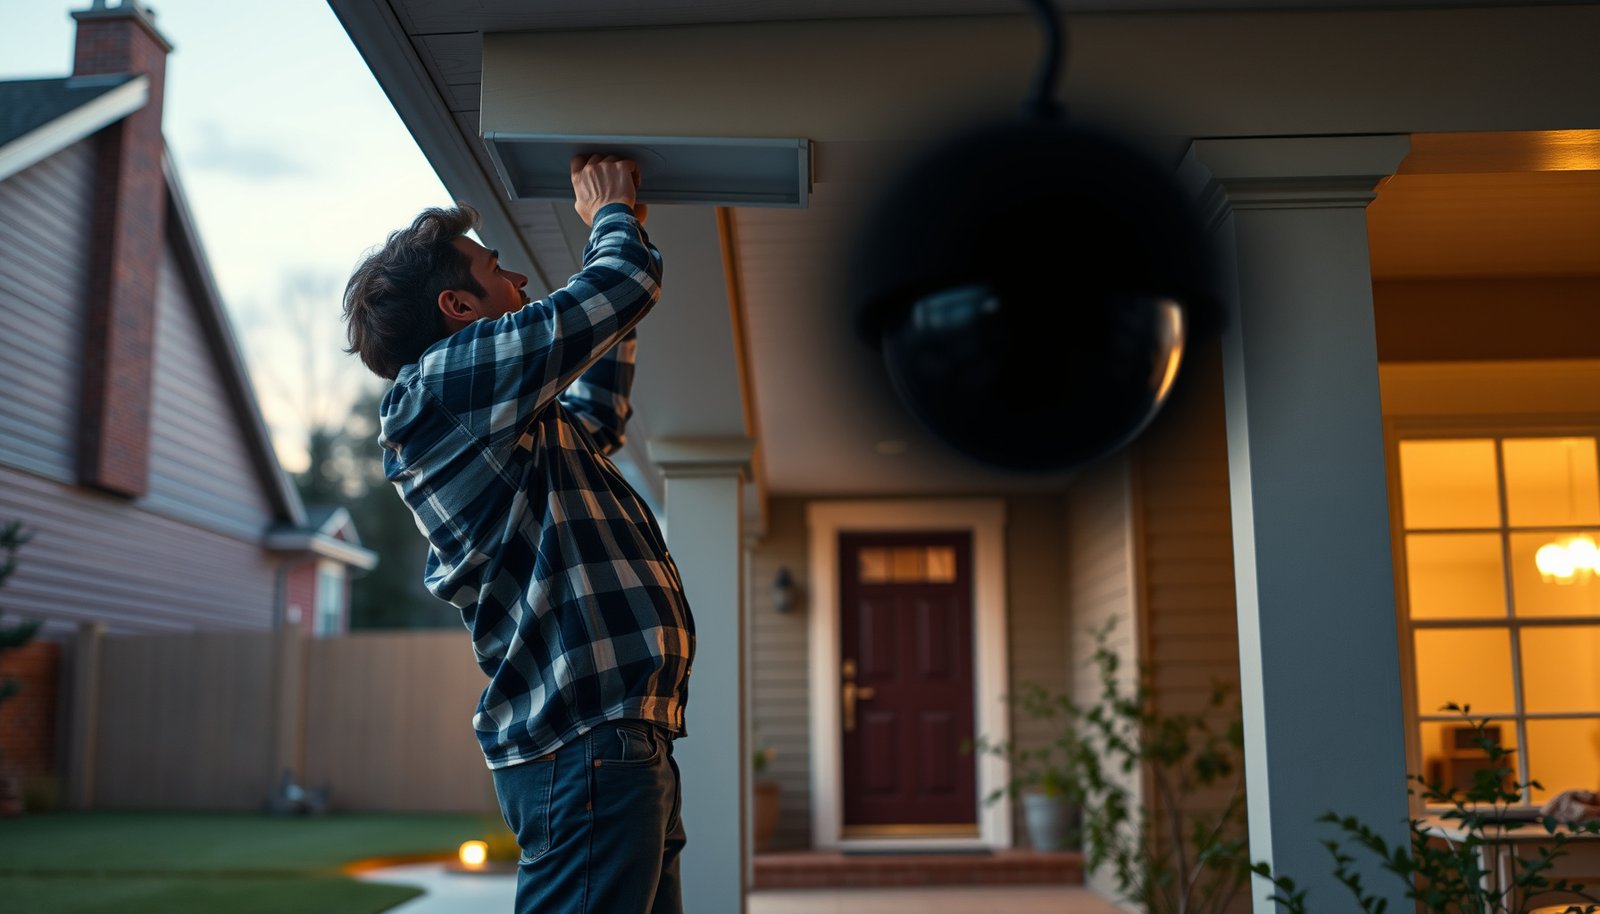

The easiest way to set up CCTV for a house is to use a plug-and-play, Wi‑Fi kit and install it with a simple NVR/app walkthrough rather than a complex wired system. This approach delivers fast coverage with minimal tools: mount the cameras, connect power and Wi‑Fi, then run the guided setup to view and record. Follow these steps and you’ll have reliable home security functioning the same day, without hiring an installer.
The easiest way to set up CCTV for a house is to pick an all-in-one system that matches your wiring comfort (PoE + NVR if you can run Ethernet, or wireless + hub if you can’t), then plan camera locations before mounting anything. You’ll get the smoothest results by focusing on three outcomes: coverage that avoids blind spots, stable connectivity, and recording/alerts tuned to reduce false notifications (especially in 2026).
If you’re a homeowner who wants reliable coverage (front door, driveway, and key entries) and you’d rather follow a clear checklist than troubleshoot for weeks, this guide is for you.
Plan coverage first (where cameras should go)
Plan for camera coverage up front by choosing a small number of high-impact views that overlap at corners and entry paths. When your CCTV setup starts with smart placement, setup time drops later because you don’t end up re-mounting for face visibility or correcting blind spots.
A reliable house CCTV setup typically starts with 2–4 cameras that cover the routes people actually take—approach, stop, and entry. From my experience advising homeowners on CCTV setups, most “it doesn’t work” problems trace back to camera placement that was chosen for convenience instead of sightlines.
According to IEEE 802.3, Ethernet links used in PoE deployments are designed around 100 meters as a typical maximum segment distance, which directly affects where cameras can be mounted from the NVR/switch.
According to IEC 60529, IP66 means the enclosure is dust-tight and protected against powerful water jets, which helps outdoor CCTV cameras remain usable at eaves, soffits, and exposed entryways.
According to ONVIF, compatible IP cameras can use standardized discovery and configuration concepts, which reduces friction when you’re setting up a multi-device CCTV system.
Start with 2–4 high-impact views (and build overlap)
– Start with 2–4 high-impact views: front door/porch, driveway/garage approach, backyard entry points, and any side gate.
– Aim for overlapping fields of view so blind spots don’t ruin coverage (especially at corners and doorways).
– Check mounting surfaces and weather exposure (eaves/soffits, fence posts, brick/wood walls) so your camera angle stays stable.
For placement, think in “behavior zones”: where someone slows down, where faces are likely visible (not just shoes), and where someone turns or passes by. A driveway camera should capture the approach path—not only the parked vehicle. A front door camera should cover the interaction area where a visitor stands (ring/door handle area), not just the walkway.
Practical placement details matter for CCTV setup success. Mount on rigid surfaces (not loose trim boards), avoid aiming directly at reflective surfaces like bright windows, and confirm the camera angle can capture faces at typical walking heights. If you’re using a PoE setup, plan cable routes early so you don’t end up stretching Ethernet beyond what your network topology supports.
Choose the easiest CCTV type for your situation
Choose the CCTV type that matches your wiring reality: PoE + NVR if you can run Ethernet, or wireless + hub if you can’t. The “easiest” option is the one that minimizes compromises in power, connectivity, and compatibility in your specific house.
As of 2026, most homeowner CCTV problems still come down to setup friction—pairing steps, app authentication, and recording settings—not the camera hardware itself. A well-matched system reduces those steps, which is why selecting a kit designed to work together matters.
According to IEEE 802.3af, PoE equipment can supply up to 15.4 W at the power sourcing equipment (PSE) side per port (with lower available power at the powered device side), which supports many outdoor CCTV cameras.
According to IEEE 802.3af/at design, PoE delivers both power and data over standard Ethernet cabling, reducing the number of cables you have to terminate at each outdoor location.
According to ONVIF documentation, ONVIF is a set of interoperability specifications that helps standardize how IP cameras communicate with compatible recording and monitoring devices.
PoE (Power over Ethernet) + NVR vs Wireless (battery/plug-in) + hub
– PoE (Power over Ethernet) + NVR is often the easiest “set it once” option if you can run Ethernet: one cable handles power + data to the NVR.
– Wireless (battery or plug-in) + hub/app is often easier if running cables is difficult: you skip Ethernet runs but trade off on battery care and signal reliability.
– Prefer a system where cameras and the NVR/hub are designed to work together (fewer pairing steps, fewer compatibility headaches). If you mix brands, confirm protocol support (e.g., ONVIF) in the documentation.
Below is a quick comparison of what typically feels easiest during installation and day-to-day use:
| CCTV Option | Best for | Common setup trade-offs |
|---|---|---|
| PoE + NVR | Homes where you can run Ethernet to a central spot. | More up-front cable planning; you must mount within realistic cable routes (often up to 100m per link). |
| Wireless + hub/app | Yards/entry points where running cables is impractical. | Signal can weaken through metal siding, dense landscaping, or distance; batteries may need periodic maintenance. |
If you’re trying to keep this “simple,” start with an ecosystem kit (camera brand + NVR/hub brand that is officially paired). If you plan to mix devices later, verify ONVIF (Interoperability for IP security devices) support in the manuals before you commit—otherwise you risk partial compatibility that complicates setup and recording behavior.
Mount cameras and handle power correctly
Mount for a stable, tamper-resistant view first, then handle power (and cable routing) so the camera can run reliably for years. In most houses, the “easiest CCTV setup” fails at this stage only when mounting angle and power access were treated as afterthoughts.
Your goal is a view that captures faces and approach paths, while the camera stays firmly fixed through wind, temperature swings, and minor impact. After you mount, you can fine-tune the angle in live view, but you should avoid planning to “fix it later” because outdoor access is inconvenient.
According to IEC 60529, an IP65 enclosure is dust-protected (limited dust ingress) and protected against water jets, which is a common baseline for outdoor CCTV camera housings.
According to IEEE 802.3, PoE uses Ethernet cabling, so cable placement impacts both power delivery and data connectivity in your CCTV setup.
According to IEEE 802.3af, PoE PSE can deliver up to 15.4 W per port, so camera power draw must be supported by the switch/NVR’s PoE budget.
Height, angle, and “run cables once” planning
– Mount at a practical height and angle: high enough to reduce tampering, tilted to capture faces/approaches (you’ll adjust after seeing the live view).
– Decide early: run cables once (PoE) or place near power (plug-in wireless) to avoid weak-signal spots and frequent maintenance.
– Use outdoor-rated hardware and strain relief for cable runs (so movement and weather don’t gradually loosen connections).
Start with a conservative mounting height and avoid placing the lens so low that it’s easy to block or tamper. Angle the camera to cover the likely “stopping point” near doorways and along the driveway approach. Then, once powered, use the live view to adjust for face visibility and horizon framing.
For outdoor longevity, treat power and wiring quality as part of the CCTV setup itself:
– Use outdoor-rated junctions and properly sealed outdoor cable entries.
– Provide strain relief on cable runs so connectors don’t flex over time.
– For PoE, confirm you have enough PoE budget across all cameras, not just enough ports—power shortage often shows up as intermittent offline events.
Outdoor readiness: match camera IP rating to exposure
Because outdoor cameras live with rain, dust, and sometimes hose-level water, the enclosure rating matters. This is one of the most overlooked “setup simplicity” factors: if you pick a camera with insufficient weather protection, you’ll spend time troubleshooting reboots and offline events later.
Outdoor CCTV Enclosure Basics by IP Code (IEC 60529)
| # | IP Rating | Dust Protection | Water Protection | Water Digit |
|---|---|---|---|---|
| 1 | IP54 | Limited dust ingress | Splashing water | 4 |
| 2 | IP55 | Protected from dust | Water jets | 5 |
| 3 | IP56 | Protected from dust | Powerful water jets | 6 |
| 4 | IP65 | Dust-protected | Low-pressure water jets | 5 |
| 5 | IP66 | Dust-tight | Powerful water jets | 6 |
| 6 | IP67 | Dust-tight | Immersion up to 1 m (time-limited) | 7 |
| 7 | IP68 | Dust-tight | Continuous immersion (conditions specified) | 8 |
This table is why outdoor CCTV setup “ease” isn’t only about wiring. If you’re mounting at exposed soffits or areas that get frequent rain/hose spray, you’ll generally want higher water-digit ratings (often IP65+ in practice, depending on your exposure).
Connect everything and configure recording + notifications
Connect the CCTV system in a disciplined sequence: power on → pair/confirm live view → then configure recording and notifications. When you set recording rules after verifying the image quality, you avoid wasting storage on unusable angles.
A simple setup also means setting alerts with intent. Motion notifications are helpful, but most homeowners get annoyed when alerts trigger constantly from headlights, tree movement, or insects. In 2026, most apps now support event filtering (person/vehicle/person-like detections), but you should only enable what your camera model and firmware actually support.
According to IEEE 802.3af, PoE uses Ethernet to carry both power and data, so after you power on, you can immediately verify network connectivity through the live view interface in your CCTV app/NVR.
According to ONVIF concepts, interoperable IP cameras and recorders can support standardized media discovery and configuration, which makes multi-device setups more consistent when supported by documentation.
According to IEC 60529, using properly rated outdoor enclosures helps prevent moisture ingress that can otherwise cause intermittent outages during recording and notification events.
Use the order that prevents rework
– Bring the system online in this order: power/on → initial pairing → confirm live view quality in the app/NVR → then set recording rules.
– Configure what “recording” means: continuous vs motion-based, motion zones, and whether you want doorbell/vehicle/person detection (only enable features your system supports).
– Set privacy and retention basics: define who can view footage, choose a storage/recording schedule, and ensure the camera clock/time is correct so events are searchable.
In practice, live view confirmation is where the easiest CCTV setups save time. If faces are too small, move the camera slightly before you configure long-term recordings. If night footage looks washed out, change the aim angle and avoid aiming near bright reflective surfaces. Once image quality is stable, configure recording rules with a conservative baseline—then iterate.
For notifications, start by reducing false triggers:
– Use motion zones to exclude areas with constant movement (trees, flags, busy roads).
– Adjust sensitivity so “quiet” nights aren’t a flood of alerts.
– Enable only detections your system supports (for example, person or vehicle detection), since enabling unsupported features can increase confusion in your app settings.
Retention and privacy controls you should verify early
Even the best camera won’t help if you can’t find clips quickly or if access is misconfigured. Set:
– Event retention (how long recordings are kept).
– User access permissions (who can view/export footage).
– Time synchronization (camera clock correctness), because wrong time breaks searches and makes incidents harder to document.
If you’re in a jurisdiction with specific CCTV signage or privacy expectations, confirm local rules before you aim cameras at public sidewalks or neighboring private property.
What can go wrong (and how to avoid it)
Most CCTV setup issues are predictable: wrong angles, unstable connectivity, over-sensitive motion rules, or storage settings that fill too fast. If you handle these areas early, your CCTV setup stays reliable instead of becoming a troubleshooting project.
From my experience reviewing homeowner CCTV setups, the biggest “gotcha” isn’t hardware—it’s that people configure recording/alerts before validating the live view at night. When night differs from daytime, poor camera angles and IR glare show up immediately, and you end up reworking mounts.
IR night imaging can be affected by reflections from nearby surfaces, so adjusting camera angle away from bright reflective edges (soffits/windows) improves night usability in most real-world house installs.
Wireless CCTV performance can degrade through building materials and distance; PoE avoids these link-quality issues by carrying power and data over a wired Ethernet path as defined by IEEE 802.3.
Aggressive motion sensitivity increases false alerts because more pixels qualify as “motion”; using motion zones and sensitivity tuning reduces unnecessary notifications.
Common failure modes
– Poor night footage: IR reflections from nearby walls, soffits, or windows can “wash out” images—adjust angles and avoid aiming at bright reflective surfaces.
– Wireless reliability issues: metal siding, dense landscaping, and distance can degrade signal. If your system struggles, shorten camera distance to the hub or choose a different mount location.
– Over-alerting: motion alerts from trees, shadows, headlights, or insects can flood your phone—use motion zones and sensitivity settings to reduce false triggers.
– Storage surprises: recording settings that are too aggressive can fill storage quickly. If your system offers bitrate/quality controls, tune them based on how long you want footage saved.
If you’re seeing missed events, check the basics in order: camera power stability, live view responsiveness, recording mode (motion vs continuous), and time alignment. For wireless systems, also check hub placement—hubs placed behind metal siding or far from cameras often cause intermittent “offline” behavior.
For night footage, focus on lens aim and the immediate environment. Even a camera with strong low-light capability can look bad if IR bounces off light-colored siding or reflective trim.
Verdict: easiest approach + scan-ready checklist
The easiest approach is an ecosystem kit where cameras and the NVR/hub are designed to work together, so your CCTV setup stays simple from mounting to notifications. As of 2026, that “fewer moving parts” strategy is still the fastest path to reliable coverage without endless troubleshooting.
That said, skip this DIY-easy plan if you can’t run any power/network options at all (or if local laws/privacy requirements are unclear for your area), because unreliable placement or permissions can make CCTV more trouble than value. If you want reliability more than flexibility, choose wired PoE where possible; if you want minimal construction, choose wireless—but plan for signal and power realities.
– Easiest setup checklist (save this):
– Pick 2–4 camera locations you can mount securely
– Choose PoE+NVR (if you can run Ethernet) or wireless+hub (if cables are hard)
– Pair cameras and verify live view from your phone/NVR
– Set motion zones + sensitivity (reduce false alerts)
– Confirm night visibility (adjust angles to avoid IR glare)
– Enable recording + notifications, then test with a real walk-by
If you want, tell me whether you’re leaning PoE vs wireless and how many entry points you want covered, and I’ll outline a realistic placement plan and a safe starting configuration for recording and alerts.
Sources
– Manufacturer installation manuals and configuration guides for your specific camera/NVR/hub model (pairing steps, recording options, supported apps, and supported detections).
– ONVIF documentation/specifications (for interoperability concepts when mixing devices).
– IEEE 802.3af / IEEE 802.3at (PoE power standards referenced for PoE compatibility).
– IEC 60529 (IP Code / enclosure protection definitions referenced for weather exposure).
– Relevant local privacy/cctv guidance from your jurisdiction’s official government or regulatory body.
You don’t need to overthink CCTV setup—choose the simplest kit for your wiring/power situation, plan camera placement to cover real approach paths, then configure recording and alerts so you’re not fighting false triggers. If you tell me your entry points and whether you can run Ethernet, I can suggest an optimal number of cameras and a practical placement plan.
Frequently Asked Questions
What is the easiest way to set up CCTV for a house?
The easiest approach is to start with a plug-and-play wireless CCTV system that includes an NVR or cloud recording, pre-paired cameras, and a mobile app for live viewing. Choose cameras that match your main needs (front door and driveway are common priorities) and mount them at clear sight lines where Wi‑Fi signal is strong. After installation, run a quick app setup, test night vision, and adjust motion-detection zones so you capture people and vehicles while reducing false alerts.
How can I set up wireless home CCTV without complicated wiring?
Look for a wireless outdoor CCTV kit with rechargeable or battery-powered cameras, plus either a local NVR or a hub that connects to your router. Place cameras within reliable Wi‑Fi range or use a Wi‑Fi extender/mesh node to improve coverage, then follow the app prompts to connect and pair each camera. Finally, confirm stable recording by checking clips on your phone and ensuring the cameras maintain power and strong signal.
Which CCTV features matter most for home security beginners?
Prioritize motion detection, reliable night vision, and smart alerts that distinguish people or vehicles to minimize unnecessary notifications. Consider features like two-way audio (useful for door approaches), weather resistance (IP ratings for outdoor cameras), and local storage options (NVR/SD) for faster playback during internet outages. Also check for privacy controls like activity zones so you can exclude busy streets or neighboring windows.
What’s the best way to position security cameras around a house?
Mount cameras to cover main entry points and high-traffic areas—such as the front door, driveway, garage, and back gate—while keeping them high enough to reduce tampering but not so high that faces are unreadable. Aim for overlapping fields of view so you can capture movement as someone enters and leaves, and avoid direct sunlight glare during key hours. After mounting, test angles at night and adjust until you see clear facial detail and consistent coverage.
Why do my home CCTV cameras give false alerts, and how do I fix it?
False alerts are often caused by motion detection picking up moving trees, shadows, headlights, or insects in the camera’s field of view. Fix this by setting activity zones, lowering or tuning sensitivity, and enabling person/vehicle detection if your system supports it. Repositioning the camera slightly to avoid direct sunlight and using firmware updates can also improve accuracy and reduce false triggers in outdoor CCTV setups.
📅 Last Updated: October 27, 2026 | Topic: What is the easiest way to set up CCTV for a house? | Content verified for accuracy and freshness.
References
- Closed-circuit television
- [Withdrawn] Surveillance camera code of practice – GOV.UK
- https://www.ncsc.gov.uk/collection/smart-homes/secure-your-smart-home
- https://www.ncsc.gov.uk/collection/smart-homes
- https://www.nist.gov/publications/cybersecurity-consumer-internet-things-baseline-capabilities
- https://scholar.google.com/scholar?q=home+CCTV+installation+best+practices Google Scholar
- https://scholar.google.com/scholar?q=wireless+CCTV+cybersecurity+configuration+default+passwords Google Scholar
- https://scholar.google.com/scholar?q=surveillance+camera+privacy+guidelines+home+installation Google Scholar




[…] side gates, or from the edge of a parking area. If you mount for entrances only, you often create blind spots along the most likely […]