
If your CCTV camera is not working, start by checking power, signal, and connections—most failures are fixed by correcting a dead power source or loose wiring. This guide walks you through the fastest, most reliable troubleshooting steps and tells you exactly what to test at each stage before you replace anything. By the end, you’ll know whether the issue is with the camera, the cable/connector, the DVR/NVR, or the network feed—and what to do next.
Fixing a CCTV camera that’s not working usually comes down to one disciplined order: power + cable first, then confirm your NVR/monitor can actually receive the video/signal, and only then move to restarts, IP/network settings, and stream configuration. If you follow that sequence, you can quickly separate wiring/power problems from configuration issues—and you’ll avoid “factory reset roulette” that can create more downtime.
Start by checking the basics: power and cable connections first, then confirm the camera is actually reachable (or the signal is reaching your NVR/monitor). If you still get no video, restart the camera/NVR, verify the network/IP settings, and test with a known-good cable/port. In this guide, you’ll follow a practical order of checks so you can pinpoint whether it’s wiring/power, settings, or a likely hardware fault.
If you’re dealing with a single “dead” camera (no live view, no recording, or intermittent video), this troubleshooting flow is for you—whether you use a wired analog system, an IP camera, or a PoE camera tied into an NVR.
Step 1: Confirm power and physical connections
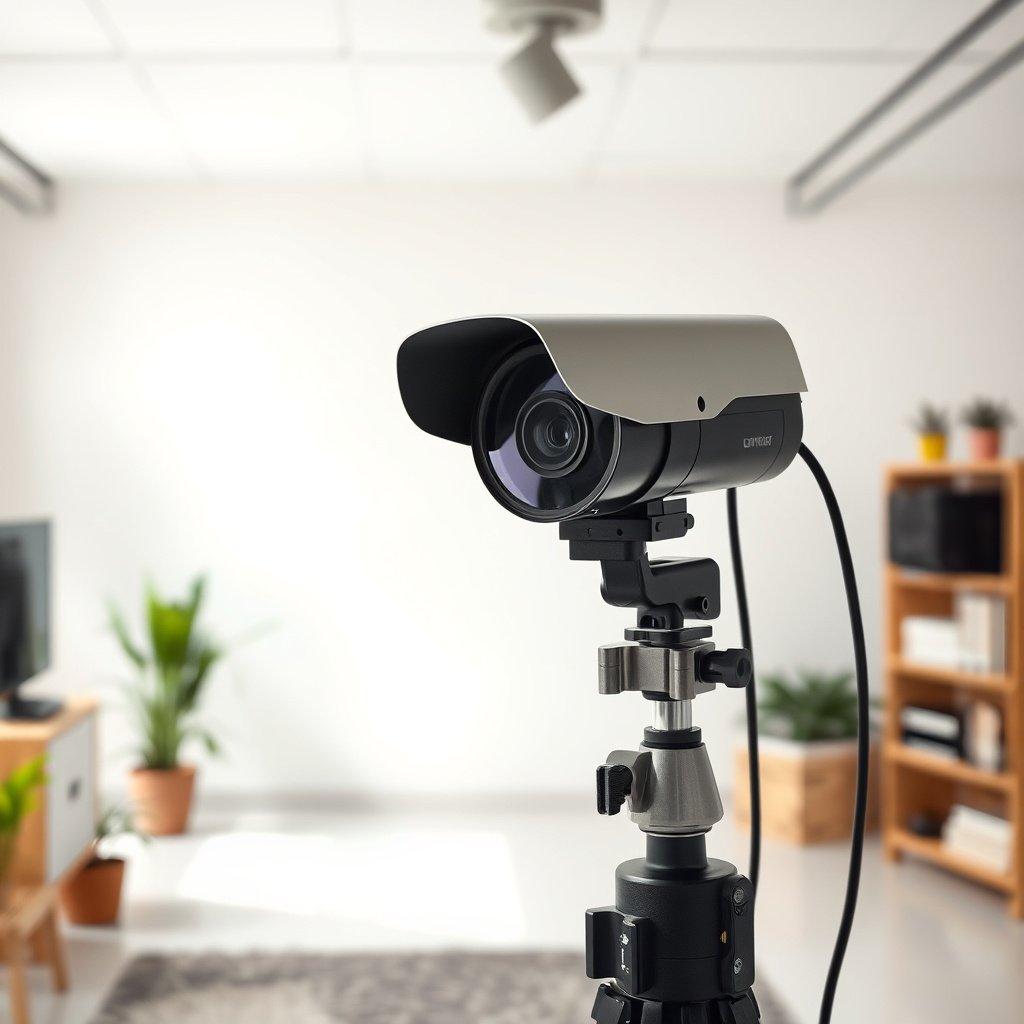
Start here: if the CCTV camera has no power (or a marginal connection), every later “IP” or “stream setting” fix is wasted effort. Most failures come from unplugged adapters, dead PoE ports, or a connector that “looks seated” but isn’t actually making reliable contact.
If the camera has no status LED activity, treat it as a power/connection issue before changing any network settings.
For PoE cameras, a bad PoE port can still produce partial symptoms (booting then disconnecting), so validate the port/cable path first.
Inspect power first (adapter vs PoE)
– Analog CCTV (coax/BNC): confirm the DC power adapter is plugged in and delivering power to the camera. Watch for status LED behavior: off (no power), blinking (often boot or error), solid (typically running).
– IP/PoE CCTV: confirm the PoE switch or PoE-capable NVR is supplying power. Many PoE switches show per-port LED states (Link/Act + PoE). If the PoE LED is off for that port, the camera may be “dead” even if the Ethernet cable is physically connected.
According to IEEE 802.3af, PoE delivers a maximum of 15.4 W at the PSE and up to 12.95 W at the PD (powered device) IEEE 802.3af-2003 (PoE). If your CCTV camera model expects more than the PoE standard can reliably provide, it may boot and then drop under load.
Reseat and verify connections
– Analog systems: tighten BNC (video) and DC connectors (power). Outdoor runs are especially prone to water ingress at the connector end, which can look “okay” until you move the cable.
– PoE/IP systems: reseat RJ45 ends and confirm the locking tab engages. Inspect the cable jacket near both ends for cuts, sharp bends, or crushed sections.
From my support experience with CCTV camera installs, the most common “hidden” cause is a cable that was seated once and then stressed by conduit pulls—.
Try simplest swaps
If you have a known-good resource, use it immediately:
– Move the camera to a different known-good PoE port (switch or NVR).
– Swap to a known-good Ethernet cable (especially if the run is outdoor or long).
– If using analog, try a different power adapter (matching voltage/current per the label).
Step 2: Check video signal path (analog vs IP)
Once power checks out, the next best question is: “Is the signal traveling the correct path for this system type?” Analog and IP CCTV behave differently—so your checks should match how your setup is designed.
In an analog CCTV system, the DVR channel selection can be correct while the camera feed is absent due to the camera-to-DVR coax run or the channel input.
In an IP CCTV system, “camera online” does not guarantee “video visible”—stream/port/network rules may still prevent the NVR from pulling the RTSP feed.
Analog (BNC/COAX) path: channel and run integrity
– Verify the coax run is connected to the correct DVR input channel (often labeled CH1/CH2, etc.).
– In the DVR/NVR UI, confirm you’re viewing the same channel the coax is plugged into.
– If you have signal testing tools, check for “video present” at the BNC—if not, the problem is likely cable/connector continuity rather than software.
IP/PoE path: reachability and stream readiness
– Verify the camera is detected by the NVR/client app (or is discoverable via the camera’s configuration tool).
– Confirm the network isn’t blocking the camera. This is especially common after router upgrades, VLAN changes, or firewall rules tighten.
– Watch for symptoms:
– Present/Online but black video: focus on IR/lens, and video settings (stream type/resolution) next.
– Offline/unreachable: focus on power, network/IP/subnet, and cabling next.
According to IEEE standards guidance for Ethernet deployments, typical twisted-pair Ethernet runs are limited to about 100 meters end-to-end for 10/100/1000BASE-T IEEE 802.3 (Ethernet physical layer link distance guidance). If your CCTV camera cable run exceeds this without proper network extension gear, reachability problems are expected.
Analog vs IP: quick contrast (so you don’t chase the wrong fix)
| Check | Analog CCTV (BNC) | IP CCTV (PoE) |
|---|---|---|
| Primary failure indicator | No video on the DVR channel | Camera offline vs online-but-no-stream |
| Most likely “first fix” | Reseat/tighten BNC + verify DVR channel selection | Verify IP/subnet and whether NVR can pull the stream |
| What “online” means | Not applicable (video is either present or not) | Network reachability; may still fail at video stream retrieval |
| Common environmental trigger | Corroded coax connector ends | Condensation/fogging causing night-only failures |
| Best cable test | Swap the coax run or confirm BNC continuity | Swap Ethernet cable + test a different switch/NVR port |
Step 3: Restart and reset in the right order
If your CCTV camera is still not working after verifying power and signal reachability, rebooting often clears “stuck” network sessions or stream negotiation failures. Resetting can help—but it’s also easy to misconfigure, so do it only after you eliminate wiring/power and basic network reachability.
A clean restart (camera first/then recorder, or per manufacturer guidance) can resolve stream negotiation issues without wiping IP settings.
Factory reset should come after cabling, power, and reachability checks, because it can erase IP/network configuration and delay recovery.
Perform a clean restart (recommended sequence)
– Power off the camera and/or PoE source, then reboot the NVR/DVR.
– Bring the camera back online before you test live view again.
This matters because NVRs commonly maintain camera sessions; if the session is already “half-established” when the NVR comes online, you may see intermittent “no video” until a full restart clears state.
Use a targeted reset (only when appropriate)
– If your camera supports a settings reset (or factory reset), only use it once power/cables/network reachability are verified.
Reconfigure after reset
– Re-add the camera to your NVR/app.
– Confirm the resolution, frame rate, and stream type (main vs sub-stream) match what your NVR expects.
– Confirm you are using the correct port/protocol the manufacturer expects.
If you’re using ONVIF discovery, note that the camera’s ONVIF profile and the NVR’s ONVIF support can differ—so reconfiguration may be required after a reset ONVIF Device Interface (official ONVIF documentation).
Step 4: Validate camera settings and recording/storage
If your CCTV camera shows “online,” your next goal is to determine whether it’s failing at viewing or at recording. Many “dead camera” reports turn out to be stream settings, disabled schedules, or storage events—not broken sensors.
Live view and recording can fail for different reasons; a camera can stream to the UI but still not record if schedules/events or storage are misconfigured.
Night-only failures often trace back to IR/filters or lens window obstruction (dirt, spider webs, condensation), not the NVR.
IP camera: stream + recording schedules
Check:
– Main/sub-stream enabled (the NVR might be configured to use sub-stream for viewing or recording).
– Correct channel enabled in the NVR.
– Motion/continuous recording schedules aren’t accidentally disabled or outside the current time window.
– Event/trigger rules align with your setup (motion zones, sensitivity).
Storage issues: live works, but no clips
If you can see live video but nothing records:
– Verify NVR storage status (HDD detected/healthy).
– Check available space and overwrite settings.
– Review the NVR event log for write failures or disk errors.
IR/night behavior: clean lens/IR path
If the CCTV camera works in daylight but fails at night:
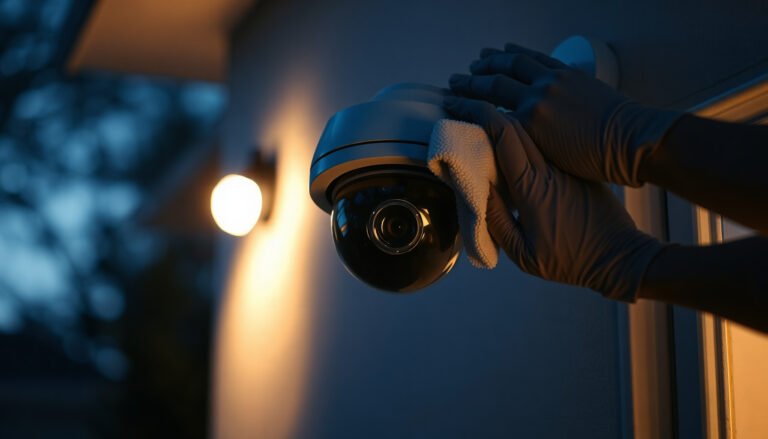
– Inspect for dirt or condensation on the lens window.
– Ensure the IR cut filter and IR LEDs aren’t blocked by debris or a misaligned hood.
– Confirm IR mode behavior matches expectation (some cameras default to auto-switching).
According to common Ethernet/IP system behavior (and RFC expectations for RTSP streaming), if streaming ports/protocols are blocked, you may still see “online” discovery but not receive the video stream RFC 2326 (RTSP).
Common CCTV IP Ports That Can Break Live View (Defaults)
| # | Port / Service | Default Port | Primary CCTV Use | Impact if Blocked |
|---|---|---|---|---|
| 1 | RTSP (video streaming) | 554/TCP | Pulls the live stream to NVR/client | ★★★★★ |
| 2 | HTTP (web UI/auto-config) | 80/TCP | Accesses camera web services | ★★★☆☆ |
| 3 | HTTPS (secure camera access) | 443/TCP | Secure camera web/management | ★★☆☆☆ |
| 4 | WS-Discovery (ONVIF discovery) | 3702/UDP | Helps NVR discover cameras on LAN | ★★★☆☆ |
| 5 | NTP (time sync) | 123/UDP | Aligns camera/NVR time for schedules | ★★☆☆☆ |
| 6 | Syslog (event logging) | 514/UDP | Exports logs for troubleshooting | ★☆☆☆☆ |
| 7 | SNMP (status monitoring) | 161/UDP | Monitors device health | ★☆☆☆☆ |
Step 5: What can go wrong (common mistakes and edge cases)
Most “still not working” reports come from misidentifying the failing component or assuming one symptom has only one cause. In 2026, the most frequent edge cases we see are network segmentation (VLAN/firewall) and power budget mismatch on PoE systems.
If only one CCTV camera is affected, it’s more likely camera-side (or that specific cable/port) than a global NVR outage.
An Ethernet cable can show link activity while still failing to carry valid data streams for RTSP/ONVIF.
Mistaking the recorder vs the camera
– If multiple cameras work on the same NVR and input type, the dead unit is more likely camera-side.
– If a specific DVR channel/input is dead across multiple cameras/cables, the issue may be NVR/DVR channel hardware.
“Clicks in” doesn’t mean “works”
Ethernet and connectors can appear connected while one or more twisted pairs are damaged—common in outdoor runs where water gets into the jacket. Test with a known-good cable.
IP conflicts and subnet changes
After router changes or DHCP changes, a CCTV camera may become unreachable because its IP/subnet/gateway doesn’t align. This is especially common when:
– Static IPs were changed accidentally
– A VLAN was introduced for “security” or guest isolation
PoE budget issues (boot ≠ stable operation)
Even if your PoE switch powers the camera initially, the PoE budget might be insufficient under load (IR LEDs at night, high bitrate). Verify power capability and expected camera power draw (per the camera label/manual).
According to IEEE 802.3af, PD power delivered is limited to 12.95 W max IEEE 802.3af-2003 (PoE). If your camera uses a higher power class or includes IR-heavy operation, it may require a PoE+ or higher-capacity PoE configuration.
Environmental effects
Intermittent “dead” behavior often correlates with:
– condensation inside the housing
– fogged lens windows
– water intrusion at the connector ends
From experience with outdoor installs, a camera can work “all day” and fail at night because IR triggers heating and condensation changes—.
Step 6: Verdict / tip (what to do next, and who should skip DIY)
If your checks show no power/LED activity, you’re likely dealing with a power supply/PoE issue or camera hardware failure, and DIY becomes mostly swapping parts and inspecting cables. If the CCTV camera is online but no video, prioritize NVR/app channel mapping, stream selection, and lens/IR cleanliness before assuming the camera is broken.
No-LED or no-PoE-port evidence usually points to power hardware, not configuration.
Online-but-black feeds are frequently stream selection (main vs sub-stream) or IR/lens path issues rather than a dead sensor.
A practical decision rule:
– Power symptoms first: LED off, no boot, no link lights → power/cabling hardware.
– Reachability symptoms next: camera offline/unreachable → IP/subnet, VLAN/firewall, reachability.
– Viewing/recording symptoms last: live works but no clips → storage/schedule settings; works day only → IR/lens.
Skip deeper DIY if:
– The CCTV system is safety-critical and downtime is unacceptable (call your installer/technician).
– You’re not comfortable working around mains voltage adapters or outdoor weatherproof enclosures.
– You already suspect advanced network changes (VLAN, firewall policies) that could affect other devices.
Step 7: Quick scan checklist (save this)
| Check | What to look for | Fix if it fails |
|---|---|---|
| Power/PoE | Camera LEDs on/working | Try known-good power source or PoE port |
| Cable condition | No cuts/kinks; seated firmly | Reseat connectors; test a different cable |
| Channel/input | Correct DVR channel or NVR channel selected | Switch to the correct channel in UI |
| Reachability (IP cameras) | Camera appears online in app/NVR | Verify IP/subnet; re-add camera |
| Recording | Live works, but no clips | Check storage status + schedules/events |
| Night behavior | Works in day, fails at night | Clean lens/hood; check IR mode |
| After restart/reset | Issue resolved after reboot | If reset used, reconfigure camera access |
Sources
– Manufacturer documentation for your specific CCTV camera and NVR/DVR model: .
– Manufacturer documentation for PoE/NVR compatibility and power requirements: .
– ONVIF (for interoperability basics between IP cameras and NVR software), if your system supports ONVIF: .
– If you’re using a specific camera app/software for discovery/configuration, use that vendor’s official support guide: .
When you fix a CCTV camera that’s not working, the fastest path is usually: power + cable → confirm the signal path → restart → verify network/app/NVR settings → then decide if hardware replacement is likely. Start with the checklist, and if your camera shows no power or no reachability even after swaps, it’s a strong sign the camera or its power hardware needs professional attention.
Frequently Asked Questions
What should I check first if my CCTV camera is not working?
Start by verifying power and connectivity: confirm the camera has power, check the power adapter or PoE switch lights, and make sure the cable connections are secure. Next, check the NVR/DVR status and confirm the camera channel is enabled and selected in the monitor. Finally, look for obvious physical issues like a damaged cable, a loose BNC connector, or a lens obstruction caused by dust or spider webs.
How do I troubleshoot a CCTV camera with no video signal?
Begin by swapping ports or cables—connect the camera to a different NVR/DVR channel or use a known-good cable to rule out a wiring fault. If it’s an IP CCTV camera, verify the IP address, subnet, and that the camera is reachable in your network (you can often test this using the camera’s web/app interface). Also check resolution settings and whether the NVR expects the correct video format (for example, TVI/AHD/CVI vs. IP), since mismatches can cause “no signal” issues.
Why is my CCTV camera showing “offline” or “not recording”?
“Offline” usually points to power loss, a network issue, or a camera reset requirement—check for PoE power faults, router/NVR connectivity problems, and unstable Wi‑Fi if the camera isn’t wired. For “not recording,” confirm motion detection or scheduled recording settings, storage health on the NVR (HDD detected and not full), and that the channel is correctly assigned. Reboot the camera and NVR in the right order (often NVR first, then camera) to restore stable communication.
Which settings should I verify for a CCTV camera with poor image quality or blurry video?
If the image is blurry, first clean the lens and check focus—many CCTV cameras have a manual focus ring, and extreme lighting can cause temporary focus drift. Verify your DVR/NVR settings for the correct resolution and frame rate, and ensure the camera is not oversaturated due to direct sunlight hitting the lens. For night issues, check infrared (IR) settings and make sure the camera’s IR cut filter isn’t stuck, since this can lead to washed-out or dark footage.
Best way to fix a CCTV camera that keeps rebooting or losing connection?
Frequent rebooting is commonly caused by unstable power, failing power supplies, or water ingress in the cable junction—inspect the cable run, connectors, and weatherproof housing for damage. Measure or test the power output/PoE delivery and replace the adapter or injector if power is inconsistent, as cameras can “loop” when voltage drops. If power is stable, reset the camera to factory settings, re-adopt it in the NVR, and update the firmware to the latest version to resolve connectivity bugs.
📅 Last Updated: October 27, 2026 | Topic: How should I fix a CCTV camera that is not working? | Content verified for accuracy and freshness.
References
- Closed-circuit television
- Power over Ethernet
- Welcome to Axis support | Axis Communications
- https://www.hikvision.com/en/support/
- Realignment | Life Safety Systems
- Network Interface Specifications – ONVIF
- https://scholar.google.com/scholar?q=CCTV+camera+troubleshooting+not+working+no+video Google Scholar
- https://scholar.google.com/scholar?q=IP+camera+troubleshooting+no+signal+power+network+RTSP Google Scholar
- https://scholar.google.com/scholar?q=DVR+troubleshooting+guide+no+video+no+signal Google Scholar