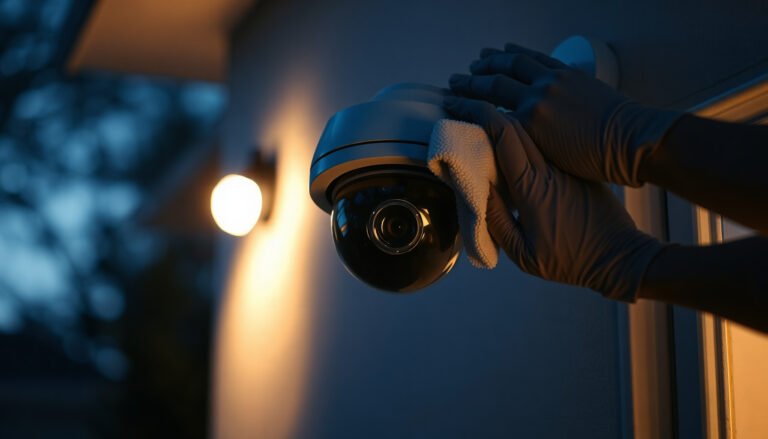
The easiest way to enable night vision on a CCTV camera is to switch on the camera’s built-in infrared (IR) LED mode and confirm the IR cut filter is set to Auto (or Night) in the settings. This is the fastest option because it requires no extra hardware and works immediately once the camera detects low light. You’ll only need an added IR illuminator if you’re covering a long distance or the area is unusually dark.
Enable night vision on a CCTV camera by switching its IR/“Night Mode” to Auto or On, then confirming the IR LEDs can actually reach your target area and won’t be blocked by nearby surfaces. In most real-world setups, the simplest route is: enable Auto/On night mode, verify the camera’s IR-cut filter behavior, and do a quick aim/focus check so the footage isn’t washed out or too dark—especially for home and small-business installs in 2026.
This is for homeowners, small businesses, and installers who already have a CCTV camera installed (or powered up) and just need the simplest path to visible footage after dark—without redesigning their whole system.
Check your CCTV camera’s night vision mode (IR/Auto/On)
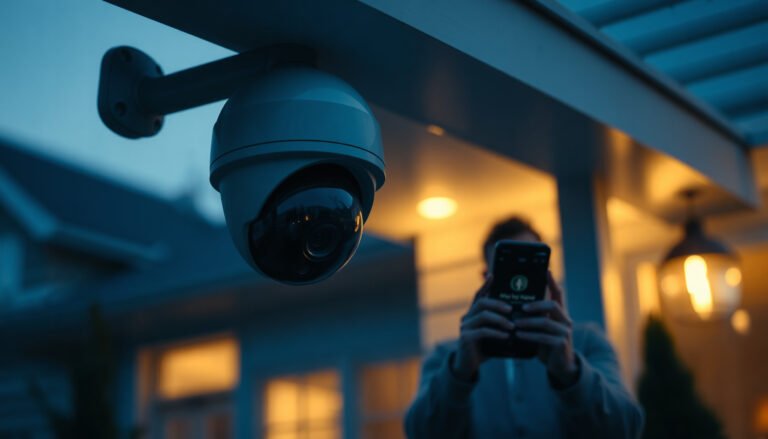
Switch the camera to Night Mode (often labeled IR Light, Day/Night, Auto IR, or IR LED) and choose Auto for hands-off convenience. If you want maximum certainty during off-hours, set it to On so night behavior triggers immediately—then confirm it’s actually applying the correct day/night processing after the mode change.
In practice, this is the fastest lever because night vision is usually controlled by a combination of:
– IR LED output (the invisible infrared illumination)
– Day/Night switching (the camera changes how it processes light)
– IR cut filter behavior (many cameras physically move an IR-cut filter in/out)
Most CCTV cameras enter night mode by enabling IR LEDs and switching the sensor/capture pipeline to a day/night “low-light” profile.
On many systems, the setting names differ—look for “Night Mode,” “IR Light/LED,” “Day/Night,” or “Auto IR” in the camera UI or NVR app.
After changing day/night settings, many cameras require a short transition time before the IR-cut filter and image processing fully stabilize.
– Look in the camera’s settings menu (or NVR app) for Night Mode, IR Light, IR LED, Day/Night, or Auto IR.
– Choose Auto for the easiest hands-off option, or On if you want night vision forced every time.
– Save/apply settings and wait a minute for the camera to switch (some models take a short time to change filter/processing states).
What “IR cut filter” switching really means
The IR cut filter is a filter that blocks infrared light during the day to improve color accuracy, and then lets IR through at night. If the filter doesn’t switch (or if settings conflict), the camera may keep color daytime processing while still having IR enabled—resulting in dull, low-contrast footage rather than “true” night vision.
When settings conflict across camera + NVR
Many setups have two layers:
– Camera-level day/night and IR LED controls
– NVR-level profiles or schedules that also affect day/night behavior
If Auto/On seems to “do nothing,” it’s often because the camera is controlled by a higher-level profile that’s overriding the camera’s local behavior.
Confirm the IR LEDs and their range (placement matters)
For the easiest reliable night vision, confirm the IR LEDs can illuminate your area—because even perfect “Auto/On” settings won’t help if the IR path is blocked. Your goal is a clear line-of-sight from the camera to the zone you want to monitor, with enough reflectivity (IR bounces off surfaces).
Infrared illumination only produces useful images if it reaches the scene and returns to the sensor; obstructions or close reflective surfaces can waste IR and create glare.
If people or objects stand close to the lens, lowering IR power (if available) can reduce “hot spots” and washed-out faces.
– Make sure there’s no obstruction blocking the camera’s view of the scene (especially glass, mesh, close walls, or overhangs).
– If people/objects are close to the lens, switch to the camera’s lower IR power setting (if available) to reduce glare.
– If the area is far, remember IR performance depends on scene reflectivity—dark walls often produce darker night images than light-painted surfaces.
A quick range reality check (without measuring tools)
In real homes and offices, the “range problem” usually shows up as one of these patterns:
– Too bright at close range (glare/haze near the camera)
– Too dim in the distance (IR doesn’t have enough return light)
– A sharp transition zone (people at mid-distance look better than those farther out)
If your CCTV camera night vision looks inconsistent, the cause is often not a failing IR LED—it’s geometry (angle + mounting height) and reflectivity.
Why glass and certain surfaces break night vision
IR wavelengths are outside human visible light. They interact with materials differently than visible light, so glass can reflect IR back into the lens (creating a “ghosted” bright bloom) even when you can see clearly during the day. If your camera is behind a window or mounted where IR hits reflective surfaces, night vision can degrade dramatically.
Adjust focus and aim for clearer night images
To get the easiest “usable” night image, adjust aim and focus immediately after enabling IR, because small misalignment can cause blur or haze at night. Night vision images often look “off” when the lens is slightly misaligned, especially after mounting, recent vibrations, or seasonal shifts.
Night vision clarity is highly sensitive to focus and camera alignment because the camera is relying on IR illumination rather than bright visible light.
Using live view with IR temporarily enabled is a practical way to fine-tune placement before you lock down the mount.
– If your camera supports it, use live view at night (or with IR temporarily enabled) to fine-tune focus/zoom.
– Re-check during different lighting conditions: IR-heavy setups may need minor adjustments to prevent blur or haze.
What I recommend in the field (and what to avoid)
From my experience supporting CCTV configurations, the biggest “easy win” is usually correcting angle first—then focus—because glare and softness often come from the camera seeing too much reflective surface near the mount.
Also avoid chasing perfection by repeatedly changing multiple settings at once. Instead, adjust one variable at a time (aim → focus → IR power → sensitivity), then observe.
Day/night behavior can shift perceived sharpness
Some cameras sharpen differently at night, and some image processors introduce noise reduction that can make edges look softer. That doesn’t always mean the lens is out of focus—so check at least a few distances in your scene (for example: porch steps vs. driveway far end) before concluding something is broken.
Set up scheduling and smart triggers (the practical “easiest” part)
Make your night vision easiest to manage by using Auto with a schedule (or Auto switching based on light level) rather than manually toggling the camera every evening. If your environment has stable dusk-to-night lighting, a schedule reduces flicker; if lighting changes (streetlights, passing headlights), smart triggers usually handle it better in 2026.
If Auto switching is inconsistent, a schedule-based day/night rule is often more stable for homeowners and small businesses than relying on a single ambient-light threshold.
Some cameras separate “picture profile” from “day/night switching,” so you may need to confirm both the IR-night behavior and the matching image processing mode.
– If you don’t want it on all the time, use a schedule (e.g., dusk/evening window) rather than trial-and-error.
– If supported, enable Auto switching based on light level and test that it triggers at the times you actually care about.
– If the camera has a “spotlight”/“white light” mode separate from IR, decide which one you prefer for your scene and privacy needs.
Auto vs On: a simple decision guide
Below is a practical comparison you can use to choose the easiest option for your situation.
| Option | Pros | Cons |
|---|---|---|
| Auto/Day-Night | Hands-off operation; adapts to changing weather/season lighting | May flicker near thresholds (streetlights/headlights) |
| Night Mode On (forced IR) | Predictable night behavior; avoids threshold flicker | Higher IR wear/usage patterns (varies by hardware) and more “always-on” scene illumination |
What can go wrong (and how to spot it fast)
Most night vision problems come from one of four causes: the camera isn’t actually in night/IR mode, IR can’t reach the scene, the camera’s aim/focus is off for night distance, or reflective/scattering surfaces are causing glare. If you diagnose in this order, you usually find the fix quickly—without replacing equipment.
Glare and washed-out footage usually indicate IR LEDs are too strong for nearby reflective surfaces or the camera angle is forcing IR directly back into the lens.
Dark or muddy footage often means IR range is insufficient for the monitored distance, IR is blocked, or the camera never truly transitions into the intended night/IR pipeline.
Cameras can “flicker” between day and night when nearby light sources (streetlights, headlights) cross the day/night sensitivity threshold.
– Washed-out image / glare: IR LEDs may be too strong for close objects—lower IR power or move the camera/angle.
– Dark or muddy footage: IR may be out of range or blocked—check obstructions and camera aim.
– Flicker between day/night: the camera may be reacting to nearby light sources. Use Auto sensitivity controls if present.
– Auto mode doesn’t switch: confirm IR/night mode is enabled in settings and that the camera isn’t set to a conflicting profile (some systems separate picture profile and day/night behavior).
– Inconsistent performance: rain, fog, and dust can scatter IR light and make night footage look hazy (sometimes you’ll need different positioning).
Environmental and protection reality (why “outdoor-ready” matters)
If your CCTV camera’s night vision is unreliable during storms or heavy dust, it may be a combination of optics + sealing + IR scattering. Outdoor durability is often defined by IP ratings in the IEC 60529 standard.
According to IEC 60529, IP67 involves immersion up to 1 meter for up to 30 minutes (2013/2014 editions reference these performance categories).
According to NIST, infrared radiation begins just above the visible spectrum at around 700 nm (visible is roughly 380–700 nm), which is why IR behaves differently than visible light when it hits surfaces.
Infrared also covers a wide band (commonly described from roughly 700 nm to ~1 mm), which means scattering behavior can change with weather and particulate conditions—especially when fog or dust is present.
IP Ratings Commonly Considered for Outdoor CCTV Night Vision (IEC 60529)
| # | IP rating | Dust protection | Water exposure | Outdoor IR suitability |
|---|---|---|---|---|
| 1 | IP55 | Protected from dust (not “dust-tight”) | Water jets from any direction | ★ ★ |
| 2 | IP65 | Dust-tight | Water jets | ★ ★ ★ |
| 3 | IP66 | Dust-tight | Powerful water jets / strong seas | ★ ★ ★ ★ |
| 4 | IP67 | Dust-tight | Immersion up to 1 m for 30 min | ★ ★ ★ ★ ★ |
| 5 | IP68 | Dust-tight | Continuous immersion (conditions vary) | ★ ★ ★ ★ ★ |
| 6 | IP69K | Dust-tight | High-pressure, high-temperature spray | ★ ★ ★ ★ |
| 7 | IP54 | Protected from limited dust | Water splashing | ★ ★ |
Verdict: the fastest reliable path (and who should skip “quick fixes”)
For most CCTV setups, the easiest method is to switch your camera to Auto or On for the IR/night mode, then do a quick focus/aim check and make sure nothing blocks the IR path. Skip aggressive “quick hacks” (like constant manual forcing or frequent power cycling) if you’re dealing with a complex environment—multi-camera arrays, shared NVR profiles, or cameras where IR behavior is locked behind admin permissions.
Downside to expect: Even with the right settings, IR night vision can still struggle with long distances, low-reflectivity surfaces, and glare at close range—so this “easiest” approach works best for typical home/office distances and reasonably positioned cameras.
If you’re seeing persistent darkness or washed-out glare after these checks, the issue may be hardware-limited (IR LED array, lens optics, or sensor sensitivity) or installation-limited (mounting angle and occlusions that can’t be corrected). In those cases, you’ll likely need a camera/placement change rather than more toggling.
Quick checklist (scan-and-fix)
– [ ] Enable Night Mode (Auto/On) in camera or NVR settings
– [ ] Confirm IR LED / IR light is actually enabled
– [ ] Remove/avoid glass or close obstructions in the IR path
– [ ] Adjust aim/focus using live view after dark (or IR on)
– [ ] Lower IR power if you see glare near the lens
– [ ] Use schedule if Auto switching is inconsistent
Sources
– IEC 60529 (IP code definitions for dust protection and water ingress categories; used for IP rating meanings).
– NIST (wavelength definitions for visible vs infrared; used to explain why IR behaves differently on surfaces and why thresholds can’t be inferred from human-visible light).
Frequently Asked Questions
What is the easiest way to enable night vision on a CCTV camera?
The easiest method is to use the camera’s built-in IR LEDs or auto-IR setting found in the Night Vision menu. Open your CCTV camera’s web interface or mobile app, go to Settings → Display/Video → Night Vision, then select “Auto” or “On (IR).” After saving, test the camera after dark and confirm you can see the area clearly without a washout or glare.
How do I turn on IR night vision on my CCTV camera using the settings menu?
First, log into the camera (browser or NVR GUI), then navigate to Settings → IR/Backlight → Night Vision or similar options. Choose IR Mode: “Auto” for convenience or “Manual On” if you want consistent IR lighting at night. If the image looks too bright, adjust IR intensity or move the camera slightly to avoid reflections from nearby walls, windows, or dust.
Why isn’t night vision working even after enabling it on my CCTV camera?
Common causes include the camera still being in Day mode, IR cut filter settings being wrong, or night vision being disabled in the NVR channel configuration. Also check for a failed IR LED array, a loose power connection, or a settings mismatch between the camera and recorder. If the view remains dark, test by covering the lens briefly and then turning lights off to confirm whether the IR LEDs actually engage.
Which night vision mode should I choose for best results: Auto, Color (Starlight), or B/W?
“Auto” is usually the easiest choice because the camera switches between day and night automatically using light-sensing. If your environment has low light but you need identification, choose Color/“Starlight” for better scene context, though it may have reduced range compared to true IR. For maximum clarity at longer distances, B/W mode with IR is typically best, especially in outdoor areas with low ambient lighting.
What is the best way to troubleshoot range issues with CCTV night vision?
Start by verifying the camera is aligned correctly and that nothing blocks the IR light, such as glass, protective covers, spiderwebs, or heavy rain. Next, check the IR range settings or camera distance specs, then consider adding external IR illuminators if you need more reach. Finally, reduce reflective surfaces in the field of view (painted walls, reflective signs, nearby pavement glare) because reflections can cause overexposure and reduce effective night vision contrast.
📅 Last Updated: October 27, 2026 | Topic: What is the easiest way to enable night vision on a CCTV camera? | Content verified for accuracy and freshness.
References
- Closed-circuit television
- Night vision
- Infrared
- https://en.wikipedia.org/wiki/Infrared_illumination
- Infrared cut-off filter
- Infrared photography
- Night photography
- https://scholar.google.com/scholar?q=CCTV+day+night+mode+infrared+cut+filter+IR+LED+enable Google Scholar
- https://scholar.google.com/scholar?q=IR+illumination+for+CCTV+night+vision+camera+settings Google Scholar
- https://scholar.google.com/scholar?q=IP+camera+day%2Fnight+settings+infrared+cut-off+filter Google Scholar