
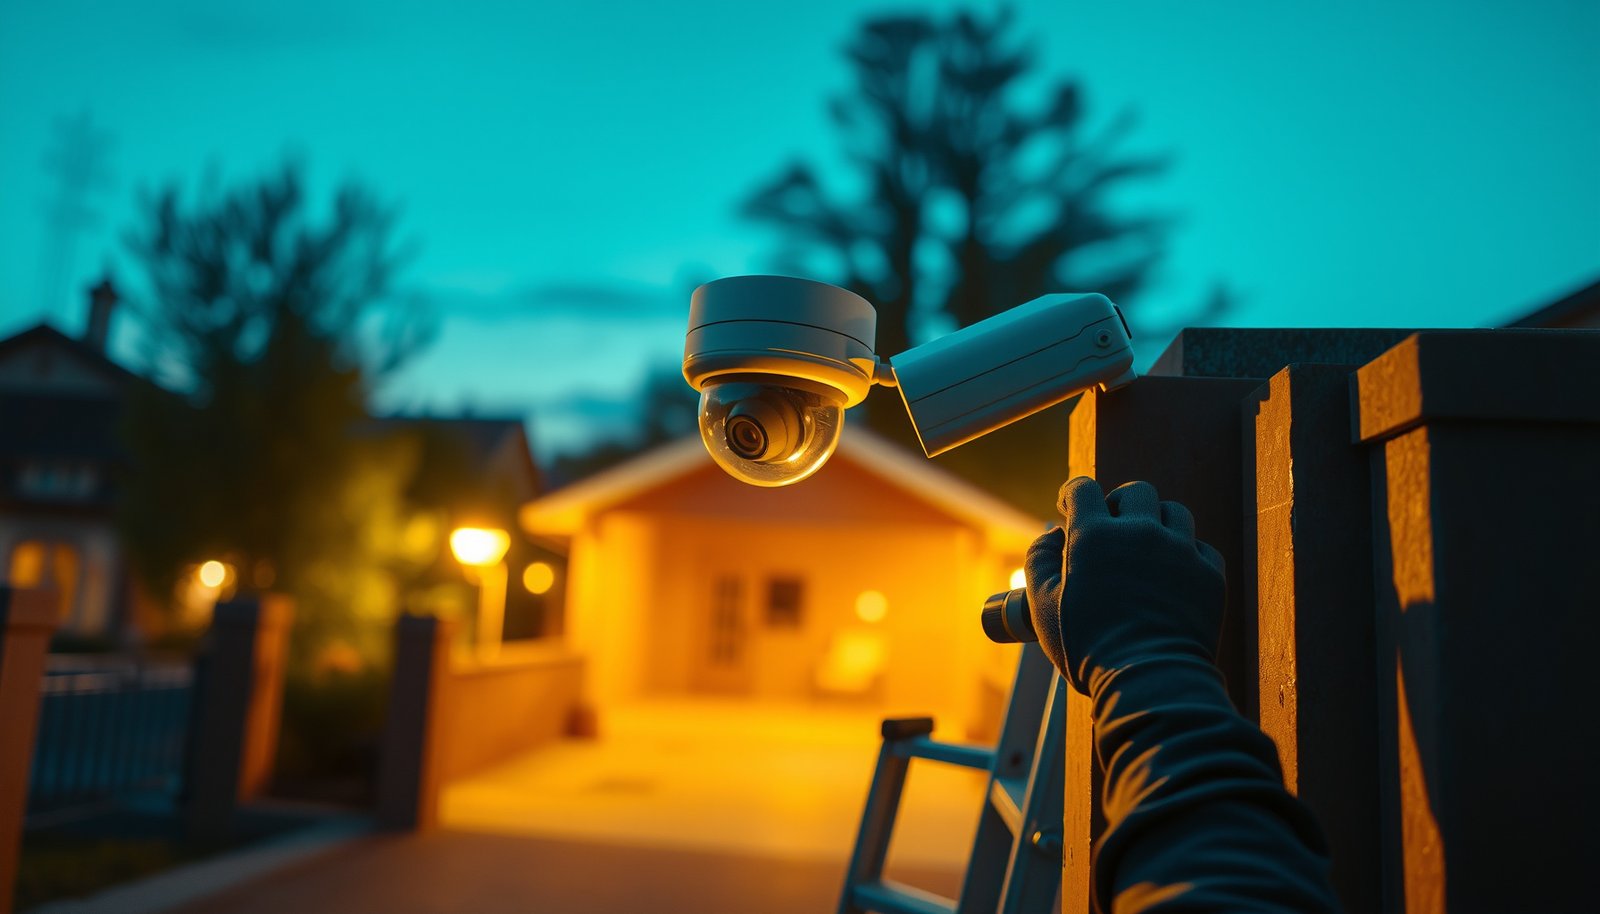

Install a CCTV camera for a gate the right way with a step-by-step setup that gets you recording reliably the first time. This guide walks you through choosing the right camera and power method, mounting it correctly, wiring it to your DVR/NVR, and configuring viewing and motion alerts. By the end, you’ll know exactly how to test the feed, verify coverage, and prevent common installation mistakes before they cost you evidence.
To install a CCTV camera for a gate, you’ll plan the mounting position and wiring path first, then run outdoor-safe cabling, power/network it correctly, and configure motion/recording only after confirming a stable, clear live view. The goal is simple: capture the gate approach reliably—day and night—without the installation failing later due to movement, water ingress, or power mismatches.
If you’re installing a single gate camera (for visitors, deliveries, or security) and you want it to work reliably outdoors, this is for you. It’s especially helpful if you’re deciding between a PoE (network) setup and a coax/power setup, or if you need a practical checklist before starting.
Who this is for (and what you’ll need)
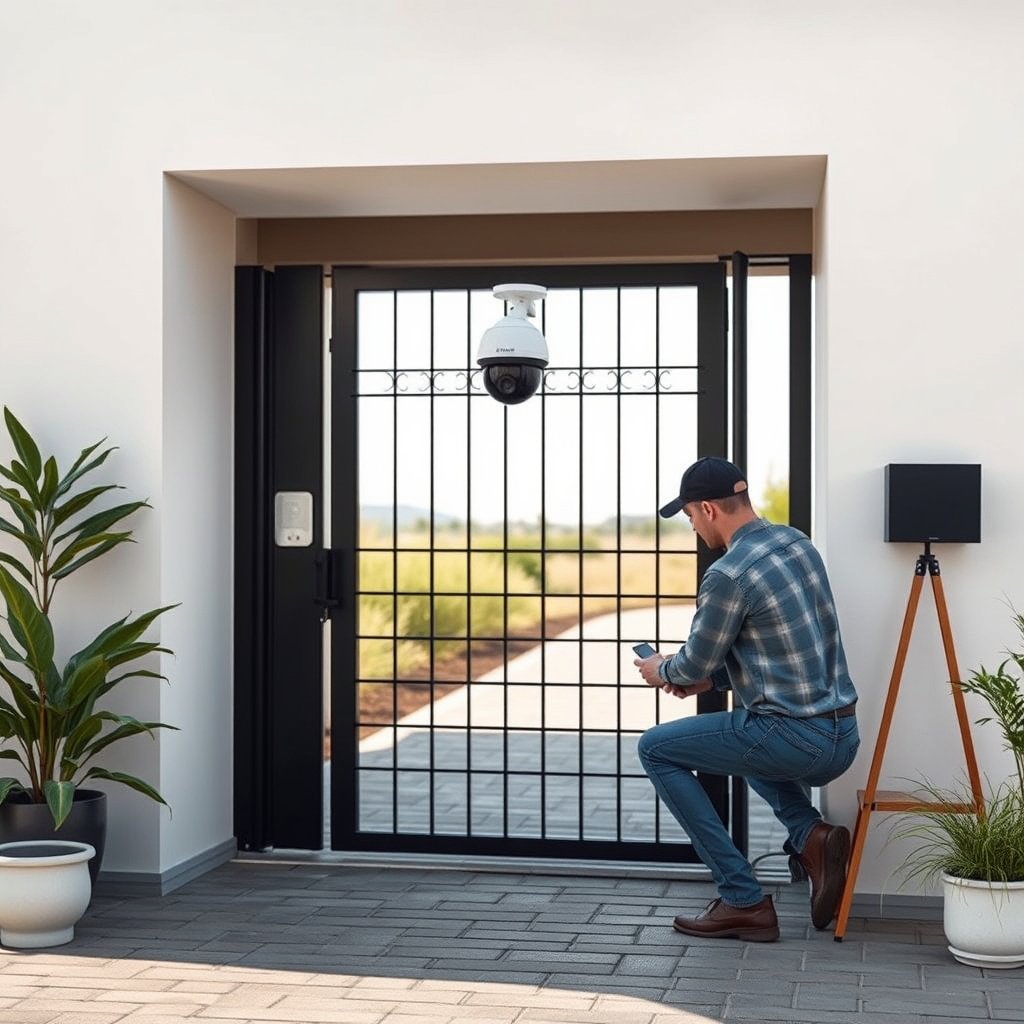
If you’re securing a driveway entrance or walkway gate with one camera, this guide maps the process from placement to testing—without skipping the common outdoor pitfalls. You’ll be working with an outdoor-rated camera kit and either a PoE (Power over Ethernet) path or a coax + power path.
This is written for homeowners and small properties installing a gate camera focused on pedestrians, vehicles, or both. As of 2026, most modern gate camera kits fall into two practical categories: PoE (Ethernet carries both data and power) or coax-based systems (video over coax, power separately). Either works, but the wiring strategy changes what “reliable” means.
IEC 60529 defines IP ratings to describe protection against dust and water ingress—critical for outdoor camera housings (IEC 60529).
IEEE 802.3af PoE delivers up to 15.4 W at the power source equipment (PSE), with less available at the powered device (PD) after losses (IEEE 802.3af).
PoE-grade Ethernet cabling is typically limited to 100 meters per run for standard Ethernet link distances (a practical constraint in many outdoor gate installs) (IEEE 802.3).
What you’ll need (practical, gate-focused)
At minimum, plan on these categories—then match the exact parts to your kit:
– Outdoor-rated CCTV camera and mount/bracket (rated for your expected weather and exposure).
– Weather-safe mounting hardware (corrosion-resistant fasteners, proper wall/column anchors if mounting off the gate).
– Cabling and enclosures:
– PoE: outdoor Ethernet cable + a PoE switch or PoE injector (or an NVR with PoE input).
– Coax: coax video cable + the system’s required power feed and power adapter.
– Tools: drill + bits, appropriate screwdriver/torx tools, outdoor-rated junction box/terminal enclosure, cable clips/strain relief accessories.
– Testing gear (strongly recommended): smartphone/laptop for live view + basic network access (or NVR/SD card playback access).
Movement note (the gate is not “static”)
If your gate moves (swing or sliding), you’re not just installing a camera—you’re building a system that survives repeated cable flexing. Use cable strain relief and routing that avoids pinch points and torsion at hinge points or sliding rails.
In my experience helping troubleshoot outdoor gate camera installs, the fastest path to frustration is running cable in a way that “looks fine” on installation day but gets pulled tight as the gate closes.
Plan the camera placement and installation requirements
If you want usable footage, placement is the highest-leverage step: mount so the camera sees the gate approach unobstructed during real movement. Then plan for glare, night visibility, and privacy boundaries before you drill.
Start by identifying where people and vehicles are most predictable:
– Pedestrians usually slow or stop near the gate latch area.
– Vehicles often pause at the entry line (headlights, license plates, or wheels become the most visible references).
As of 2026, many camera apps support “detection zone” and “motion area” settings, so placement and configuration work together. Place the camera first for the right geometry; then tune detection so you record meaningful events—not every passing shadow.
Mounting height affects what the camera captures: too high often prioritizes foreheads/hats, while too low can miss faces when people are standing near the gate (manufacturer installation guidance).
Motion zones are meant to exclude irrelevant movement (like driveway trees or moving shadows) so alerts correlate with actual gate events (manufacturer documentation for motion detection areas).
Outdoor cameras should be selected to match the environmental exposure (rain, dust, and impact)—this is typically expressed through IP and sometimes IK ratings (IEC 60529; IEC 62262).
Placement: design for angles, not hope
When you choose a mounting spot, think in three passes:
1. Approach coverage: Can the camera see someone arriving before they’re blocked by the gate?
2. Gate movement visibility: During the full open/close cycle, does the gate body occlude the view?
3. Face/vehicle capture: Can it reasonably capture faces (for pedestrians) or plates/wheels (for vehicles) rather than only the ground?
Night considerations (don’t skip them)
Night performance depends heavily on how IR (infrared) or low-light processing interacts with:
– Headlights approaching the gate
– Gate lighting reflecting off metal surfaces
– Glossy finishes on posts and the ground
Plan to test day and night. The camera might look “great” in daylight but saturate highlights at night or wash out details.
Mount the CCTV camera on the gate (secure and weather-safe)
If the mounting is weak, the picture won’t stay aligned and the camera can fail early—so secure the camera to a stable surface and protect cable entries. Mounting correctly is what turns a temporary installation into a durable, long-term setup.
For most gate posts, the gate itself may be strong enough to hold a bracket, but it’s still a moving structure. A steadier option is a nearby structural wall/column—as long as it offers suitable viewing angles. If you must mount on the gate, focus on stable bracket alignment and impact/weather resistance.
Outdoor electrical and camera installations require weatherproof cable entry points; manufacturers typically specify approved glands/gaskets for enclosure sealing (camera manufacturer installation manual).
IP ratings describe ingress protection performance; a lower IP rating increases the risk of intermittent camera outages due to water or dust (IEC 60529).
Impact protection ratings (IK) complement IP ratings for outdoor fixtures subject to knocks and physical contact (IEC 62262).
Choose a solid mounting surface
– Best case: a structural post/wall that doesn’t flex.
– Possible case: the gate post if it’s rigid and the bracket is rated for the camera weight and wind load.
– Avoid: mounting to decorative surfaces or brackets that can vibrate or twist.
Weatherproof mounting practices that matter
– Use corrosion-resistant hardware (stainless/galvanized where appropriate).
– Ensure the bracket is aligned before tightening everything.
– Seal cable entry points with the camera’s specified method (gland, gasket, and terminal enclosure system). Don’t leave connectors exposed.
Add protective housing if vandalism/knocks are realistic
If the camera is within reach, consider an impact-rated housing appropriate to your environment. This reduces the probability of “it worked for a week” failures caused by knocks that subtly misalign the lens.
Quick reference: ingress/impact targets for gate cameras (2026)
Ingress Protection (IP) Targets for Outdoor Gate CCTV (What to Plan for)
| # | Rating to look for | Dust/Water meaning (plain English) | Typical gate exposure fit | Outdoor reliability |
|---|---|---|---|---|
| 1 | IP54 | Dust-limited + splash water | Not ideal for heavy rain/washdown | ★★☆☆☆ |
| 2 | IP55 | Dust-protected + water jets | Ok for covered spots; still cautious | ★★★☆☆ |
| 3 | IP65 | Dust-tight + water jets | Common “good default” for gates | ★★★★☆ |
| 4 | IP66 | Dust-tight + strong water jets | Better for splash-heavy entrances | ★★★★★ |
| 5 | IP67 | Dust-tight + temporary immersion | If water pooling is likely | ★★★★★ |
| 6 | IP68 | Dust-tight + continuous immersion (per spec) | For harsh exposure and rainy climates | ★★★★★ |
| 7 | IK10 + IP66 (housing) | High impact + strong ingress protection | When knocks/vandal-prone access is a risk | ★★★★★ |
Run power and connect video/network (the part that breaks most installs)
If you want the install to actually work, your wiring method and cabling protection matter more than almost anything else. Decide PoE vs coax based on your kit’s specs, then route and enclose cables to survive gate movement and outdoor moisture.
This is where most failures happen—not because cameras are unreliable, but because connectors and exposed junctions aren’t built for outdoor use. The fix is disciplined routing, proper enclosures, and verifying power/network compatibility before sealing walls or tightening final mounts.
IEEE 802.3af PoE is limited to 15.4 W at the PSE; higher-draw cameras may require IEEE 802.3at/802.3bt-compatible power (IEEE 802.3af; IEEE 802.3at; IEEE 802.3bt).
For standard Ethernet cabling distances, 100 meters is a common planning limit for reliable link performance (including many PoE runs) (IEEE 802.3).
IP-rated outdoor enclosures are required for any exposed electrical connections; “weatherproof” tape alone is not a substitute for a rated terminal box (camera manufacturer installation guidance).
Wiring method decision: PoE vs coax
PoE and coax both have legitimate use cases. The “best” choice depends on what wiring already exists and how far your camera run is from the recorder/network point.
| Feature | PoE (Ethernet) | Coax + power |
|---|---|---|
| Core cabling | Ethernet | Coax video |
| Power delivery | Via PoE (IEEE 802.3af/at/bt) | Via separate DC power feed |
| Typical planning constraint | Run length often planned to ≤100 m | Signal loss varies by coax type/quality |
| Installation complexity | Single cable path (if you already plan Ethernet) | Often two systems to route (video + power) |
| Equipment locations | NVR/PoE switch/injector near network point | Power supply near coax head-end |
| Water-risk surface | Fewer separate power joints if done correctly | More joints to protect (video + power) |
| Troubleshooting speed | Network link tests help isolate issues | Video vs power faults can be separate |
| Upgrade path | Works with many modern IP camera ecosystems | Often ties you to that coax-era workflow |
| Power mismatch risk | High draw cameras need correct PoE class | Power voltage/polarity must match |
| Best use case | New installs, longer structured runs, centralized wiring | Existing coax pathways or mixed legacy setups |
| Best For | PoE-ready camera kits and clean network runs | When you already have coax infrastructure you can leverage |
Outdoor-safe routing and protection (especially on moving gates)
– Avoid moving hardware: Route cables away from hinge points, sliding rails, and pinch zones.
– Use strain relief: Leave controlled slack where motion occurs, and use proper strain relief so tension doesn’t load camera connectors.
– Keep cables dry: Don’t route through standing water paths or low spots that collect runoff.
Weather-rated junctions and terminal boxes
Any connection point should be housed in an outdoor-rated enclosure. That includes:
– Splices
– Power connectors
– Any “splitter” or adapter junctions
If you can see the connector without opening a rated enclosure, you’re probably leaving the system vulnerable.
Configure the CCTV camera and test it properly
If your footage isn’t stable in live view, configuration tweaks won’t save it—so confirm image stability first, then fine-tune motion and recording. Testing day and night prevents the most common “it works on the bench, fails outdoors” scenario.
Once the camera shows a clear live image, configure settings intentionally. As of 2026, most camera apps let you define motion detection areas and alert behavior; using these properly is how you reduce false events from gate movement and headlights.
Most IP camera platforms support motion detection zones so events can be limited to the area that matters (e.g., gate approach rather than the full driveway) (manufacturer app/software documentation).
IR night mode performance depends on reflective surfaces; proper placement helps prevent glare that can wash out faces/plates (camera manufacturer imaging guidance).
Recording storage strategy (on-camera SD, NVR HDD, or cloud) determines what you can review later and how long events are retained (manufacturer specifications).
Configure motion areas to ignore gate movement
Gate movement may trigger motion detection if the gate body occupies the camera’s detection zones. You typically want to:
– Exclude the moving gate region
– Include the approach path where people/vehicles arrive
– Adjust sensitivity so shadows and headlights don’t constantly trigger alerts
Set recording mode and storage rules
Choose how the system records:
– On-camera SD (simple but manage SD health and capacity)
– NVR (central management, typically more scalable)
– Cloud (convenience, depends on subscription and connectivity)
Configure retention or overwrite policies so you don’t discover weeks later that you’ve been recording over events.
Test in real conditions (day, then night)
Do a two-stage test:
1. Day: confirm coverage and focus; verify faces/vehicle identifiers where possible.
2. Night: confirm IR behavior (if present) and ensure alerts match actual gate activity rather than headlight glare.
From my experience resolving recurring “false alarm” reports, the fastest improvement usually comes from motion zone boundaries and angle adjustment—not from increasing sensitivity.
What can go wrong (and how to avoid it)
Most gate camera problems are preventable: cable strain, weak weatherproofing, and wrong placement cause the majority of early failures. If you account for movement and environment, you can avoid most “intermittent” issues.
Below are the issues that tend to show up after installation—often weeks later. Use the prevention steps as a final review checklist before you fully finalize the build.
Intermittent outages outdoors commonly occur when moisture enters exposed cable joints; correct use of outdoor-rated enclosures reduces this risk (IEC 60529; manufacturer installation manual).
Incorrect PoE sizing can prevent boot or cause reboot loops when camera power draw exceeds what the PoE class can supply (IEEE 802.3af; IEEE 802.3at; IEEE 802.3bt).
Misaligned detection zones often lead to alerts from gate movement, lighting changes, and reflections—motion zone tuning is designed specifically to reduce this effect (manufacturer software documentation).
Common failure modes
– Gate movement damages cabling
– Pinching, abrasion, or pulling at hinges/sliding rails
– Fix: route away from moving parts; add strain relief; secure along stable runs.
– Poor weatherproofing
– Gaps at cable entries or exposed connectors
– Fix: rated glands, gaskets, and junction boxes; follow the manufacturer’s sealing method.
– Wrong placement
– Too high → missing faces; too low → unhelpful angles
– Fix: check both day and night; adjust mounting angle and height.
– Privacy and detection oversights
– Detection zones too broad can capture neighboring areas
– Fix: configure detection zones and camera masks where supported.
– Power/network mismatches
– PoE class mismatch or coax/power polarity/voltage mismatch
– Fix: verify camera power requirements and compatibility in the manual.
Verdict: when to DIY vs hire a pro
DIY is usually realistic if you can safely run outdoor-rated cabling, mount to stable structure, and follow the camera kit’s installation manual precisely. The main downside is that diagnosing outdoor issues (water ingress, connector faults, misaligned motion zones) can take time—especially once everything is sealed and mounted.
Skip DIY and hire a pro if:
– You need electrical work beyond the camera kit instructions (for example, mains hardwiring where you’re not qualified).
– Your gate wiring path is complex (multiple automation/control points or hard-to-protect cable routes).
– You’re unsure about PoE class/network compatibility or local permitting requirements.
Quick checklist (scan before you start)
| Step | What to confirm |
|---|---|
| Placement | Camera view covers the gate approach and won’t be blocked during gate movement |
| Outdoor readiness | Camera and housings match your weather/exposure conditions (per manufacturer guidance) |
| Cable routing | No pinch points, no standing-water exposure, secure strain relief for any movement |
| Connections | All joints are in outdoor-rated enclosures; weatherproof cable entry points |
| Wiring method | PoE vs coax matches your kit and camera/power specs |
| Setup | Motion zones, recording settings, and night behavior are configured intentionally |
| Testing | Day + night checks, alert behavior verified, and live view confirmed stable |
Frequently Asked Questions
What’s the best way to plan a CCTV camera installation for a gate before you start?
Start by mapping where the camera needs to see—entrance lanes, the gate latch area, and faces at typical approach angles. Check sightlines for vehicles and pedestrians so you don’t end up with blurred or obstructed footage. Then measure cable routes, identify power options near the gate, and choose mounting locations that are protected from vandalism and weather. Finally, confirm your recording setup (NVR or DVR, storage size, and whether you need remote viewing).
How do I choose the right CCTV camera type for my gate?
For gates, you’ll usually want an outdoor bullet or turret camera with a wide enough field of view to cover the driveway. If you need to capture license plates or clear faces at night, choose a camera with strong night vision (IR with good range) or an IP camera with starlight/low-light performance. Consider weather resistance (at least an IP65 rating) and an appropriate resolution like 4MP or 8MP for more usable detail. If the gate has frequent glare from headlights, prioritize features like WDR (Wide Dynamic Range) to reduce overexposure.
How do I install a wired CCTV camera for a gate, step by step?
First, mount the camera at the correct height and angle, ensuring it covers the gate area without aiming too high for usable face shots. Run the appropriate cable route (coax for analog, or Ethernet for IP cameras) using weatherproof conduit where possible, and avoid sharp bends. Connect the camera to power and the recorder/NVR, then test the feed and adjust focus/zoom before sealing everything. After installation, confirm night vision quality and do a final wiring check for stable connectivity and clear recording.
Which mounting position and angle gives the best coverage for CCTV on a gate?
Mount the camera high enough to deter tampering but low enough to keep faces and gate activity in frame—commonly around eye level to slightly above, depending on your driveway layout. Aim to capture both the approach and the point where the person interacts with the gate (latch/intercom area), not just the road. Use a slight downward angle to reduce sky glare and keep faces readable at different vehicle positions. If your gate is wide or has multiple lanes, you may need overlapping coverage or a wider lens to prevent blind spots.
Why does my gate CCTV camera work in daytime but not at night, and how can I fix it?
Most night issues come from incorrect IR settings, poor placement, or insufficient low-light capability—especially if the camera is too far from targets. Check whether IR LEDs are reflecting off nearby walls, trees, or the gate hardware, which can cause a washed-out image; adjusting the angle or using a different lens/housing can help. Ensure you’ve got proper exposure settings, WDR, and that the camera’s night mode is functioning correctly. Also verify power stability and network quality—low voltage or weak connections can cause night-time dropouts and low-quality recording.
📅 Last Updated: October 27, 2026 | Topic: How to install a CCTV camera for a gate? | Content verified for accuracy and freshness.
References
- Closed-circuit television
- https://en.wikipedia.org/wiki/Internet_protocol_camera
- Power over Ethernet
- IP code
- Coaxial cable
- [Withdrawn] Surveillance camera code of practice – GOV.UK
- https://scholar.google.com/scholar?q=how+to+install+cctv+camera+outdoor+gate Google Scholar
- https://scholar.google.com/scholar?q=outdoor+cctv+camera+installation+weatherproofing+ip+rating Google Scholar
- https://scholar.google.com/scholar?q=poe+cctv+camera+installation+power+over+ethernet+outdoor Google Scholar



