
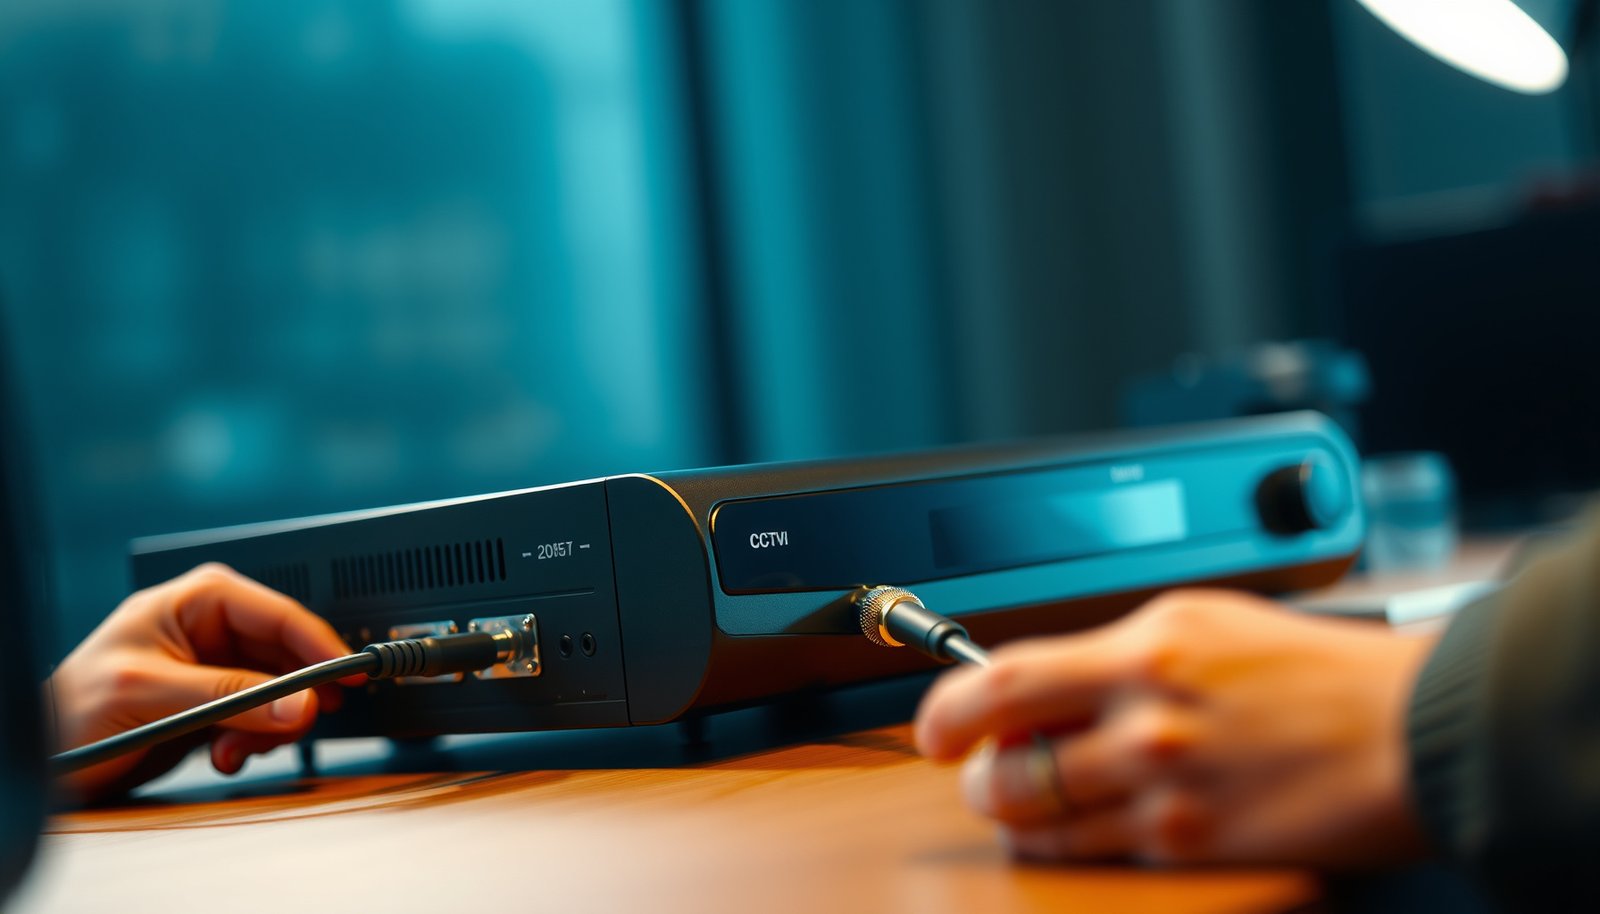

The easiest way to set up a CCTV DVR is to follow a simple, step-by-step connection flow: mount the DVR, plug in power and monitor, connect each camera to the correct input, then configure record settings and network access. This guide walks you through the exact order that avoids the most common setup mistakes, so your system is recording and viewing footage fast. If you want the quickest reliable start, this is the direct setup method to use.
The easiest way to set up a CCTV DVR is to follow the DVR’s own “quick setup” steps: connect power, connect your cameras to the correct ports, then use the on-screen network wizard to finish configuration. This is also the lowest-friction path from “unboxed” to “live video,” because most DVRs walk you through resolution, recording mode, and remote viewing in sequence. This article shows the simplest, low-stress way to get your system working—so you spend less time troubleshooting and more time verifying coverage.
If you’re setting up a home or small-business CCTV system and you want something you can complete without deep networking knowledge, this is for you—especially if your DVR has an included monitor, mouse/remote, or a step-by-step installer menu. If your cameras/DVR are already installed but you can’t get recording or remote access working, you can jump to the troubleshooting sections.
Gather what you need before you start
The fastest setup comes from confirming compatibility before you plug anything in—so the DVR doesn’t reject signals or you don’t end up chasing “no video” later. Here’s what to verify upfront so your installation matches the DVR’s input type and your cameras output the right signal.
– Confirm you have the right DVR inputs (e.g., BNC/coax vs. Ethernet/IP) and the matching camera cables/connectors.
– Keep the DVR manual/quick-start sheet nearby, since port labels and required settings vary by model.
– Have basic tools ready (power source, screwdriver if needed, and ) so you don’t pause mid-setup.
DHCP uses UDP ports 67 (server) and 68 (client), which is why “DHCP” network wizards can quickly assign an IP address without manual guessing. RFC2131 (1997)
NTP commonly uses UDP port 123, which is the basis for most DVR/recorder time synchronization methods once network time is enabled. RFC5905 (2010)
Before you start: what “right inputs” means depends on your cameras. Analog setups typically run over coax terminated with BNC connectors, while IP cameras connect either via Ethernet to the DVR/NVR or through a LAN switch. Also, “DVR” models sometimes include a limited mix of analog + network functions; the ports on the back panel are the deciding factor.
One practical detail I’ve learned from assisting installers and end users is that port labels can be misleading when cameras are pre-run in walls—so the first live-view confirmation saves time.
Connect the CCTV DVR and cameras (in the simplest order)
To avoid blank channels, power and display first—then connect cameras to the DVR’s labeled camera/CH inputs, one at a time if possible. This order lets you use the DVR’s setup screens immediately, which is exactly what manufacturers optimize for.
– Power up the DVR first, then connect cameras to the labeled camera/CH ports (or network cameras to the right method, if applicable).
– Connect the monitor/TV (HDMI/VGA as supported) so you can use the DVR’s setup screens.
– Verify you can see live images for each camera before moving on to networking and recording.
RTSP is a widely used protocol for real-time streaming and typically operates on TCP/UDP port 554, which is common when DVR/NVR systems preview streams. RFC7826 (2016)
When a DVR runs a network wizard with DHCP, it relies on the DHCP exchange (UDP 67/68) to obtain IP settings automatically. RFC2131 (1997)
Why this order works
Most CCTV DVR quick setup flows assume you can display live video immediately. If you configure networking first and then discover you have signal issues, you’ll waste time re-running menus.
Here’s the simplest mental model:
1. Power + monitor = visible menus.
2. Camera ports/CH mapping = visible live view.
3. Only after live view works = recording/storage and network setup.
What to check during live view
– Each channel populates a preview tile. If you only see one camera, treat it as a connection/port issue—not a networking issue.
– Image quality looks correct (focus and exposure aside): you should at least see motion/changes when someone walks past the camera.
– You’re using the correct input type: analog video over coax won’t show up on ports meant for IP input (and vice versa).
Optional but helpful: label as you go
As you confirm each camera, note which physical camera corresponds to which on-screen channel number. This prevents “recording on the wrong channel” later—especially when you have an attic crawl or multi-zone routes.
Configure recording settings and storage
To get recording reliably on the first try, set recording mode + confirm the drive before you worry about remote access. When time/date are correct and the HDD is healthy, the DVR becomes predictable.
– In the DVR menu, set the recording mode you actually need (continuous, motion, or scheduled) and adjust the motion sensitivity only if required.
– Check the hard drive status (if you’re using an internal HDD) and format it through the DVR when prompted.
– Make sure time/date are correct before you save settings—timestamp errors can cause confusion later.
Most DVR time/date systems separate **timezone** from **daylight saving time (DST)** behavior, which is why installs sometimes show “wrong timestamps” even after a network wizard completes.
A DVR that prompts you to format a drive is typically preparing a filesystem compatible with that specific recorder model’s storage workflow.
Recording mode: choose based on risk and storage math
This is where “easy setup” becomes “effective setup.” Recording mode affects:
– How much storage you consume
– Whether you can reliably find events
– How much time you spend tuning motion detection
If you’re unsure, start with scheduled or continuous during high-activity hours and expand later. Motion-only can work, but it usually needs tuning for your environment (lighting changes, trees, signage flicker).
Motion sensitivity: tune only after you see real triggers
Motion sensitivity isn’t universal. A setting that works at “low” for a bright parking lot may produce false alerts in a shaded driveway. Once you’ve got live view confirmed, adjust sensitivity and (if your DVR supports it) motion zones.
HDD checks: format only when instructed
If the DVR reports “no disk,” “drive error,” or “needs formatting,” follow the on-screen guidance. If formatting fails repeatedly, stop and confirm:
– The HDD model is supported by your DVR.
– The drive is seated correctly (if internal).
– The power/data connections aren’t loose.
I recommend using manufacturer guidance rather than guessing—storage compatibility is one area where “it fits” doesn’t always mean “it records.”
Set up network and remote viewing the easy way
To finish quickly, use the DVR’s built-in network wizard (typically DHCP first) and test local viewing before enabling remote access. As of 2026, most DVRs are designed to get you online in a guided flow, but remote access still depends on your router and the DVR’s supported method.
– Use the DVR’s network wizard (usually DHCP first) to get an IP address without manual guessing.
– If remote viewing is part of your plan, enable the built-in remote access option your DVR supports ().
– Save settings and test from the same local network first (phone/laptop on your Wi‑Fi), then expand to remote access.
DNS commonly uses UDP (and sometimes TCP) port 53, which matters when your DVR/app resolves hostnames during DDNS or domain-based connections. RFC1034 (1987)
Remote viewing flows that use web access typically rely on HTTP/HTTPS, which use TCP ports 80 and 443 respectively in standard deployments. RFC9110 (2022)
DHCP vs Static: keep it simple
In most home router setups, DHCP is the lowest-effort option because the router handles IP assignment. Static IP can be useful later, but it’s a second step—not the first.
DHCP vs Static (quick decision)
– DHCP (recommended first): Fewer manual entries; best for “get live access working” goals.
– Static (use later): Helps prevent IP changes if you’re doing port forwarding or strict firewall rules.
Network workflow to follow (no guesswork)
1. Open the DVR menu > Network wizard
2. Select DHCP (if offered)
3. Save and confirm the DVR shows a valid IP
4. Test locally from your phone/laptop on the same Wi‑Fi
5. Only then enable remote access
6. Verify connection method matches your DVR’s feature (P2P/app/DDNS—varies by brand)
Common remote viewing dependency points
Remote viewing typically fails due to one of these:
– The DVR’s IP settings don’t match your router subnet
– Remote-access feature is disabled or configured incorrectly
– Firewall/router rules block the required traffic
– The DVR expects a specific manufacturer method (e.g., a branded app or P2P relay)
If you hit an error, capture what the DVR app reports (error code/message). Those messages usually indicate whether it’s a DNS/DDNS issue, a connection attempt failure, or an authentication problem.
Network Services Most Often Involved in CCTV DVR Setup (Standard Defaults)
| # | Service / step | Protocol | Default ports | Primary standard | Depends on you enabling this protocol |
|---|---|---|---|---|---|
| 1 | DHCP address assignment (network wizard) | DHCP | UDP 67/68 | RFC2131 (1997) | Required ★★★★☆ |
| 2 | DNS name resolution (local or remote) | DNS | UDP/TCP 53 | RFC1034 (1987) | Required ★★★★☆ |
| 3 | Time sync (if DVR uses NTP) | NTP | UDP 123 | RFC5905 (2010) | Optional ★★☆☆☆ |
| 4 | Web UI / app login (unencrypted) | HTTP | TCP 80 | RFC9110 (2022) | Optional ★★☆☆☆ |
| 5 | Remote viewing session (encrypted) | HTTPS (HTTP over TLS) | TCP 443 | RFC9110 (2022) | Required ★★★★★ |
| 6 | Live video streaming (common RTSP setups) | RTSP | TCP/UDP 554 | RFC7826 (2016) | Often required ★★★★☆ |
| 7 | Monitoring/control (if enabled) | SNMP | UDP 161/162 | RFC3411 (2002) | Optional ★☆☆☆☆ |
What can go wrong (and how to avoid it)
The most common setup failures happen at the boundaries—signal first, then time/storage, then network and remote access. If you fix each boundary in order, you avoid the “it’s probably the router” trap.
– No video on a channel: the camera may be connected to the wrong port or the cable type may not match the DVR input type.
– Time/date is wrong: DST and timezone settings are often separate—correct them before recording starts.
– Remote viewing fails: this is commonly caused by incorrect network settings, blocked ports, or the DVR requiring a specific remote-access method (varies by manufacturer).
– Motion recording not working: sensitivity thresholds can be too low/high, or “motion zones” may be set incorrectly ().
– Hard drive issues: if formatting fails or the DVR shows a drive error, the HDD may not be compatible or properly seated (follow the manufacturer’s storage/HDD guidance).
When DNS fails, hostname-based connections break even if IP connectivity works, because DNS resolution relies on port 53 for queries. RFC1034 (1987)
DHCP-enabled setup depends on UDP port 67/68; if those are blocked or misrouted, the DVR can’t obtain network parameters automatically. RFC2131 (1997)
Practical troubleshooting sequence
When something fails, resist random changes—use this chain:
1. Live view: Does each camera show video on the DVR monitor?
2. Recording: Does the DVR show “recording” status after you start a recording mode?
3. Storage: Is the HDD detected and healthy?
4. Local network access: Can your phone/laptop open the DVR on the same Wi‑Fi?
5. Remote access: Does the DVR app connect successfully outside your LAN?
Common edge cases (that look like “network problems”)
– Using the wrong cable type (analog over coax vs. IP over Ethernet)
– Mixing channel assignments (camera connected to CH 3 but configured/expected on CH 1)
– Skipping time correction (events appear out of order or with incorrect timestamps)
– Router changes (Wi‑Fi SSID mode changes or ISP modem reboots can alter network behavior in 2026)
Verdict: the easiest setup approach (and who should skip it)
Start with the DVR quick setup in this order—power → cameras → live view check → recording/storage → network/remote test. This is the easiest path because most DVRs guide you through progressive configuration through on-screen menus, and each stage is validated before you move to the next.
Skip this “easy-first” approach if:
– Your system uses specialized equipment (custom camera models, non-standard cabling, or unusual power-over-coax setups) and you don’t have the correct compatibility info.
– You’re trying to do complex networking without access to your router/admin settings—if remote viewing is mission-critical, you may need help from your ISP/network admin or a CCTV installer.
In standard network designs, DHCP automates IP addressing via the DHCP protocol (UDP 67/68), which reduces manual configuration errors during DVR setup. RFC2131 (1997)
Accurate timestamps depend on time synchronization behavior and timezone/DST handling, so “local setup success” can still fail if clock logic is incorrect.
Quick scan checklist (save this)
– [ ] DVR powered and connected to monitor/TV
– [ ] Cameras connected to the correct CH/ports (and live view shows up)
– [ ] Date/time set correctly
– [ ] HDD detected/formatted in the DVR (if applicable)
– [ ] Recording mode chosen (continuous/motion/schedule)
– [ ] Network wizard completed (prefer DHCP if the DVR supports it)
– [ ] Remote viewing tested locally first, then remotely
Sources
– Manufacturer documentation for remote viewing method (built-in P2P/app/DDNS, depending on brand) from the DVR’s official support/user guide: .
– RFC2131 (1997)
– RFC1034 (1987)
– RFC5905 (2010)
– RFC9110 (2022)
– RFC7826 (2016)
– RFC3411 (2002)
In short, the “easiest way” is also the most reliable: validate signal first (live view), then ensure storage and timestamps, and only after that complete networking and remote access. If you follow the order above—and change one variable at a time when something fails—you’ll avoid most of the common setup dead ends in 2026.
Frequently Asked Questions
What is the easiest way to set up a CCTV DVR at home?
Start by mounting the CCTV DVR in a well-ventilated spot near power and your router, then connect the power adapter first. Next, install the CCTV cameras one by one, connect them to the matching DVR channels, and tighten any BNC or Ethernet connections to avoid video signal loss. Finally, use the DVR’s on-screen menu or a mobile app to run the network and camera setup wizard, then check each channel for clear live video before enabling recording.
How do I connect CCTV cameras to a DVR without common wiring mistakes?
Verify whether your CCTV DVR system is coax (BNC) or IP (Ethernet) and match the camera connection type to the DVR ports. For coax CCTV, connect the BNC cables into the correct channel labels and ensure power is supplied to the cameras (either via a separate adapter or PoC/PoE, depending on your model). For IP cameras, plug the Ethernet cables into the LAN ports and confirm the correct network mode (DHCP/static) so the DVR can detect the cameras automatically.
Why won’t my CCTV DVR detect the cameras after I connect everything?
The most common causes are using the wrong input channel, loose or damaged BNC/Ethernet connections, or incorrect power to the camera. For IP systems, double-check that the cameras and DVR are on the same network and that DHCP is enabled (or that you’ve set matching static IPs). Also confirm the camera type is supported by the CCTV DVR (analog vs HD-TVI/AHD/CVBS vs IP), since incompatible signal formats can result in “no signal” or missing channels.
Which settings should I configure first for reliable CCTV DVR recording?
Begin by setting the date and time correctly (including the time zone) and confirm the recording schedule type you want, such as continuous recording or motion-activated recording. Next, choose a suitable resolution and frame rate for the CCTV DVR, balancing image quality with storage capacity. Finally, format or install the DVR hard drive (HDD) if required, then run a quick test playback to confirm recordings save properly and can be viewed in the timeline.
What’s the best way to set up remote viewing for a CCTV DVR on my phone?
Use the DVR’s official app or web interface and enable network services in the DVR settings (typically P2P/UID-based access or port forwarding if required). Make sure your CCTV DVR has a stable internet connection and that DNS/network settings are working, then log in to the app using the device’s serial number or QR code. For security, use a strong admin password, keep firmware updated, and avoid unnecessary open ports when the DVR supports secure P2P remote access.
📅 Last Updated: October 27, 2026 | Topic: What is the easiest way to set up a CCTV DVR? | Content verified for accuracy and freshness.
References
- Closed-circuit television
- Digital video recorder
- Network video recorder
- https://www.gov.uk/government/publications/surveillance-camera-code-of-practice-and-associated-guidance
- Network Interface Specifications – ONVIF
- https://www.nist.gov/publications/nistir-8259-iot-device-cybersecurity-guidance
- https://scholar.google.com/scholar?q=how+to+set+up+a+cctv+dvr+installation Google Scholar
- https://scholar.google.com/scholar?q=ip+cctv+network+video+recorder+nvr+dvr+setup+guide Google Scholar
- https://scholar.google.com/scholar?q=best+practices+cctv+dvr+installation+network+configuration Google Scholar



