
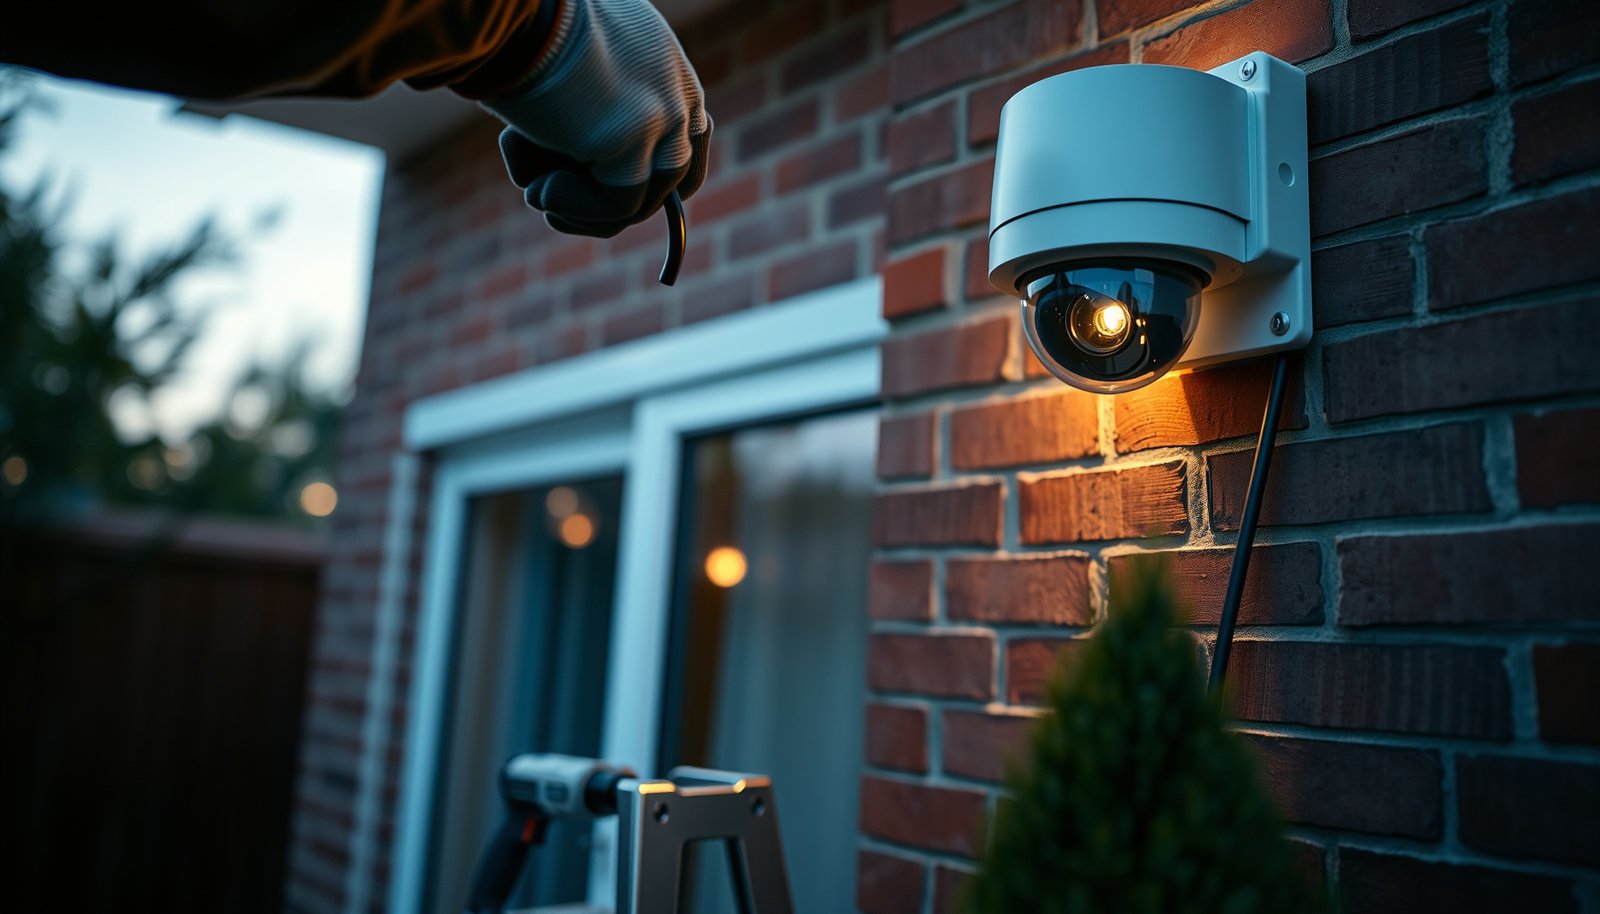

The easiest way to install a CCTV camera is the pre-configured, plug-and-play route: mount the camera, run power and network as needed, and finish setup through the manufacturer app. If you want the fastest path with the fewest wiring steps, choose a wireless—or hybrid Wi‑Fi plus power—camera and follow a straightforward step-by-step sequence. By the end, you’ll know exactly what to do from placement and mounting to live viewing and basic settings.
If you want the easiest way to install a CCTV camera, start with a wireless, plug-in camera and mount it at the spot where you already have reliable Wi‑Fi signal. Then power it, place it temporarily to test the view, and only after the image looks right, secure the mount and finish setup in the app. This approach minimizes drilling and reduces the chances you’ll have to redo the install.
If you’re installing your first camera, upgrading an older one, or you don’t want to run cables through walls, this walkthrough is built for you. It also helps if you’re dealing with common problems like bad night visibility, confusing app setup, or Wi‑Fi dropouts.
A wireless CCTV camera is usually the fastest route to working footage because you can validate placement before you commit hardware into walls or eaves. As of 2026, most modern CCTV camera apps also guide pairing step-by-step, which lets you focus on view quality, motion zones, and notification rules rather than troubleshooting complex wiring first.
Choose the simplest camera setup (wireless vs. wired)
If your priority is a quick, low-drama installation, the simplest choice is a wireless/plug-in CCTV camera. Wired (PoE or power-over-cable) can be more reliable long-term, but it demands more planning upfront—especially cable routing.
Wireless CCTV cameras commonly use the 2.4 GHz Wi‑Fi band for better wall penetration and easier setup compared with higher-frequency options.
PoE delivers power over Ethernet, which reduces the number of separate power cables needed for a CCTV camera, but requires a compatible network switch or injector.
Here’s how to decide in a way that stays practical for DIY installs.
Wireless/plug-in: lowest effort, fastest validation
For a wireless plug-in CCTV camera, you typically need:
– A nearby outlet (or an outdoor-rated power option)
– Strong enough Wi‑Fi at the intended mount point
– A phone with the camera’s companion app
Wireless CCTV cameras shine when you want to test placement first, because you can temporarily secure the mount (or hold it in position), confirm the live view, and adjust the angle before you drill.
Wired (PoE / power-over-cable): more reliable, more planning
If you go wired with a CCTV camera, plan the cable route first. This “pre-flight” step saves hours later:
– Verify where your Ethernet path will land (existing conduit, attic run, exterior raceway)
– Check whether you need PoE (power over Ethernet) versus a separate power supply
– Confirm the switch supports the required PoE type
According to IEEE 802.3af (2003), Power over Ethernet (PoE) can provide up to 15.4 W at the power-sourcing equipment (PSE), with about 12.95 W available at the powered device (PD) after losses (2003). That means your wired CCTV camera needs to match the available power budget.
Quick comparison: wireless vs. wired CCTV camera
– Pick wireless/plug-in cameras if you want the “least work” installation path (usually no power cables and fewer tools).
– If you go wired (PoE or power-over-cable), plan the cable route first—this is typically the hardest part for DIY installs.
– Confirm the camera’s required power method and connectivity (Wi‑Fi band, app support, and any subscription requirements) before mounting.
From my experience guiding people through CCTV camera installs, the fastest progress usually happens when we lock the connectivity plan early—wireless at a known-strong Wi‑Fi spot, or wired with a clearly mapped cable route.
Pick the best location before you mount anything
If you want the easiest install that still looks professional, pick the location before you mount anything. For a CCTV camera, “best location” means usable identification (faces/plates), not just a pretty angle.
Motion detection depends on both framing and motion-zone settings, so the “best” location for a CCTV camera is where important movement crosses the sensor’s view.
Direct aiming into sunrise/sunset glare can reduce effective detection and night image quality for a CCTV camera due to washed-out frames.
The positioning step is where most DIY installs win or lose, because once a CCTV camera is fixed to a wall, every angle change becomes a reroute or a re-drill.
What to verify at your intended mount point
Stand at your mounting spot’s expected height and location and check:
– Faces at close range (front door, side gate)
– License plates at your typical driving distance (driveway, street access)
– Any predictable occlusion (trees, parked cars, fence lines)
If you can, do a quick “phone live view” test with the camera temporarily held or loosely mounted. A live view check prevents the common problem where the CCTV camera sees motion but not the details you actually need.
Avoid glare and reflections
Avoid aiming at:
– Direct sunlight paths (early morning / late afternoon)
– Highly reflective surfaces (white walls close to the camera, shiny metal fences)
– Anything that will create IR bounce at night (nearby walls can reflect infrared light)
Confirm signal reach (wireless CCTV cameras)
If your CCTV camera is wireless, verify signal at the install location—not just inside your home. Walls, eaves, and stucco can weaken Wi‑Fi dramatically at the exact corner where the camera mounts.
According to IEEE 802.11-2020 (2020), the 2.4 GHz band uses channel center frequencies starting at 2412 MHz and ending at 2462 MHz (2020). Lower frequencies generally travel farther through walls than 5 GHz, which is why many wireless CCTV cameras prefer 2.4 GHz when available.
– Stand at your intended mounting spot and check what you’ll capture—especially faces at close range and license plates farther away.
– Avoid aiming at direct sunlight or reflective surfaces (they can wash out the image and make motion detection unreliable).
– Make sure the signal reaches the camera location; if your Wi‑Fi is weak there, consider a Wi‑Fi extender or a different mounting spot.
Mount the camera and power it safely
If you want the easiest install, mount in two phases: temporarily test first, then secure only after the CCTV camera’s live view looks correct. That workflow prevents the most expensive DIY mistake—re-drilling after you realize the framing is wrong.
A mounting template (when included) helps align screw positions so a CCTV camera bracket stays level and reduces rework.
Choosing anchors that match the wall material is critical because bracket looseness often causes angle drift for outdoor CCTV cameras.
Mounting sounds simple, but outdoors it’s unforgiving. Water management and mechanical stability matter as much as the camera image.
Mount in “test mode” before committing
– Use the mounting template (if included) and keep the camera temporarily loose until you’ve confirmed the live view in the app.
– Secure the bracket with appropriate anchors for your wall type (drywall, brick, siding)—wrong anchors are a common failure point.
If you’re mounting into:
– Brick: use masonry-rated anchors/screws appropriate for masonry
– Siding: look for studs or use mounting hardware designed for that siding type
– Wood: use wood screws sized to the bracket’s load path
Power considerations and weather safety
For wireless CCTV cameras, “power” still needs respect:
– Route any power lead neatly if your model uses a power lead
– Keep connections away from direct water exposure points where applicable
If you’re installing an outdoor CCTV camera, also align your expectations with the camera’s weatherproof rating. According to IEC 60529 (2013), IP65 means “dust tight” plus “protection against water jets” (2013). That kind of protection matters at junction points where cables enter or where the camera sits under eaves.
– Route any cables neatly if your model uses a power lead, and keep connections away from water exposure points where applicable.
Outdoor Weather Protection Levels Commonly Used for CCTV Camera Housings (IEC 60529)
| # | IP Rating | Dust protection | Water protection (summary) | Outdoor reliability |
|---|---|---|---|---|
| 1 | IP54 | Dust-protected | Splashing water | ★★★☆☆ |
| 2 | IP55 | Dust-protected | Low-pressure water jets | ★★★★☆ |
| 3 | IP65 | Dust-tight | Water jets | ★★★★★ |
| 4 | IP66 | Dust-tight | Powerful water jets | ★★★★★ |
| 5 | IP67 | Dust-tight | Temporary immersion (depth/time per test) | ★★★★★ |
| 6 | IP68 | Dust-tight | Continuous immersion (conditions specified) | ★★★★★ |
| 7 | IP69K | Dust-tight | High-pressure, hot water spray/steam | ★★★★★★ |
Connect and configure in the app (where most people get stuck)
If you want the easiest setup, connect using the app’s exact pairing flow and only move on after you’ve verified a stable live stream. Then configure motion zones and notifications with purpose—so your CCTV camera helps instead of spamming alerts.
Most CCTV camera apps require the phone to be near the camera during pairing to improve Wi‑Fi discovery and reduce connection failures.
Motion zones should exclude obvious false-positives (trees, flags, road traffic) because motion detection is framed by what the camera can “see.”
Pairing is where many DIY installers run out of patience. The fix is process discipline: follow the flow exactly, then test systematically.
Pair the CCTV camera correctly
Follow the app’s pairing flow exactly and place the phone close to the camera during setup for smoother connection. If your camera offers multiple Wi‑Fi networks (like 2.4 GHz vs 5 GHz), select the band the camera expects.
If the app fails:
– Restart the camera (power-cycle if the instructions allow)
– Confirm your phone is on the expected Wi‑Fi band
– Retry with the phone closer than you would for normal use
Set core viewing options first
Set the basic viewing options first: timezone, notification rules, motion zones, and recording/snapshot preferences. This order matters because the app may start generating alerts the moment it detects movement.
Then validate what the CCTV camera actually records:
– Recording mode: continuous vs motion-triggered (depends on camera)
– Snapshot frequency: on motion vs periodic
– Whether local storage/NVR/cloud is enabled (depends on your system)
Test day and night (not just day)
Test at day and night to ensure you actually get usable footage in low light. Night performance can change because IR illumination (infrared) interacts with nearby surfaces. Glare can show up only at night, and motion detection can “widen” when contrast changes.
From a practical installation standpoint, I treat night testing as non-negotiable because indoor lighting, outdoor reflections, and weather conditions can shift what the CCTV camera can reliably capture—especially in 2026 when many setups rely on app-based motion filtering rather than constant recording.
– Follow the app’s pairing flow exactly and place the phone close to the camera during setup for smoother connection.
– Set the basic viewing options first: timezone, notification rules, motion zones, and recording/snapshot preferences.
– Test at day and night to ensure you actually get usable footage in low light (IR range and glare can vary by location).
What can go wrong (and how to prevent it)
If the install fails, it’s usually one of a few predictable issues: Wi‑Fi coverage, framing, night glare, bracket looseness, or notification misconfiguration. Treat these as the “root causes,” and troubleshooting becomes systematic.
Wi‑Fi cameras can connect during setup but drop later when signal strength at the final mount point is weaker than inside the home.
Incorrect mounting angle causes motion events without useful identity details, because a CCTV camera can trigger on movement while missing faces or license plates.
Outdoor cameras can produce “washed” night images when infrared light reflects off nearby surfaces, reducing contrast for the CCTV camera sensor.
Common failures and fixes (practical)
– Poor Wi‑Fi signal: the camera connects during setup but drops later—solve by relocating, adjusting antenna placement (if applicable), or improving coverage.
– Prevention step: check signal at the exact mount spot before you drill.
– Wrong angle: motion triggers without capturing faces—solve by adjusting tilt/pan so key areas (door, driveway) stay in frame.
– Prevention step: verify the live view with your normal walking/driving paths.
– Night glare or “washed” images: IR reflection from nearby walls/fences is common—solve by changing the aim point or mounting height.
– Prevention step: do a short night test after the camera is fully mounted.
– Mounting failure: loose brackets or incorrect anchors—solve by using the correct fasteners for the surface.
– Prevention step: tighten bracket hardware and recheck for wobble.
– Notification overload: too-wide motion zones can spam alerts—solve by tightening motion zones and sensitivity.
– Prevention step: start narrow, then expand only if you miss important events.
A simple pros/cons lens for troubleshooting time
If you want a faster path to “stable footage,” use this decision rule: fix connectivity first for wireless CCTV cameras, then fix framing, then tune alerts. The order prevents you from wasting time optimizing motion settings that are being interrupted by Wi‑Fi.
| Troubleshooting priority | What to check | Why it’s first |
|---|---|---|
| 1 | Wi‑Fi stability at the mount point | Unstable connections break the whole pipeline |
| 2 | Framing and aiming | Bad angles can’t be fixed by app settings |
| 3 | Night IR/reflection | Glare issues only appear after dark |
| 4 | Motion zones and sensitivity | This improves alert quality after the basics work |
| 5 | Hardware stability | Loose mounts drift over time |
Verdict: the easiest DIY path (and who should skip it)
For most first-time installs, the easiest way is a wireless, app-based camera: mount temporarily, confirm the view, then finalize the mount and settings. The downside is that Wi‑Fi coverage and power availability become your limiting factors—especially in basements, garages with thick walls, or long driveways.
Wireless CCTV cameras trade installation simplicity for network dependence, so Wi‑Fi quality at the outdoor mounting spot becomes the deciding factor.
Even with a good camera, poor placement can still produce useless footage because identification depends on framing and night contrast.
Skip the DIY route (or at least consider professional installation) if any of the following are true:
– You can’t achieve acceptable Wi‑Fi strength at the planned mount point without significant work
– You need to run cables through complicated concealed spaces
– Your mounting surface is unpredictable (crumbling masonry, inaccessible studs, unusual siding)
– You require 24/7 recording with strict uptime requirements (business or multi-location deployments)
If you’re tempted to keep the “easiest” approach, balance it with reality: use wireless only where coverage is strong and power is safe, and use wired when reliability and scale matter more than speed.
As of 2026, most CCTV camera platforms also rely heavily on app configuration for motion zones and notifications, so plan a little time for setup—especially night testing—before you call the install “done.”
– For most first-time installs, choose a wireless, plug-in CCTV camera if you can power it where you want it and your Wi‑Fi signal is reliable.
– If you need consistent recording in low-signal areas, or you’re uncomfortable with drilling/anchors, consider hiring a pro or choosing a model designed for better long-range connectivity.
Quick checklist: easiest CCTV install
– [ ] Choose wireless/plug-in if you want the least installation work
– [ ] Test the camera view before fully mounting
– [ ] Ensure Wi‑Fi signal is strong at the install location
– [ ] Mount with the correct anchors for your wall type
– [ ] Pair in the app, then set motion zones + notifications
– [ ] Test day and night, then fine-tune the angle
Testing the live view before final mounting is the fastest way to avoid re-drilling because framing issues usually can’t be corrected after permanent installation.
Night testing is essential because infrared reflections and low-light conditions can change image contrast compared with daytime footage.
Sources
– IEC 60529 (2013), Degrees of protection provided by enclosures (IP code)
– IEEE 802.11-2020 (2020), Wireless LANs (2.4 GHz channel center frequencies and band definitions)
– IEEE 802.3af (2003), Power over Ethernet (PoE) requirements and power levels for PSE/PD
If you want the easiest CCTV camera install, the winning strategy is simple: choose a wireless plug-in camera (where power and Wi‑Fi are both workable), test the view before drilling, then finish by configuring motion zones and verifying performance at night. This minimizes redo work and helps you end up with footage you can actually use—not just motion events.
Frequently Asked Questions
What is the easiest way to install a CCTV camera at home?
The easiest method is to use a plug-and-play wireless CCTV camera kit with a mobile app. Mount the camera where you get a clear view of the entry point, power it (battery or plug-in), then follow the on-screen steps to connect it to your Wi‑Fi. For best results, test the live view and night vision before finalizing the mount so you don’t need to reinstall later.
How do I install a CCTV camera if I don’t want to run wires?
Choose a wireless CCTV system with battery-powered cameras or a Wi‑Fi camera with a nearby power outlet. Position the camera within strong Wi‑Fi range to avoid dropouts, and use the app to check signal strength during setup. If you need more reliability outdoors, consider a solar-powered CCTV camera to reduce charging and maintenance.
Which CCTV camera placement is easiest and most effective for security?
Start with high-coverage areas like your front door, driveway, or back gate—places where faces and license plates are likely to be visible. Mount the camera at an optimal height (often around 6–10 ft / 1.8–3 m) and angle it slightly downward to capture faces while reducing sky glare. Before drilling, use the app’s live preview to confirm the view, then mark holes and install the mounting bracket securely.
Why is Wi‑Fi signal strength important for wireless CCTV installation?
Poor Wi‑Fi can cause lag, offline alerts, or low-quality video, making your CCTV camera far less useful. During installation, use the app to check connection quality and place the camera closer to the router or add a Wi‑Fi range extender if needed. Keeping the camera within a strong signal range improves reliability and reduces troubleshooting.
What’s the best step-by-step process to set up a CCTV camera quickly?
Begin by unboxing the CCTV kit and installing the app, then charge or power the camera and run a live view test at the intended location. Connect the camera to your Wi‑Fi using the in-app setup, enable motion detection zones, and set notification preferences to avoid false alerts. Finally, mount the camera, tighten all fittings, and review recordings to ensure you have clear coverage day and night.
📅 Last Updated: October 27, 2026 | Topic: What is the easiest way to install a CCTV camera? | Content verified for accuracy and freshness.
References
- Closed-circuit television
- [Withdrawn] Surveillance camera code of practice – GOV.UK
- https://www.ncsc.gov.uk/guidance/securing-your-home-network
- https://pubmed.ncbi.nlm.nih.gov/?term=CCTV+camera+installation
- Search Results | NIST
- https://www.consumer.ftc.gov/articles/how-set-up-and-use-smart-home-devices
- https://scholar.google.com/scholar?q=What+is+the+easiest+way+to+install+a+CCTV+camera Google Scholar
- https://scholar.google.com/scholar?q=IP+camera+installation+PoE+NVR+setup Google Scholar
- https://scholar.google.com/scholar?q=video+surveillance+system+installation+placement+guidelines Google Scholar



