
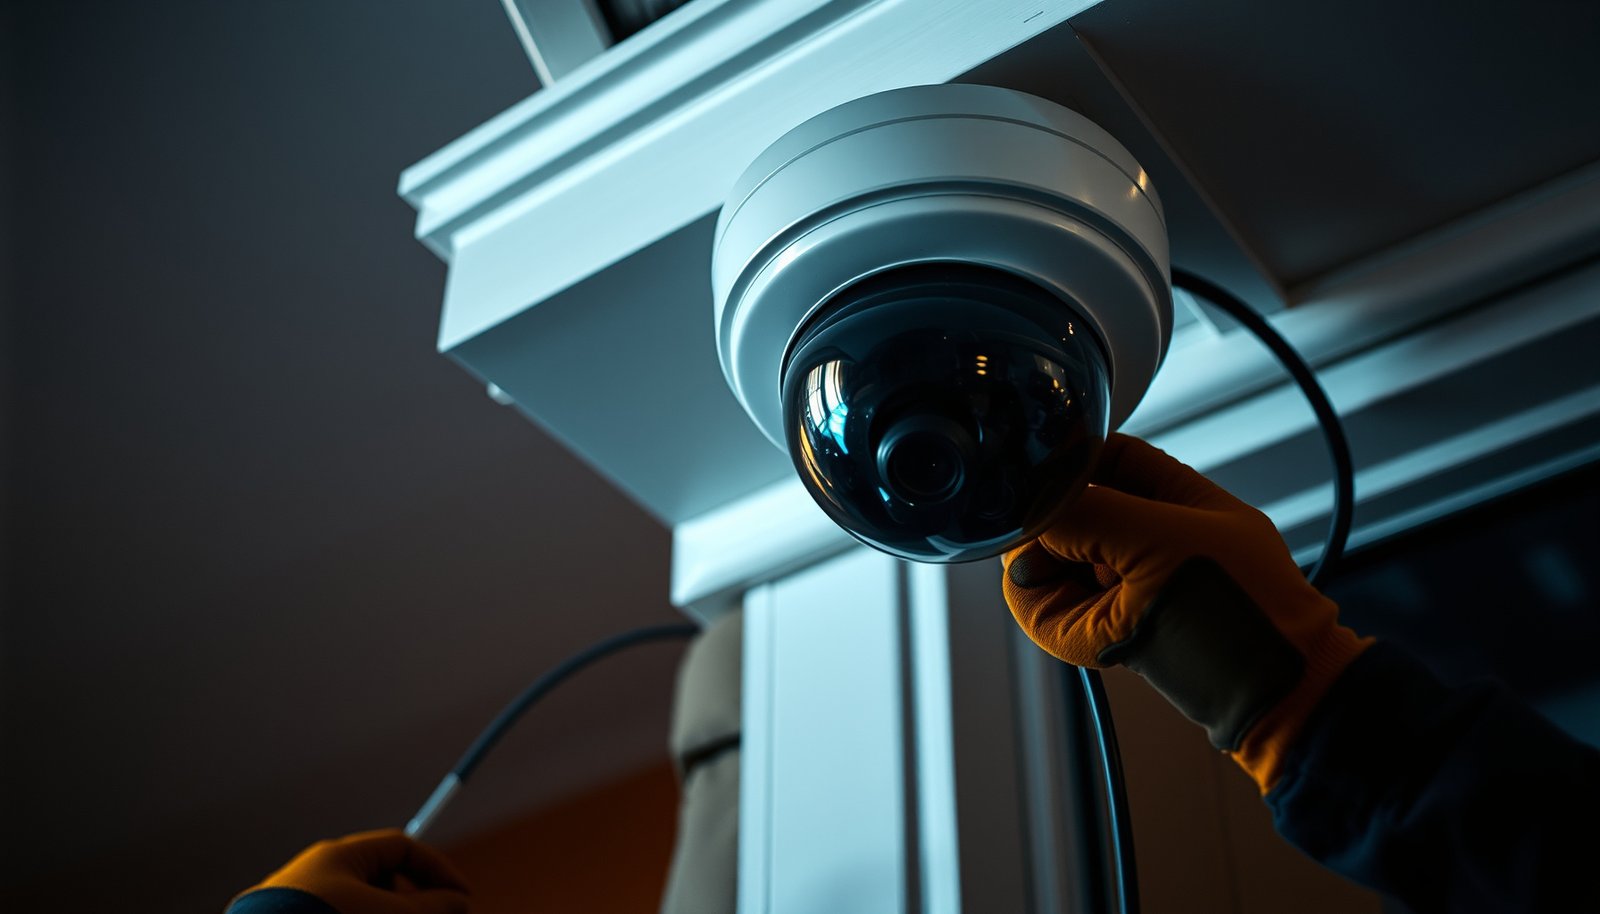

The easiest way to wire a CCTV camera is to use a plug-and-play wired connection with a preterminated power/data cable and a compatible DVR/NVR. If you have a standard 12V DC setup and the right connectors, you can typically power the camera and get video with minimal cutting, crimping, or wiring knowledge. This is the fastest route for most homeowners and small businesses that want a clean, reliable install.
The easiest way to wire a CCTV camera is to use PoE (Power over Ethernet) if your camera and recorder support it—one cable handles both power and video. If you’re not using PoE, the simplest setup is coax video (BNC) plus a clearly matched DC/AC power supply to the camera, following the manufacturer’s wiring colors and voltage requirements.
This guide is for homeowners and small-business users who want the fastest, lowest-fuss wiring approach for a typical CCTV setup, either to a DVR (coax) or an NVR (IP/PoE). If you share your camera model and whether you have a DVR or NVR, you can follow the steps more precisely.
Section 1: Choose the simplest wiring method (PoE vs coax + power)
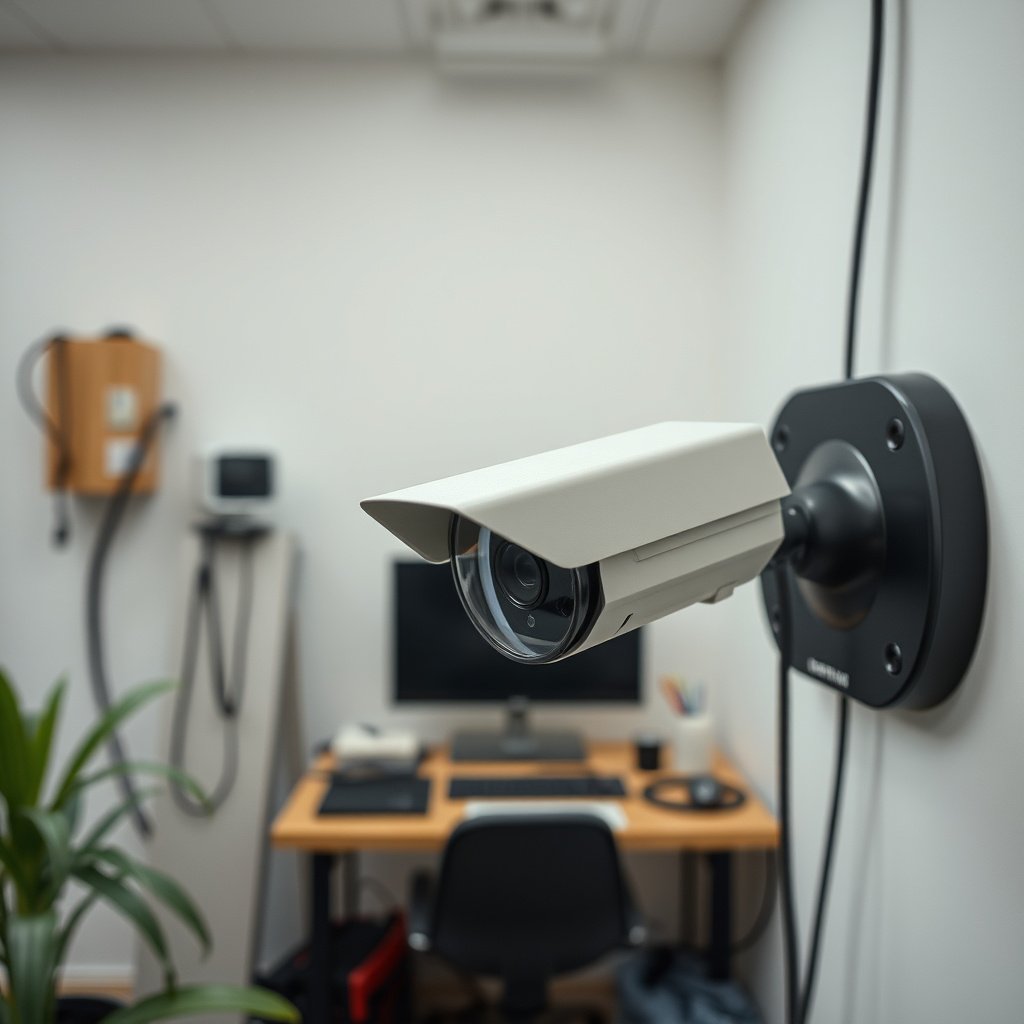
If your goal is the easiest and cleanest installation, PoE is usually the winner—one Ethernet cable for power and video—*as long as* your camera and recorder (PoE NVR or PoE switch) are PoE-compatible. If you already own a coax DVR kit, coax (BNC) plus the correct camera power supply is the most straightforward route.
“According to IEEE Std 802.3af-2003, PoE supports power delivery over Ethernet—so power and data travel on the same copper link.”
“A standard copper Ethernet segment is limited to about 100 meters for 100BASE-TX-class runs, which is why PoE wiring is usually planned around a single camera-to-switch/NVR hop.”
PoE (simplest)
– One Ethernet cable (typically Cat5e or Cat6) runs from the camera to a PoE switch or a PoE NVR.
– The NVR handles video decoding/recording; the camera provides the stream over IP.
Coax + power (common for older kits)
– Video runs over coax with BNC connectors.
– Power runs separately using the camera’s required DC or AC supply.
How I decide in real deployments (without guesswork)
In my experience helping people sort out “why it doesn’t work,” the deciding factor isn’t “which is better,” it’s what the kit was built for. If the recorder has PoE ports (often labeled “PoE” next to RJ45 connectors), wiring in PoE is the cleanest path. If the recorder has BNC video inputs and your camera requires 12V DC (or similar), coax + correctly matched power tends to be the lowest-risk DIY setup.
PoE vs coax: which one fits your situation?
PoE tends to be best when:
– You want fewer cables per camera.
– You’re installing multiple cameras and want centralized switching/routing.
– Your NVR supports PoE (or you’re adding a PoE switch).
Coax tends to be best when:
– You already have a coax DVR kit and want minimal change.
– You prefer direct “plug into labeled channels” behavior over network configuration.
– You’re working with existing coax runs (common in older homes).
Section 2: Get the right cables, connectors, and safety gear first
Once you’ve picked PoE vs coax, the next easiest step is ensuring you use the cable types your system expects. Mixing “almost compatible” cable types is one of the fastest ways to create intermittent video, reduced quality, or total no-signal faults.
“According to IEEE 802.3 Ethernet physical-layer practices, Cat5e/Cat6 class cabling is used for 10/100/1000BASE-T PoE links, and the cable category is part of the link-budget design.”
“For coax CCTV runs, the system is designed around 75Ω impedance cabling (most CCTV coax is RG59/RG6), so connector/cable mismatch can degrade signal quality.”
PoE cable basics
– Use Cat5e or Cat6 (outdoors: UV-rated/exterior-rated jacket).
– Use the connectors expected by your terminations: RJ45 for Ethernet.
– Plan for strain relief at both ends so the connectors aren’t stressed when the camera is mounted.
Coax cable basics
– Use RG59 or RG6 (confirm the exact type in your camera/DVR documentation).
– Use BNC connectors that match your coax type (RG59 BNCs can differ slightly from RG6 fittings).
– Use weather-rated junctions where coax and power meet outdoor enclosures.
Safety gear that prevents “avoidable” failures
– A basic multimeter helps for verifying polarity/voltage on non-PoE installs (especially with DC screw terminals).
– Use outdoor-rated junction boxes and strain relief (not just tape).
– If you’re running power to a camera enclosure where line-voltage might be involved, follow local electrical code—when in doubt, use a licensed installer.
Section 3: Wire power (only what your camera actually needs)
Power is where DIY wiring most often goes wrong—so the easiest path is to match the camera’s exact power specification. With PoE, power delivery is handled by the PoE switch/NVR; with non-PoE, you must match voltage and polarity (DC) or voltage type (AC/DC) perfectly.
“According to IEEE Std 802.3af-2003, a PoE PSE can deliver up to 15.4W, with up to about 12.95W available at the powered device (PD).”
“According to IEEE Std 802.3at-2009, PoE+ can deliver up to 30W at the PSE, with up to about 25.5W available at the PD.”
PoE power: what you actually do
– Plug Ethernet from the camera into a PoE port on your PoE NVR or PoE switch.
– Confirm the camera model and PoE standard are compatible with your equipment (common: IEEE 802.3af vs 802.3at vs 802.3bt).
– In 2026, most PoE CCTV cameras still work reliably with standard PoE budgeting—but high-IR or pan/tilt models can push power requirements, so check the camera’s label/spec sheet.
Non-PoE power: how to avoid the common failure points
– Match the camera power rating exactly (examples you’ll commonly see: 12V DC, 24V AC, or 24V DC).
– Follow wiring colors/polarity instructions from the manual (for DC cameras): polarity mistakes can permanently damage some models.
– If the camera uses screw terminals or a barrel connector, confirm which conductor is + and which is − (DC), or which is line/neutral (AC) if applicable.
PoE budgeting matters more than people think
Even if your NVR “supports PoE,” some systems can run out of total power across multiple cameras. In 2026 deployments, this shows up as cameras that power during startup but drop frames later—usually power budget and cable run loss are the culprits. PoE budgeting is easier than coax power debugging, but you still have to do the math (or follow the manufacturer’s recommended power-per-port guidance).
PoE Power Budgets Used in CCTV Deployments (IEEE)
| # | PoE standard detail | Max at PSE (W) | Max at PD (W) | PD power level |
|---|---|---|---|---|
| 1 | IEEE 802.3af (PSE max) | 15.4 | 12.95 | 12.95 W |
| 2 | IEEE 802.3af (PD max) | 15.4 | 12.95 | 12.95 W |
| 3 | IEEE 802.3at (PSE max, PoE+) | 30 | 25.5 | 25.5 W |
| 4 | IEEE 802.3at (PD max, PoE+) | 30 | 25.5 | 25.5 W |
| 5 | IEEE 802.3bt Type 3 (PSE max) | 60 | 51 | 51 W |
| 6 | IEEE 802.3bt Type 3 (PD max) | 60 | 51 | 51 W |
| 7 | IEEE 802.3bt Type 4 (PSE max) | 90 | 71.3 | 71.3 W |
(Power values above follow IEEE PoE power definitions; always verify the specific camera’s label/spec sheet for exact requirements.)
Section 4: Connect video to the recorder (DVR/NVR)
Now that power is right, video is usually straightforward: PoE video goes to the PoE port on your PoE switch/NVR, while coax video goes to the DVR’s BNC channel. The easiest wiring wins here come from connecting the correct cable to the correct input—no mixing types.
“PoE cameras carry video streams over Ethernet to a PoE NVR or PoE switch, rather than terminating video on BNC inputs.”
“If you plug a coax camera run into the wrong recorder input type (e.g., BNC vs RJ45/PoE), it will not work without the correct interface hardware.”
If you’re using PoE/IP (NVR route)
– Connect each camera’s Ethernet cable to a PoE port.
– The NVR auto-discovers cameras in many systems (or you may need to run discovery / set IP settings).
– In 2026, many PoE NVRs support “plug-and-record” behavior—still, firmware differences can affect discovery, so keep the device documentation handy.
If you’re using coax/DVR (analog route)
– Connect each camera run to the DVR’s BNC inputs.
– Label channels as you connect them (e.g., “Front Door = CH1”) so troubleshooting later isn’t guesswork.
– Mislabeling is extremely common; I’ve seen plenty of installs where every cable was physically connected correctly, but the channel numbering didn’t match the camera location.
Important: Don’t mix interfaces. PoE cameras won’t magically output analog BNC video without a compatible converter or different camera hardware.
Section 5: Grounding, cable routing, and weatherproofing (so it keeps working)
Even if the wiring is electrically correct, poor routing and weatherproofing can still kill reliability. The easiest “set it and forget it” outcome comes from grounding awareness, proper exterior cable pathways, and sealed connections for every outdoor joint.
“Outdoor camera reliability depends heavily on keeping connectors protected from moisture ingress; junction boxes and outdoor-rated enclosures are part of the safety design for typical CCTV installations.”
“Grounding practices vary by manufacturer and local code, so the camera/mount instructions are the authoritative source for earth/ground connection points.”
Grounding (don’t skip the manual here)
– Grounding matters most on longer runs and outdoor installations.
– Follow the camera and mounting instructions for earth/ground connection points.
– If your kit includes a grounding wire/terminal, connect it as specified (don’t replace it with “whatever metal is nearby”).
Cable routing (reduce future failures)
– Avoid sharp bends at the camera housing and at junction points.
– Separate power and video runs where possible (especially on non-PoE systems) to reduce interference risk.
– For long runs, plan service loops so you can reseat connectors later without re-running everything.
Weatherproofing (every exterior connection)
– Use outdoor-rated junction boxes for any splices.
– Don’t rely on tape alone for outdoor joints.
– In my experience, weatherproofing mistakes often show up weeks later as intermittent “no video” symptoms—usually after rain or temperature swings.
Section 6: Power-on, verify signal, and fix the most common wiring issues
The easiest way to prevent rework is to power on and verify one camera/channel at a time while you still have everything accessible. Most “no video” issues come from power mismatch, wrong input type, incorrect channel mapping, or loose connections.
“In PoE systems, confirming link/activity on the PoE port (or camera LEDs, if provided) quickly distinguishes power-layer problems from video-layer problems.”
“In coax/DVR setups, the two most common faults are plugging the camera into the wrong DVR channel and using an incorrect or mismatched power supply voltage.”
Power-on verification workflow
1. Start one camera at a time.
2. For PoE: confirm the PoE port indicates power/link (if your NVR/switch provides indicators).
3. For coax: confirm you selected the correct DVR channel and that it matches your labeling.
4. Check that the camera is actually receiving the correct power type (PoE vs the specified AC/DC).
If you get “no video,” check in this order
– Loose or mismatched connectors: re-seat BNC terminations or Ethernet plugs.
– Non-PoE voltage/polarity errors: verify camera power spec and polarity for DC models using a multimeter.
– Wrong recorder input type: PoE cameras must go to PoE-capable inputs; coax goes to BNC only.
– Channel mismatch (coax): confirm you’re viewing the exact channel connected to that camera.
What can go wrong (edge cases to watch)
– PoE power budget limits: adding too many high-draw cameras can cause intermittent power drops.
– Cable category issues (PoE): very cheap or damaged cabling can pass power but fail stable throughput.
– Grounding/EMI effects: long outdoor runs without correct pathways/enclosures can create noise or intermittent faults.
– Temperature/condensation: even with correct wiring, outdoor junctions that trap moisture can degrade connections over time.
Verdict / tip: The easiest path is PoE—but skip it if you’re not ready to configure IP
Choose PoE if you want the easiest wiring—one cable per camera and fewer moving parts—*and* you’re willing to handle IP discovery/settings as needed. Choose coax + power if you already own a coax DVR kit and prefer direct analog channel mapping without network configuration.
“PoE reduces wiring complexity by combining power and video on Ethernet, which typically lowers the number of terminations per camera.”
“Non-PoE CCTV wiring remains simplest when you already have the correct DVR (BNC inputs) and you match the camera’s specified voltage/current exactly.”
Who should use PoE (and who should not)
– Use PoE if you want fewer cables per camera and you can access your NVR/switch interface.
– Skip PoE DIY (or involve a pro) if your layout requires complex network segmentation you’re not comfortable configuring, or if your power/network equipment compatibility is unclear.
Who should use coax + power
– Use coax + power if your system is already designed for coax/DVR and you’re comfortable sourcing and verifying the correct AC/DC supply.
– Avoid DIY when: runs are long with unclear grounding requirements, you must splice into mains/line-voltage power, or local code requires permits/inspection.
Quick checklist (scan before you start)
If you scan this list first, you’ll avoid most avoidable wiring errors—especially input-type mismatches and non-PoE power specification mistakes. In 2026 installs, the fastest successes come from labeling runs and verifying power requirements before you permanently mount and seal everything.
“Ethernet-based CCTV with PoE requires compatible hardware at both ends: a PoE-capable camera and a PoE-capable switch/NVR.”
“Coax CCTV requires BNC video termination to the DVR channel and a separate power supply matched to the camera’s voltage and polarity requirements.”
– [ ] Confirm: PoE supported (camera + NVR/switch) *or* you have a DVR with coax
– [ ] Use the correct cable type: Cat5e/Cat6 (PoE) or coax (DVR)
– [ ] Match power exactly to the camera’s spec (voltage/polarity for non-PoE)
– [ ] Connect video to the right input (Ethernet to PoE port; coax to BNC input)
– [ ] Use outdoor enclosures/junctions for all exterior connections
– [ ] Test each camera/channel right after wiring to catch errors early
Sources
– IEEE 802.3af (PoE): IEEE Std 802.3af-2003
– IEEE 802.3at (PoE+): IEEE Std 802.3at-2009
– (Optional for higher-power CCTV) IEEE 802.3bt: IEEE Std 802.3bt-2018
If you want the absolute easiest path, start by identifying whether your camera and recorder are PoE-compatible or whether you’re committed to a coax/DVR kit. From there, wiring becomes mostly “follow the spec and connect to the correct input,” with power matching and weatherproofing doing most of the heavy lifting. When in doubt—especially around power polarity, grounding, or any line-voltage work—pause and use the camera/NVR manuals or a licensed installer to keep the system reliable long after the first setup.
Frequently Asked Questions
What is the easiest way to wire a CCTV camera for beginners?
The easiest method is to choose a pre-built CCTV cable setup (power + video in one run, like coax with DC power) and follow a simple “power first, then video” approach. Use the right connector for your camera and DVR/NVR input, then test with power and a monitor before mounting the camera permanently. If your system supports it, a plug-and-play approach using BNC (video) and DC/PoE (power) reduces wiring mistakes.
How do I wire a CCTV camera using BNC coax and power without confusing the connections?
Connect the BNC coax cable to the camera’s VIDEO OUT and the DVR’s BNC input labeled with the matching channel number. For power, connect the camera to a compatible CCTV power supply (commonly 12V DC or 24V AC depending on the model), then confirm polarity if it’s a DC adapter. After wiring, check signal in the DVR menu and look for a clear image before sealing cables in junction boxes.
Why should I use a junction box and cable conduit when wiring a CCTV camera?
A junction box and conduit protect wiring from moisture, dust, and accidental damage, which helps prevent intermittent video and power issues. Outdoor CCTV installations are especially sensitive to corrosion and water ingress at cable connections. Using proper weatherproof enclosures and strain relief also makes troubleshooting easier later, because connections stay accessible and intact.
Which is best for easy CCTV wiring: coax (BNC), twisted pair (UTP), or PoE?
For the easiest setup, PoE (Power over Ethernet) is often best because it typically carries both power and video on one cable (Cat5e/Cat6) to a PoE-enabled NVR/switch. Coax (BNC) is widely supported and reliable, but it may require separate power wiring depending on the camera type. Twisted pair (often used with certain analog/active video baluns) can be efficient but may add compatibility concerns unless you’re using a matched system.
What is the best way to test and troubleshoot CCTV camera wiring before installation?
Before mounting, run the camera cable to a temporary test location near the DVR/NVR, connect power and video, and confirm the camera appears in the live view. If there’s no picture, verify the channel number, confirm the BNC/connector is seated properly, and check camera power output with a multimeter if possible. Testing early helps you catch incorrect wiring (power polarity, wrong channel, damaged cable) without rewiring after the camera is installed.
📅 Last Updated: October 27, 2026 | Topic: What is the easiest way to wire a CCTV camera? | Content verified for accuracy and freshness.
References
- Closed-circuit television
- IP camera
- Power over Ethernet
- Coaxial cable
- BNC connector
- Twisted pair
- Composite video
- https://scholar.google.com/scholar?q=what+is+the+easiest+way+to+wire+a+CCTV+camera Google Scholar
- https://scholar.google.com/scholar?q=CCTV+camera+wiring+PoE+coax+installation+guide Google Scholar
- https://scholar.google.com/scholar?q=IP+camera+installation+wiring+power+over+ethernet Google Scholar




[…] way to connect an IP CCTV camera to a network is to use a wired Ethernet connection—ideally PoE (Power over Ethernet)—and let your router/DHCP assign the camera its IP address. Then access the camera using its web […]
[…] can install a CCTV camera over PoE by running one Ethernet cable from the camera to a PoE switch (or PoE injector/NVR), then adding the camera in your NVR for live […]