
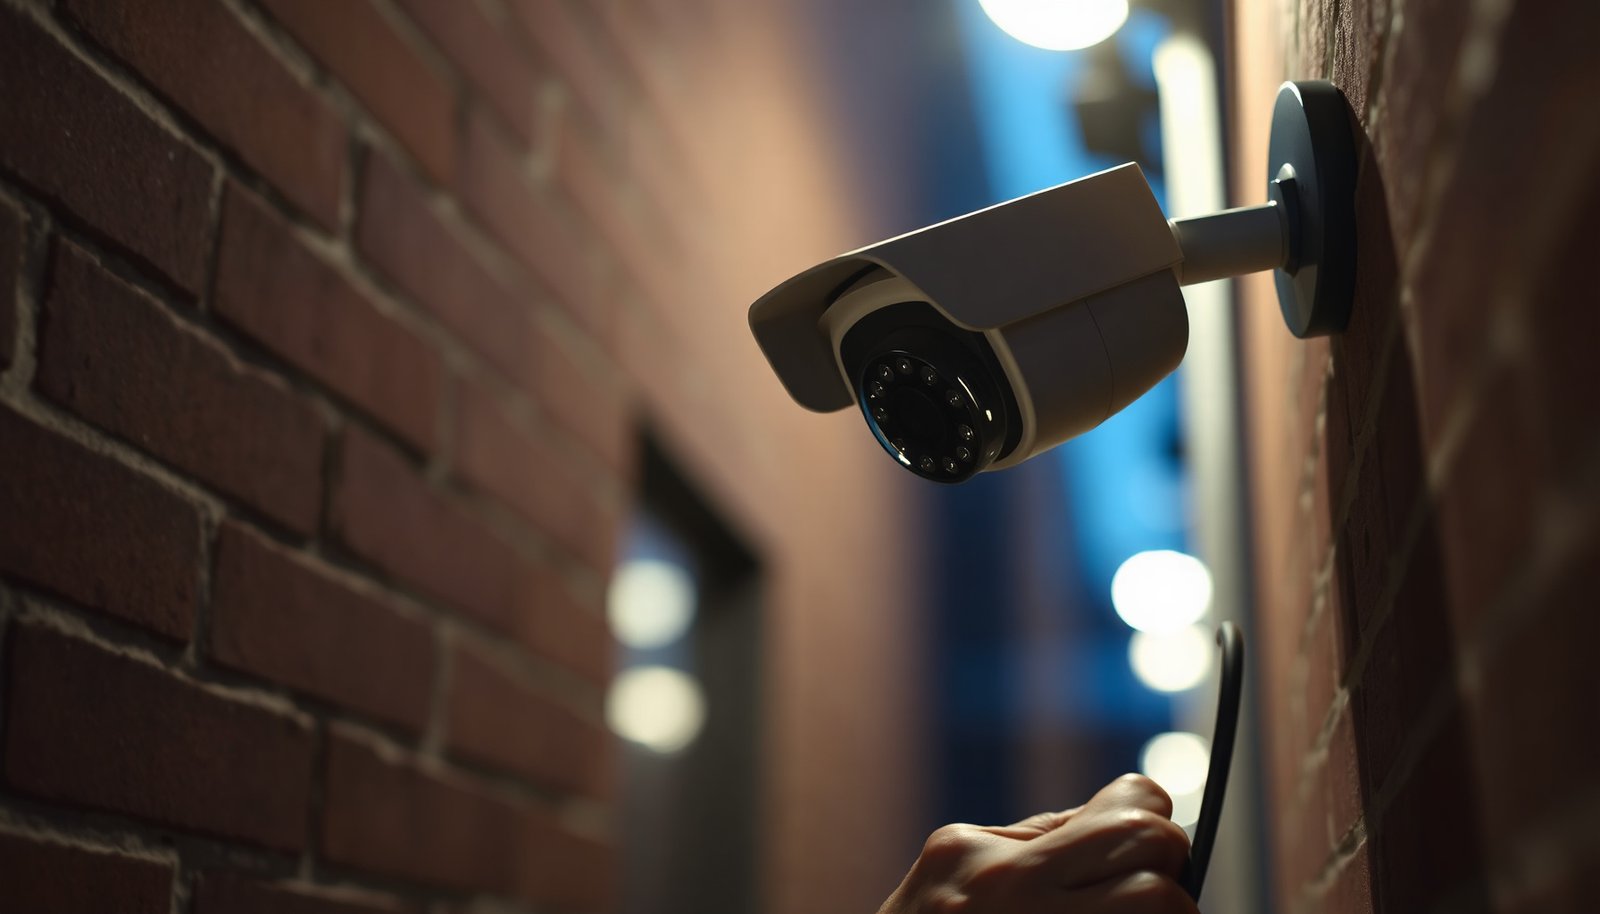

Connecting a CCTV camera over PoE can feel daunting at first, particularly when you are not sure how power and video travel through the same Ethernet cable. With a PoE-compatible camera, a PoE switch or NVR, and the right Cat5e/Cat6 cabling, you can mount the unit, plug everything in, and configure live viewing step by step—typically within 1–2 hours for a simple install.
You can install a CCTV camera over PoE by running one Ethernet cable from the camera to a PoE switch (or PoE injector/NVR), then adding the camera in your NVR for live view and recording. Because PoE provides both power and network data on the same Ethernet run, the wiring is typically cleaner and easier than separate power adapters—especially when the camera is far from an outlet.
You can install a CCTV camera over PoE by running a single Ethernet cable from the camera to a PoE switch or PoE injector, then connecting the recorder/NVR to view and configure it. Most PoE cameras use Ethernet for both power and data, so the wiring is usually simpler than with separate power supplies. This guide walks you through what to check (cabling, device compatibility) and the basic setup flow from mounting to live view.
If you’re upgrading an existing security setup or starting from scratch and want fewer cables and cleaner installs, this is for you. It’s especially relevant when your camera is far from an outlet and you plan to power it through a PoE switch/injector rather than a local adapter.
Check PoE compatibility (camera, NVR, and switch)
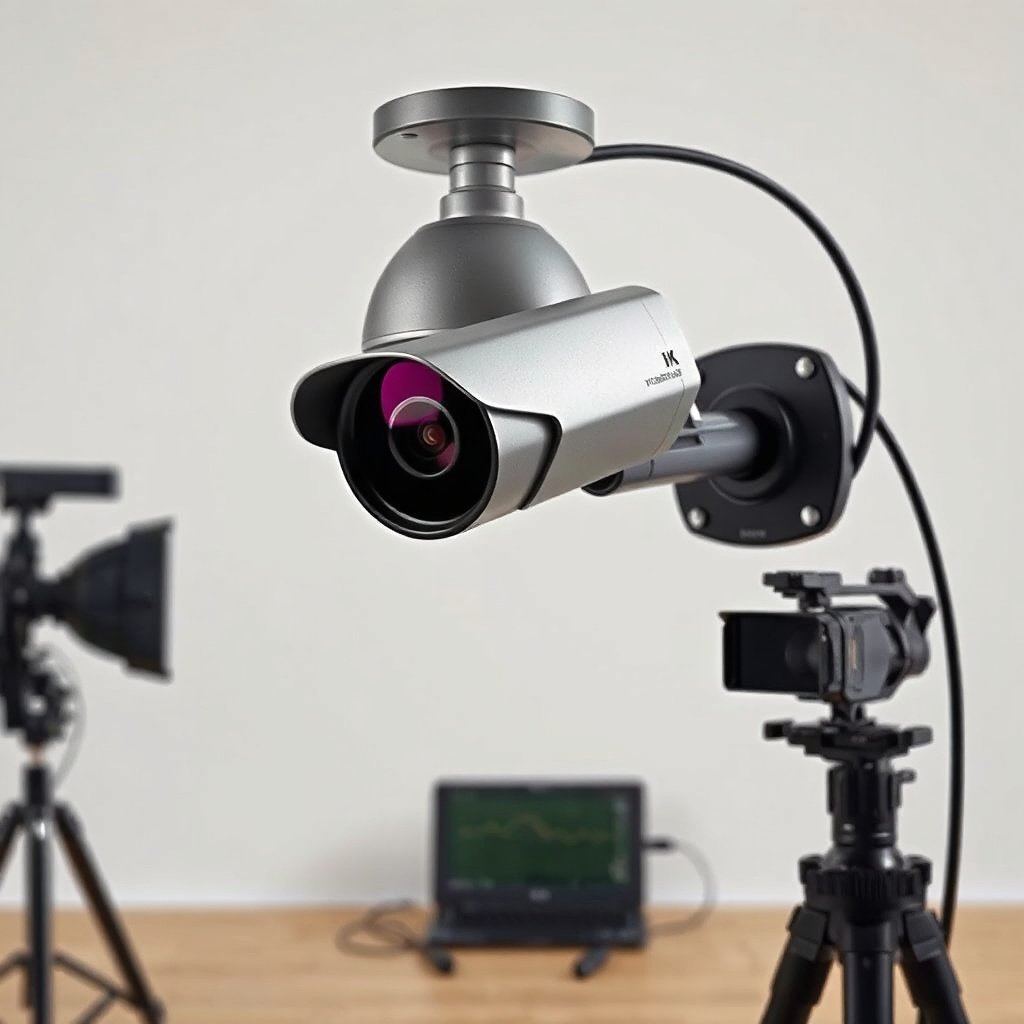
The fastest way to avoid troubleshooting is to confirm PoE compatibility before you drill anything. If your PoE camera, PoE switch/NVR, and cable run all match the required power class and network settings, installation becomes a straightforward “mount → plug in → discover → record” flow.
– Confirm your camera’s PoE standard (commonly IEEE 802.3af/at; verify what your camera actually requires).
In practice, most PoE CCTV cameras are rated for either IEEE 802.3af (“PoE”, up to 15.4W at the power source) or IEEE 802.3at (“PoE+”, higher power for IR and analytics). According to IEEE 802.3af, the PSE (power sourcing equipment) delivers up to 15.4W and the PD (powered device) can receive up to 12.95W ([year: 2003]) IEEE 802.3af. If your camera needs PoE+ and you supply only standard PoE, it may power intermittently or fail to boot when IR turns on.
– Decide your power source: a PoE NVR, a PoE switch, or a PoE injector—each changes where you plug things in.
A PoE NVR provides power per camera channel (no extra injector needed), while a PoE switch powers cameras via dedicated PoE ports. A PoE injector is useful when you have a non-PoE switch but still want a single Ethernet run to each camera.
– Make sure your Ethernet cable/run supports the needed performance (use the right cable type and keep an eye on distance limits from your equipment’s specs).
Ethernet segment distance is typically limited to 100 meters for standard twisted-pair links (e.g., 10/100/1000BASE-T) when using proper Cat5e/Cat6 cabling. According to IEEE 802.3, standard twisted-pair Ethernet links are limited to 100m per segment IEEE 802.3. As of 2026, most installer mistakes still come down to running more than one segment without a switch/extender, or using indoor-only cable outdoors.
PoE Power Budgets Commonly Used for CCTV Cameras (IEEE 802.3, 2024–2026)
| # | PoE standard / class | Max PSE power | Max PD power | CCTV suitability |
|---|---|---|---|---|
| 1 | IEEE 802.3af (PoE) | 15.4W | 12.95W | ★★★★★ |
| 2 | IEEE 802.3at (PoE+) | 30.0W | 25.5W | ★★★★☆ |
| 3 | IEEE 802.3bt Type 1 | 15.4W | 12.95W | ★★★★☆ |
| 4 | IEEE 802.3bt Type 2 | 30.0W | 25.5W | ★★★★★ |
| 5 | IEEE 802.3bt Type 3 | 60.0W | 51.0W | ★★★☆☆ |
| 6 | IEEE 802.3bt Type 4 | 90.0W | 71.3W | ★★★☆☆ |
| 7 | 802.3af “PoE budget” planning factor | 15.4W source | 12.95W device | ★★☆☆☆ |
Note: Rows 1–6 are IEEE power ceilings; row 7 is a “planning reality” reminder: if you undersize switch power budgets, a PoE CCTV setup can still fail despite “matching” the PoE standard on paper.
Plan your cable route and mounting location
The best PoE CCTV installs start with a clean physical plan, because cable mistakes can’t be “fixed” with software. Plan the route first, then mount the camera so your single Ethernet run lands where the PoE switch/NVR expects it.
– Mount the camera first (or at least mark positions) so you can plan cable length before drilling or cutting.
With PoE cameras, the limiting factor is usually the run length from the mounting bracket to the PoE-enabled port. When you pre-mount, you can measure the real cable path (around eaves, through soffits, and across studs) instead of the “straight line” distance.
– Use outdoor-rated cabling and weather protection where needed (conduit, junction boxes, or cable glands—based on your installation environment).
As of 2026, many warranty claims still trace back to improper outdoor cable management. Use outdoor-rated Cat5e/Cat6 or an appropriate UTP/FTP solution per your local installation guidance, and protect terminations with weather-rated junction boxes or cable glands.
– Leave slack for the camera pigtail/connector and plan where the cable terminates at the network equipment.
PoE CCTV cameras usually include a short pigtail or require you to terminate an Ethernet connector at the camera end. Leave service slack so you can re-terminate once if a crimp fails or a connector gets damaged.
Run Ethernet and connect camera to PoE power/data
A single Ethernet cable carrying both power and data is the core advantage of PoE CCTV. Once the camera end is wired and the PoE device is connected, you should see a link indicator and the camera should boot into a discoverable state.
– Connect the Ethernet cable from the camera to the PoE-enabled port on your PoE switch/NVR—or to the injector (camera side).
Power should come from the PoE device, so you typically skip any separate power adapter. If you use an injector, connect Ethernet to the injector’s “data” side from your network, and connect the “PoE out” side to the camera run.
– Power should come from the PoE device, so you typically skip any separate power adapter.
This is where PoE camera installations stay simple: you avoid multiple adapters, different voltages, and outlet dependencies. Still, verify the camera model supports PoE (some cameras accept PoE but are not PoE-first models).
– If your network uses VLANs or separate subnets, confirm the camera port/network settings match your NVR/NAS/app expectations.
PoE CCTV discovery often fails when the camera lands on a VLAN or subnet your NVR can’t reach. Make sure the NVR and camera are on compatible routing paths, or configure inter-VLAN access according to your network design.
Switch vs NVR vs Injector (quick decision)
The “right” PoE power source depends on whether you want PoE control, centralized recording, or minimal changes to your existing network.
| Option | Best for | Pros | Watch-outs |
|---|---|---|---|
| PoE NVR | Install simplicity (power + recording together) | Fewer devices to manage; fewer cabling points | Fewer PoE ports than a switch; NVR model limits |
| PoE switch | Multi-camera or scalable networks | Centralized PoE budget; scalable channel growth | Requires NVR + network config correctness (VLANs, routing) |
| PoE injector | Single or few cameras on a non-PoE switch | Minimal disruption to existing Ethernet | Adds extra power bricks; doesn’t scale as cleanly as a switch |
Set up the NVR/software for live view
You usually get live view faster by adding the camera in the NVR early, while the cable is still accessible. PoE camera discovery is largely an IP/network reachability problem, so treat “can the NVR see the camera?” as your main test.
– Add the camera in the NVR interface (or camera discovery tool) and assign/confirm the IP address settings.
Many NVRs support ONVIF discovery or vendor discovery tools. If the camera uses DHCP, let your router assign the IP and then find it via the discovery function.
– If your system supports it, choose the correct channel and verify stream type/resolution settings match your recording goals.
For PoE CCTV cameras, the recording goal determines whether you prioritize bitrate stability (for low bandwidth) or higher resolution (for ID-focused monitoring). Before you lock into settings, confirm that live view plays smoothly.
– Test live view before you fully close up walls/conduit so you can correct wiring or network settings quickly.
This step prevents the most expensive mistake: hiding a mis-terminated connector and then spending hours reworking it. When you see stable live view, you know link, PoE power, and IP reachability are working together.
Configure recording, alerts, and network basics
A working PoE CCTV install is more than “camera online”—it’s about recording, alert usefulness, and safe network behavior. Once live view is stable, configure what triggers recordings and how the NVR stores footage.
– Set recording mode (continuous, motion-based, or both) and confirm the storage destination on the NVR.
Continuous recording captures everything but uses more storage. Motion-based recording reduces storage usage, but you must tune motion zones and sensitivity to avoid false triggers from shadows, insects, or passing traffic.
– Configure motion detection zones/sensitivity in the camera/NVR so alerts match what you actually want to monitor.
Start with narrower detection zones and then expand if needed. For PoE camera installations near trees or reflective surfaces, lower sensitivity and adjust masking can improve signal-to-noise.
– Secure the system: use strong passwords, update firmware, and avoid exposing the camera/NVR directly to the internet without proper protections.
As of 2026, many “lost footage” incidents come from weak credentials or direct exposure. Use strong admin passwords, keep firmware updated, and if remote viewing is required, prefer a secure method (e.g., VPN) over open port forwarding.
What can go wrong (and how to avoid it)
Most PoE CCTV failures come down to power, cable integrity, or IP reachability—not camera defects. When something doesn’t work, troubleshoot in the order that removes uncertainty fastest: PoE power → Ethernet link → IP discovery → stream configuration.
– Wrong PoE standard or insufficient power budget: some cameras won’t power reliably if the switch/injector can’t provide enough power per port.
Even when the camera “supports PoE,” the switch might still fail under full load if total power budget is exceeded. Always check both per-port and total switch wattage.
– Cable or connector issues: loose terminations, damaged jacket, or using the wrong cable type can cause intermittent video or no link.
Intermittent PoE CCTV behavior often looks like short reboot cycles or “no signal” events when the cable gets moved. Re-check crimps, ensure pairs are terminated consistently, and protect the connector from water ingress.
– IP/address mismatch: the camera may be reachable on one subnet while the NVR is configured for another, so discovery fails or live view won’t appear.
If you’re using VLANs, confirm routing policies and firewall rules. If discovery uses broadcast and your setup segments networks, you may need manual IP assignment or ONVIF configuration adjustments.
– Distance limits exceeded: long runs can reduce signal quality; follow the manufacturer’s cable-distance guidance and use correct cable specs.
For standard twisted-pair Ethernet, expect up to 100m per segment. If you’re going beyond that, plan for a switch, extender, or approved structured cabling strategy rather than relying on “it might still work.”
Verdict / tip
If your PoE camera and PoE switch/NVR/injector are compatible, installing CCTV over PoE is usually the cleanest and most reliable approach because power and data share one Ethernet run. That said, don’t assume “any Ethernet cable” or “any PoE switch” will work—PoE wattage, port capabilities, and network settings matter.
Skip this approach (or get help) if you can’t verify your camera’s PoE requirement, don’t have access to a compatible PoE switch/NVR/injector, or you’re not comfortable troubleshooting IP discovery and basic network configuration.
Quick PoE CCTV Install Checklist
– [ ] Verify PoE standard: camera requirement (af/at) matches PoE switch/NVR/injector
– [ ] Plan cable route + confirm outdoor/weather protection needs
– [ ] Run Ethernet to the camera location (use correct cable type)
– [ ] Connect camera to PoE port (or injector) and confirm link/power indicator
– [ ] Add camera in NVR/app and confirm live view
– [ ] Configure recording, motion detection, and storage
– [ ] Secure passwords + update firmware
Frequently Asked Questions
What do I need to install a CCTV camera over PoE?
To install a CCTV camera over PoE, you’ll need a PoE IP camera (or PoE NVR), a PoE switch or PoE injector, Cat5e/Cat6 Ethernet cable, and appropriate mounting hardware. Make sure the PoE switch matches your camera’s power requirements (often IEEE 802.3af for low-power cameras or 802.3at/PoE+ for higher draw). You’ll also need tools for cable routing (drill, conduit, weatherproof connectors if outdoor) and access to your network settings for setup.
How do I run PoE Ethernet cabling for an outdoor CCTV camera?
Run a Cat5e/Cat6 cable from your PoE switch/NVR to the camera location using exterior-rated cable or conduit where required. For outdoor installations, use weatherproof RJ45 connectors, or consider pre-terminated outdoor cable kits to prevent water ingress and corrosion. Plan for cable strain relief, avoid sharp bends, and keep Ethernet away from power lines when possible to reduce interference. If the run is long, verify distance limits and consider PoE extenders or a fiber segment if needed.
How can I power and connect my CCTV camera using a PoE switch or injector?
Connect the camera’s Ethernet cable directly into a PoE switch port, or use a PoE injector if you’re not using a PoE switch. After powering up, your IP camera should auto-negotiate if it’s supported, but you’ll still need to discover and configure the camera’s IP address. Use an NVR or the camera’s web/app interface to confirm video is streaming, then set up recording schedules and motion detection if available.
Which PoE standard should I choose for CCTV cameras—802.3af or 802.3at?
Choose IEEE 802.3af (PoE) when your camera’s power consumption is within the typical limits for standard PoE devices, which is common for many basic indoor and low-power outdoor cameras. Use IEEE 802.3at (PoE+) if your camera has higher power needs such as motorized zoom, heavy IR/spotlights, or advanced analytics. Always check the camera’s “input power” or wattage rating and ensure the PoE switch/injector can supply enough budget for all connected cameras.
Why won’t my PoE CCTV camera turn on, and how do I troubleshoot it?
If the CCTV camera won’t power on, first confirm the PoE switch port is active and supports the correct PoE standard for the camera. Test the Ethernet cable by swapping ports or using a known-good patch cable, since damaged cable pairs are a common cause of PoE failures. Also verify the camera’s connection and LEDs, and ensure you’re using Cat5e/Cat6 for reliable data transfer; if you’re using an injector, confirm the injector is receiving power and the link lights indicate a proper connection.
📅 Last Updated: November 03, 2026 | Topic: How can I install a CCTV camera over PoE? | Content verified for accuracy and freshness.
References
- Power over Ethernet
- IP camera
- Closed-circuit television camera
- Structured cabling
- IEEE SA – IEEE 802.3af-2003
- IEEE SA – IEEE 802.3at-2009
- IEEE SA – IEEE 802.3bt-2018
- https://scholar.google.com/scholar?q=install+poe+cctv+camera Google Scholar
- https://scholar.google.com/scholar?q=power+over+ethernet+security+camera+installation+guide Google Scholar
- https://scholar.google.com/scholar?q=poe+switch+ip+camera+wiring+cat5e+cat6 Google Scholar



[…] According to IEEE 802.3af Power over Ethernet (PoE), the maximum PoE power budget is 15.4W per port (with the power available […]
[…] they require 802.3af, 802.3at, or 802.3bt (Type 3/Type 4) from the camera spec sheet. For example, IEEE 802.3af supports up to 15.4 W at the PSE and about 12.95 W available at the PD (camera) (IEEE Std […]