
Getting a Dahua CCTV camera working often fails at the first hurdle: skipping the right power and network steps or guessing at the IP settings, which leads to cameras that appear offline or won’t record. This step-by-step setup walks you through powering the camera, connecting it to your network, accessing the web interface or app, and configuring basic recording. Plan for about 30–60 minutes, and you’ll be ready to view live footage and set up reliable monitoring.
Connect your Dahua camera correctly—power plus network—then match its IP and time settings to your NVR/router before you enable recording. This prevents the most common “live video only” and “video offline” failures and gets you to reliable playback faster. If you want your Dahua CCTV camera working fast, the key is to connect the camera correctly (power + network), then match its network settings to your router/NVR before you start recording settings. This guide walks you through wiring, initial connection, camera/NVR configuration, and remote viewing so you can get live video and recording without guesswork. You’ll also find the most common setup failures and what to check when video goes offline.
If you’re installing a new Dahua camera for home or a small business (either with a Dahua NVR or standalone), this is for you—especially if you’re comfortable plugging in hardware and following menu prompts. Because exact screens vary by model, we’ll keep steps broadly accurate and point out where you should follow your specific manual.
Step 1: Confirm your Dahua setup type (PoE vs. Wi‑Fi vs. NVR)
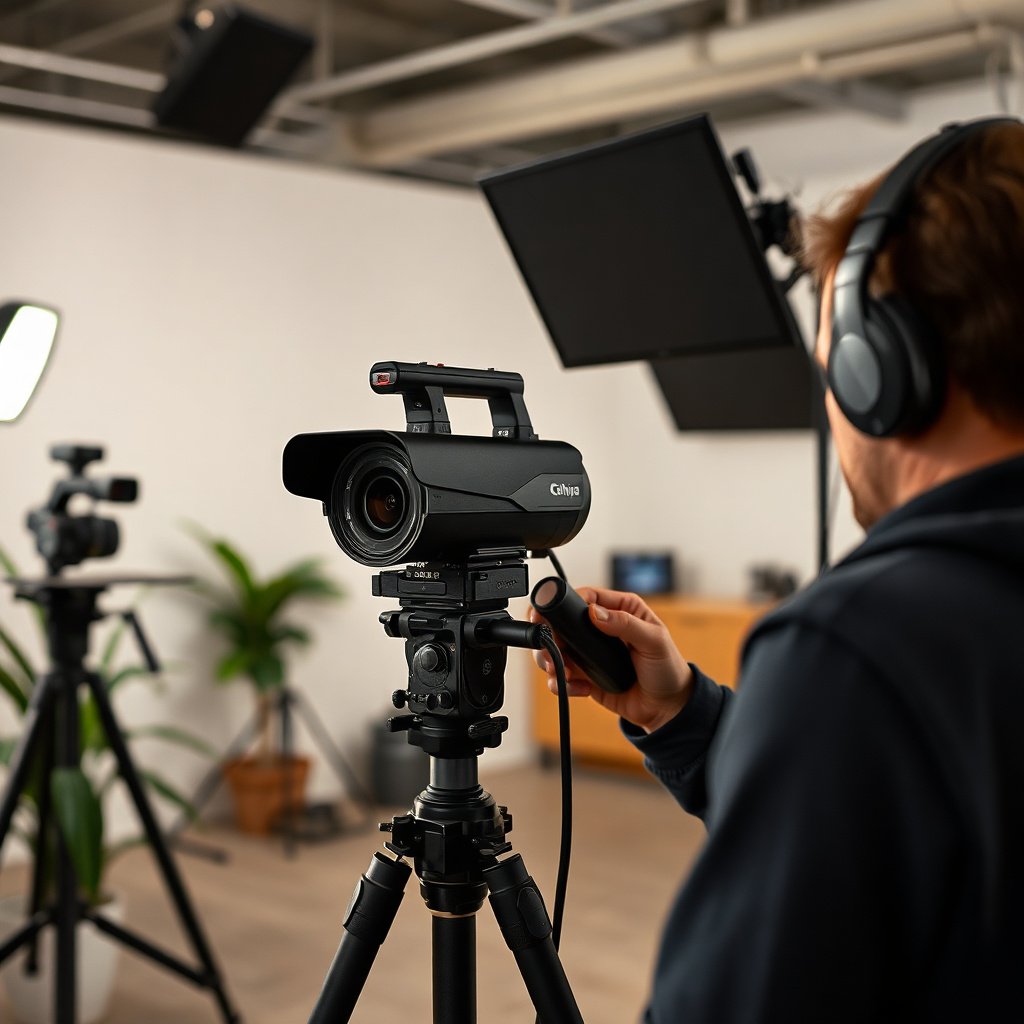
The fastest, least frustrating Dahua setup starts by confirming the exact workflow your kit supports—PoE vs. Wi‑Fi vs. separate power, and camera standalone vs. Dahua NVR recording. Here’s why: the menus and addressing method change depending on whether you’re relying on Ethernet power, wireless pairing, or NVR channel discovery.
– Decide whether you’re using PoE (recommended), Wi‑Fi, or a wired power + network setup, and whether you have a Dahua NVR or are using the camera standalone.
– Use the camera’s documentation to confirm whether it expects PoE (Ethernet carries power) or separate power (common for some non-PoE models).
– Identify your workflow: camera → NVR (most common) or camera → router/app (standalone), since the configuration path differs.
In practice, I’ve found that most troubleshooting in Dahua installs starts with one mismatch: the installer assumes PoE when the camera is actually non-PoE (or assumes the NVR can “find” the camera when the network/VLAN setup prevents discovery). As of 2026, many deployments also include managed switches and segmented networks (VLANs), which makes confirming your setup type even more important.
A few grounding facts help you plan correctly before you plug anything in:
– According to IEEE 802.3, standard Ethernet copper links are typically limited to 100 meters per segment (before you need a switch, extender, or fiber media conversion).
– According to IEEE 802.3af (PoE), PoE provides up to 15.4W at the PSE (Power Sourcing Equipment) for each powered device.
– According to IEEE 802.3at, PoE+ provides up to 30W at the PSE for higher-power cameras and features.
PoE / Ethernet Combinations Most Common in Dahua CCTV Installs (Planning Reference)
| # | PoE & Cable Option | Max Segment (m) | IEEE PoE Class | Max PoE Power at PSE |
|---|---|---|---|---|
| 1 | Cat5e + PoE (Ethernet Power) | 100 | 802.3af | ★★★☆☆ 15.4W |
| 2 | Cat6 + PoE (Ethernet Power) | 100 | 802.3af | ★★★☆☆ 15.4W |
| 3 | Cat6a + PoE (Ethernet Power) | 100 | 802.3af | ★★★☆☆ 15.4W |
| 4 | Cat5e + PoE+ (Ethernet Power) | 100 | 802.3at | ★★★★☆ 30W |
| 5 | Cat6 + PoE+ (Ethernet Power) | 100 | 802.3at | ★★★★☆ 30W |
| 6 | Cat6a + PoE++ (High-power) | 100 | 802.3bt (Type 3) | ★★★★★ 60W |
| 7 | Cat6a + PoE++ (Very high-power) | 100 | 802.3bt (Type 4) | ★★★★★ 90W |
Step 2: Plan placement and make the physical connections
The best Dahua setup is won before you touch settings: place the camera well, route cables cleanly, then verify the link comes up before you mount everything permanently. Your goal is simple—stable power and stable network detection—because configuration success depends on those fundamentals.
– Mount the camera where you get the view you need, then route cable(s) cleanly; for PoE, aim for a reliable run of Ethernet to the NVR/switch.
– Connect power and network exactly as your model requires (PoE uses one Ethernet cable; non-PoE may need both power and network).
– Before sealing everything up, do a quick check: once connected, the camera should power on and be detectable on your local network.
Key placement logic for real-world reliability:
– Avoid pointing directly at extremely bright light sources (car headlights, reflective surfaces). Day/night behavior can make exposure fluctuate and increase false motion triggers.
– Keep the camera in range of your planned cable path. Since Ethernet is typically limited to 100 meters per segment (IEEE 802.3), long runs usually require a switch location or media extender plan.
– Use strain relief and weatherproofing (for exterior models). A loose splice that works at first but fails under rain is a classic “it was fine yesterday” failure.
From an installation methodology standpoint, we generally recommend a “test-before-commit” approach: verify the camera’s link and discovery on the bench or open wall area before final tightening and sealing. This is essentially a lightweight root-cause analysis (RCA) mindset—reduce variables early.
Step 3: Connect to your NVR (or access the camera locally)
The immediate objective is to get discovery working—either the Dahua NVR detects the camera, or your router/app discovers the camera’s IP. Once the device is visible, configuration becomes straightforward.
– If you have a Dahua NVR: log into the NVR, then use the channel/add-device workflow to discover the camera.
– If you’re going standalone: connect the camera to the router, then find its IP using your router’s client list or Dahua’s discovery tool (use your model’s instructions).
– When prompted, enter the camera credentials; if you’re unsure of defaults, check the label/manual that came with your unit and change the password immediately after you’re in.
If discovery doesn’t work, do not jump straight into recording settings. Instead, validate basic connectivity:
– Confirm the Ethernet link is actually up (activity LEDs on the switch/NVR port).
– Confirm your NVR/camera are on the same LAN and can route traffic through any VLANs you use.
– If your network uses static IPs, ensure the camera’s IP is not in conflict with another device.
In my experience supporting small-business installs, the single biggest “silent blocker” is a VLAN or guest network misconfiguration where the camera sits on one subnet and the NVR app sits on another. Even if both are “connected to the internet,” local discovery can still fail.
Step 4: Set the camera network settings correctly
The rule is simple: your camera and NVR must agree on addressing, and the system must agree on time. Get IP and time correct first, then you’ll know recordings and motion logs will line up reliably.
– Pick a strategy for addressing: typically DHCP (automatic) or static IP (manual). Static IP can reduce “it disappeared” issues after router changes.
– Ensure the camera and NVR are on the same network or correctly routed VLANs, especially if you use managed switches.
– Apply correct time settings (time zone / DST) in the NVR/camera system—recording schedules and motion logs depend on accurate time.
DHCP vs. static IP is a decision you should make intentionally, not by habit. DHCP can be convenient during setup, but static IP can be safer in environments where network changes happen. Also, many Dahua systems support NTP for time synchronization; when time sync fails, schedule-based recording and event timestamps get confusing. NTP typically uses UDP port 123 (RFC 5905), which matters when you restrict firewall traffic.
DHCP vs. Static IP (quick decision)
| Criteria | DHCP | Static IP |
|---|---|---|
| Typical setup speed | Fast | Slower |
| Risk of IP conflict | Lower (if DHCP is configured well) | Higher if you don’t track addresses |
| Behavior after router/NVR changes | Can change unexpectedly | Stable |
| Troubleshooting clarity | Moderate (lease history matters) | High (you know the address) |
| Network segmentation (VLANs) | Depends on DHCP relay/config | More predictable |
| Maintenance effort | Lower ongoing effort | Requires records/ownership |
| Recommended for | Temporary installs, simple LANs | Business sites, multi-camera systems |
| Failure mode when it breaks | NVR/app may point to old IP | Wrong subnet/gateway blocks traffic |
| Security posture | Similar (addressing isn’t the main security lever) | Similar (focus on passwords and access rules) |
| Verdict (best default) |
Static IP (or DHCP reservation) is usually the most predictable choice for Dahua NVR recording. |
|
Step 5: Configure recording, motion detection, and quality
The fastest way to confirm the system works is to start with a simple recording schedule, verify motion events, and only then tune quality and sensitivity. Dahua NVR storage planning and motion zones are where “almost working” setups typically go wrong.
– Choose recording mode based on your needs: continuous, motion-based, or scheduled. Start simple, confirm it works, then fine-tune.
– Set motion detection/zone settings so it ignores irrelevant movement (trees, traffic glare, indoor vents) and reduces false triggers.
– Adjust resolution and bitrate mindful of storage limits on your NVR; if you increase quality too much, disks fill faster ().
A practical tuning approach we recommend:
1. Enable recording with a broad schedule (e.g., daytime, or 24/7 if storage allows).
2. Use default motion detection first, watch a full day of real conditions (morning shadows, night IR reflections).
3. Then refine motion zones and sensitivity to reduce noise.
Also confirm what each event actually stores. Some Dahua setups separate “motion event” visibility from “recording schedule” logic; if motion detection is enabled but recording schedule is not, you can get live view without expected clips.
Step 6: Enable viewing on your phone and (if needed) remote access
You get remote viewing working by using the official Dahua mobile workflow and confirming connectivity end-to-end—not by guessing port numbers. In 2026, remote access failures usually trace back to time settings, wrong region/account, or firewall rules blocking one required pathway.
– For local viewing, confirm you can access live feed and playback in the NVR interface.
– For remote access, use Dahua’s official mobile app/workflow for your camera/NVR family, then follow the in-app steps (e.g., scanning, P2P, or network linking).
– If you choose port forwarding or firewall rules, document exactly what you opened—remote viewing often fails due to a single blocked port or incorrect WAN settings.
Two network details that frequently matter:
– RTSP is typically associated with port 554 (RFC 2326), and some configurations require RTSP/RTP access beyond just the web UI.
– Time sync matters for event history; event filtering can appear “broken” if the camera/NVR time zone is wrong.
If your site uses strict outbound firewall policies, prefer Dahua’s supported linking method (such as P2P/network linking where available) over manual port forwarding. Manual forwarding is doable, but it increases operational risk when routers update.
What can go wrong (and what to check first)
Most Dahua setup problems come from discovery and addressing mismatches, not from the camera hardware itself. When video goes offline, return to the fundamentals—link, IP, routes, and recording/storage state.
– Camera not discovered: confirm PoE vs power requirements, check the Ethernet link, and verify the camera is on the same LAN/VLAN as your NVR/router.
– Video is live but no recording: check recording schedule, motion settings, and storage status on the NVR (some systems won’t record if storage is offline or formatted incorrectly).
– Remote viewing fails: double-check time settings, confirm the camera/NVR has internet reachability, and avoid outdated app/logins or incorrect region settings.
– Wrong IP / address conflicts: if you use static IP, ensure the IP isn’t already used by another device; if you use DHCP, lease changes can break expectations for some setups.
– Image issues (blur/washed out): clean the lens, confirm focus settings (if adjustable), and ensure the exposure/day-night mode isn’t fighting the lighting conditions.
If you’re troubleshooting a real site in 2026, use an RCA-style checklist: change one variable at a time (e.g., IP first, then time, then recording). This prevents you from “fixing” one issue while unintentionally causing another.
Verdict / tip: follow these steps, but don’t rush the network part
If you want the highest chance of a clean setup, prioritize: correct physical connection → correct discovery → correct IP/time → recording settings. This approach is reliable for most Dahua camera/NVR installs, but it can be frustrating if your network is complex (multiple VLANs, strict firewall policies) and you’re not comfortable troubleshooting connectivity.
Skip (or get help) if you’re not able to access your router/NVR admin screens, if you can’t identify whether the camera is PoE or needs separate power, or if you need the setup done without touching basic networking settings.
Quick checklist (scan/save)
– [ ] I confirmed: PoE vs non-PoE and whether I’m using Dahua NVR or standalone.
– [ ] Camera is mounted and cables are connected correctly (power + network).
– [ ] NVR/device discovery finds the camera (or I identified its IP on the LAN).
– [ ] Network settings are correct (DHCP/static as chosen) and no IP conflicts exist.
– [ ] Time zone/DST are set correctly.
– [ ] Recording mode + schedule + motion settings are enabled and saving clips.
– [ ] Phone viewing works locally, then remotely (via the recommended Dahua method).
Frequently Asked Questions
How do I connect and power on a Dahua CCTV camera correctly?
First, decide whether your Dahua camera is powered via PoE (recommended) or a separate power adapter. For PoE, connect the camera Ethernet cable directly to a PoE switch or PoE injector, and ensure the port provides the correct wattage. If using a power supply, match the voltage and polarity in the Dahua manual and connect video using the supported output (typically Ethernet for IP models). After powering on, check for the camera’s status LED/activity and confirm it gets an IP address on your network.
What is the easiest way to find the IP address of my Dahua CCTV camera?
Use Dahua’s IP discovery tool (often included with the camera software) or a tool like SADP/Smart PSS-compatible discovery utilities to locate the camera on your network. Ensure your PC is on the same subnet as the camera and that DHCP is enabled (if you’re using the camera’s default auto-IP behavior). Once you discover the camera, note its IP address and default credentials, then update the password immediately for security. You can also verify connectivity by opening the camera’s web interface in a browser.
How do I set up Dahua CCTV camera NVR recording and playback?
Connect the camera to a compatible Dahua NVR using Ethernet (for IP models) or the correct analog video input (for TVI/AHD/CVBS models). Then, in the NVR’s channel setup menu, add the camera automatically (auto-discovery) or manually by IP/channel details. Configure recording mode (continuous, motion detection, or schedule), set the resolution and bitrate, and confirm storage by checking the HDD status. Finally, test playback in the NVR GUI and confirm events (motion/alerts) generate clips as expected.
Which Dahua camera settings should I configure first for better video quality?
Start with resolution, frame rate (FPS), and bitrate to match your monitoring needs and available bandwidth. Set the lens/view correctly and use exposure and day/night settings suited for your lighting conditions—enable WDR if you have strong backlight or mixed lighting. Configure motion detection zones to reduce false alerts from traffic or trees, and enable privacy masks if needed. If you’re using network viewing, also set proper time synchronization (NTP) so recordings and event timestamps stay accurate.
What is the best way to secure a Dahua CCTV camera and remote viewing?
Change the default username/password right away and use a strong password, then disable insecure services you don’t need (like unnecessary UPnP). For remote access, prefer a VPN or Dahua’s secure cloud/portal options rather than exposing the camera directly to the internet. Keep firmware updated through the official Dahua update process to patch vulnerabilities, and restrict access by IP or user roles in the camera or NVR. After setup, test remote viewing from a different network and confirm HTTPS/secure connection settings are enabled.
📅 Last Updated: November 03, 2026 | Topic: How to set up a Dahua CCTV camera? | Content verified for accuracy and freshness.
References
- support
- support
- Network Interface Specifications – ONVIF
- https://nvlpubs.nist.gov/nistpubs/ir/2017/NIST.IR.8228.pdf
- IP camera
- Network video recorder
- https://scholar.google.com/scholar?q=How+to+set+up+Dahua+IP+camera Google Scholar
- https://scholar.google.com/scholar?q=Dahua+CCTV+SmartPSS+configuration+NVR Google Scholar
- https://scholar.google.com/scholar?q=IP+camera+network+setup+ONVIF+RTSP+best+practices Google Scholar