
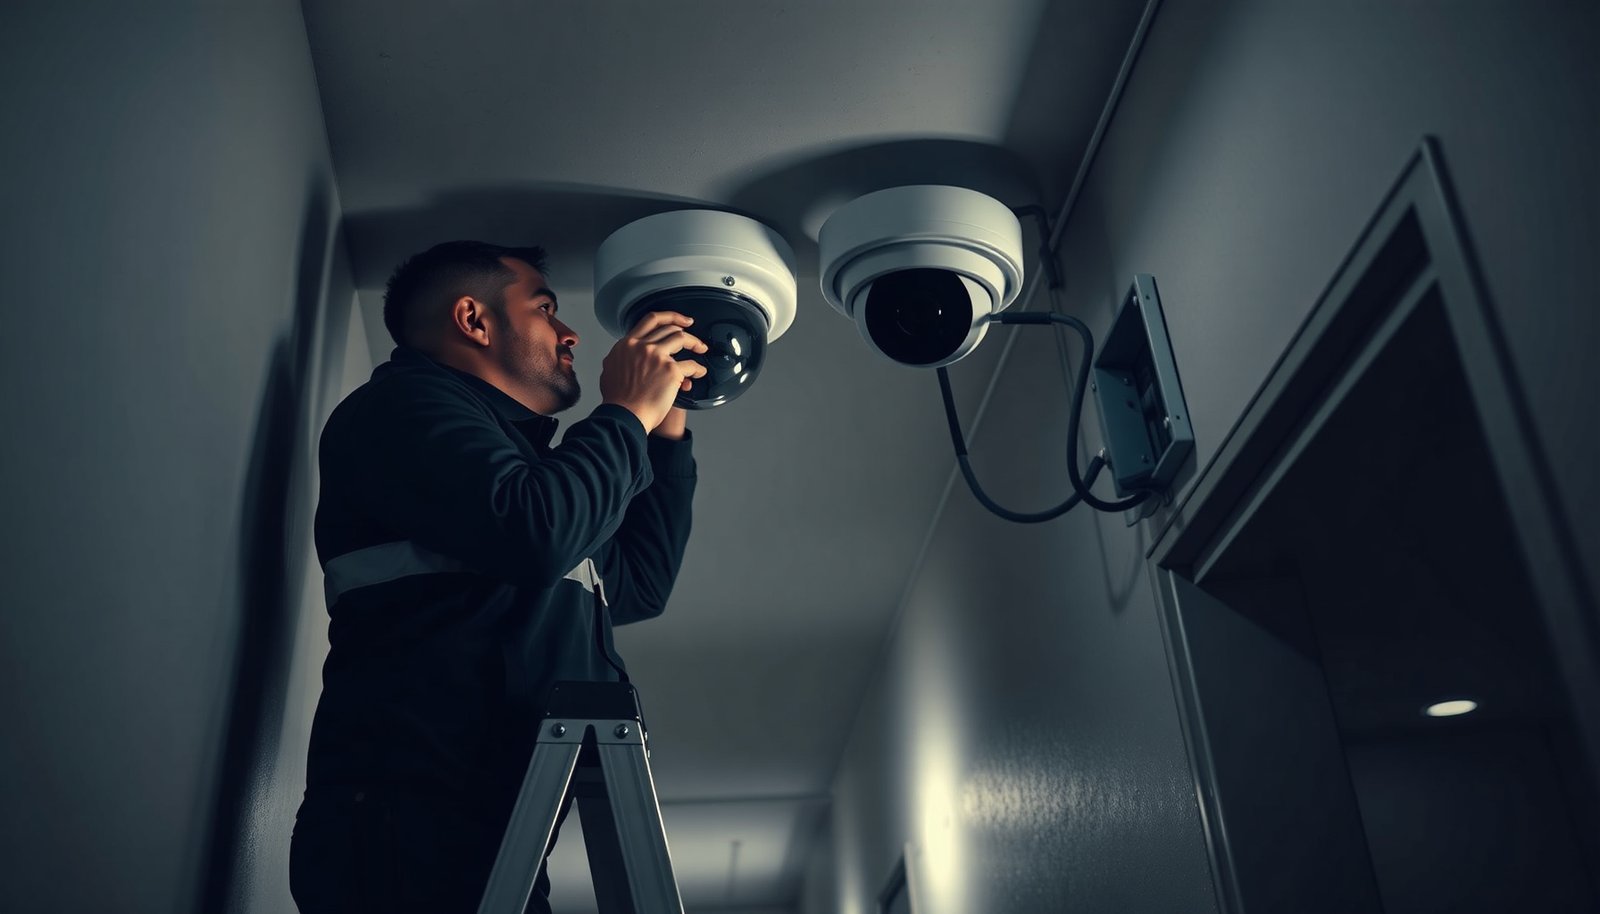

Running an Ethernet connection to both power and stream from a CCTV IP camera can feel intimidating the first time you do it. With the right PoE switch or injector, suitable Ethernet cabling, and an NVR or compatible viewing software, you can install and configure live video step by step, often within a few hours depending on your setup. By the end, you’ll be able to mount the camera, connect it cleanly, and get the network settings working correctly.
Running a CCTV camera over Ethernet is easiest when you use PoE: connect one Ethernet cable from the camera to a PoE switch (or a PoE NVR), then configure the camera’s IP settings and add it to your recorder/NVR. If your IP CCTV camera supports Power over Ethernet (PoE), this “one-cable” approach replaces separate power runs and reduces install complexity—provided your PoE hardware and network settings match.
If your CCTV camera supports PoE, the easiest path is to run a single Ethernet cable from the camera to a PoE switch (or PoE NVR), then configure the camera’s IP settings and add it to your recorder/NVR. You’ll learn how to plan the wiring, make the physical connections, and finish network configuration so the camera actually shows up.
If you’re installing an IP (network) CCTV camera—especially one that can use Power over Ethernet (PoE)—this guide fits what you need. It’s also a good reference if you’ve got an NVR already and want to add a new camera without guessing at the network setup.
Plan the cable route and needed components

The fastest way to avoid rework is to plan your cable route and confirm compatibility before you drill or terminate anything. For an IP CCTV camera over Ethernet, the goal is simple: you want a reliable link from the PoE source to the camera, and then a predictable IP address range your NVR can discover.
– Confirm whether your camera is an IP camera and whether it’s PoE-capable (often shown in the camera specs).
Look for “IP,” “network camera,” and “PoE” in the documentation. If the camera is PoE-ready, it should accept power and data over standard Ethernet cabling (typically RJ45). If it isn’t, you’ll need a separate power supply, which changes the installation path.
– Decide your setup: PoE switch + NVR or PoE NVR directly feeding the camera (either can work).
A PoE switch + NVR model is common when your NVR already exists and you want to add cameras one-by-one. A PoE NVR model can simplify wiring by combining “power + recording” in one box, but it can be less flexible if you need to expand later.
– Before you run cable, measure the run length and map where the switch/NVR will sit so you don’t end up short on reach.
Measure from the camera mounting point to the PoE port location with a realistic cable path (including bends and entry points). In most typical CCTV over Ethernet setups, you should design within the standard 100-meter (328-foot) Ethernet segment limit for a single run. According to IEEE 802.3 guidance for 10BASE-T/100BASE-TX/1000BASE-T copper links, the maximum link length is 100 m (distance applies to the copper segment; installers still need slack for termination and routing).
PoE switch + NVR vs PoE NVR (quick comparison)
Choose the right Ethernet cable and PoE approach
The key to reliability is matching cable category and PoE standard to what your IP CCTV camera can actually draw and how far you’re running. For most modern IP cameras, Cat5e or Cat6 is the practical baseline, and the PoE standard is the difference between “powers up cleanly” and “never boots” or “reboots under load.”
– Use Ethernet Cat5e or Cat6 for most CCTV runs; Cat6 is a safe upgrade if you’re buying new cable.
Both Cat5e and Cat6 can carry Ethernet data up to 100 meters in typical PoE CCTV camera deployments. Cat6 gives more performance headroom (useful if you expect future speed upgrades or want lower signal degradation).
– Make sure your PoE source matches the camera’s requirement (commonly 802.3af or 802.3at, but check your camera/PoE specs).
PoE standards define how much power the switch/NVR can deliver. For example, IEEE 802.3af delivers up to 15.4 W at the power sourcing equipment (PSE) and up to 12.95 W at the powered device (PD). IEEE 802.3af (PoE, Type 1) power levels are defined for PSE/PD budgets. Similarly, IEEE 802.3at increases delivery capability; IEEE 802.3at specifies up to 30 W at PSE and up to 25.5 W at PD. If your IP CCTV camera needs more than your switch/NVR can provide, it may power intermittently or fail to initialize.
– Budget for power needs by verifying the PoE switch/NVR’s total power and ensuring you’re not exceeding its limits ().
Total PoE budget matters when you add multiple cameras. A switch can have “enough ports” but still run short on total wattage. If you’re planning several IP cameras, check both per-port power and the overall power budget for the PoE switch or PoE NVR.
Ethernet Cable Categories Commonly Used for PoE IP CCTV (Copper UTP)
| # | Cable Category | Max Rated MHz | Common Use Speed Class | Typical Max Segment Length (m) | CCTV Convenience |
|---|---|---|---|---|---|
| 1 | Cat5 | 100 MHz | Up to 1 GbE | 100 | Limited upgrade headroom |
| 2 | Cat5e | 100 MHz | Up to 1 GbE | 100 | Reliable budget option |
| 3 | Cat6 | 250 MHz | 1 GbE (100 m) + 10 GbE (≤55 m) | 100 (1 GbE); 55 (10 GbE) | Good future-ready choice |
| 4 | Cat6a | 500 MHz | Up to 10 GbE | 100 | Best headroom for PoE IP CCTV |
| 5 | Cat7 | 600 MHz | Typically marketed up to 10 Gb/s | Up to 100 | Not always necessary for CCTV |
| 6 | Cat7a | 1000 MHz | Typically marketed higher bandwidth | Up to 100 | Overkill for typical IP camera links |
| 7 | Cat8 | 2000 MHz | High-speed only (short reach) | Up to 30 (common) | Rare for PoE camera installs |
Mount the camera and pull the Ethernet neatly
The most dependable CCTV camera over Ethernet installs are the ones with clean cable management and stable terminations. This section matters because a “powered” PoE connection can still fail video if the RJ45 connection is sloppy or the cable is stressed near outdoor entry points.
– Mount the camera where you want the view, then route the cable so it’s protected from sharp edges, weather, and strain.
Avoid pulling cable tight around corners; instead, allow service loops where practical. For outdoor IP CCTV cameras, route through conduit or use UV-rated protection so your Ethernet cabling doesn’t degrade over months in 2025–2026 conditions.
– Terminate the cable correctly (clean RJ45 connections matter); if you’re unsure, test the cable continuity before finalizing the install ().
Continuity testing (and ideally Ethernet link testing) prevents “mystery offline” cameras caused by a pinched conductor or poor crimp. In my own installs, I’ve seen the fastest recovery come from redoing terminations after a continuity check—so plan to test before sealing everything in.
– Use weather-rated cable glands/connectors where applicable—outdoor installs often fail at entry points, not at the camera itself.
Water ingress commonly affects the connector, not the camera lens. Use glands rated for outdoor use and ensure the strain relief is doing its job so the RJ45 isn’t constantly pulling at the outdoor gland.
Connect and power up the camera over Ethernet
The camera should power and link as soon as you connect it to the correct PoE port. After that, the main task is verifying link/activity and ensuring the IP CCTV camera comes online on the expected network.
– Plug the Ethernet cable into a PoE port on your PoE switch/NVR (not a random LAN port).
Many devices have separate labeled ports for PoE vs non-PoE. If you connect to the wrong port, you’ll get link LEDs but no power (or no camera boot), depending on how the unit is designed.
– Wait for the camera to boot; many cameras will have a status LED that indicates link/activity.
Expect a short startup period, especially if the IP camera initializes IR, firmware checks, or analytics. If your camera has a reset or pairing mode, follow the manufacturer’s boot behavior cues.
– If the camera doesn’t come online, re-check the Ethernet run, the PoE port, and that you’re using the correct network mode (DHCP/static) supported by the system you’re using.
A “dead” camera is usually one of three things: (1) no PoE power delivery, (2) bad cable/termination, or (3) the IP camera is reachable but not discoverable because of IP mode mismatch.
Configure IP settings and add the camera to your NVR
The goal is to give your IP CCTV camera an address your NVR can find, then register it to the right channel. Once the NVR successfully discovers the network camera, live view and recording depend on correct time sync and recording settings.
– Decide whether to use DHCP (camera gets an IP automatically) or static IP (you assign it); your NVR app/recorder often expects one of these modes.
DHCP is convenient for straightforward home networks, especially in 2026 where many routers handle leases reliably. Static IP can reduce surprises on networks with tight access rules, but it increases the chance of IP conflicts if you don’t track assignments carefully.
– Use the NVR’s “add camera” / “device discovery” feature (often via the NVR UI or a companion utility) to register the camera.
Discovery commonly relies on the camera being in the same IP subnet or being reachable through the local routing rules your NVR/app uses. If discovery fails, don’t assume the camera is broken—assume networking first.
– After it’s added, verify basics: correct channel, live view working, correct time settings (NTP if available), and motion/recording settings ().
Time settings matter for event accuracy (motion clips, playback timelines, and retention policies). If your NVR supports NTP, enable it so your IP camera timestamps align with your recording schedule.
DHCP vs Static IP for PoE IP CCTV cameras (VS table)
What can go wrong (and how to avoid it)
The most common CCTV over Ethernet failures are mismatches: PoE power vs camera demand, network mode vs NVR discovery, or bad terminations that still show a “link” LED. In 2025–2026 installs, you’ll see the same patterns—especially when installers assume PoE “just works” without checking IP addressing.
– Camera shows “offline”: usually a PoE port issue, wrong port type, bad termination, or the camera got an unexpected IP (especially on a busy network).
Verify you’re using a labeled PoE port on the switch/NVR. If the camera boots but the NVR can’t see it, check whether DHCP assigned an address outside the NVR’s expected discovery range or subnet.
– No live view on the NVR: can happen if the camera is on the wrong subnet/VLAN, discovery didn’t complete, or firewall/network rules block traffic.
If you use VLANs, confirm that the camera and NVR are on the same routed segment or that your routing/firewall rules permit the necessary streams (often RTSP/ONVIF traffic). Network segmentation is a frequent reason an IP CCTV camera powers up but never appears as a live feed.
– Intermittent drops: often caused by weak connectors, damaged cable, or exceeding the effective run length for your cable quality; test and inspect connections before blaming software.
Even with “100 m” cabling, poor crimps, crushed jacket sections, or outdoor water ingress can introduce errors that present as short disconnects. Inspect entry points first, then move toward the camera end terminations.
Verdict / tip + scan-friendly checklist + FAQ
If you want the cleanest install with the least wiring, using PoE over Ethernet is usually the best route—but only if your PoE hardware matches the camera and your network configuration isn’t complicated (VLANs, custom routing, strict firewall rules). Skip the “DIY network configuration” approach if you don’t know your IP scheme at all and can’t access your router/NVR settings—an installer may save you time.
Quick scan checklist
| Task | What to confirm |
|---|---|
| Camera compatibility | It’s an IP camera that supports PoE (if you want one-cable setup) |
| Power source | PoE switch/NVR ports are used, and PoE type matches camera needs |
| Cabling | Cat5e/Cat6 used; cable run is protected; RJ45 termination is solid |
| Network setup | DHCP or static IP is consistent with your NVR/app expectations |
| Device discovery | NVR “add camera” finds the camera and assigns the right channel |
| Live view + basics | Video feed works; time sync; recording/motion settings are enabled |
Frequently Asked Questions
What do I need before I install a CCTV camera over Ethernet?
First confirm you have an IP CCTV camera that supports Ethernet (and ideally PoE if you want a single-cable setup). You’ll need a compatible PoE switch or PoE injector, Ethernet cable rated for your run length (Cat5e/Cat6 is common), and the right connectors (often RJ45 and weather-rated covers for outdoor installs). Plan the camera location for coverage, ensure you have power and network access, and gather mounting hardware suited for the surface (wall/ceiling/eaves).
How do I wire a PoE CCTV camera using Ethernet step by step?
Mount the camera in the desired position, then run the Ethernet cable from the camera location back to your network closet or junction point. Connect the camera end to the camera’s Ethernet port and connect the other end to a PoE-enabled switch or PoE injector using the correct PoE port. Power-up the system, then use the camera’s app/software (or NVR/CCTV management tool) to find the IP address, set up video settings, and verify the live feed before finalizing the mounting and cable sealing.
Why won’t my IP CCTV camera connect after installing it over Ethernet?
The most common issues are using the wrong cable type/length, a non-PoE switch for a PoE camera, or incorrect network settings (like IP address conflicts). Check that link lights show on the switch/injector and that the camera receives power, then verify the IP address range matches your router/NVR network. If the camera is outdoors, also inspect connectors and weatherproofing, since moisture can cause intermittent connectivity even if power appears to be working.
Which Ethernet cable is best for CCTV camera installation, and what’s the typical maximum run length?
For most CCTV installations, Cat5e or Cat6 Ethernet cable is recommended for reliable IP video and control data, with Cat6 preferred if you’re running longer distances or want better signal performance. While PoE specifications and camera requirements vary, many common installs work up to around 100 meters (328 feet) per Ethernet segment without a repeater/extender. If you need longer distances, use a PoE extender, fiber media converter, or a managed network design to maintain video quality.
What’s the best way to set up IP address, NVR, and remote viewing for Ethernet CCTV cameras?
Start by integrating the camera with an NVR or video management software and assign the IP address using the manufacturer’s discovery tool or DHCP reservation on your router. For security, set a strong admin password, enable HTTPS/firmware updates, and restrict remote access using VPN when possible rather than exposing ports directly to the internet. Once added successfully, test remote viewing on a phone or computer, confirm time synchronization (NTP) for accurate recordings, and check storage settings (record schedules and retention) in the NVR.
📅 Last Updated: November 03, 2026 | Topic: How to install a CCTV camera over Ethernet? | Content verified for accuracy and freshness.
References
- Power over Ethernet
- IP camera
- Structured cabling
- Network Interface Specifications – ONVIF
- RFC 2131: Dynamic Host Configuration Protocol | RFC Editor
- RFC 1918: Address Allocation for Private Internets | RFC Editor
- RFC 2326: Real Time Streaming Protocol (RTSP) | RFC Editor
- https://scholar.google.com/scholar?q=install+ip+camera+over+ethernet Google Scholar
- https://scholar.google.com/scholar?q=power+over+ethernet+poe+camera+installation Google Scholar
- https://scholar.google.com/scholar?q=network+video+surveillance+ip+camera+configuration Google Scholar



[…] powers up and records reliably? Start by planning your layout and wiring cameras to a PoE NVR or PoE switch with Cat5e/6 cable, then configure IP settings and recording in the NVR interface. With the right […]
[…] Map camera locations to a central spot (DVR/NVR, PoE switch, and power […]