
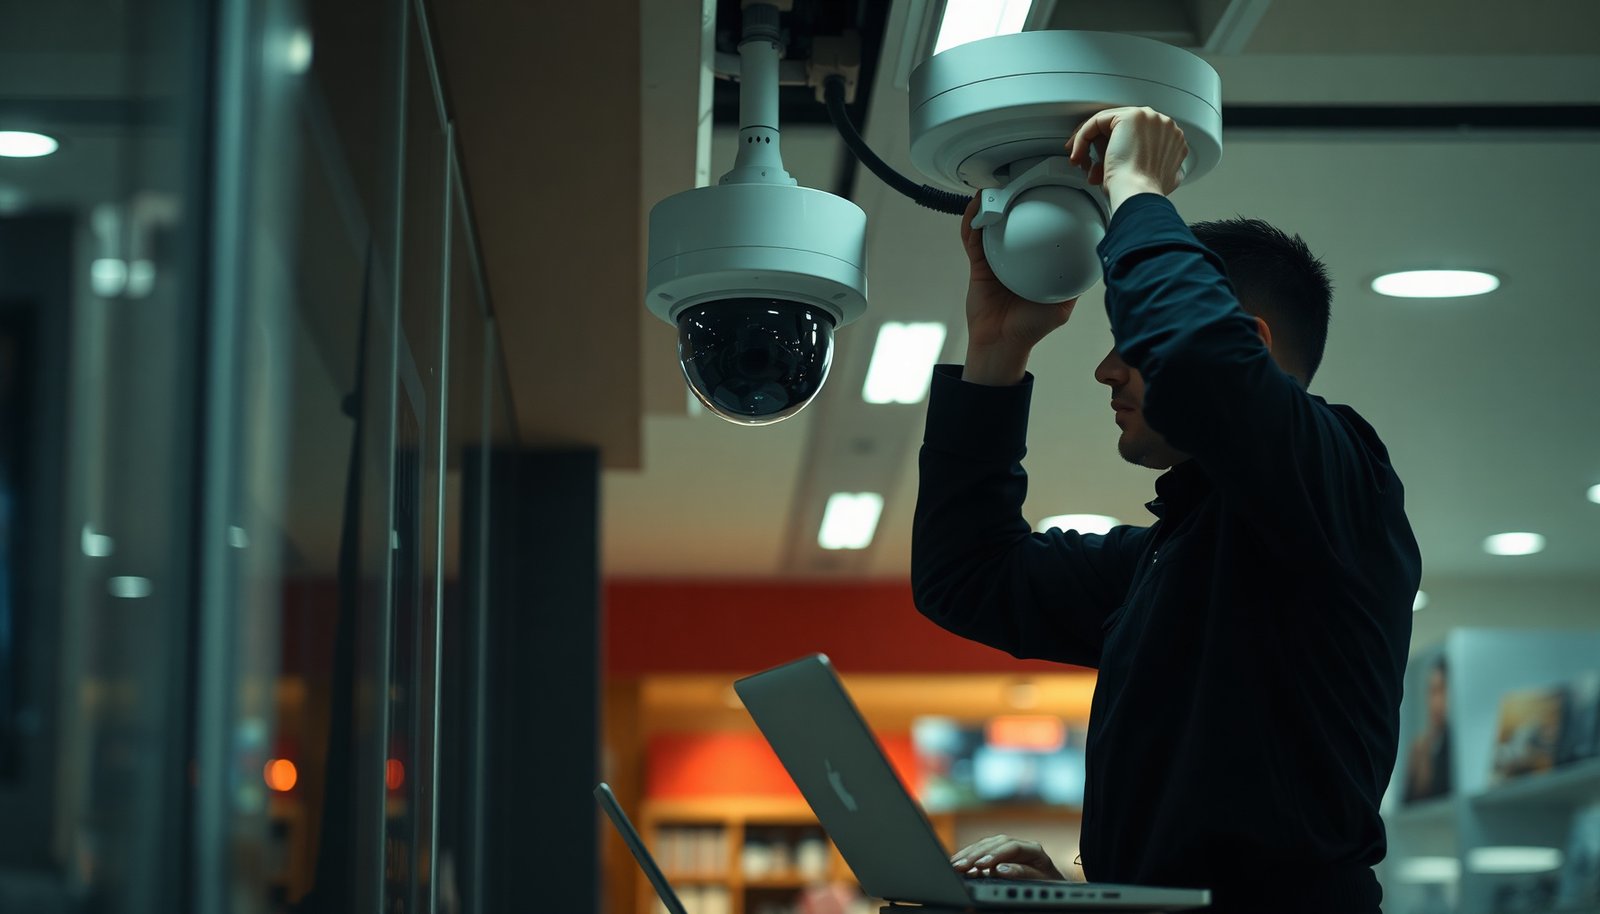

By the end of this process, your retail store will have a working CCTV system that records clear footage of key areas, supports remote viewing if needed, and is properly routed for reliable power and storage. This step-by-step walkthrough shows you what to plan, which components to choose, and how to mount, wire, configure, and test each camera so it’s ready for everyday use. With the right tools and careful placement, you can complete setup in manageable stages without guesswork.
If you want CCTV for a retail store to actually work when something happens, plan camera coverage first, then choose the right IP vs. analog (and wired vs. wireless) approach, and finally configure recording, storage, and access controls before you power anything on. Doing it in that order prevents the three most common failures: blind spots, unusable image quality, and storage that fills up before your team can review footage.
This guide is for store owners, managers, and installers who need a practical setup plan for sales floors, entrances, stock areas, and cash handling areas. It’s especially useful if you’re starting from scratch or replacing an older system.
Plan coverage: map key areas and camera placement

You get better outcomes from CCTV for a retail store when you treat camera placement like coverage engineering, not “mount and hope.” A quick mapping pass is what eliminates blind spots and ensures faces and transactions are actually captured.
– Start with a quick walkthrough and mark where incidents are most likely: entrances, exits, aisles, high-value displays, fitting rooms (if applicable), and the checkout line. Don’t stop at obvious zones—also note where customers naturally cluster (end caps, seasonal displays, queues) because those areas create “human obstruction” for your lens.
– Ensure each camera has a clear line of sight and covers faces at an effective angle (avoid shooting too far across shelves where faces become small). In retail, the camera’s job is usually identification support, not just “something happened.”
– Decide where you’ll place “monitoring visibility” cameras (customer-facing) versus “evidence” cameras (approach routes, doorways, parking entrances if visible). A customer-facing view helps deter behavior, while evidence cameras support reconstructing movement before/after an incident.
A practical tip: sketch each camera’s field of view directly on your floor plan and label what each view will capture at typical distances (for example, “face-level capture at the checkout queue”). When a camera is placed too high or too wide, you may get context but not identification—this is one of the biggest image-quality issues I see during retail CCTV commissioning.
Choose your CCTV system: IP, analog, and wired vs. wireless
You’ll avoid a lot of rework when you choose CCTV for a retail store based on the store’s wiring reality and your viewing workflow. Most problems here come from mismatched equipment (camera/NVR compatibility), underpowered switches, or relying on wireless where interference is likely.
– Pick between IP (network cameras) and analog (traditional coax-based). IP systems usually make remote viewing and modern storage setups easier, especially when your team wants role-based access and quick exports.
– Decide on wired vs. wireless based on your store layout and power/data runs; in retail, stable power and signal often matter more than convenience. If you’re already running network cabling for POS systems or back-office access, IP over Ethernet is typically the cleanest path.
– Confirm basic compatibility: camera type, recorder/NVR (network video recorder), power method (PoE if IP), and how you’ll view footage (app, browser, or dedicated monitor). For example, IP CCTV for a retail store depends on the NVR supporting the camera’s codecs and ONVIF profile (ONVIF is a common interoperability standard for network video devices).
IP vs analog: a decision that’s mostly about operations
Here’s a quick comparison to keep your CCTV for a retail store decision grounded in day-to-day use:
| Criteria | IP CCTV (NVR + network cameras) | Analog CCTV (coax + DVR) |
|---|---|---|
| Image scalability | Easier to scale resolution and add cameras | Typically limited by legacy resolution/formats |
| Remote viewing | Often built for web/app access with role controls | Possible, but usually more setup and constraints |
| Integration | More straightforward for integrations (analytics, access systems) | Integration depends on DVR capabilities |
| Wiring | Often one cable per camera (Ethernet + PoE) | Coax plus separate power is common |
| Maintenance | Centralized via NVR, IP monitoring, easier firmware management | DVR-based, with frequent analog component swaps when issues occur |
If you’re constrained by existing coax, analog can still make sense for a retail CCTV for a retail store upgrade. But if you’re starting from scratch, IP is typically the operationally smoother choice in 2026.
Install hardware correctly: mounting, power, and cabling
You’ll protect image quality and reliability when you install CCTV for a retail store using clean mounting practices, correct power design, and careful cable routing. This is where “it works on the bench” often stops being true once the system is in a real shop environment.
– Mount cameras securely and at sensible heights to reduce tampering, while still capturing useful facial detail; use the manufacturer’s mounting guidance. In retail, height is a trade-off: too low is easy to obstruct or tamper with; too high makes faces too small.
– Route power/data cleanly and protect cables where possible (inside conduit where appropriate) to reduce accidental damage. Cable damage is a silent reliability killer in high-traffic stores.
– If you’re using PoE, plan your switches/NVR ports so you don’t end up short on capacity mid-install. IEEE 802.3af PoE can supply up to 15.4 W at the PSE (and 12.95 W at the PD) IEEE 802.3af-2003. IEEE 802.3at increases the ceiling to 30 W at the PSE (up to 25.5 W at the PD) IEEE 802.3at-2009.
Also plan for the basic Ethernet limitation: standard copper Ethernet segments are designed for up to 100 meters (328 feet) IEEE 802.3 (100m maximum segment length, copper). If your camera location is beyond that, you need an approved extender or a different network path.
Configure recording, storage, and monitoring settings
You should configure CCTV for a retail store recording to match your review habits and retention requirement—not just “record everything all the time.” This step determines whether your team can find useful footage when it matters.
– Set recording mode intentionally (continuous, motion-activated, or event-based) based on how you’ll review footage and how quickly you need to overwrite old files. Checkout and entrances usually benefit from continuous or high-priority event recording, while lower-risk aisle areas can use motion/event approaches.
– Choose resolution and frame rate that match your needs (too low won’t identify people; too high can stress storage). Use the system’s default guidance as a baseline and adjust cautiously.
– Configure user access so only authorized staff can view or export footage, and enable notifications only where they’ll be useful (to avoid alert fatigue). If you operate in regions covered by privacy laws, enforce access controls consistent with GDPR principles. GDPR’s administrative fines can reach €20 million or 4% of annual worldwide turnover European Union GDPR (Regulation (EU) 2016/679), Article 83, so access control is not optional “security theater.”
Resolution matters more than people expect
When you plan CCTV for a retail store, resolution is the easiest way to improve identification odds—assuming the camera is placed correctly. Use the table below to sanity-check your target “detail level” before you lock recording settings.
Common IP CCTV Resolutions for Retail Face Detail (Typical Planning Targets, 2026)
| # | Resolution label | Exact pixels | Approx. megapixels | Face-detail rating |
|---|---|---|---|---|
| 1 | 1080p (2.1MP class) | 1920×1080 | 2.1MP | ★★☆☆☆ |
| 2 | 3MP (4:3 class) | 2048×1536 | 3.1MP | ★★★☆☆ |
| 3 | 4MP (16:9 class) | 2688×1520 | 4.1MP | ★★★★☆ |
| 4 | 5MP (4:3 class) | 2560×1920 | 4.9MP | ★★★★☆ |
| 5 | 4K UHD (8.3MP class) | 3840×2160 | 8.3MP | ★★★★★ |
| 6 | 12MP (4:3 class) | 4032×3024 | 12.2MP | ★★★★★ |
| 7 | 16MP (4:3 class) | 4608×3456 | 15.9MP | ★★★★★ |
A note: higher resolution only helps if your lens captures faces at readable scale. In my experience, stores often “upgrade resolution” but don’t adjust placement, so footage improves context without getting you identifiable facial detail.
Test coverage and image quality before you close the install
You should treat CCTV for a retail store testing as a required commissioning step, not a quick glance at live view. The goal is to confirm usable coverage across lighting changes, reflections, and realistic foot traffic.
– Walk the store while reviewing live view and recordings to check for blind spots, glare from lighting, and reflections (especially near glass doors or glossy floors). Retail lighting changes throughout the day, and reflections can swamp detail right when something needs to be captured.
– Confirm time/date settings so footage lines up correctly across cameras; incorrect clocks are a common headache during incident reviews. Synchronize through NTP (Network Time Protocol) if your system supports it.
– Do a short “realistic test window” (open/close hours if possible) to verify that recording behavior matches your expectations. Motion/event recording especially needs validation because busy retail aisles can trigger continuous “activity” that defeats your storage plan.
From there, export one sample clip per camera to a test user account (with the same permission level real staff would have) to confirm your access control workflow behaves correctly.
What can go wrong (and how to avoid it)
Most CCTV failures in retail come from avoidable setup mismatches: placement vs. identification, recording settings vs. storage, and access controls vs. policy. Address these issues before you rely on footage for investigations.
– Blind spots from “good enough” placement: corners behind displays and areas behind customers are where footage often fails. Re-check lines of sight before final mounting, and verify that each camera covers entry/approach paths—not just what’s visible after someone stops.
– Storage surprises: higher resolution + continuous recording can fill drives faster than expected. If you don’t know retention yet, should drive your settings, and you should base bitrate/storage estimates on your actual camera model.
– Poor identification due to distance/angle: mounting too high or placing cameras too far apart can result in usable context but not faces. Adjust placement or lens focus if supported.
Also watch for privacy and policy drift. If staff can export footage broadly, you create unnecessary risk even if your cameras are technically “secure.”
Verdict: a solid approach that works—especially with a checklist
If you want a reliable CCTV setup for a retail store, plan first, install carefully, and configure recording/storage with retention in mind. The downside is that doing it this way takes time up front—especially if you need to run cables, adjust camera angles, or revisit settings after a test period. Skip the DIY approach if your store requires complex wiring (long runs, multiple floors) or if you can’t maintain secure access controls for footage and exports.
From a practical standpoint, CCTV for a retail store succeeds when your workflow is clear: who can view, who can export, when footage is overwritten, and how quickly you can retrieve it after an incident.
Quick setup checklist (scan/save)
– Map key areas: entrances, checkout, aisles, high-value zones, back-of-house access
– Choose system type: IP vs. analog; wired vs. wireless; NVR compatibility
– Plan power/data: PoE ports/switch capacity and cable protection
– Configure recording: mode + resolution/frame rate + retention target
– Lock down access: staff permissions + export/view controls
– Test before finalizing: live view checks, clock/time settings, short real-world test
Frequently Asked Questions
What is the best CCTV setup for a retail store layout?
Start by covering all customer entry points (front door, side doors), checkout areas, and high-value zones like entrances to aisles or product categories prone to theft. Use a clear coverage plan so every critical area has overlapping views, reducing blind spots and improving incident review. For best results, consider a mix of fixed cameras for general monitoring and wider-angle cameras for larger sections, then add zoom or targeted cameras near registers.
How do you choose the right CCTV cameras for a retail store?
Select cameras based on where they’ll be mounted and the lighting conditions—look for IR night vision or low-light performance for areas with poor illumination. For retail environments, dome or bullet cameras are common depending on whether you want discreet mounting or focused direction, and wide dynamic range (WDR) helps with reflections from floors and glass. Prioritize resolution and lens quality (so faces and labels are readable), plus weather/indoor ratings that match the installation location.
Which is better for retail CCTV: wired or wireless, and why?
Wired CCTV (PoE—Power over Ethernet) is often preferred for retail stores because it’s more stable, has fewer signal interruptions, and supports consistent video quality for long-term use. Wireless systems can be quicker to install, but they may be affected by interference, network congestion, and power reliability, which can impact video clarity during incidents. For critical loss-prevention coverage, many retailers choose wired CCTV for cameras at entrances and checkout, then use wireless where running cabling is difficult.
How do you plan CCTV placement to reduce blind spots and improve evidence?
Mount cameras at appropriate heights to capture faces and hands, typically avoiding angles that only show tops of heads or floor-level activity. Place cameras so they capture approaching behavior (front entrances and aisle access) and capturing the moment near cash handling—aim for full views of customers at registers rather than partial side angles. Test sightlines before final installation and use overlapping fields of view around chokepoints like doorways, corridors, and exits.
What are the key steps to install and configure CCTV for a retail store?
Begin with a site survey—map power, network, and mounting locations—then install cameras, run cable (or configure wireless links), and connect everything to an NVR/DVR. Configure recording settings for loss prevention by enabling continuous recording or motion/event-based recording, set the correct time zone, and ensure accurate date/time for reliable playback. Finally, secure the CCTV system with strong passwords, limit user access, and verify remote viewing so management can check live feeds and recorded footage when needed.
📅 Last Updated: November 03, 2026 | Topic: How do you set up CCTV for a retail store? | Content verified for accuracy and freshness.
References
- https://ico.org.uk/for-organisations/uk-gdpr-guidance-and-resources/cctv/
- https://ico.org.uk/for-organisations/guide-to-data-protection/privacy-by-design-and-data-protection-impact-assessments/
- SP 800-213, IoT Device Cybersecurity Guidance for the Federal Government: Establishing IoT Device…
- https://www.ncsc.gov.uk/collection/internet-of-things-security
- Closed-circuit television
- Closed-circuit television
- https://scholar.google.com/scholar?q=cctv+installation+retail+store+camera+placement Google Scholar
- https://scholar.google.com/scholar?q=video+surveillance+system+design+requirements+retail Google Scholar
- https://scholar.google.com/scholar?q=cctv+privacy+regulation+guidance+video+devices Google Scholar

[…] you’re installing a Dahua turret/bullet camera and either an NVR or just want remote viewing, this guide walks through the practical order most people follow. I’ll keep model-specific […]